👩💻
GoRouterネストしたルートのパスの書き方
💡Tips
Flutter Webでネストしたルートのパスの指定をしたいたのですが、久しぶりにコードを書いたら設定で詰まった💦
ネスティングルートの設定だが、/はつけていない。でもcontext.goを書くときはつける。古いバージョンで調べても一緒だった?
Routing
/// The route configuration.
final GoRouter _router = GoRouter(
  routes: <RouteBase>[
    GoRoute(
      path: '/',
      builder: (BuildContext context, GoRouterState state) {
        return const HomeScreen();
      },
      routes: <RouteBase>[
        GoRoute(
          path: 'details',
          builder: (BuildContext context, GoRouterState state) {
            return const DetailsScreen();
          },
        ),
      ],
    ),
  ],
);
FullPath
/// The home screen
class HomeScreen extends StatelessWidget {
/// Constructs a [HomeScreen]
const HomeScreen({super.key});
Widget build(BuildContext context) {
return Scaffold(
appBar: AppBar(title: const Text('Home Screen')),
body: Center(
child: ElevatedButton(
onPressed: () => context.go('/details'),
child: const Text('Go to the Details screen'),
),
),
);
}
}
でもプロジェクトで使ったコードと違うような....
外国の人がやってる方法を真似してパスを定数で定義したクラスをいつも使っています。Enumで書いてたことあるけど、「これ意味なるの?」って言われたのでやめました(^_^;)
static const Stringでパスを定義する。
final class RoutePath {
  static const String home = '/';
  static const String next = '/next';
}
全体のコード
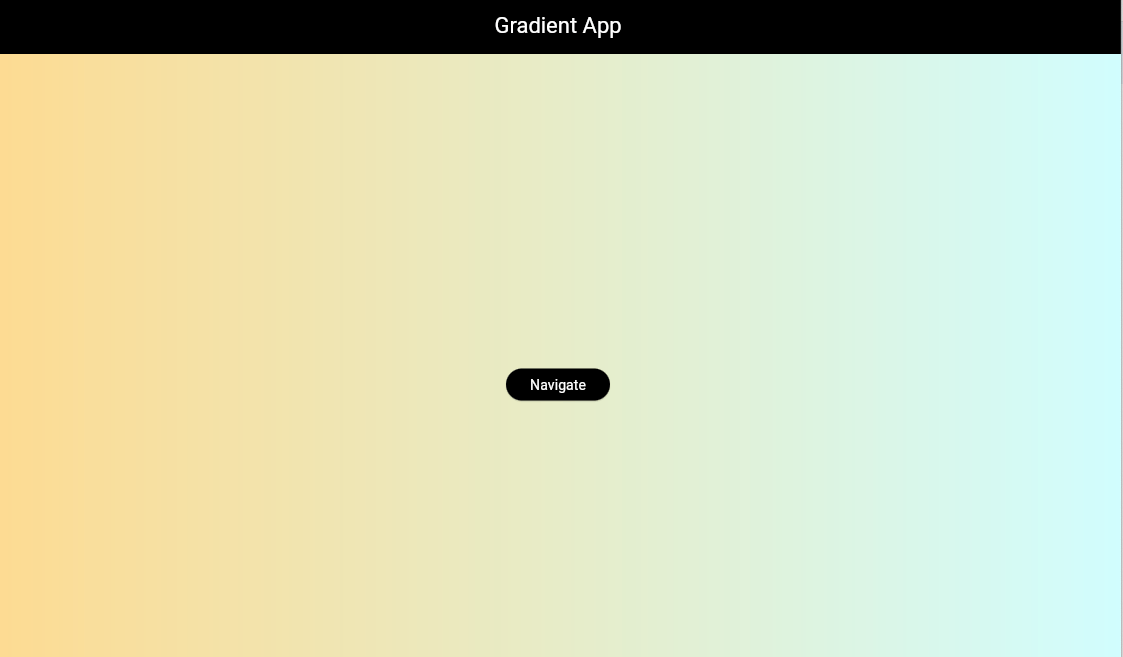
美しいグラデーションを背景にしたデモアプリを作りました。アプリ全体に適用するためには、MaterialAppのbuilderを使用します。アプリ全体(すべてのルート)に共通のUIを適用できます。これはFlutterのウィジェットツリーの構造によるものです。
上から下に吊り下がっていくから全体に色が適用されるのでしょう。
import 'package:flutter/material.dart';
import 'package:go_router/go_router.dart';
void main() {
runApp(const MyApp());
}
final class RoutePath {
static const String home = '/';
static const String next = '/next';
}
// ルーター設定
final _router = GoRouter(
initialLocation: RoutePath.home,
routes: [
GoRoute(
path: RoutePath.home,
builder: (context, state) => const MyHomePage(),
routes: [
GoRoute(
path: RoutePath.next,
builder: (context, state) => const NextPage(),
)
]
),
],
);
class MyApp extends StatelessWidget {
const MyApp({super.key});
Widget build(BuildContext context) {
return MaterialApp.router(
debugShowCheckedModeBanner: false,
routerConfig: _router,
theme: ThemeData(
primaryColor: Colors.black,
scaffoldBackgroundColor: Colors.transparent,
appBarTheme: const AppBarTheme(
backgroundColor: Colors.black,
foregroundColor: Colors.white,
),
elevatedButtonTheme: ElevatedButtonThemeData(
style: ElevatedButton.styleFrom(
backgroundColor: Colors.black,
foregroundColor: Colors.white,
),
),
),
builder: (context, child) {
// アプリ全体にグラデーションを適用
return Container(
decoration: const BoxDecoration(
gradient: LinearGradient(
begin: Alignment.centerLeft,
end: Alignment.centerRight,
colors: [
Color.fromRGBO(253, 219, 146, 1),
Color.fromRGBO(209, 253, 254, 1),
],
),
),
child: child!,
);
},
);
}
}
class MyHomePage extends StatelessWidget {
const MyHomePage({super.key});
Widget build(BuildContext context) {
return Scaffold(
appBar: AppBar(
title: const Text('Gradient App'),
),
body: Center(
child: Column(
mainAxisAlignment: MainAxisAlignment.center,
children: [
ElevatedButton(
onPressed: () => context.go(RoutePath.next),
child: const Text('Navigate'),
),
],
),
),
);
}
}
class NextPage extends StatelessWidget {
const NextPage({super.key});
Widget build(BuildContext context) {
return Scaffold(
appBar: AppBar(
title: const Text('Next Page'),
),
body: const Center(
child: Text("Next Page"),
),
);
}
}
MyHomePage

NextPage

まとめ
画面遷移するときに直接フルパスで書くのは良くないです。あらかじめパスを定義しておくと良いでしょう。おまけで美しい背景を作ってみました🥰
Discussion