🐬
riverpodのプロバイダーとは?
最近になってわかった気がする...
Flutterには、状態管理のライブラリでProviderというものがあります。
riverpodというライブラリでもプロバイダーという単語が出てくる?、最近まで違いがわからなかった。
Providerを使うときは、Widgetの中にChangeNotifireって書きますよね。riverpodでは、Widgetの中に書いてないのに気づいた!
riverpodの公式ドキュメント
公式によると
プロバイダには様々な種類がありますが、基本はすべて同じです。
次のように、グローバル定数として宣言するのが一般的な使用方法です。
final myProvider = Provider((ref) {
  return MyValue();
});
最近このコードの意味がわかった気がする。ProviderをWidgetの外に書いている。
今回作ったサンプルは、Qiitaの記事で書いたのとあまり変更点はありませんが、フォルダ作ってコードもよくみるmodelとか、utilsに分けてみました😇
こちらは、JSONデータを扱うのに必要なライブラリについての公式ドキュメント
JSONを扱うメソッドについての公式ドキュメント
fromJSONについて
toJSONについて
Flutter3.0.3で作成
フォルダ構成
├── main.dart
├── model
│   └── post_model.dart
└── utils
    └── post_provider.dart
- modelは、データですね。
- utilsは、便利なという意味だそうです😅
pubspec.yaml
name: riverpod_http
description: A new Flutter project.

# The following line prevents the package from being accidentally published to
# pub.dev using `flutter pub publish`. This is preferred for private packages.
publish_to: 'none' # Remove this line if you wish to publish to pub.dev

# The following defines the version and build number for your application.
# A version number is three numbers separated by dots, like 1.2.43
# followed by an optional build number separated by a +.
# Both the version and the builder number may be overridden in flutter
# build by specifying --build-name and --build-number, respectively.
# In Android, build-name is used as versionName while build-number used as versionCode.
# Read more about Android versioning at https://developer.android.com/studio/publish/versioning
# In iOS, build-name is used as CFBundleShortVersionString while build-number used as CFBundleVersion.
# Read more about iOS versioning at
# https://developer.apple.com/library/archive/documentation/General/Reference/InfoPlistKeyReference/Articles/CoreFoundationKeys.html
version: 1.0.0+1

environment:
  sdk: ">=2.17.3 <3.0.0"

# Dependencies specify other packages that your package needs in order to work.
# To automatically upgrade your package dependencies to the latest versions
# consider running `flutter pub upgrade --major-versions`. Alternatively,
# dependencies can be manually updated by changing the version numbers below to
# the latest version available on pub.dev. To see which dependencies have newer
# versions available, run `flutter pub outdated`.
dependencies:
  flutter:
    sdk: flutter


  # The following adds the Cupertino Icons font to your application.
  # Use with the CupertinoIcons class for iOS style icons.
  cupertino_icons: ^1.0.2
  flutter_riverpod: ^1.0.4
  http: ^0.13.4

dev_dependencies:
  flutter_test:
    sdk: flutter

  # The "flutter_lints" package below contains a set of recommended lints to
  # encourage good coding practices. The lint set provided by the package is
  # activated in the `analysis_options.yaml` file located at the root of your
  # package. See that file for information about deactivating specific lint
  # rules and activating additional ones.
  flutter_lints: ^2.0.0

# For information on the generic Dart part of this file, see the
# following page: https://dart.dev/tools/pub/pubspec

# The following section is specific to Flutter packages.
flutter:

  # The following line ensures that the Material Icons font is
  # included with your application, so that you can use the icons in
  # the material Icons class.
  uses-material-design: true

  # To add assets to your application, add an assets section, like this:
  # assets:
  #   - images/a_dot_burr.jpeg
  #   - images/a_dot_ham.jpeg

  # An image asset can refer to one or more resolution-specific "variants", see
  # https://flutter.dev/assets-and-images/#resolution-aware

  # For details regarding adding assets from package dependencies, see
  # https://flutter.dev/assets-and-images/#from-packages

  # To add custom fonts to your application, add a fonts section here,
  # in this "flutter" section. Each entry in this list should have a
  # "family" key with the font family name, and a "fonts" key with a
  # list giving the asset and other descriptors for the font. For
  # example:
  # fonts:
  #   - family: Schyler
  #     fonts:
  #       - asset: fonts/Schyler-Regular.ttf
  #       - asset: fonts/Schyler-Italic.ttf
  #         style: italic
  #   - family: Trajan Pro
  #     fonts:
  #       - asset: fonts/TrajanPro.ttf
  #       - asset: fonts/TrajanPro_Bold.ttf
  #         weight: 700
  #
  # For details regarding fonts from package dependencies,
  # see https://flutter.dev/custom-fonts/#from-packages
model/post_model.dart
import 'dart:convert' as convert;
import 'package:flutter/foundation.dart';
import 'package:http/http.dart' as http;

// jsonplaceholderから、データを取得するクラスを定義
class Post {
  final int userId;
  final int id;
  final String title;
  final String body;

  // コンストラクターを定義
  Post(
      {required this.userId,
      required this.body,
      required this.id,
      required this.title});

  // 新しいインスタンスを作成し、jsonを解析してデータを
  // 新しいインスタンスに配置します。(公式を翻訳)
  Post.fromJson(Map<String, dynamic> json)
      : userId = json['userId'],
        id = json['id'],
        title = json['title'],
        body = json['body'];

  // インスタンスをマップに変換するtoJson()メソッド
  Map<String, dynamic> toJson() => {
        'userId': userId,
        'id': id,
        'title': title,
        'body': body,
      };
}

List<Post> parsePosts(String responseBody) {
  // 引数をキャストしてMap型に変換
  final parsed = convert.jsonDecode(responseBody).cast<Map<String, dynamic>>();
  // 配列をmapメソッドでループさせる。
  return parsed.map<Post>((json) => Post.fromJson(json)).toList();
}

// インターネットからデータを取得するメソッド
Future<List<Post>> fetchPosts() async {
  var url = Uri.parse('https://jsonplaceholder.typicode.com/posts');

  var response = await http.get(url);
  if (response.statusCode == 200) {
    // Use the compute function to run parsePhotos in a separate isolate.
    return compute(parsePosts, response.body);
  } else {
    throw Exception('Failed to load post');
  }
}
utils/post_provider.dart
import 'package:flutter_riverpod/flutter_riverpod.dart';
import 'package:riverpod_http/model/post_model.dart';

// Postモデルを使えるようにするプロバイダーを定義
// List型にPostクラスを型として使う
// post_model.dartから、fetchPostsメソッドを呼び出す。
final postsProvider = FutureProvider<List<Post>>((ref) async {
  return fetchPosts();
});
main.dart
import 'package:flutter/material.dart';
import 'package:flutter_riverpod/flutter_riverpod.dart';
import 'package:riverpod_http/utils/post_provider.dart';
void main() {
runApp(const ProviderScope(child: MyApp()));
}
class MyApp extends ConsumerWidget {
const MyApp({Key? key}) : super(key: key);
// This widget is the root of your application.
Widget build(BuildContext context, WidgetRef ref) {
// このページで使用するriverpodを呼び出す変数を定義
var value = ref.watch(postsProvider);
return MaterialApp(
title: 'Flutter Demo',
home: Scaffold(
appBar: AppBar(
title: const Text('flutter_riverpodでhttpやってみる!'),
backgroundColor: Colors.lightBlue,
),
body: Center(
child: value.when(
data: (posts) {
return ListView.builder(
// 配列のデータを描画するWidget
itemCount: posts.length, // 配列の数をカウント
itemBuilder: (context, index) {
return ListTile(
title: Text(posts[index].title), // 配列のtitleプロパティを表示
subtitle: Text(posts[index].body), // 配列のbodyプロパティを表示
);
},
);
},
// エラーハンドリング。つかわないけど...
error: (err, stack) => Center(child: Text(err.toString())),
loading: () => const Center(child: CircularProgressIndicator())),
),
),
);
}
}
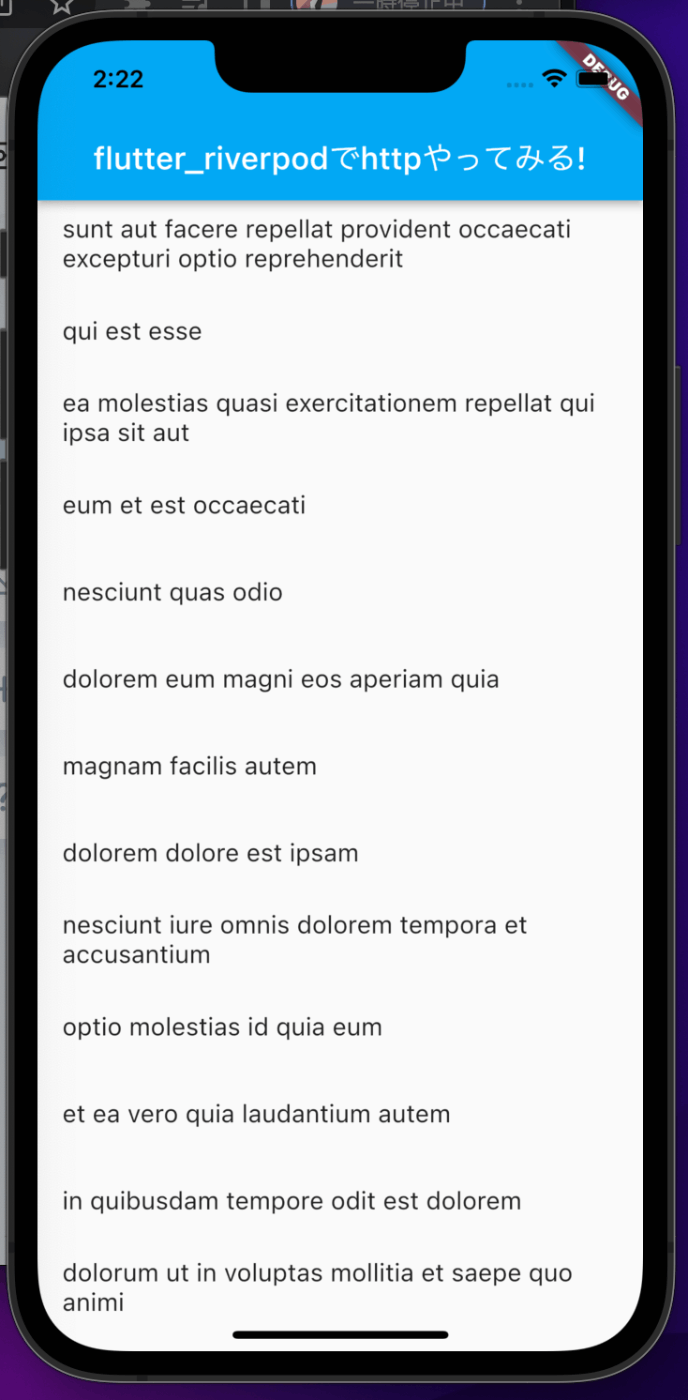
スクリーンショット
最後に
最近、仕事でriverpodのコードを読むことがあり、理解不足なので、公式ドキュメントを毎日読むようにしています。とは言え、動くものを作らないとドキュメントすら理解できなかったですね😇
- 公式ドキュメントを読む
- 動くもの作る
- また公式ドキュメントを見たときにわかるようになる
私も最近はこの方法で学習していましたね。以前はプログラミングスクール選びで失敗して40万円ぐらいの財産を失いました😱
Swiftは、ドキュメント読んでも理解できなかったので、UdemyやQiitaの記事で勉強していましたね。
最近はSwiftUIなるものが新規の開発で使われているらしいが、あまり興味が持てない😇
Swift勉強するならどうすればいいか?
- Udemy
- ドキュメントも読んでみる
- 何かアプリを作る
- MENTAを使う。(スクール行っても雇ってくれませんよ!)
Discussion