ValueNotifier<T> classを使ってみた!
ValueNotifierを使う例
ValueNotifier<T> classとは、値を保持するだけでなく、値の変更を通知することができるクラスです。
使用例
setState()を使わずに、値の変更を通知することができます。
カウンターを追加する例だとこのようになります。
import 'package:flutter/material.dart';
void main() {
runApp(MyApp());
}
class MyApp extends StatelessWidget {
final ValueNotifier<int> _counter = ValueNotifier<int>(0);
Widget build(BuildContext context) {
return MaterialApp(
home: Scaffold(
appBar: AppBar(
title: Text('ValueNotifier'),
),
body: Center(
child: Column(
mainAxisAlignment: MainAxisAlignment.center,
children: <Widget>[
ValueListenableBuilder(
valueListenable: _counter,
builder: (context, value, child) {
return Text(
'$_counter',
style: Theme.of(context).textTheme.headline4,
);
},
),
RaisedButton(
child: Text('カウントアップ'),
onPressed: () {
_counter.value++;
},
),
],
),
),
),
);
}
}
ValueNotifierクラスの内部はこのようになっています。
/// A [ChangeNotifier] that holds a single value.
///
/// When [value] is replaced with something that is not equal to the old
/// value as evaluated by the equality operator ==, this class notifies its
/// listeners.
///
/// ## Limitations
///
/// Because this class only notifies listeners when the [value]'s _identity_
/// changes, listeners will not be notified when mutable state within the
/// value itself changes.
///
/// For example, a `ValueNotifier<List<int>>` will not notify its listeners
/// when the _contents_ of the list are changed.
///
/// As a result, this class is best used with only immutable data types.
///
/// For mutable data types, consider extending [ChangeNotifier] directly.
class ValueNotifier<T> extends ChangeNotifier implements ValueListenable<T> {
/// Creates a [ChangeNotifier] that wraps this value.
ValueNotifier(this._value) {
if (kFlutterMemoryAllocationsEnabled) {
MemoryAllocations.instance.dispatchObjectCreated(
library: _flutterFoundationLibrary,
className: '$ValueNotifier',
object: this,
);
}
_creationDispatched = true;
}
/// The current value stored in this notifier.
///
/// When the value is replaced with something that is not equal to the old
/// value as evaluated by the equality operator ==, this class notifies its
/// listeners.
T get value => _value;
T _value;
set value(T newValue) {
if (_value == newValue) {
return;
}
_value = newValue;
notifyListeners();
}
String toString() => '${describeIdentity(this)}($value)';
}
英語の部分を翻訳するとこのように書かれています。
/// 単一の値を保持する [ChangeNotifier]。
///
/// [値] が古いものと等しくないものに置き換えられた場合
/// 等価演算子 == によって評価された値、このクラスはそのクラスに通知します
/// リスナー。
///
/// ## 制限事項
///
/// このクラスは、[値] の identity が取得された場合にのみリスナーに通知するためです。
/// 変更があった場合、リスナーは、内部で可変状態になったときに通知されません。
/// 値自体が変化します。
///
/// たとえば、ValueNotifier<List<int>>はリスナーに通知しません
/// リストの_contents_が変更されたとき。
///
/// 結果として、このクラスは不変のデータ型でのみ使用するのが最適です。
///
/// 可変データ型の場合は、[ChangeNotifier] を直接拡張することを検討してください。
ValueListenableBuilderクラスとは、ValueNotifierクラスの値が変更されたときに、
リビルドするためのクラスです。
ライフサイクルの仕組みを説明すると、このようになります。
Textを例に出すと...
- ビルドされて、ValueNotifierクラスの値が変更される
- ValueNotifierクラスの値が変更されると、ValueListenableBuilderクラスがリビルドされる
- ValueListenableBuilderクラスがリビルドされると、ValueListenableBuilderクラスの中のbuilderが実行される
- builderが実行されると、Textクラスがリビルドされる
- Textクラスがリビルドされると、画面に表示される
- なので、
Fuga -> Hogeに変わる
setStateを使わなくても状態を管理できるのか?
StatelessWidgetでやってみたら、画面が更新されていた???
import 'package:flutter/material.dart';
void main() {
runApp(const App());
}
class App extends StatelessWidget {
const App({Key? key}) : super(key: key);
Widget build(BuildContext context) {
return const MaterialApp(
home: HomePage(),
);
}
}
class HomePage extends StatelessWidget {
const HomePage({super.key});
Widget build(BuildContext context) {
// setStateを使わずに状態管理を行う為のクラス
final _counterNotifier = ValueNotifier<int>(0);
final _changeText = ValueNotifier<String>('Fuga');
final changeColor = ValueNotifier<Color>(Colors.red);
final checkBoxNotifier = ValueNotifier<bool>(false);
return Scaffold(
appBar: AppBar(title: const Text('Counter App')),
body: Center(
child: Column(
mainAxisAlignment: MainAxisAlignment.center,
children: [
// クリックすると、カウントアップする
ValueListenableBuilder(
valueListenable: _counterNotifier,
builder: (context, value, _) {
return Text('Count: $value');
},
),
const SizedBox(height: 16),
// クリックするとテキストが変わる
ValueListenableBuilder(
valueListenable: _changeText,
builder: (context, value, _) {
return Text('Text: $value');
},
),
const SizedBox(height: 16),
// クリックすると、色が変わる
ValueListenableBuilder(
valueListenable: changeColor,
builder: (context, value, _) {
return TextButton(
onPressed: () {
changeColor.value = Colors.blue;
},
child: Text(
'Change Color',
style: TextStyle(color: value, fontSize: 20),
),
);
},
),
const SizedBox(height: 16),
// チェックすると、Hello Worldが表示される
ValueListenableBuilder(
valueListenable: checkBoxNotifier,
builder: (context, value, _) {
return value
? const Text('Hello World')
: const Text('Check Box');
},
),
const SizedBox(height: 16),
// チェックボックスの状態を管理する
ValueListenableBuilder(
valueListenable: checkBoxNotifier,
builder: (context, value, _) {
return Checkbox(
value: value,
onChanged: (value) {
checkBoxNotifier.value = value!;
},
);
},
),
const SizedBox(height: 16),
// ボタンを押すと、テキストが変わる
ElevatedButton(onPressed: () {
_changeText.value = 'Hoge';
}, child: const Text('Change Text')),
],
),
),
// ボタンを押すと、カウントアップする
floatingActionButton: FloatingActionButton(
onPressed: () {
_counterNotifier.value++;
},
child: const Icon(Icons.add),
),
);
}
}
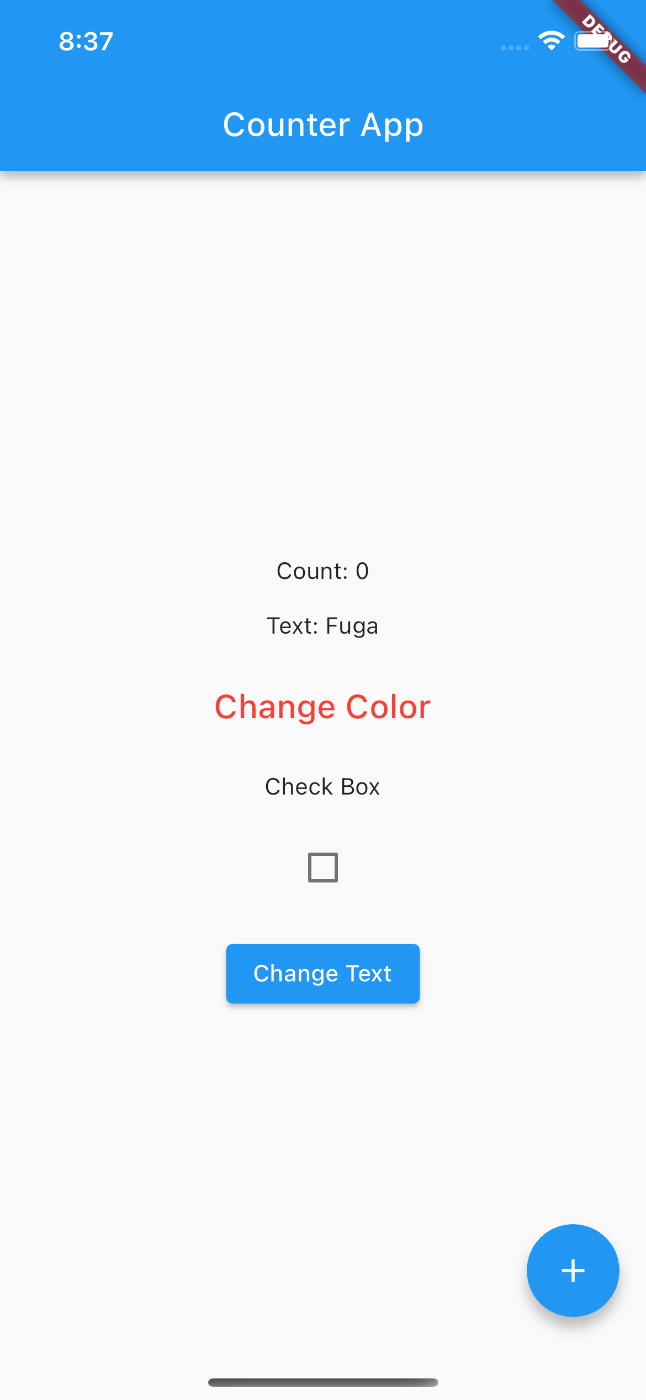
これがボタンを押す前
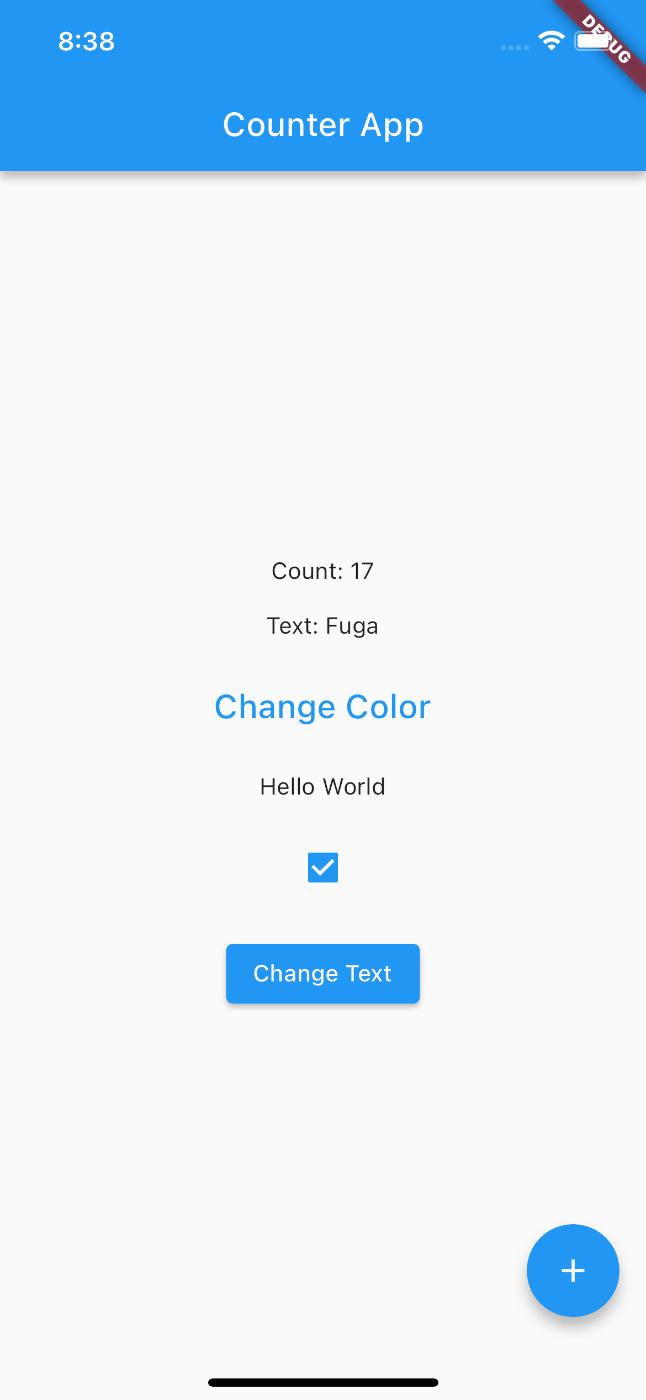
これがボタンを押した後
最後に
使ってみた感想ですが、setStateを使わなくても状態の管理ができることを知りませんでした。でも使い方は決まっていそうですね。
Discussion