🥊
Flutterでmockitoを使ってみた!
Overview
こちらのパッケージを使って今回はモックを作成してみます。色々ハマったので、手順を書いていこうと思います。
必要なパッケージ
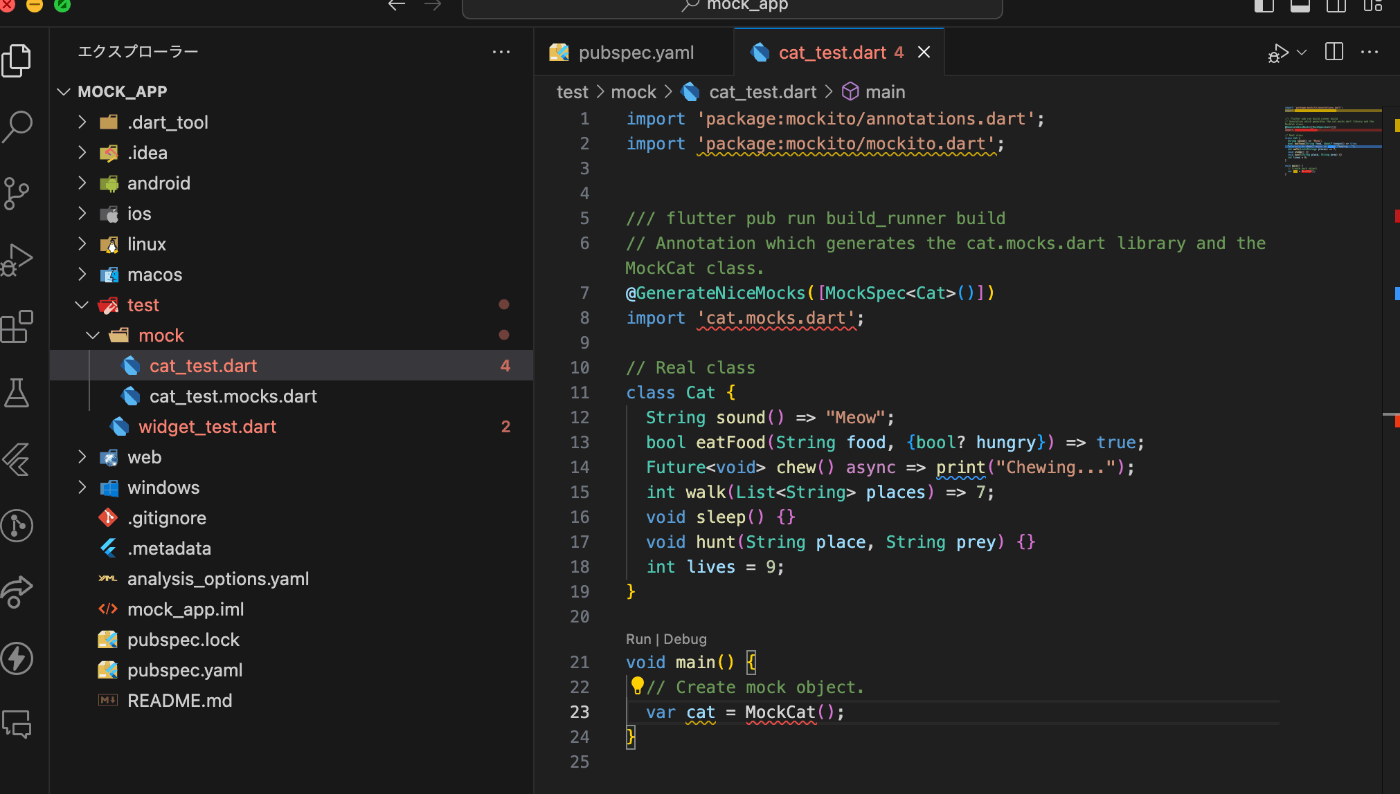
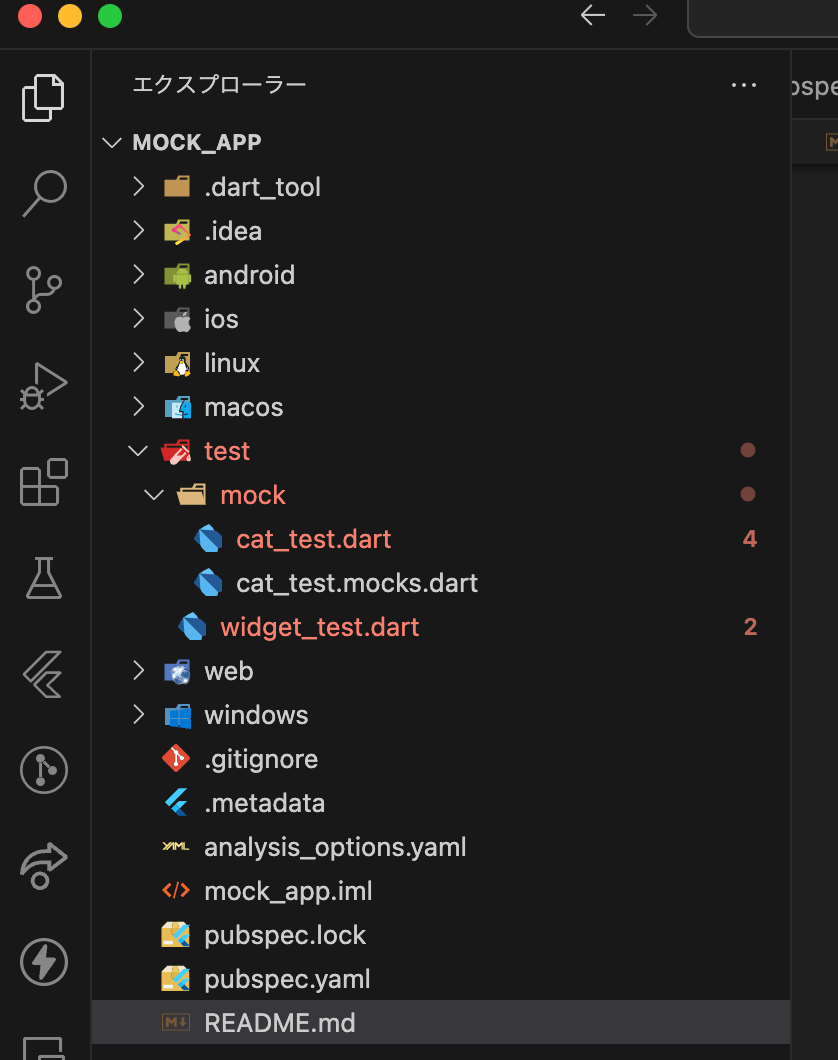
Readmeには、testディレクトリにファイルを作成するように書いてない!
知識がない人だと、libディレクトリの中に作ると思い込んでしまう!test/というワードは書いてある?

summary
早速やってみよう!
-
Flutterのプロジェクトで使う場合は、testディレクトリの中に拡張子に、
ファイル名_test.dartとつける -
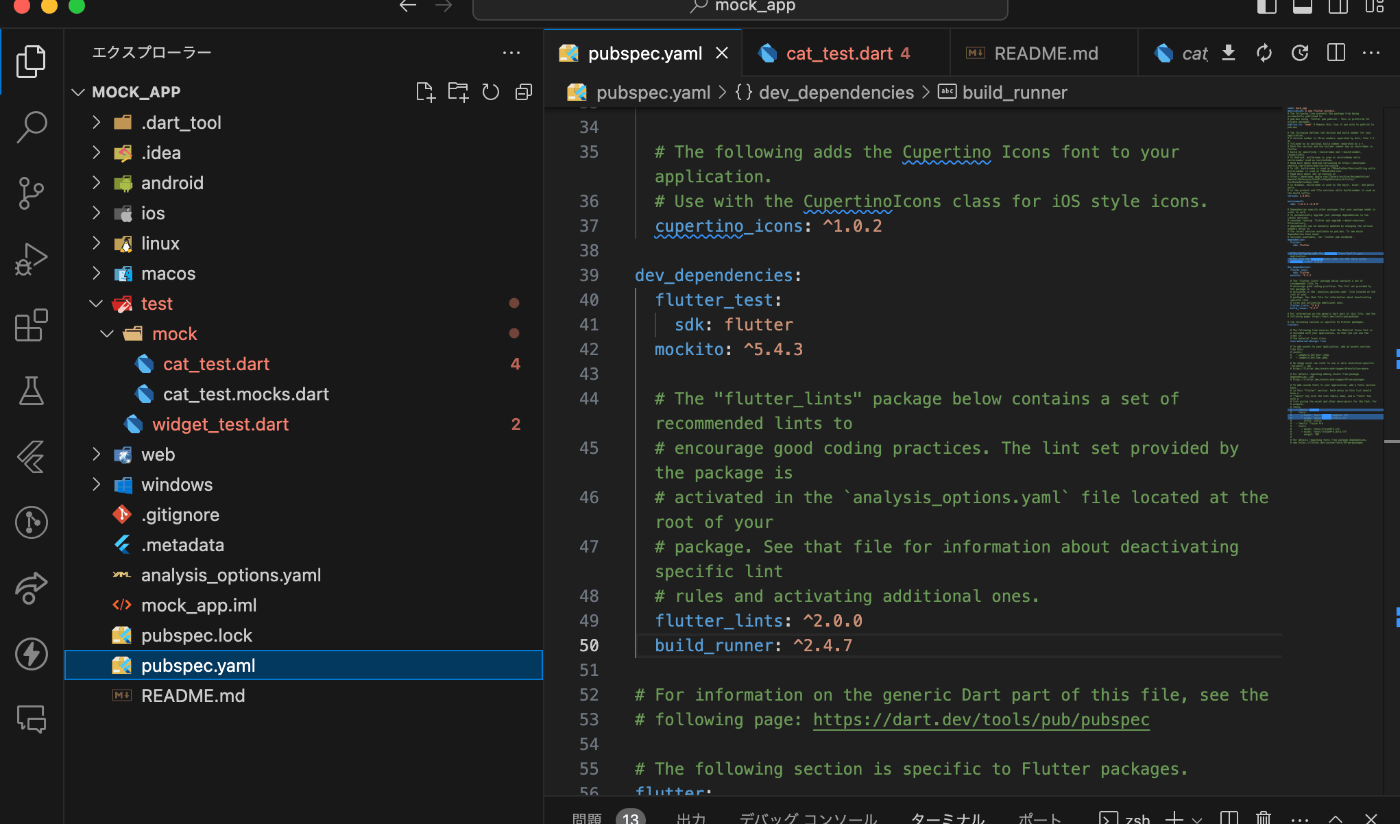
pubspec.yamlにパッケージを追加する。
name: mock_app
description: A new Flutter project.
# The following line prevents the package from being accidentally published to
# pub.dev using `flutter pub publish`. This is preferred for private packages.
publish_to: 'none' # Remove this line if you wish to publish to pub.dev

# The following defines the version and build number for your application.
# A version number is three numbers separated by dots, like 1.2.43
# followed by an optional build number separated by a +.
# Both the version and the builder number may be overridden in flutter
# build by specifying --build-name and --build-number, respectively.
# In Android, build-name is used as versionName while build-number used as versionCode.
# Read more about Android versioning at https://developer.android.com/studio/publish/versioning
# In iOS, build-name is used as CFBundleShortVersionString while build-number is used as CFBundleVersion.
# Read more about iOS versioning at
# https://developer.apple.com/library/archive/documentation/General/Reference/InfoPlistKeyReference/Articles/CoreFoundationKeys.html
# In Windows, build-name is used as the major, minor, and patch parts
# of the product and file versions while build-number is used as the build suffix.
version: 1.0.0+1

environment:
  sdk: '>=3.1.3 <4.0.0'

# Dependencies specify other packages that your package needs in order to work.
# To automatically upgrade your package dependencies to the latest versions
# consider running `flutter pub upgrade --major-versions`. Alternatively,
# dependencies can be manually updated by changing the version numbers below to
# the latest version available on pub.dev. To see which dependencies have newer
# versions available, run `flutter pub outdated`.
dependencies:
  flutter:
    sdk: flutter


  # The following adds the Cupertino Icons font to your application.
  # Use with the CupertinoIcons class for iOS style icons.
  cupertino_icons: ^1.0.2

dev_dependencies:
  flutter_test:
    sdk: flutter
  mockito: ^5.4.3

  # The "flutter_lints" package below contains a set of recommended lints to
  # encourage good coding practices. The lint set provided by the package is
  # activated in the `analysis_options.yaml` file located at the root of your
  # package. See that file for information about deactivating specific lint
  # rules and activating additional ones.
  flutter_lints: ^2.0.0
  build_runner: ^2.4.7

# For information on the generic Dart part of this file, see the
# following page: https://dart.dev/tools/pub/pubspec

# The following section is specific to Flutter packages.
flutter:

  # The following line ensures that the Material Icons font is
  # included with your application, so that you can use the icons in
  # the material Icons class.
  uses-material-design: true

  # To add assets to your application, add an assets section, like this:
  # assets:
  #   - images/a_dot_burr.jpeg
  #   - images/a_dot_ham.jpeg

  # An image asset can refer to one or more resolution-specific "variants", see
  # https://flutter.dev/assets-and-images/#resolution-aware

  # For details regarding adding assets from package dependencies, see
  # https://flutter.dev/assets-and-images/#from-packages

  # To add custom fonts to your application, add a fonts section here,
  # in this "flutter" section. Each entry in this list should have a
  # "family" key with the font family name, and a "fonts" key with a
  # list giving the asset and other descriptors for the font. For
  # example:
  # fonts:
  #   - family: Schyler
  #     fonts:
  #       - asset: fonts/Schyler-Regular.ttf
  #       - asset: fonts/Schyler-Italic.ttf
  #         style: italic
  #   - family: Trajan Pro
  #     fonts:
  #       - asset: fonts/TrajanPro.ttf
  #       - asset: fonts/TrajanPro_Bold.ttf
  #         weight: 700
  #
  # For details regarding fonts from package dependencies,
  # see https://flutter.dev/custom-fonts/#from-packages
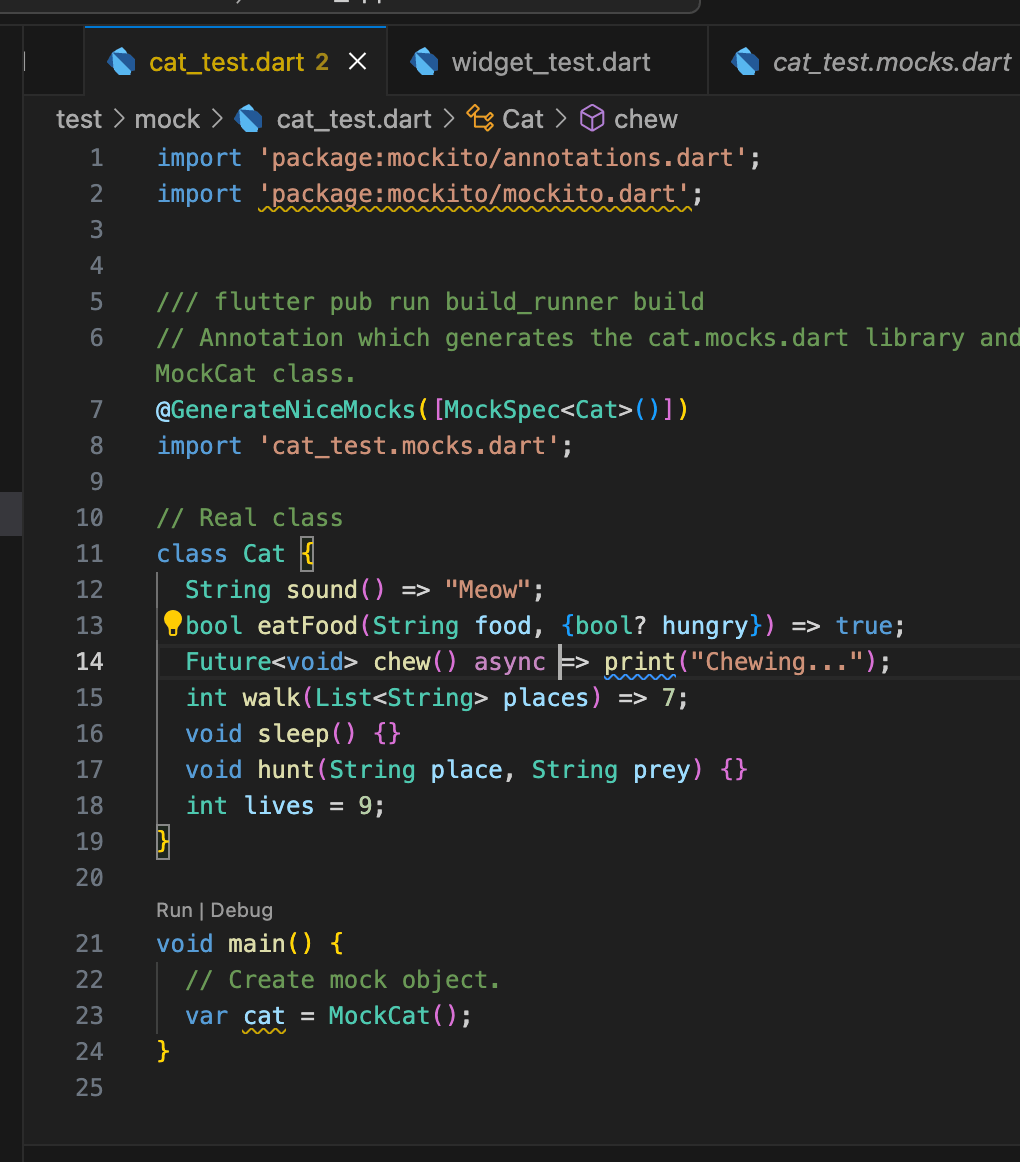
- 公式のコードをそのまま使うとエラーが出る!、
cat_test.dartを作成してその中に、このコードを書く!、cat.dartでは使えない!
import 'package:mockito/annotations.dart';
import 'package:mockito/mockito.dart';
// Annotation which generates the cat.mocks.dart library and the MockCat class.
([MockSpec<Cat>()])
import 'cat.mocks.dart';
// Real class
class Cat {
String sound() => "Meow";
bool eatFood(String food, {bool? hungry}) => true;
Future<void> chew() async => print("Chewing...");
int walk(List<String> places) => 7;
void sleep() {}
void hunt(String place, String prey) {}
int lives = 9;
}
void main() {
// Create mock object.
var cat = MockCat();
}
- 自動生成のコードを実行すると、mockのファイルが生成される。
flutter pub run build_runner build
自動生成したファイルをimportすると、エラーが消える。このようにコードを修正する。testができるように、専用のモジュールもimportしておく。
このテストは、メソッドが呼ばれているか戻り値が正しいかテストをしています。
import 'package:flutter_test/flutter_test.dart';
import 'package:mockito/annotations.dart';
import 'package:mockito/mockito.dart';
/// flutter pub run build_runner build
// Annotation which generates the cat.mocks.dart library and the MockCat class.
([MockSpec<Cat>()])
import 'cat_test.mocks.dart';
// Real class
class Cat {
String sound() => "Meow";
bool eatFood(String food, {bool? hungry}) => true;
Future<void> chew() async => print("Chewing...");
int walk(List<String> places) => 7;
void sleep() {}
void hunt(String place, String prey) {}
int lives = 9;
}
void main() {
test('mockito', () {
// Create a MockCat object.
var cat = MockCat();
// verifyを使った例
// sound()が呼ばれたかどうかを確認する
cat.sound();
verify(cat.sound());
// whenの中に、thenReturn("Purr")を書くことで、sound()が呼ばれた時に"Purr"を返すようになる
when(cat.sound()).thenReturn("Purr");
// このテストはMeowではなくPurrが返ってくる
expect(cat.sound(), "Purr");
});
}
🔧テストをやってみる
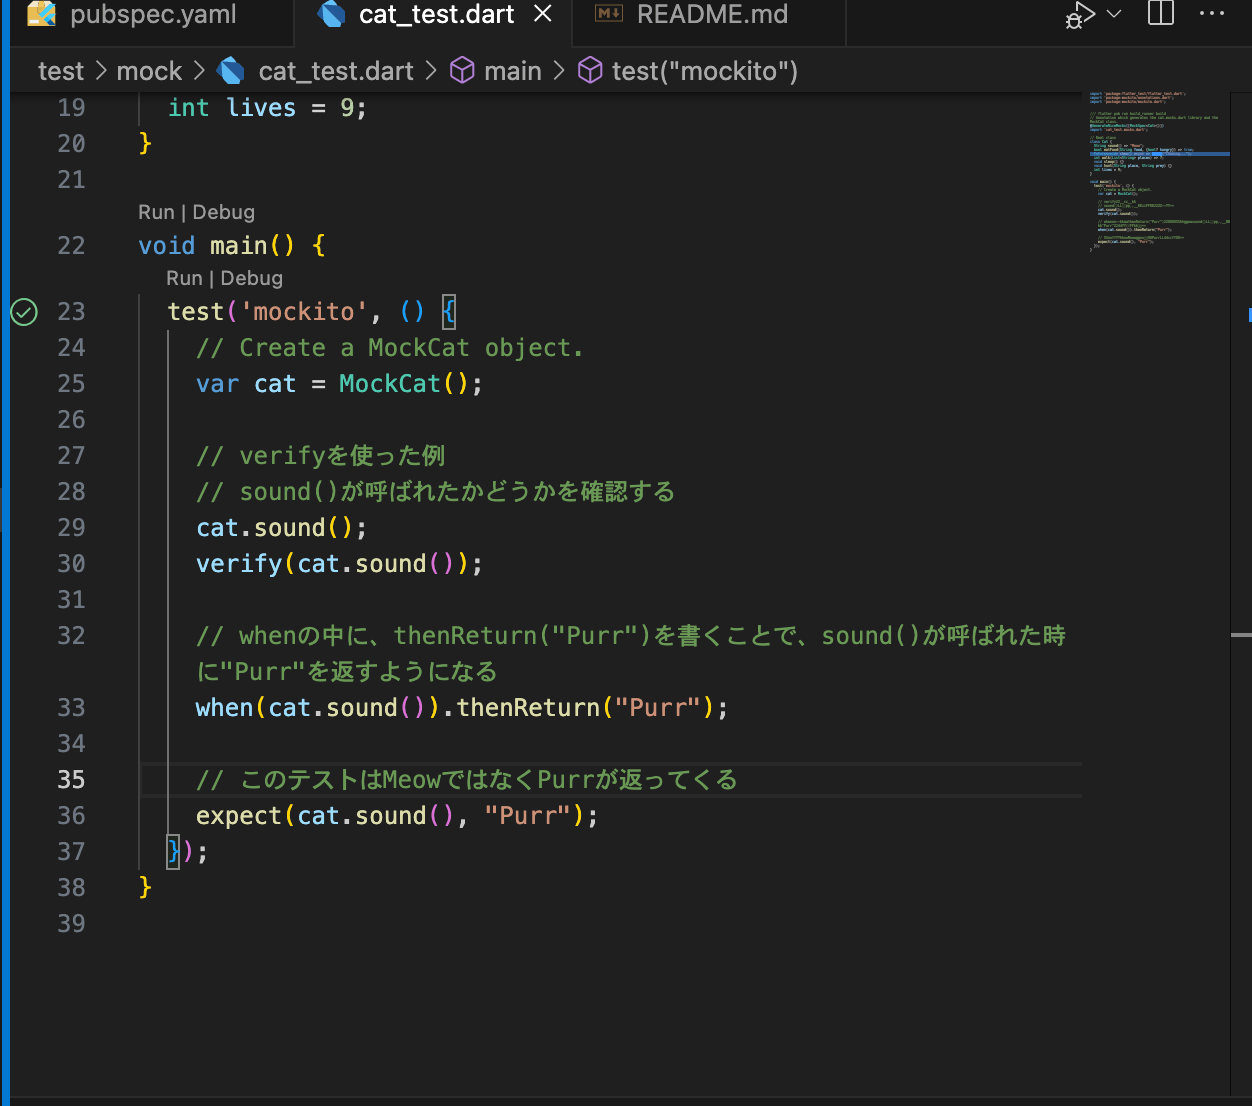
whenのthenReturnの引数を変えると期待する値が異なるので、エラーが出る!


How about some stubbing?
メソッドの使い方の例が書いてある箇所もやってみた。
import 'package:flutter_test/flutter_test.dart';
import 'package:mockito/annotations.dart';
import 'package:mockito/mockito.dart';
/// flutter pub run build_runner build
// Annotation which generates the cat.mocks.dart library and the MockCat class.
([MockSpec<Cat>()])
import 'cat_test.mocks.dart';
// Real class
class Cat {
String sound() => "Meow";
bool eatFood(String food, {bool? hungry}) => true;
Future<void> chew() async => print("Chewing...");
int walk(List<String> places) => 7;
void sleep() {}
void hunt(String place, String prey) {}
int lives = 9;
}
void main() {
test('mockito', () {
// MockCatオブジェクトを作成します。
var cat = MockCat();
// インタラクションの前にモックメソッドをスタブします。
when(cat.sound()).thenReturn("Purr");
expect(cat.sound(), "Purr");
// 再度呼び出すことができます。
expect(cat.sound(), "Purr");
// スタブを変更しましょう。
when(cat.sound()).thenReturn("Meow");
expect(cat.sound(), "Meow");
// ゲッターをスタブすることができます。
when(cat.lives).thenReturn(9);
expect(cat.lives, 9);
// メソッドをスタブしてスローすることができます。
when(cat.lives).thenThrow(RangeError('Boo'));
expect(() => cat.lives, throwsRangeError);
// 呼び出し時にレスポンスを計算することができます。
var responses = ["Purr", "Meow"];
when(cat.sound()).thenAnswer((_) => responses.removeAt(0));
expect(cat.sound(), "Purr");
expect(cat.sound(), "Meow");
// 特定の順序で発生した複数の呼び出しを持つメソッドをスタブすることができます。
when(cat.sound()).thenReturnInOrder(["Purr", "Meow"]);
expect(cat.sound(), "Purr");
expect(cat.sound(), "Meow");
expect(() => cat.sound(), throwsA(isA<StateError>()));
});
}
🔧メソッドについて解説
when、thenReturn、thenAnswer、thenThrow APIは、この動作をオーバーライドするスタブ・メカニズムを提供します。一度スタブ化されると、そのメソッドは何回呼び出されたかにかかわらず、常にスタブ化された値を返します。メソッド呼び出しが複数のスタブにマッチした場合、最後に宣言されたものが使用される。この場合、Catのインスタンスではなく、MockCatのインスタンスを使わなければなりません。
thoughts
今回は、mockkitについて学んでみました。テストをするときにはよく使われるパッケージのようなので、キャッチアップしてみました。自在に使いこなせるようになりたい。
Discussion