🍎
MySQLにデータを保存して表示する
📡REST APIとやりとりをする
Flutterを使用して、前回作成したNode.js + MySQLでできたREST APIを使ってみようと思います。
こちらの記事を参照ください
こちらがクラインアントとなるFlutterの完成品
✅Flutterでプロジェクトを作成する
今回使用するパッケージを追加しておいてください。
まずは、モデルクラスを作ります。
コンストラクターの中には、?? 0とか入れておかないと例外処理が発生します。
model/post_model.dart
class Animal {
  int id;
  String name;

  Animal({required this.id, required this.name});
  // サーバー側とやりとりして、データを取得するときに使う
  factory Animal.fromJson(Map<String, dynamic> json) {
    return Animal(
      id: json['id'] ?? 0,// 0を入れておかないとエラーになる
      name: json['name'] ?? '',// ''を入れておかないとエラーになる
    );
  }

  Map<String, dynamic> toJson() => {
        'id': id,
        'name': name,
      };
}
次にメソッドを書いたクラスを作ります。
こちらのクラスに、HTTP GET, POSTができるメソッドをまとめています。
repository/post_repository.dart
import 'dart:convert';
import 'package:http/http.dart' as http;
import 'package:mysql_api/model/post_model.dart';

class AnimalRepository {
  // GET
  Future<List<Animal>> fetchAnimals() async {
    final response = await http.get(Uri.parse('http://localhost:3001/animals'));

    if (response.statusCode == 200) {
      List jsonResponse = jsonDecode(response.body);
      return jsonResponse.map((item) => Animal.fromJson(item)).toList();
    } else {
      throw Exception('Failed to load animals');
    }
  }
  // POST
  Future<Animal> postAnimal(String name) async {
    final response = await http.post(
      Uri.parse('http://localhost:3001/animals'),
      headers: <String, String>{
        'Content-Type': 'application/json; charset=UTF-8',
      },
      body: jsonEncode(<String, String>{
        'name': name,
      }),
    );

    if (response.statusCode == 200) {
      final responseBody = jsonDecode(response.body);
      return Animal.fromJson(responseBody);
    } else {
      print('Response status: ${response.statusCode}');
      print('Response body: ${response.body}');
      throw Exception('Failed to post animal');
    }
  }
}
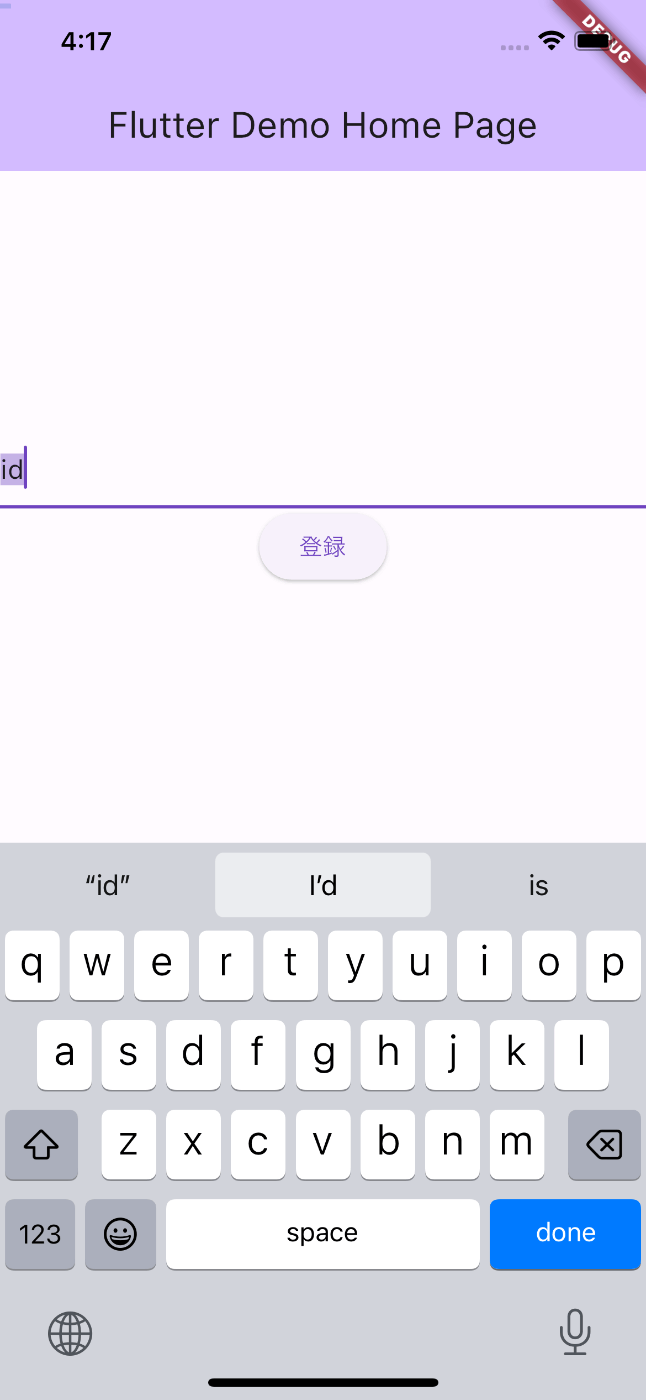
入力したデータをPOSTするページを作ります
こちらの入力フォームから、MySQLにデータを保存します。
screen/post_page.dart
import 'package:flutter/material.dart';
import 'package:mysql_api/repository/post_repository.dart';
class PostPage extends StatefulWidget {
const PostPage({super.key});
State<PostPage> createState() => _PostPageState();
}
class _PostPageState extends State<PostPage> {
final name = TextEditingController();
void dispose() {
name.dispose();
super.dispose();
}
Widget build(BuildContext context) {
final animal = AnimalRepository();
return Scaffold(
appBar: AppBar(
backgroundColor: Theme.of(context).colorScheme.inversePrimary,
title: Text('MySQL API'),
),
body: Center(
child: Column(
mainAxisAlignment: MainAxisAlignment.center,
children: <Widget>[
TextField(
controller: name,
),
ElevatedButton(
onPressed: () async {
try {
animal.postAnimal(name.text);
name.clear();
} catch (e) {
ScaffoldMessenger.of(context).showSnackBar(
SnackBar(
content: Text(e.toString()),
),
);
}
},
child: const Text('登録')),
],
),
),
);
}
}
データを表示するページを作ります
こちらのページで、MySQLのデータを表示します。
lib/screen/animal_list.dart
import 'package:flutter/material.dart';
import 'package:mysql_api/model/post_model.dart';
import 'package:mysql_api/repository/post_repository.dart';
import 'package:mysql_api/screen/post_page.dart';
class AnimalListPage extends StatelessWidget {
final animalRepository = AnimalRepository();
Widget build(BuildContext context) {
return Scaffold(
appBar: AppBar(
actions: [
IconButton(
onPressed: () {
Navigator.of(context).push(
MaterialPageRoute(
builder: (context) => const PostPage(),
),
);
},
icon: const Icon(Icons.add))
],
title: Text('Animal List'),
),
body: FutureBuilder<List<Animal>>(
future: animalRepository.fetchAnimals(),
builder: (context, snapshot) {
if (snapshot.hasError) {
return Center(
child: Text('An error occurred'),
);
} else if (snapshot.connectionState == ConnectionState.waiting) {
return Center(
child: CircularProgressIndicator(),
);
} else {
return ListView.builder(
itemCount: snapshot.data?.length ?? 0,
itemBuilder: (context, index) {
return ListTile(
title: Text(snapshot.data![index].name),
subtitle: Text('ID: ${snapshot.data![index].id}'),
);
},
);
}
},
),
);
}
}
main.dartでファイルをインポートして実行します。
main.dart
import 'package:flutter/material.dart';
import 'package:mysql_api/screen/animal_list.dart';
void main() {
runApp(const MyApp());
}
class MyApp extends StatelessWidget {
const MyApp({super.key});
Widget build(BuildContext context) {
return MaterialApp(
title: 'Flutter Demo',
theme: ThemeData(
colorScheme: ColorScheme.fromSeed(seedColor: Colors.deepPurple),
useMaterial3: true,
),
home: AnimalListPage(),
);
}
}
✅動作検証してみた
まずは、データをどんどん追加していく
追加に成功するとデータを表示することができました🙌
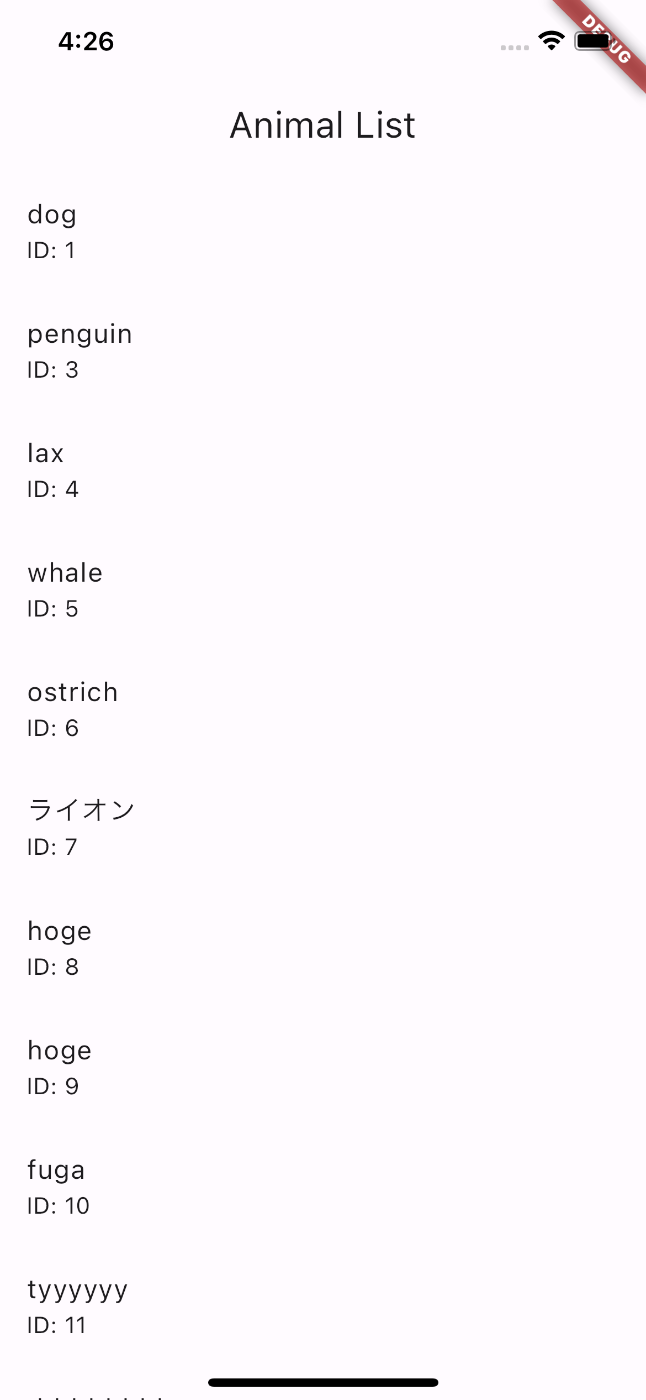
MySQLのデータの中身

最後に
動作検証をしていたときに、何度もこのエラーにハマりました!
例外が発生しました
FormatException (FormatException: Unexpected character (at character 1)
Value Inserted
^
)
解決策は、サーバー側のNode.jsのコードを修正することでした。if文の処理で、elseのところが、sendになっていたのが原因で、jsonに変更すると、直りました!
// データの更新
app.put("/animals/:id", (req, res) => {
  const id = req.params.id;
  const name = req.body.name;

  const query = "UPDATE animals SET name = ? WHERE id = ?";
  db.query(query, [name, id], (err, result) => {
    if (err) {
      console.log(err);
      res.status(500).send("Error updating data in database");
    } else {
      res.status(200).json("Value Updated");// sendをjsonに変更した
    }
  });
});
皆さんもFirestore以外のデータベースに保存するのも試してみてください。設定さえできていれば、PHPでもRubyでもPythonできると思います。
Discussion