SwiftUIでGridを使ってみる
📕Overview
A container view that arranges other views in a two dimensional layout.
他のビューを2次元レイアウトで配置するコンテナビュー。
Create a two dimensional layout by initializing a Grid with a collection of GridRow structures. The first view in each grid row appears in the grid’s first column, the second view in the second column, and so on. The following example creates a grid with two rows and two columns:
GridRow構造体のコレクションでGridを初期化し、2次元レイアウトを作成します。各グリッド行の最初のビューはグリッドの最初の列に表示され、2番目のビューは2番目の列に表示されます。次の例では、2行2列のグリッドを作成しています:
Grid {
    GridRow {
        Text("Hello")
        Image(systemName: "globe")
    }
    GridRow {
        Image(systemName: "hand.wave")
        Text("World")
    }
}
A grid and its rows behave something like a collection of HStack instances wrapped in a VStack. However, the grid handles row and column creation as a single operation, which applies alignment and spacing to cells, rather than first to rows and then to a column of unrelated rows. The grid produced by the example above demonstrates this:
グリッドとその行は、VStackに包まれたHStackインスタンスのコレクションのように振る舞う。しかし、グリッドは行と列の作成を1つの操作として処理し、アラインメントとスペーシングをセルに適用します。上の例で作成されたグリッドはこれを示している:
🧷summary
今回は、CSSとかFlutterでも使うGridを使ったレイアウトを使用して、横2行、縦2列に配置したレイアウトをやってみました。
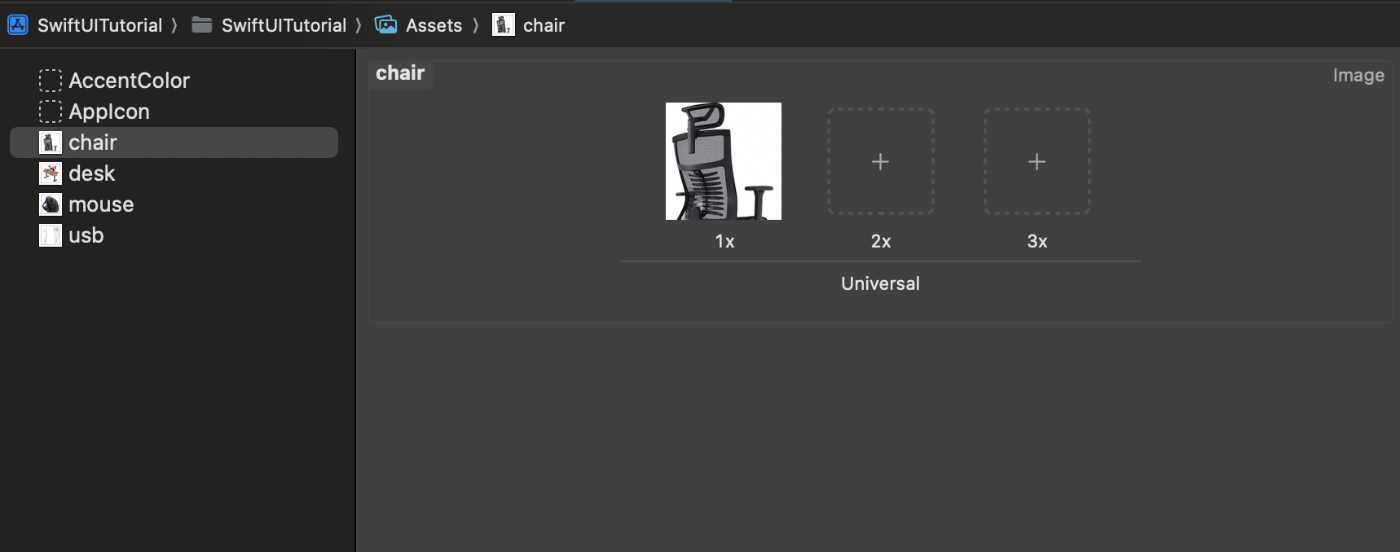
なんでも良いので、300 × 300の画像を用意してください。

ソースコードはこんな感じですね。
import SwiftUI

struct GridViewExample: View {
    var items: Array<String> = ["chair", "desk", "mouse", "usb"]
    let columns = [GridItem(.flexible()), GridItem(.flexible())]

    var body: some View {
        ScrollView {
            LazyVGrid(columns: columns, spacing: 20) {
                ForEach(items, id: \.self) { item in
                    VStack {
                        Text(item)
                        Image(item) // アセット名を直接使用
                            .resizable() // 画像のサイズを変更可能にする
                            .aspectRatio(contentMode: .fit) // アスペクト比を保持しながら画像をフレームにフィットさせる
                            .frame(width: 100, height: 100) // 画像のサイズを指定
                    }
                    .frame(width: 150, height: 150)
                    .border(Color.black, width: 2)
                }
            }
            .padding(.horizontal)
        }
    }
}

#Preview {
    GridViewExample()
}
これをimportしてビルドすればシュミレーターに表示できます。
import SwiftUI

struct ContentView: View {
    var body: some View {
        GridViewExample()
    }
}

#Preview {
    ContentView()
}
🧑🎓thoughts
今回は、Girdを使ったレイアウトで画像を並べるのをやってみました。Listはやったことあったけど、Gridはなかったので、「こんな風に並べるんだな〜って」理解できました。と言ってもパターンが変わったらもっと複雑そうだから、うまくいくかな。。。。
Discussion