🤸
Dart3のRecordsを使ってみた
Dart3.0をキャッチアップする
Dart3.0が登場して、新しい文法でレコードなるものが出てきました!
どんなものかというと、クラスで書いていた長いコードを短く記述してくれます。テストコードを書いて、動かしてみたのですが、これ使えるんだな〜と驚きました!
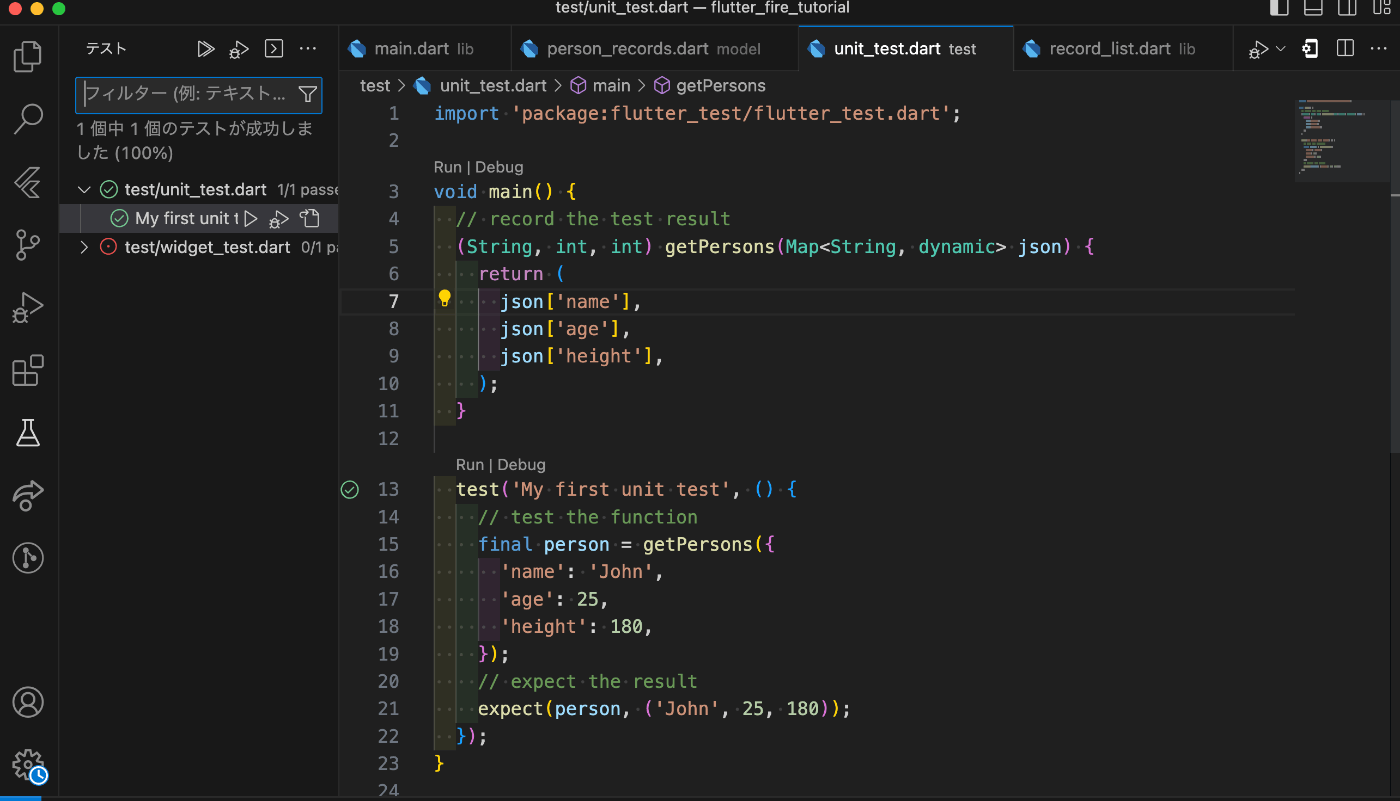
こちらがテストコード
いつも書いているようなモデルクラスにtoJSONとfromJSONを短く書いた関数を使って、文字と数字が入っているかテストしたものです。
unit_test.dart
import 'package:flutter_test/flutter_test.dart';

void main() {
  // record the test result
  (String, int, int) getPersons(Map<String, dynamic> json) {
    return (
      json['name'],
      json['age'],
      json['height'],
    );
  }

  test('My first unit test', () {
    // test the function
    final person = getPersons({
      'name': 'John',
      'age': 25,
      'height': 180,
    });
    // expect the result
    expect(person, ('John', 25, 180));
  });
}
実行したら、無事にテストが通りました🙌

Flutterで使ってみた
今回は、Firestoreから値を取得するのをやってみようと思います。まずはダミーデータを入れておきましょう。

モデルを作る
いつものようにモデルクラスを作るところですが、レコードを使います。一応比較のために、モデルクラスも書いておきます。
model/person_records.dart
// getPersonsはレコードと呼ばれているデータを取得する関数です。
(String, int, int) getPersons(Map<String, dynamic> json) {
  return (
    json['name'],
    json['age'],
    json['height'],
  );
}

// これをクラスで書くと以下のようになります。
class PersonRecords {
  final String name;
  final int age;
  final int height;

  PersonRecords({
    required this.name,
    required this.age,
    required this.height,
  });

  factory PersonRecords.fromJson(Map<String, dynamic> json) {
    return PersonRecords(
      name: json['name'],
      age: json['age'],
      height: json['height'],
    );
  }
}
レコードを使う
UIにFirestoreのデータを表示するときは、Listとレコードを組み合わせて行います。レコードのゲッターを$1から呼び出して、name -> age -> heightの順に、1, 2, 3の順番で呼び出しています。でもこれだと、どのゲッターを使っているのかが見ただけでは分からないので、名前付きにした方法も解説します。
$1~$3を使った方法
record_list.dart
import 'package:cloud_firestore/cloud_firestore.dart';
import 'package:flutter/material.dart';
import 'package:flutter_fire_tutorial/model/person_records.dart';
class RecordList extends StatelessWidget {
const RecordList({Key? key}) : super(key: key);
Widget build(BuildContext context) {
final users = FirebaseFirestore.instance.collection('users').snapshots();
return Scaffold(
appBar: AppBar(
title: const Center(child: Text('Record List App')),
),
body: StreamBuilder(
stream: users,
builder: (BuildContext context, AsyncSnapshot snapshot) {
if (!snapshot.hasData) {
return const Center(
child: CircularProgressIndicator(),
);
}
// documentsは、Map<String, dynamic>のリスト
final List<DocumentSnapshot> documents = snapshot.data.docs;
// ここで、Map<String, dynamic>をPersonRecordsに変換している
final child = ListView.builder(
itemCount: documents.length,// ここで、リストの長さを指定している
itemBuilder: (BuildContext context, int index) {
final person = getPersons(documents[index].data() as Map<String, dynamic>);
// final (name, age, height) = getPersons(documents[index].data() as Map<String, dynamic>);
return ListTile(
title: Text('名前: ${person.$1}'),
subtitle: Row(
children: [
Text('年齢: ${person.$2}'),
Text('身長: ${person.$3}'),
],
),
);
},
);
return Container(
child: child,
);
},
),
);
}
}
名前つきのレコードを使用した方法
record_list.dart
import 'package:cloud_firestore/cloud_firestore.dart';
import 'package:flutter/material.dart';
import 'package:flutter_fire_tutorial/model/person_records.dart';
class RecordList extends StatelessWidget {
const RecordList({Key? key}) : super(key: key);
Widget build(BuildContext context) {
final users = FirebaseFirestore.instance.collection('users').snapshots();
return Scaffold(
appBar: AppBar(
title: const Center(child: Text('名前付きのRecord List')),
),
body: StreamBuilder(
stream: users,
builder: (BuildContext context, AsyncSnapshot snapshot) {
if (!snapshot.hasData) {
return const Center(
child: CircularProgressIndicator(),
);
}
// documentsは、Map<String, dynamic>のリスト
final List<DocumentSnapshot> documents = snapshot.data.docs;
// ここで、Map<String, dynamic>をPersonRecordsに変換している
final child = ListView.builder(
itemCount: documents.length,// ここで、リストの長さを指定している
itemBuilder: (BuildContext context, int index) {
final (name, age, height) = getPersons(documents[index].data() as Map<String, dynamic>);
return ListTile(
title: Text('名前: ${name}'),
subtitle: Row(
children: [
Text('年齢: ${age}'),
Text('身長: ${height}'),
],
),
);
},
);
return Container(
child: child,
);
},
),
);
}
}
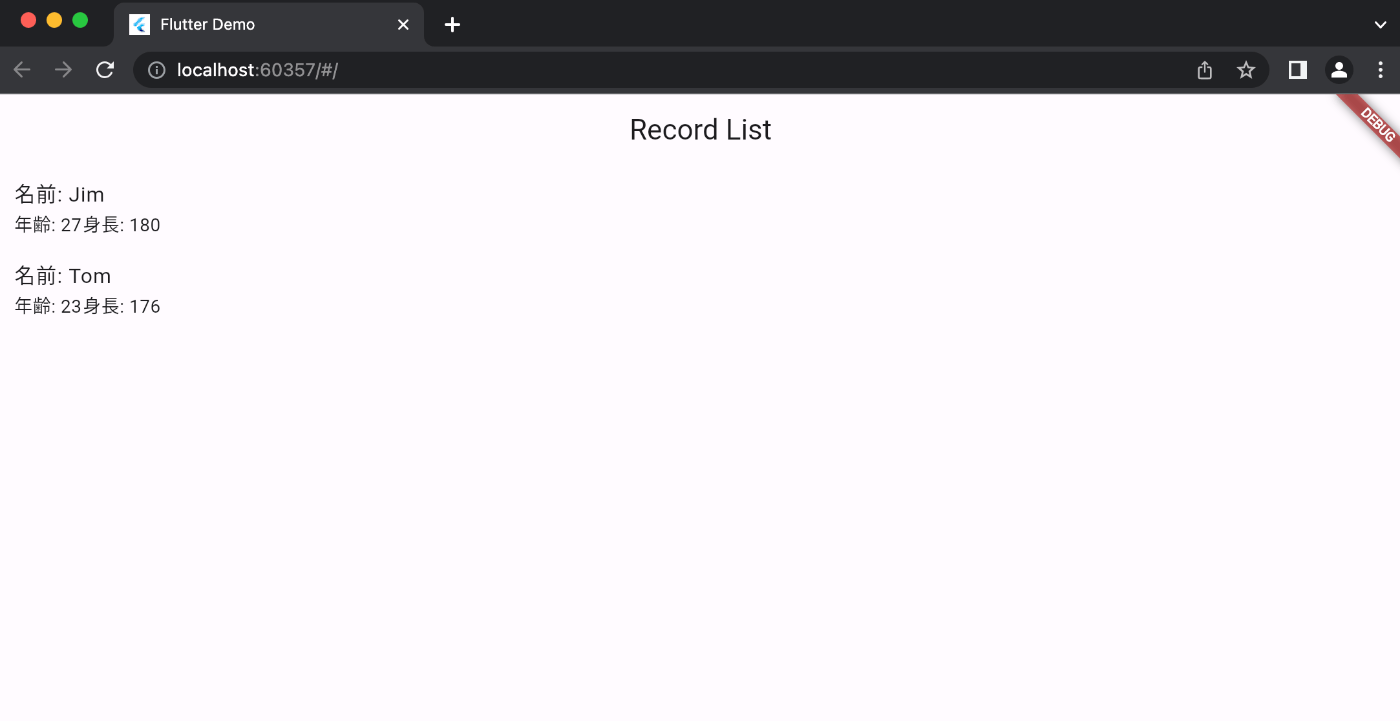
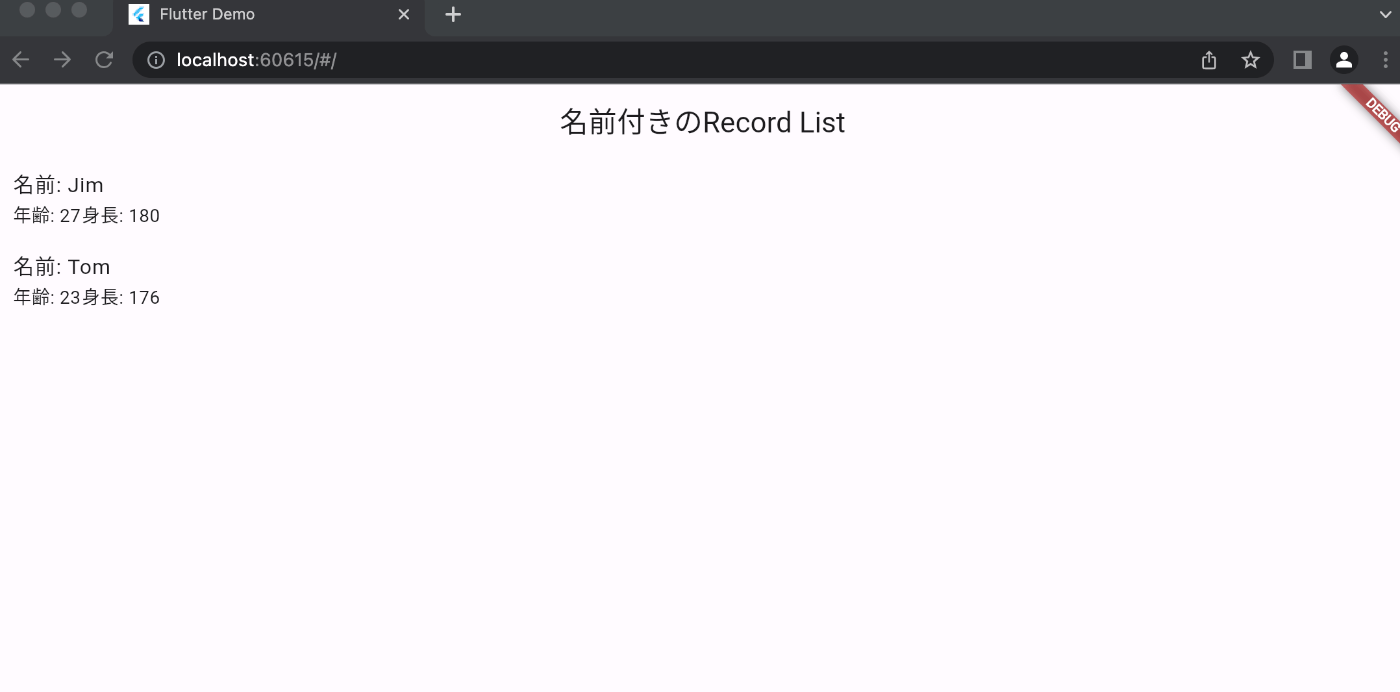
main.dartでアプリをビルドするとデータを表示することができました。
main.dart
import 'package:firebase_core/firebase_core.dart';
import 'package:flutter/material.dart';
import 'package:flutter_fire_tutorial/firebase_options.dart';
import 'package:flutter_fire_tutorial/record_list.dart';
Future<void> main() async {
WidgetsFlutterBinding.ensureInitialized();
await Firebase.initializeApp(options: DefaultFirebaseOptions.currentPlatform);
runApp(const MyApp());
}
class MyApp extends StatelessWidget {
const MyApp({super.key});
Widget build(BuildContext context) {
return MaterialApp(
title: 'Flutter Demo',
theme: ThemeData(
colorScheme: ColorScheme.fromSeed(seedColor: Colors.deepPurple),
useMaterial3: true,
),
home: const RecordList(),
);
}
}
通常のレコード

名前付きのレコード

最後に
Dart3.0の文法をキャッチアップしたい方は、Flutter大学さんのイベントの動画を見てみると良いと思われます。僕が今回学習に使った公式のチュートリアルも載せておきます。
Discussion