@Bindingはどう使えば良いのか?
📕Overview
A property wrapper type that can read and write a value owned by a source of truth.
真理の源が所有する値を読み書きできるプロパティ・ラッパー型。
Use a binding to create a two-way connection between a property that stores data, and a view that displays and changes the data. A binding connects a property to a source of truth stored elsewhere, instead of storing data directly. For example, a button that toggles between play and pause can create a binding to a property of its parent view using the Binding property wrapper.
バインディングを使用して、データを格納するプロパティと、データを表示および変更するビューの間に双方向の接続を作成します。バインディングは、データを直接格納する代わりに、他の場所に格納された真実のソースにプロパティを接続します。例えば、再生と一時停止を切り替えるボタンは、Bindingプロパティラッパーを使用して、親ビューのプロパティへのバインディングを作成することができます。
🧷summary
@Bindingを使うと、私の感覚では、親のページでイベントが起きると、子のページに状態を渡して、このページでも状態を変更するものだと解釈しております。データクラスを使ってどこからでも渡せるものと違って引数で値を他のページを作っている構造体に渡す必要があります。
import SwiftUI

// 状態が変わる親のView
struct ContentView: View {
    @State private var isPlaying = false

    var body: some View {
        VStack {
            // このViewを呼び出して、引数で状態を渡す
            PlayerView(isPlaying: $isPlaying)
            Button(action: {
                isPlaying.toggle()
            }) {
                Text(isPlaying ? "⏹️" : "▶️")
                    .font(.system(size: 100))
            }
        }
    }
}

// 子のViewには、@Bindingを定義すると外部から引数で渡せるようになる。
struct PlayerView: View {
    @Binding var isPlaying: Bool

    var body: some View {
        Text(isPlaying ? "🚀" : "💸")
            .font(.system(size: 100))
    }
}
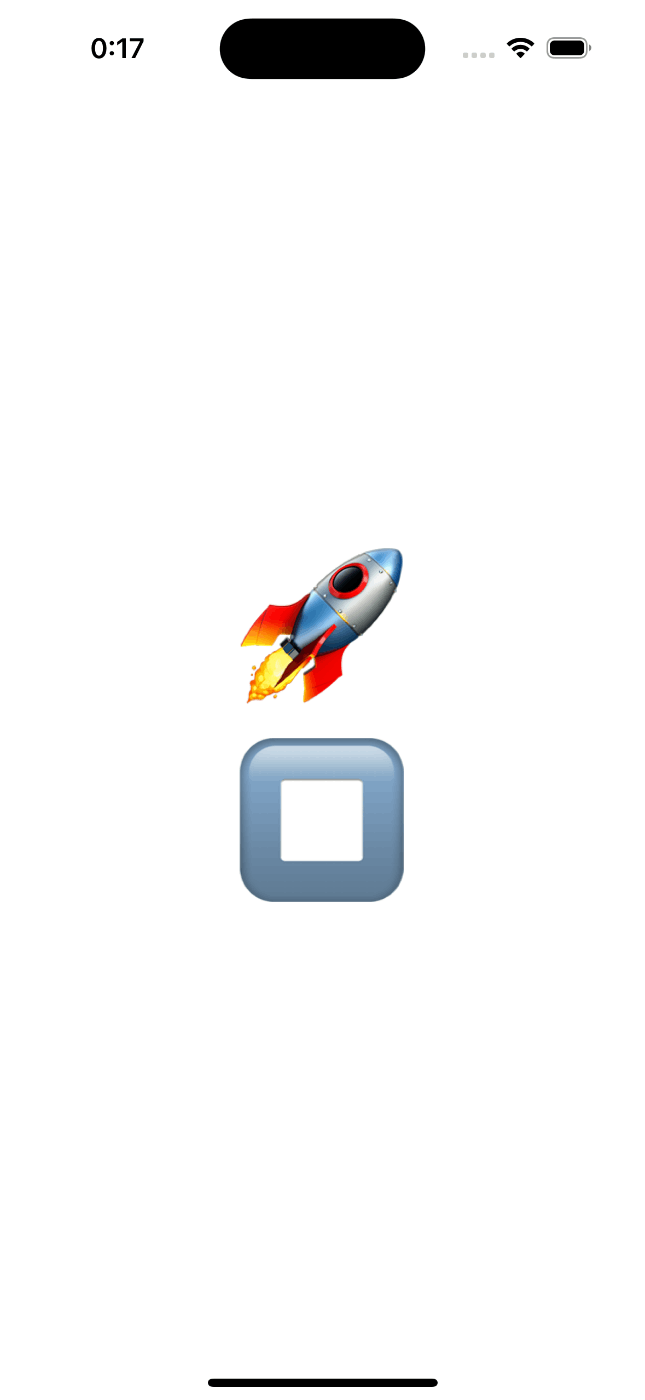
このようにボタンを押すと、他のViewの状態が変化します。


🧑🎓thoughts
今回は、@Bindingを使って親のViewで変更された値を格納して、子のViewで表示するのをやってみました。別のViewの変数を変更するカスタム属性とも表現されているそうです。
参考になった記事


Discussion