Flutterの状態管理のパターン
Overview
Flutterの状態管理の方法といえば、複数あるのですが、よく使われている方法はsetStateを使ったStatefulWidgetのパターン、useStateを使ったHookWidgetのパターン、Notifierなどを使ったHookConsumerWidgetとConsumerWidgetのパターンですね。
今回は、riverpodのプロバイダーを使ったどこからでも状態管理や値を渡せる例と、特定のページでしか状態を扱わないなら、setStateかuseStateで良いだろうという例をご紹介します。
summary
Iconボタンを押すと、ハートの色を変えるtoggleボタンを作ったぐらいですが、これもよくできていて、状態管理の良い勉強になります。
setStateの例
メリット: setStateはFlutterの基本的な状態管理方法で、状態の変更をトリガーするとウィジェットが再描画されます。状態管理のコードがシンプルで直感的であるため、小規模なアプリケーションや状態の変更が少ない場合に適しています。
ユースケース: ボタンのクリックやテキストフィールドの更新など、ユーザーのインタラクションに応じてUIを更新する場合に使用します。
やっていることは、bool型の変数を用意して、ボタンを押すと値がfalse -> trueに変わるだけですね。三項演算子の? :を使って、分岐処理をして、trueなら、ハートに色がつく。falseならハートに色がつかないライフサイクルになっています。
setStateの例
import 'package:flutter/material.dart';
class MyHomePage extends StatefulWidget {
const MyHomePage({super.key, required this.title});
final String title;
State<MyHomePage> createState() => _MyHomePageState();
}
class _MyHomePageState extends State<MyHomePage> {
bool isLike = false;
Widget build(BuildContext context) {
return Scaffold(
appBar: AppBar(
backgroundColor: Theme.of(context).colorScheme.inversePrimary,
title: Text(widget.title),
),
body: Center(
child: Column(
mainAxisAlignment: MainAxisAlignment.center,
children: <Widget>[
IconButton(
onPressed: () {
setState(() {
isLike = !isLike;
});
},
icon: Icon(
isLike ? Icons.favorite : Icons.favorite_border,
color: isLike ? Colors.red : null,
),
),
],
),
),
);
}
}
useStateを使った例
メリット: useStateはReactのフックの一つで、Flutterのflutter_hooksパッケージで利用できます。useStateは状態を持つことができ、その状態が変更されるとウィジェットが再描画されます。useStateは状態管理をより宣言的に行うことができ、コードの再利用性を向上させます。
ユースケース: ローカルの状態を持つウィジェット(例えば、トグルスイッチやチェックボックス)を作成する場合に使用します。
こちらは、likeStateというbool型のuseStateを定義して、IconButtonを押したときに、IconButtonの中のcallbackが実行されて、変数に.valueをつけて値を参照しています。やってることは先ほどと同じで、ボタンを押すと、toggleするだけですね。
HookWidget
import 'package:flutter/material.dart';
import 'package:flutter_hooks/flutter_hooks.dart';
class HookState extends HookWidget {
const HookState({super.key});
Widget build(BuildContext context) {
final likeState = useState(false);
return Scaffold(
appBar: AppBar(
backgroundColor: Colors.yellow,
title: const Text('Hook State'),
),
body: Center(
child: Column(
mainAxisAlignment: MainAxisAlignment.center,
children: <Widget>[
Text(
'Like State: ${likeState.value}',
style: Theme.of(context).textTheme.headlineMedium,
),
IconButton(
onPressed: () {
likeState.value = !likeState.value;
},
icon: Icon(
likeState.value ? Icons.favorite : Icons.favorite_border,
color: likeState.value ? Colors.red : null,
),
),
],
),
)
);
}
}
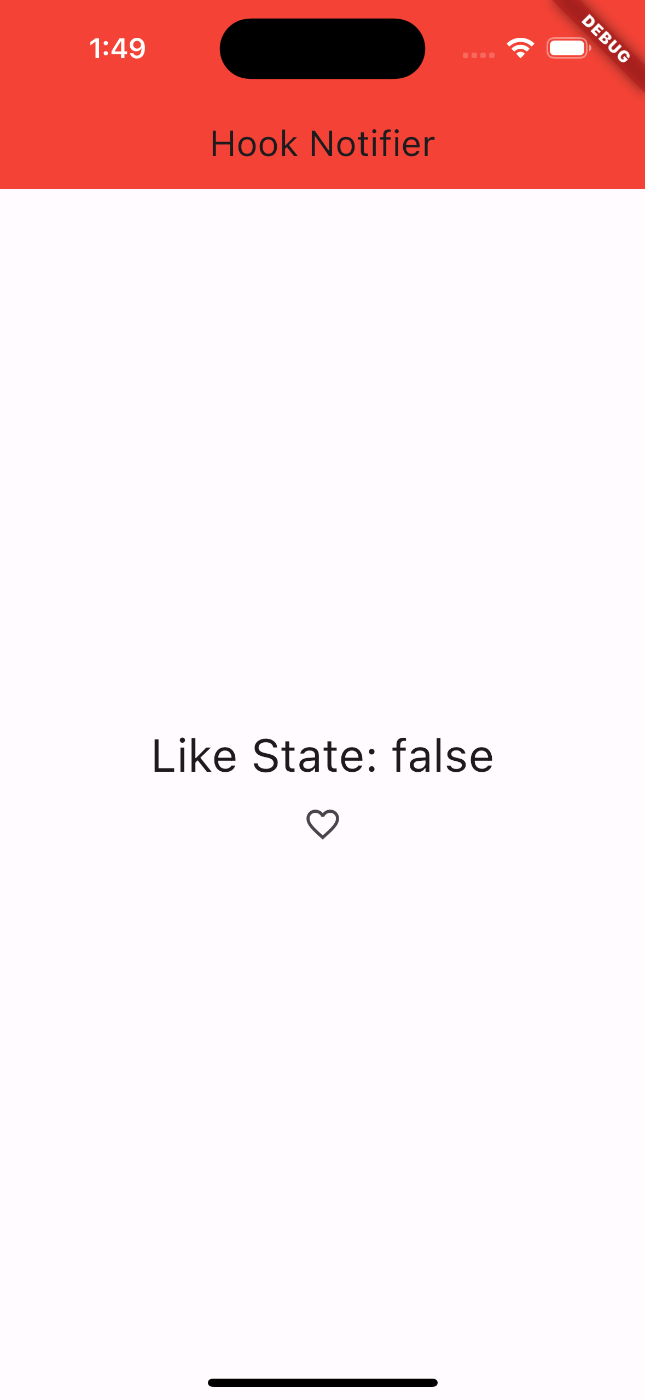
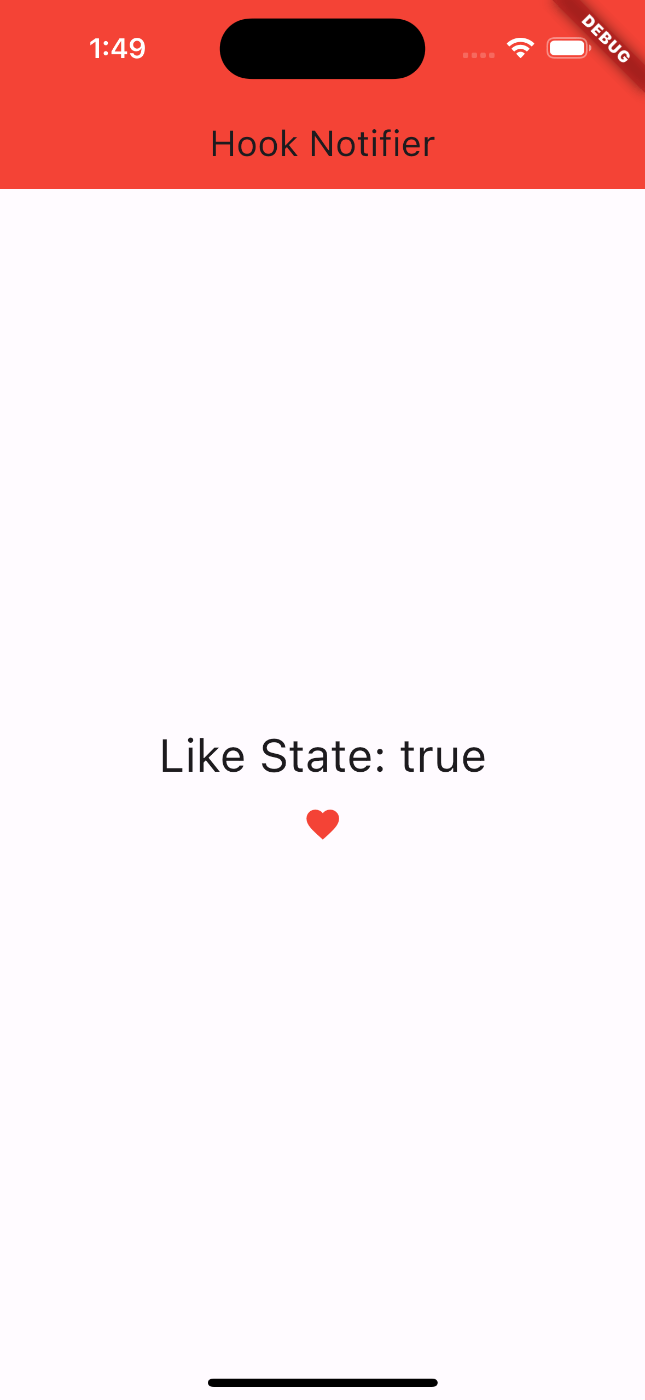
Notifierを使った例
Notifierクラスの中にあるbool型のbuildメソッドに初期値で、falseを指定して、void型のメソッドの中で、state = !stateと書いて、状態を参照して、View側にコードを書かなてくも外部ファイルに状態を持たせたり操作させることができます。
Notfier
import 'package:flutter/material.dart';
import 'package:hooks_riverpod/hooks_riverpod.dart';
import 'package:riverpod_annotation/riverpod_annotation.dart';
part 'hook_notifier.g.dart';
class HookNotifier extends _$HookNotifier {
bool build() => false;
void toggle() {
state = !state;
}
}
class HookNotifierView extends HookConsumerWidget {
const HookNotifierView({super.key});
Widget build(BuildContext context, WidgetRef ref) {
return Scaffold(
appBar: AppBar(
backgroundColor: Colors.red,
title: const Text('Hook Notifier'),
),
body: Center(
child: Column(
mainAxisAlignment: MainAxisAlignment.center,
children: <Widget>[
Text(
'Like State: ${ref.watch(hookNotifierProvider)}',
style: Theme.of(context).textTheme.headlineMedium,
),
IconButton(
onPressed: () {
ref.read(hookNotifierProvider.notifier).toggle();
},
icon: Icon(
ref.watch(hookNotifierProvider)
? Icons.favorite
: Icons.favorite_border,
color: ref.watch(hookNotifierProvider) ? Colors.red : null,
),
),
],
),
),
);
}
}
アプリを実行するときは、こちらのコードを書き換えてビルドしてください。
import 'package:flutter/material.dart';
import 'package:hooks_riverpod/hooks_riverpod.dart';
import 'package:state_apps/provider/hook_notifier.dart';
void main() {
runApp(const ProviderScope(child: MyApp()));
}
class MyApp extends StatelessWidget {
const MyApp({super.key});
Widget build(BuildContext context) {
return MaterialApp(
title: 'Flutter Demo',
theme: ThemeData(
colorScheme: ColorScheme.fromSeed(seedColor: Colors.deepPurple),
useMaterial3: true,
),
home: const HookNotifierView(),
);
}
}
UIはハートのIconなので、どれも同じですが、内部のライフサイクルは異なります。こんな感じですね。
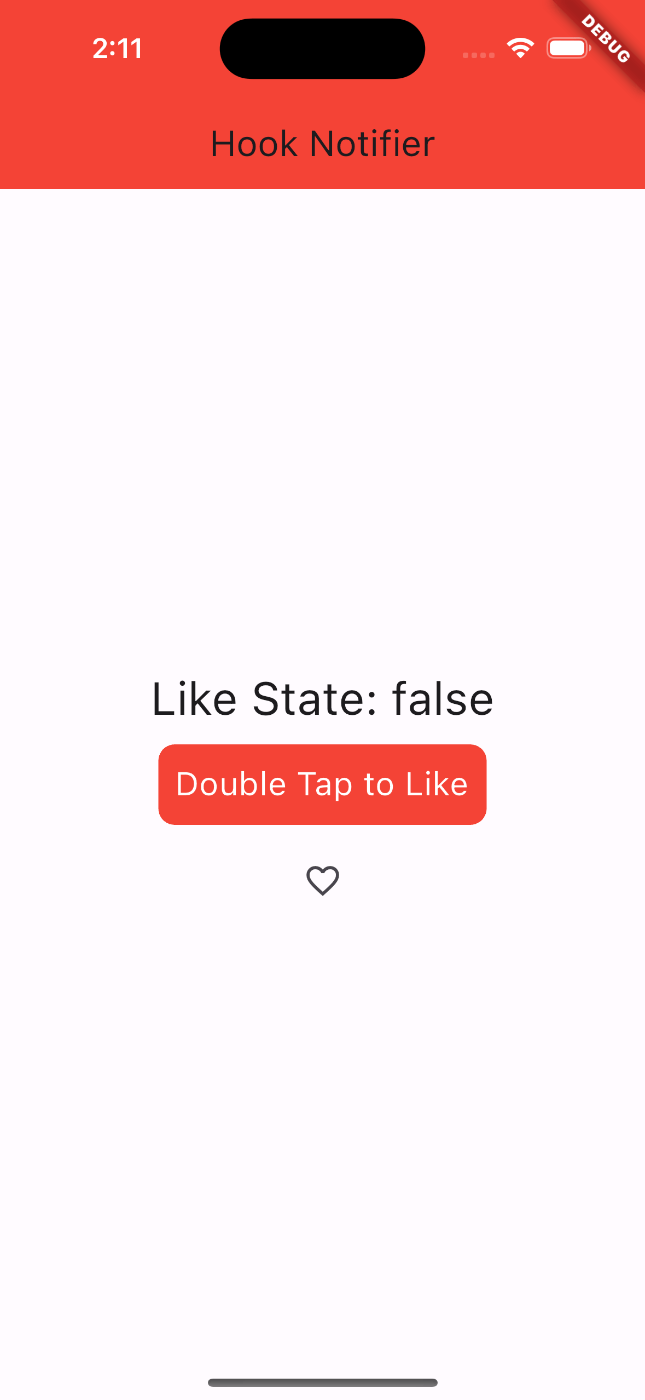
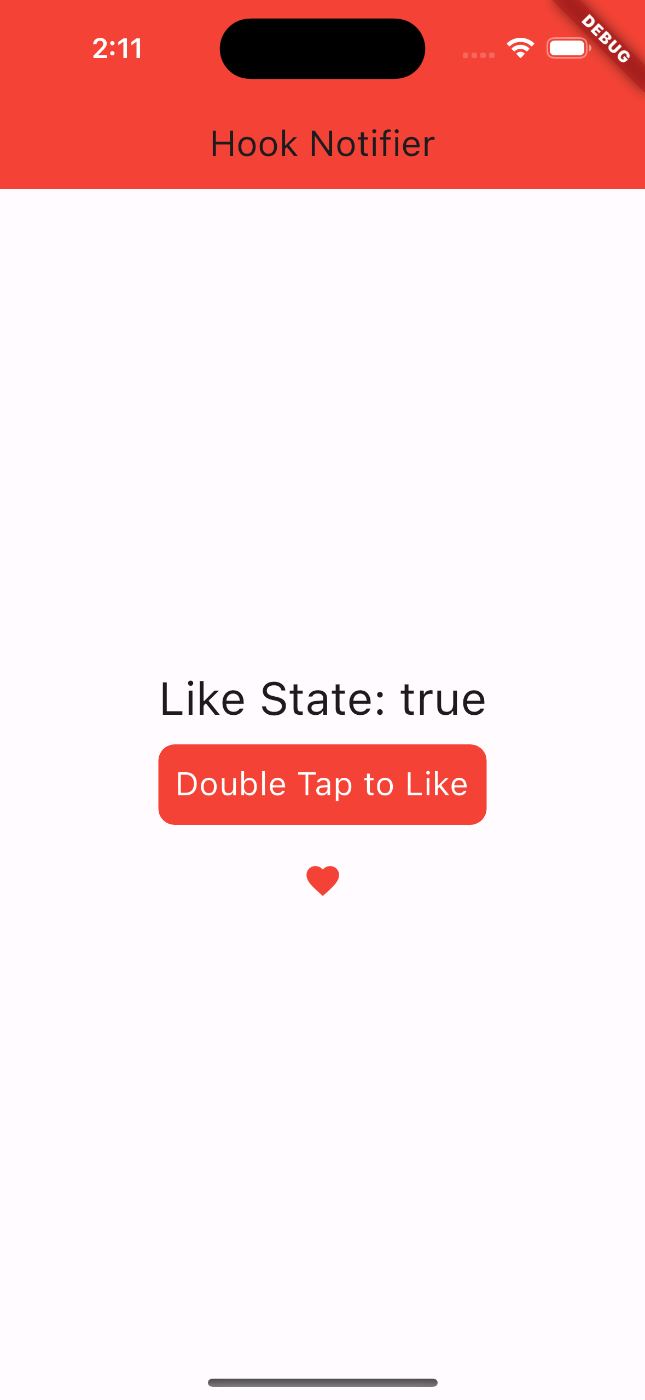
thoughts
今回は、FlutterのStateの管理とライフサイクルについて語ってみました。おまけで、仕事でたまたま使ってみた機能があって、それを真似して、赤いオブジェクトをダブルタップすると、ハートの色が変わるロジックを作ってみました。皆さんの学習の参考になると嬉しいです。
import 'package:flutter/material.dart';
import 'package:hooks_riverpod/hooks_riverpod.dart';
import 'package:riverpod_annotation/riverpod_annotation.dart';
part 'hook_notifier.g.dart';
class HookNotifier extends _$HookNotifier {
bool build() => false;
void toggle() {
state = !state;
}
}
class HookNotifierView extends HookConsumerWidget {
const HookNotifierView({super.key});
Widget build(BuildContext context, WidgetRef ref) {
return Scaffold(
appBar: AppBar(
backgroundColor: Colors.red,
title: const Text('Hook Notifier'),
),
body: Center(
child: Column(
mainAxisAlignment: MainAxisAlignment.center,
children: <Widget>[
Text(
'Like State: ${ref.watch(hookNotifierProvider)}',
style: Theme.of(context).textTheme.headlineMedium,
),
GestureDetector(
onDoubleTap: () {
ref.read(hookNotifierProvider.notifier).toggle();
},
child: Container(
margin: const EdgeInsets.all(10),
padding: const EdgeInsets.all(10),
decoration: BoxDecoration(
color: Colors.red,
borderRadius: BorderRadius.circular(10),
),
child: const Text(
'Double Tap to Like',
style: TextStyle(
color: Colors.white,
fontSize: 20,
),
),
),
),
IconButton(
onPressed: () {
ref.read(hookNotifierProvider.notifier).toggle();
},
icon: Icon(
ref.watch(hookNotifierProvider)
? Icons.favorite
: Icons.favorite_border,
color: ref.watch(hookNotifierProvider) ? Colors.red : null,
),
),
],
),
),
);
}
}
Discussion