abstractでREST APIのプログラムを作る
抽象クラスでプログラムの使い回しをやってみる
以前、abstractクラスでプログラムを作る学習をしたのだが、個人開発では、全然使う機会がなかった😅
色々なプログラムを見てきたが、使い回すプログラムがないと、abstractもmixinも使う機会がない。
なので、今回は、改めて勉強のために、HTTPでインターネットのデータを取得して、ページ毎に違うデータを表示するのをやってみた。
ログを出力する関数だと面白くないなと思いやってみました🧑💻
今回使用したDartのパッケージはこちら。
dioというものがあるのですが、2.12以降更新されていないようなので、LIKE数も多いhttpを選びました。
こちらが完成品です
mvvmぽくしたかったんで、フォルダとファイル分けました。
アプリのフォルダ構成はロジックとUIと抽象クラスを分けています。
lib
├── main.dart
├── model
│   └── model.dart
├── repository
│   └── base_url.dart
├── screen
│   ├── page_three.dart
│   └── page_two.dart
└── view_model
    └── view_model.dart
Listで使うモデルクラスを定義
/// モデルとなるAlbumクラスを定義する
class Album {
  final int userId;
  final int id;
  final String title;

  const Album({
    required this.userId,
    required this.id,
    required this.title,
  });
  // 常に新しいインスタンスを作成しないときは、factoryを使用する。
  // シングルトンと呼ばれている
  factory Album.fromJson(Map<String, dynamic> json) {
    return Album(
      userId: json['userId'],
      id: json['id'],
      title: json['title'],
    );
  }
}
ViewModelで使う抽象クラスを定義したファイル
import 'package:http_class/model/model.dart';

/// ロジックを持たない抽象メソッドをもつクラス抽象を定義する
abstract class BaseUrl {
  /// こちらの抽象メソッドはロジックを持たず、継承したクラスで上書きして、ロジックを変更する。
  /// モデルであるAlbumクラスを型に使って、fetchAlbumメソッドで
  /// [http通信]でデータを[GET]するときに使う.
  Future<Album> fetchAlbum();
}
ViewModelを定義したファイル
こちらで、抽象クラスを継承して、抽象クラスの抽象メソッドをoverrideで上書きして、ロジックを変更する。
import 'dart:async';
import 'dart:convert';
import 'package:http/http.dart' as http;
import 'package:http_class/repository/base_url.dart';
import '../model/model.dart';
class UrlOne implements BaseUrl {
Future<Album> fetchAlbum() async {
print('抽象クラスを継承したプログラム1を実行');
final response = await http
.get(Uri.parse('https://jsonplaceholder.typicode.com/albums/1'));
if (response.statusCode == 200) {
// If the server did return a 200 OK response,
// then parse the JSON.
return Album.fromJson(jsonDecode(response.body));
} else {
// If the server did not return a 200 OK response,
// then throw an exception.
throw Exception('Failed to load album');
}
}
}
class UrlTwo implements BaseUrl {
Future<Album> fetchAlbum() async {
print('抽象クラスを継承したプログラム2を実行');
final response = await http
.get(Uri.parse('https://jsonplaceholder.typicode.com/albums/2'));
if (response.statusCode == 200) {
// If the server did return a 200 OK response,
// then parse the JSON.
return Album.fromJson(jsonDecode(response.body));
} else {
// If the server did not return a 200 OK response,
// then throw an exception.
throw Exception('Failed to load album');
}
}
}
class UrlThree implements BaseUrl {
Future<Album> fetchAlbum() async {
print('抽象クラスを継承したプログラム3を実行');
final response = await http
.get(Uri.parse('https://jsonplaceholder.typicode.com/albums/3'));
if (response.statusCode == 200) {
// If the server did return a 200 OK response,
// then parse the JSON.
return Album.fromJson(jsonDecode(response.body));
} else {
// If the server did not return a 200 OK response,
// then throw an exception.
throw Exception('Failed to load album');
}
}
}
アプリのプログラムを実行するmain.dartで、JSONPlaceholderというREST APIから取得した、データを表示します。
1ページだけだと、変化がわからないと思うので、2ページと3ページを作成して、ページ毎に、メソッドを上書きして、違うURLから、REST APIを取得して画面に表示できるようにしました。
1ページ目
import 'package:flutter/material.dart';
import 'package:http_class/screen/page_three.dart';
import 'package:http_class/screen/page_two.dart';
import 'view_model/view_model.dart';
import 'model/model.dart';
void main() => runApp(const MyApp());
class MyApp extends StatelessWidget {
const MyApp({Key? key}) : super(key: key);
Widget build(BuildContext context) {
return MaterialApp(
title: 'Fetch Data Example',
theme: ThemeData(
primarySwatch: Colors.blue,
),
home: HomePage());
}
}
class HomePage extends StatefulWidget {
const HomePage({Key? key}) : super(key: key);
State<HomePage> createState() => _HomePageState();
}
class _HomePageState extends State<HomePage> {
/// [late]は変数の初期を遅らせる。nullでない変数を宣言する。
late Future<Album> futureAlbum;
/// Widgetの初期化時に一度だけ呼ばれるメソッド
void initState() {
super.initState();
// 画面にHTTPでGETしたデータを表示するクラスをインスタンス化する。
futureAlbum = new UrlOne().fetchAlbum();
// futureAlbum = fetchAlbum();
}
Widget build(BuildContext context) {
return Scaffold(
appBar: AppBar(
backgroundColor: Colors.indigo,
title: const Text('HTTP GET1'),
),
// 他のページに移動するDrawer
drawer: Drawer(
child: ListView(
padding: EdgeInsets.zero,
children: [
const DrawerHeader(
decoration: BoxDecoration(
color: Colors.blue,
),
child: Text('他のページへ移動'),
),
ListTile(
title: const Text('HomePageTwoへ移動'),
onTap: () {
Navigator.push(context,
MaterialPageRoute(builder: (context) => HomePageTwo()));
},
),
ListTile(
title: const Text('HomePageThreeへ移動'),
onTap: () {
Navigator.push(context,
MaterialPageRoute(builder: (context) => HomePageThree()));
},
),
],
),
),
body: Center(
// FutureBuilderを使って画面にListのデータを描画する
child: FutureBuilder<Album>(
future: futureAlbum,
builder: (context, snapshot) {
if (snapshot.hasData) {
return Text(snapshot.data!.title);
} else if (snapshot.hasError) {
return Text('${snapshot.error}');
}
// By default, show a loading spinner.
return const CircularProgressIndicator();
},
),
),
);
}
}
2ページ目
import 'package:flutter/material.dart';
import 'package:http_class/model/model.dart';
import 'package:http_class/view_model/view_model.dart';
class HomePageTwo extends StatefulWidget {
const HomePageTwo({Key? key}) : super(key: key);
State<HomePageTwo> createState() => _HomePageTwoState();
}
class _HomePageTwoState extends State<HomePageTwo> {
late Future<Album> futureAlbum;
void initState() {
super.initState();
futureAlbum = new UrlTwo().fetchAlbum();
// futureAlbum = fetchAlbum();
}
Widget build(BuildContext context) {
return Scaffold(
appBar: AppBar(
backgroundColor: Colors.indigo,
title: const Text('HTTP GET2'),
),
body: Center(
child: FutureBuilder<Album>(
future: futureAlbum,
builder: (context, snapshot) {
if (snapshot.hasData) {
return Text(snapshot.data!.title);
} else if (snapshot.hasError) {
return Text('${snapshot.error}');
}
// By default, show a loading spinner.
return const CircularProgressIndicator();
},
),
),
);
}
}
3ページ目
import 'package:flutter/material.dart';
import 'package:http_class/model/model.dart';
import 'package:http_class/view_model/view_model.dart';
class HomePageThree extends StatefulWidget {
const HomePageThree({Key? key}) : super(key: key);
State<HomePageThree> createState() => _HomePageThreeState();
}
class _HomePageThreeState extends State<HomePageThree> {
late Future<Album> futureAlbum;
void initState() {
super.initState();
futureAlbum = new UrlThree().fetchAlbum();
// futureAlbum = fetchAlbum();
}
Widget build(BuildContext context) {
return Scaffold(
appBar: AppBar(
backgroundColor: Colors.indigo,
title: const Text('HTTP GET3'),
),
body: Center(
child: FutureBuilder<Album>(
future: futureAlbum,
builder: (context, snapshot) {
if (snapshot.hasData) {
return Text(snapshot.data!.title);
} else if (snapshot.hasError) {
return Text('${snapshot.error}');
}
// By default, show a loading spinner.
return const CircularProgressIndicator();
},
),
),
);
}
}
スクリーンショット
1ページの画面

drawerの画面

2ページの画面

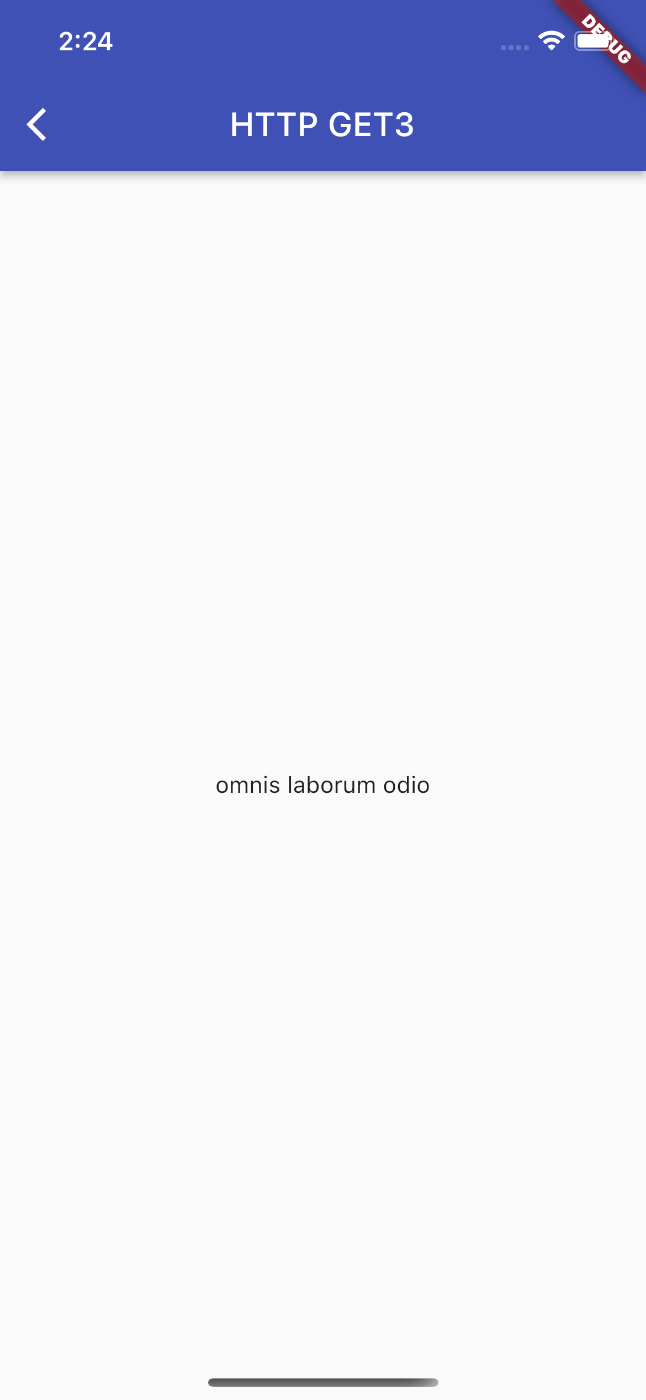
3ページの画面

最後に
今回、REST APIを操作するのをやってみたのは、開発現場ではFirebaseはあまり使ってないので、HTTP通信を使ったアプリの知識を身につけたいと思ったからです。覚えないといけないことは、たくさんあるので、調べながら、APIを操作するプログラムを最近作ってみたりしてますね。
Discussion