🌊
Jupyter NotebookでOpenCVの画像をサクッと表示をする
はじめに
こんにちは!すだです!
私は普段はメーカーで画像認識 AI の研究開発を行うエンジニアをしつつ、空き時間にはプログラミングのメンターとして、画像認識 AI を中心に Deep Learning を教えています。
普段の業務では、Jupyter Notebook がとても使い勝手が良いため、よくお世話になっています。しかし、ちょっと OpenCV の画像処理の処理結果などを確認したい時、cv2.imshow()が使えず少し不便です。
よくやるやり方は、matplotlibを使って下記のようにする方法があります。
import cv2
import matplotlib.pyplot as plt

# imgはnp.uint8型のnp.ndarray
img = cv2.cvtColor(img, cv2.COLOR_BGR2RGB)
plt.imshow(img)
plt.show()
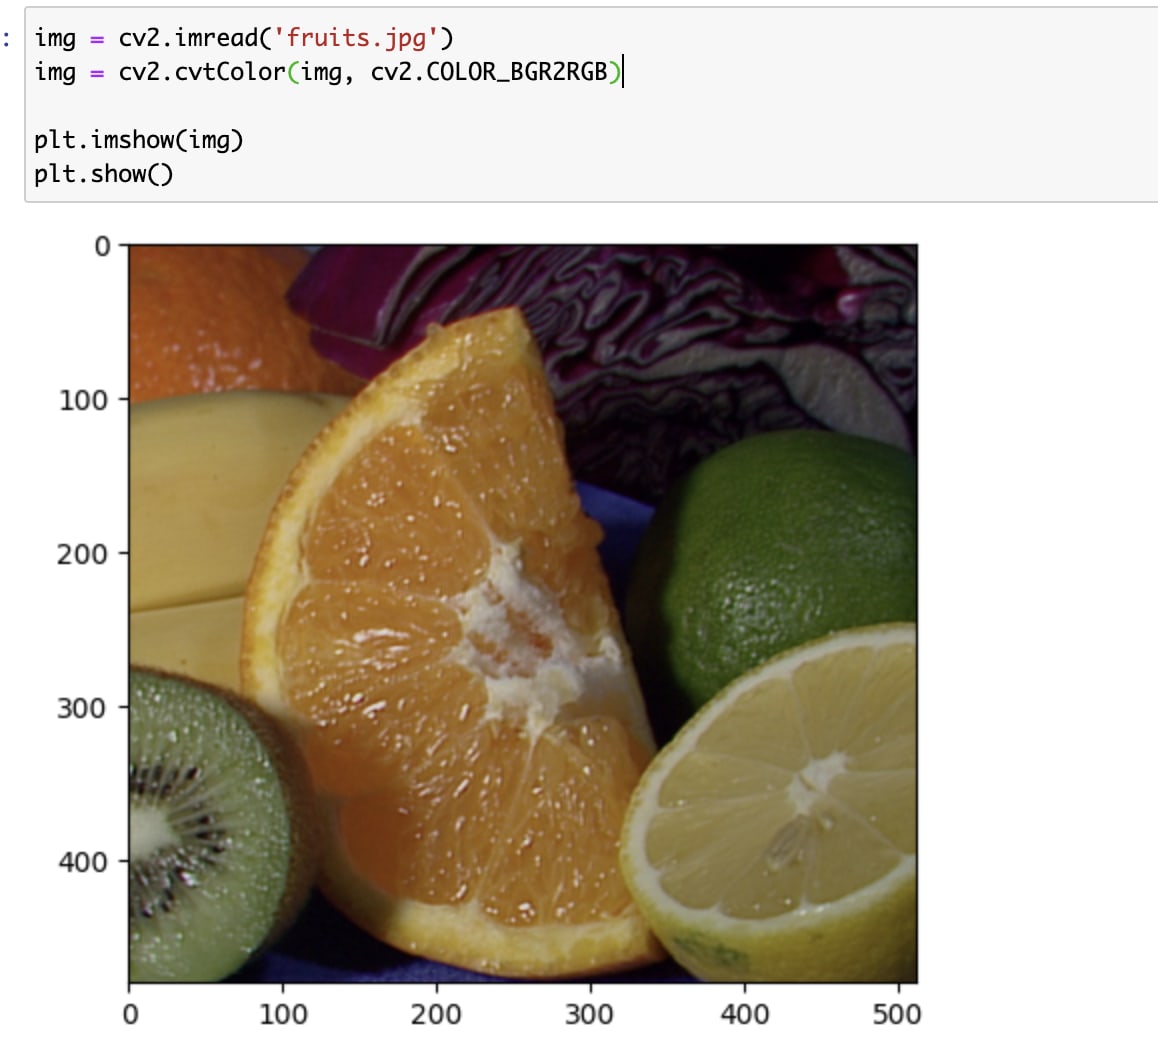
matplotlibで表示
上記のやり方だと目盛りやキャプション等もついて便利ですが、複数の画像に対する画像処理の結果をたくさん表示したい時などは、描画に時間がかかり不便です。
この記事では Jupyter Notebook 上でサクッと画像表示する方法を紹介します。
やりかた
僕が知っているのは 2 通りのやり方です。
1. Pillowを使う
import cv2
from PIL import Image
from IPython.display import display

# imgはnp.uint8型のnp.ndarray
img = cv2.cvtColor(img, cv2.COLOR_BGR2RGB)
pil_img = Image.fromarray(img)
display(pil_img)
2. cv2.imencodeを使う
import cv2
from PIL import Image
from IPython.display import display, Image

# imgはnp.uint8型のnp.ndarray
_, buf = cv2.imencode(".jpg", img)
display(Image(data=buf.tobytes()))
両方ともこんな感じで表示されます。

Pillow, cv2.imencodeで表示
比較
速度を比較しました。
実験内容
- 環境
- MacBook Air (M1, 2020)
- Python 3.8.13
- jupyter 1.0.0
- 実験内容
- W=640, H=480 のカラー画像を表示
- 20 回の平均、最大、最少時間で比較
-
time.time()で計測
結果
| 平均[msec] | 最大[msec] | 最少[msec] | |
|---|---|---|---|
matplotlib |
67.4 | 114.0 | 62.1 |
pillow |
6.9 | 7.1 | 6.7 |
imencode |
2.6 | 3.3 | 2.4 |
imencodeが最も速いという結果になりました。
評価に使ったスクリプト
import cv2
import matplotlib.pyplot as plt
from PIL import Image as PIL_Image
from IPython.display import display, Image
import numpy as np

import time

img = np.zeros((480, 640, 3), dtype=np.uint8)

def imshow_matplot(img):
    plt.imshow(img)
    plt.show()

def imshow_pillow(img):
    pil_img = PIL_Image.fromarray(img)
    display(pil_img)

def imshow_imencode(img):
    _, buf = cv2.imencode(".jpg", img)
    display(Image(data=buf.tobytes()))

t_matplot = []
for _ in range(20):
    st = time.time()
    imshow_matplot(img)
    t = time.time() - st
    t_matplot.append(t)

t_pillow = []
for _ in range(20):
    st = time.time()
    imshow_pillow(img)
    t = time.time() - st
    t_pillow.append(t)

t_imencode = []
for _ in range(20):
    st = time.time()
    imshow_imencode(img)
    t = time.time() - st
    t_imencode.append(t)

print('matplot  ave: ', np.array(t_matplot).mean() * 1000)
print('matplot  max: ', np.array(t_matplot).max() * 1000)
print('matplot  min: ', np.array(t_matplot).min() * 1000)

print('pillow   ave: ', np.array(t_pillow).mean() * 1000)
print('pillow   max: ', np.array(t_pillow).max() * 1000)
print('pillow   min: ', np.array(t_pillow).min() * 1000)

print('imencode ave: ', np.array(t_imencode).mean() * 1000)
print('imencode max: ', np.array(t_imencode).max() * 1000)
print('imencode min: ', np.array(t_imencode).min() * 1000)
まとめ
cv2.imencodeをつかったやり方が一番速いという結果になりました。ただ画像のサイズによっても変わったりするかもしれませんね。
もっといいやり方を知ってるよという方は、ぜひ教えてください!
Discussion