Retrofitを使ってみた!
どんなものなのか?
Retrofit.dart は、source_gen を使用し、Chopper と Retrofit からインスピレーションを得た型変換 dio クライアント ジェネレーターです。
dioというパッケージがあるのですが、自動生成の機能を追加したFreezedみたいなやつですね。最近港で流行ってるジェネレーターの先駆けみたいなもんですね。
昔から、自動生成してくれるものはあったけど、最近はなんでも自動生成するジェネレーターが増えてきいる気がする?
必要なパッケージを追加
バージョンを合わせないと競合が起きるので、FreezedとRetrofitに関係したパッケージは、適正なバージョンに合わせる
name: retrofit_app
description: A new Flutter project.
# The following line prevents the package from being accidentally published to
# pub.dev using `flutter pub publish`. This is preferred for private packages.
publish_to: 'none' # Remove this line if you wish to publish to pub.dev

# The following defines the version and build number for your application.
# A version number is three numbers separated by dots, like 1.2.43
# followed by an optional build number separated by a +.
# Both the version and the builder number may be overridden in flutter
# build by specifying --build-name and --build-number, respectively.
# In Android, build-name is used as versionName while build-number used as versionCode.
# Read more about Android versioning at https://developer.android.com/studio/publish/versioning
# In iOS, build-name is used as CFBundleShortVersionString while build-number is used as CFBundleVersion.
# Read more about iOS versioning at
# https://developer.apple.com/library/archive/documentation/General/Reference/InfoPlistKeyReference/Articles/CoreFoundationKeys.html
# In Windows, build-name is used as the major, minor, and patch parts
# of the product and file versions while build-number is used as the build suffix.
version: 1.0.0+1

environment:
  sdk: '>=3.0.5 <4.0.0'

# Dependencies specify other packages that your package needs in order to work.
# To automatically upgrade your package dependencies to the latest versions
# consider running `flutter pub upgrade --major-versions`. Alternatively,
# dependencies can be manually updated by changing the version numbers below to
# the latest version available on pub.dev. To see which dependencies have newer
# versions available, run `flutter pub outdated`.
dependencies:
  cupertino_icons: ^1.0.2
  dio: ^5.3.2
  freezed_annotation: ^2.4.1
  json_annotation: ^4.8.1
  flutter:
    sdk: flutter

dev_dependencies:
  # The "flutter_lints" package below contains a set of recommended lints to
  # encourage good coding practices. The lint set provided by the package is
  # activated in the `analysis_options.yaml` file located at the root of your
  # package. See that file for information about deactivating specific lint
  # rules and activating additional ones.
  flutter_lints: ^2.0.0
  flutter_test:
    sdk: flutter
  retrofit_generator: ^7.0.8
  build_runner: ^2.4.6
  freezed: ^2.4.2
  json_serializable: ^6.7.1

# For information on the generic Dart part of this file, see the
# following page: https://dart.dev/tools/pub/pubspec
# The following section is specific to Flutter packages.
flutter:

  # The following line ensures that the Material Icons font is
  # included with your application, so that you can use the icons in
  # the material Icons class.
  uses-material-design: true
  # To add assets to your application, add an assets section, like this:
  # assets:
  #   - images/a_dot_burr.jpeg
  #   - images/a_dot_ham.jpeg
  # An image asset can refer to one or more resolution-specific "variants", see
  # https://flutter.dev/assets-and-images/#resolution-aware
  # For details regarding adding assets from package dependencies, see
  # https://flutter.dev/assets-and-images/#from-packages
  # To add custom fonts to your application, add a fonts section here,
  # in this "flutter" section. Each entry in this list should have a
  # "family" key with the font family name, and a "fonts" key with a
  # list giving the asset and other descriptors for the font. For
  # example:
  # fonts:
  #   - family: Schyler
  #     fonts:
  #       - asset: fonts/Schyler-Regular.ttf
  #       - asset: fonts/Schyler-Italic.ttf
  #         style: italic
  #   - family: Trajan Pro
  #     fonts:
  #       - asset: fonts/TrajanPro.ttf
  #       - asset: fonts/TrajanPro_Bold.ttf
  #         weight: 700
  #
  # For details regarding fonts from package dependencies,
  # see https://flutter.dev/custom-fonts/#from-packages
モデルを作成する
APIのJSONのオブジェクトと同じ名前にしたモデルクラスを作成する。
Freezedを使用すれば、toJSONとfromJSONを書かなくてもいいし、copyWithもできるように設定してくれるので、便利で普段から気に入って使っております。
modelフォルダを作成して、post.dartを作成して、自動生成するコードを実行してください。
// This file is "main.dart"
import 'package:freezed_annotation/freezed_annotation.dart';
import 'package:flutter/foundation.dart';
part 'post.freezed.dart';
part 'post.g.dart';
class Post with _$Post {
const factory Post({
required int userId,
required int id,
required String title,
required String body,
}) = _Post;
factory Post.fromJson(Map<String, Object?> json) => _$PostFromJson(json);
}
自動生成のコード
flutter pub run build_runner build
APIとやりとりをする
Retrofitには、APIとHTTP通信をしてくれるコードを自動生成してくれる設定をアノテーションをつけた抽象クラスを定義すると作ってくれます。こちらのコードも自動生成するコマンドを打つと自動で作ってくれます。
import 'package:dio/dio.dart';
import 'package:retrofit/http.dart';
import 'package:retrofit_app/models/post.dart';
part 'api_service.g.dart';
(baseUrl: 'https://jsonplaceholder.typicode.com/')
abstract class ApiService {
factory ApiService(Dio dio, {String baseUrl}) = _ApiService;
('/posts')
Future<List<Post>> getPosts();
}
自動生成のコード
flutter pub run build_runner build
UIにAPIのデータを表示する
HTTP GETしたデータを画面に描画してみましょう。homeディレクトリを作成して、home_page.dartを作成しましょう。このファイルで自動生成したAPIからデータを取得するメソッドを呼び出すだけで、今回作りたいアプリは作れます。
import 'package:dio/dio.dart';
import 'package:flutter/material.dart';
import 'package:retrofit_app/models/post.dart';
import 'package:retrofit_app/service/api_service.dart';
class HomePage extends StatefulWidget {
const HomePage({Key? key}) : super(key: key);
State<HomePage> createState() => _HomePageState();
}
class _HomePageState extends State<HomePage> {
Widget build(BuildContext context) {
// ApiServiceクラスをインスタンス化
final ApiService apiService =
ApiService(Dio(BaseOptions(contentType: "application/json")));
return Scaffold(
appBar: AppBar(
title: const Text(
'Retrofit App',
),
),
body: _body(apiService: apiService),
);
}
}
class _body extends StatelessWidget {
const _body({
super.key,
required this.apiService,
});
final ApiService apiService;
Widget build(BuildContext context) {
return FutureBuilder(
future: apiService.getPosts(),// 自動生成したメソッドを呼び出す
builder: (context, snapshot) {
if (snapshot.hasData) {
final posts = snapshot.data as List<Post>;
return ListView.builder(
itemCount: posts.length,
itemBuilder: (context, index) {
final post = posts[index];
return Container(
margin: EdgeInsets.all(16),
padding: EdgeInsets.all(16),
decoration: BoxDecoration(
color: Colors.white,
borderRadius: BorderRadius.circular(10),
border: Border.all(
color: Colors.black38,
width: 1,
),
),
child: Column(
children: [
Text(
post.title,
style: TextStyle(
fontSize: 20,
fontWeight: FontWeight.bold,
),
),
SizedBox(
height: 10,
),
Text(
post.body,
style: TextStyle(
fontSize: 16,
),
),
],
),
);
},
);
} else {
return const Center(
child: CircularProgressIndicator(),
);
}
},
);
}
}
main.dartでimportしてビルトする。
import 'package:flutter/material.dart';
import 'package:retrofit_app/pages/home.dart';
void main() {
runApp(const MyApp());
}
class MyApp extends StatelessWidget {
const MyApp({super.key});
Widget build(BuildContext context) {
return MaterialApp(
title: 'Flutter Demo',
theme: ThemeData(
colorScheme: ColorScheme.fromSeed(seedColor: Colors.deepPurple),
useMaterial3: true,
),
home: const HomePage(),
);
}
}
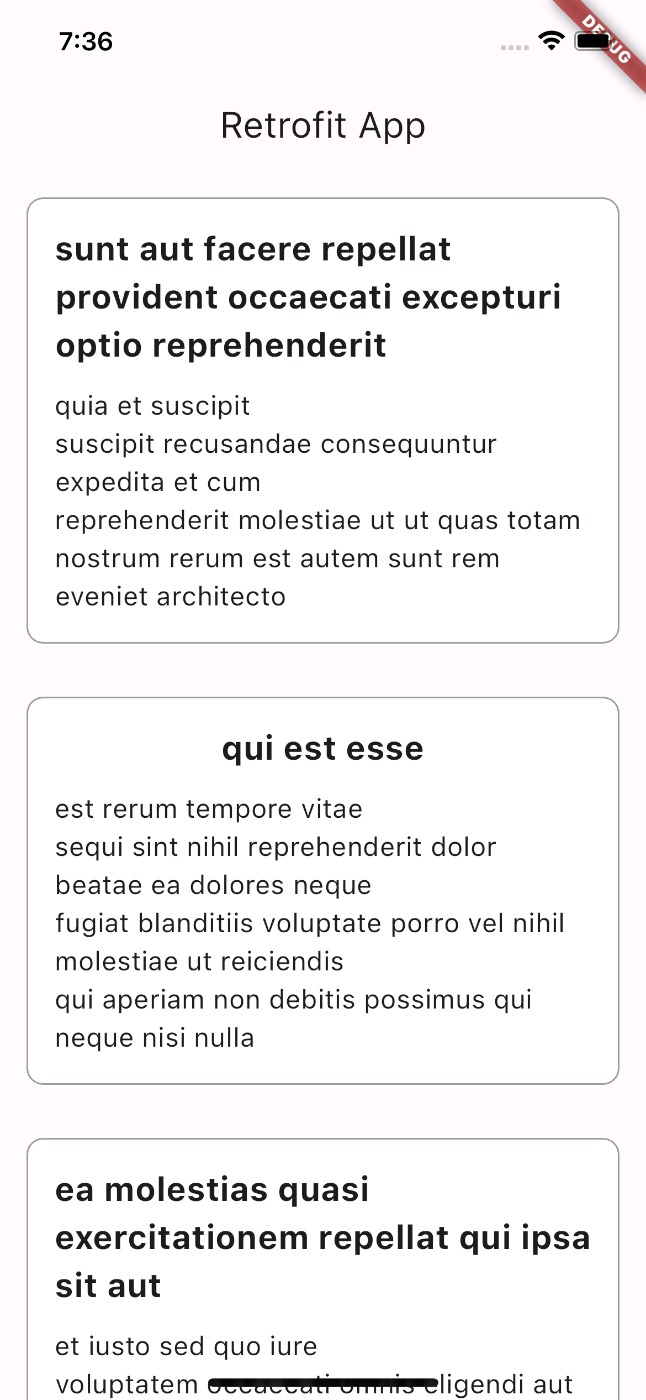
実行結果
こんな画面が表示されたら成功です🙌
まとめ
いつもは、httpを使うことが多いのですが、RetrofitはAPI通信を簡単にしてくれる便利なものだと知って今後使っていこうかなと思いました。
riverpodにリファクタリングしたコードをGithubで公開しております。参考までに見てみてください。 修正箇所
FutureProviderに対応したコードに変更。
import 'package:dio/dio.dart';
import 'package:flutter_riverpod/flutter_riverpod.dart';
import 'package:retrofit/http.dart';
import 'package:retrofit_app/models/post.dart';
part 'api_service.g.dart';
final apiFutureProvider = FutureProvider((ref) async {
final apiService = ref.read(apiServiceProvider);
return apiService.getPosts();
});
final apiServiceProvider = Provider((ref) => ApiService(Dio(BaseOptions(contentType: "application/json"))));
(baseUrl: 'https://jsonplaceholder.typicode.com/')
abstract class ApiService {
factory ApiService(Dio dio, {String baseUrl}) = _ApiService;
('/posts')
Future<List<Post>> getPosts();
}
FutureProviderで取得してデータを表示するコードに変更。
import 'package:flutter/material.dart';
import 'package:flutter_riverpod/flutter_riverpod.dart';
import 'package:retrofit_app/service/api_service.dart';
class HomePage extends ConsumerWidget {
const HomePage({super.key});
Widget build(BuildContext context, WidgetRef ref) {
final apiService = ref.watch(apiFutureProvider);
return Scaffold(
appBar: AppBar(
title: const Text(
'Retrofit Riverpod',
),
),
body: apiService.when(
data: (data) {
final posts = data;
return ListView.builder(
itemCount: posts.length,
itemBuilder: (context, index) {
final post = posts[index];
return Container(
margin: const EdgeInsets.all(16),
padding: const EdgeInsets.all(16),
decoration: BoxDecoration(
color: Colors.white,
borderRadius: BorderRadius.circular(10),
border: Border.all(
color: Colors.black38,
width: 1,
),
),
child: Column(
children: [
Text(
post.title,
style: const TextStyle(
fontSize: 20,
fontWeight: FontWeight.bold,
),
),
const SizedBox(
height: 10,
),
Text(
post.body,
style: const TextStyle(
fontSize: 16,
),
),
],
),
);
},
);
},
error: (e, s) => Center(
child: Text(e.toString()),
),
loading: () => const Center(
child: CircularProgressIndicator(),
),
),
);
}
}
ProviderScopeでラップして、Riverpodを使用できるようにする。
import 'package:flutter/material.dart';
import 'package:flutter_riverpod/flutter_riverpod.dart';
import 'package:retrofit_app/pages/home.dart';
void main() {
runApp(const ProviderScope(child: MyApp()));
}
class MyApp extends StatelessWidget {
const MyApp({super.key});
Widget build(BuildContext context) {
return MaterialApp(
debugShowCheckedModeBanner: false,
title: 'Flutter Demo',
theme: ThemeData(
colorScheme: ColorScheme.fromSeed(seedColor: Colors.deepPurple),
useMaterial3: true,
),
home: const HomePage(),
);
}
}
Discussion