🚸
fastifyでswaggerを使う
🗒️いろいろハマったので、ドキュメント化する
こちらのスクラップを参考に、環境構築をした。
🔨環境構築
fastifyの環境構築は、こちらを参考に行なってください。
🔨fastifyで、swaggerwo使用する
SwaggerをFastifyプロジェクトに統合することは可能です。Fastifyには fastify-swagger というプラグインがあり、これを使用することでSwagger UIとAPIドキュメンテーションを自動的に生成できます。
npmのパッケージを追加する
npm i @fastify/swagger
npm i @fastify/swagger-ui
以下のコードは、上記のFastifyサーバーと組み合わせてSwaggerを設定します:
import fastifySwagger from '@fastify/swagger';
import fastifySwaggerUi from '@fastify/swagger-ui';
import Fastify from 'fastify';

const fastify = Fastify();

fastify.register(fastifySwagger);
fastify.register(fastifySwaggerUi);

async function main() {
  await fastify.listen({
    port: 3000,
    host: '0.0.0.0',
  });
}

main().catch(console.error);
package.jsonのscriptを設定する
{
  "name": "first-project",
  "version": "1.0.0",
  "description": "はじめに この例では、FastifyとTypeScriptの使い方を説明します。空白の http Fastify サーバーが作成されます。",
  "main": "index.js",
  "scripts": {
    "build": "tsc -p tsconfig.json",
    "start": "node index.js"
  },
  "keywords": [],
  "author": "",
  "license": "ISC",
  "dependencies": {
    "@fastify/swagger": "^8.8.0",
    "@fastify/swagger-ui": "^1.9.2",
    "fastify": "^4.19.2"
  },
  "devDependencies": {
    "@types/node": "^20.4.0",
    "typescript": "^5.1.6"
  }
}
index.tsをコンパイルする
npm run build
ローカルサーバーを起動する
npm run start
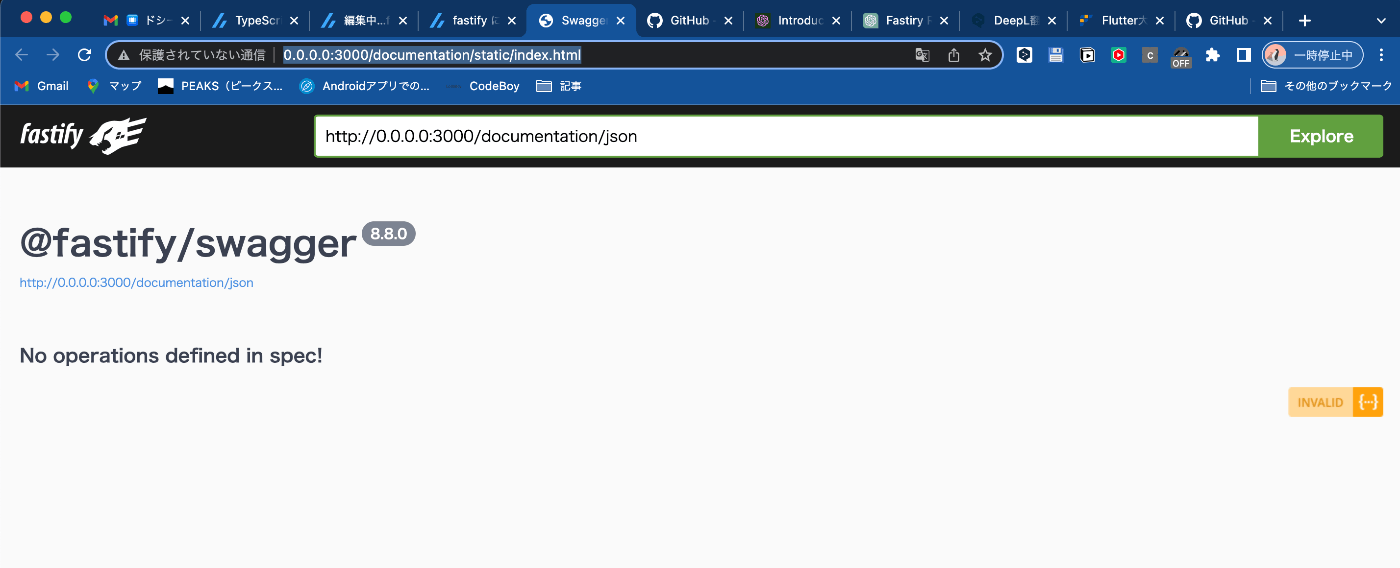
エンドポイントにアクセスする。
SwaggerUIが表示されれば成功🙌
📶POSTとGETができるようにする。
この設定だと、ブラウザでPOSTとGETができる。
import fastifySwagger from '@fastify/swagger';
import fastifySwaggerUi from '@fastify/swagger-ui';
import Fastify, { FastifyInstance, FastifyReply, FastifyRequest } from 'fastify';

const fastify = Fastify();

fastify.register(fastifySwagger);
fastify.register(fastifySwaggerUi);

let shopping = ['りんご', 'ぶどう', 'みかん']

const shoppingRoutes = async (server: FastifyInstance) => {
  server.get('/', {
    schema: {
      response: {
        200: {
          type: 'array',
          items: { type: 'string' }
        }
      }
    },
    handler: async (request: FastifyRequest, reply: FastifyReply) => {
      return shopping
    }
  });

  server.addSchema({
    $id: 'addItemSchema',
    type: 'object',
    required: ['item'],
    properties: {
      item: {
        type: 'string',
      },
    },
  });

  server.post('/', {
    schema: {
      body: { $ref: 'addItemSchema#' },
      response: {
        201: {
          type: 'array',
          items: { type: 'string' }
        },
      },
    },
    handler: async (
      request: FastifyRequest<{
        Body: {
          item: string;
        };
      }>,
      reply: FastifyReply,
    ) => {
      const body = request.body;
      shopping.push(body.item);
      return reply.code(201).send(shopping);
    },
  });
};

fastify.register(shoppingRoutes, { prefix: 'shopping' });

async function main() {
  await fastify.listen({
    port: 3000,
    host: '0.0.0.0',
  });
}

main().catch(console.error);
Executeのボタンを押すと、POST GETが実行できる。POSTするときは、入力する場所があるので、JSON形式で入力する。


まとめ
あまり情報がないので、ChatGPTと相談しながら、試行錯誤してました💦
誰かのお役に立てると、嬉しいです。
こちらが公式 パッケージについての解説 日本語のマニュアルもあった?
Discussion