PyMuPDFを使ったPDFへの透かし追加:完全ガイド
PDFへの透かし追加は、知的財産を保護し、文書にブランディングを追加し、文書のセキュリティを維持するための重要な技術です。機密のビジネス文書にマークを付ける場合でも、レポートに会社のロゴを追加する場合でも、創作作品を保護する場合でも、透かしはプロフェッショナルで効果的なソリューションを提供します。
PyMuPDFは、PDF操作のための最も強力で効率的なPythonライブラリの一つとして際立っています。処理が遅かったり機能が制限されたりする他のPDFライブラリとは異なり、PyMuPDFは高速処理、豊富なカスタマイズオプション、テキストと画像の両方の透かしに対する優れたサポートを提供します。
この包括的なガイドでは、基本的なテキスト透かしから高度なバッチ処理技術まで、プロジェクトですぐに使用できる実用的なコード例と共にすべてを学習できます。
環境のセットアップ
PyMuPDFを始めるのは簡単です。pipを使用してライブラリをインストールします:
pip install pymupdf
PyMuPDFは依存関係が最小限で、Windows、macOS、Linuxで動作します。画像透かしの場合、追加の画像処理機能のためにPillowもインストールすることをお勧めします:
pip install pillow
ほとんどの透かしタスクに必要な基本的なインポートは次のとおりです:
import pymupdf
import os
from datetime import datetime
PDF透かしについて理解する
コードに入る前に、PDFに追加できる透かしの2つの主要なタイプを理解することが重要です:
テキスト透かしは、著作権表示、機密ラベル、タイムスタンプなどの動的情報の追加に最適です。軽量で、カスタマイズ可能で、ファイルサイズを大幅に増加させません。
画像透かしは、ロゴ、署名、または文書に表示する必要があるグラフィック要素に適しています。より視覚的なインパクトを提供しますが、ファイルサイズと位置決めを慎重に考慮する必要があります。
PyMuPDFは座標系を使用しており、(0, 0)が各ページの左上隅を表します。この座標系を理解することは、正確な透かしの配置にとって重要です。
基本的なテキスト透かし
PDFのすべてのページに「CONFIDENTIAL」透かしを追加する簡単な例から始めましょう:
import pymupdf

def add_text_watermark(input_pdf, output_pdf, watermark_text):
    # Open the PDF document
    doc = pymupdf.open(input_pdf)

    for page_num in range(doc.page_count):
        page = doc[page_num]

        # Get page dimensions
        page_rect = page.rect

        # Calculate center position
        x = page_rect.width / 2
        y = page_rect.height / 2

        # Insert text watermark
        page.insert_text(
            (x, y),  # Position
            watermark_text,  # Text
            fontsize=50,
            color=(0.7, 0.7, 0.7),  # Light gray
            rotate=90  # Vertical orientation
        )

    # Save the watermarked PDF
    doc.save(output_pdf)
    doc.close()

# Usage
add_text_watermark("test.pdf", "output.pdf", "CONFIDENTIAL")
この基本的な関数は、コア概念を示しています:文書を開く、ページを繰り返し処理する、位置を計算する、カスタム書式でテキストを挿入する。
高度なテキスト透かし
より洗練されたテキスト透かしの場合、フォントをカスタマイズし、複数行の透かしを作成し、動的コンテンツを追加できます:
import pymupdf
import os
from datetime import datetime

def advanced_text_watermark(input_pdf, output_pdf):
    doc = pymupdf.open(input_pdf)

    # Get current timestamp for dynamic watermark
    timestamp = datetime.now().strftime("%Y-%m-%d %H:%M")

    for page_num in range(doc.page_count):
        page = doc[page_num]
        page_rect = page.rect

        # Main watermark text
        main_text = "CONFIDENTIAL"
        page.insert_text(
            (page_rect.width - 100, page_rect.height - 10),
            main_text,
            fontsize=100,
            color=(0.8, 0.2, 0.2),  # Red color
            rotate=90,
            stroke_opacity = 0.5,
            render_mode=1, # outline the font
            fontname="Courier-Bold"  # Bold font
        )

        # Timestamp watermark in corner
        page.insert_text(
            (20, 30),  # top-left corner
            f"Generated: {timestamp}",
            fontsize=10,
            color=(0.5, 0.5, 0.5),
            rotate=0
        )

        # Page number watermark
        page.insert_text(
            (page_rect.width - 100, 30), # top-right corner
            f"Page {page_num + 1} of {doc.page_count}",
            fontsize=10,
            color=(0.5, 0.5, 0.5),
            rotate=0
        )

    doc.save(output_pdf)
    doc.close()

advanced_text_watermark("test.pdf", "output.pdf")
この高度な例は、各ページで異なる位置決め、色、コンテンツタイプで複数の透かしを追加する方法を示しています。
画像透かし
画像透かしを追加するには、少し異なるアプローチが必要です。PDFにロゴや画像を追加する方法は次のとおりです:
import pymupdf

def add_image_watermark(input_pdf, output_pdf, watermark_image):
    doc = pymupdf.open(input_pdf)

    # create a pixmap from the image
    pixmap = pymupdf.Pixmap(watermark_image)

    for page_num in range(doc.page_count):
        page = doc[page_num]
        page_rect = page.rect

        # Calculate scaling to fit image appropriately
        scale_x = page_rect.width * 0.3 / pixmap.width  # 30% of page width
        scale_y = page_rect.height * 0.3 / pixmap.height  # 30% of page height
        scale = min(scale_x, scale_y)  # Maintain aspect ratio

        # Calculate position (center of page)
        img_width = pixmap.width * scale
        img_height = pixmap.height * scale
        x = (page_rect.width - img_width) / 2
        y = (page_rect.height - img_height) / 2

        # Define the rectangle where image will be placed
        target_rect = pymupdf.Rect(x, y, x + img_width, y + img_height)

        # Insert the pixmap image at the back of the page
        page.insert_image(target_rect, pixmap=pixmap, overlay=False)

    doc.save(output_pdf)
    doc.close()

# Usage
add_image_watermark("test.pdf", "logo_watermarked.pdf", "logo.png")
注意
透かし画像に透明度を追加したい場合は、Pillowライブラリを使用して画像を準備するか、PNG画像に透明度を組み込むことをお勧めします。さらに、insert_imageで透かしを追加する際に、overlay=Falseパラメータ定義を使用することで、画像が他のすべてのページコンテンツの後ろに配置されることが保証されます。
透かしの位置決めとレイアウト
プロフェッショナルに見える透かしには正確な位置決めが重要です。一般的な位置決め戦略は次のとおりです:
import pymupdf

def position_watermarks(input_pdf, output_pdf):
    doc = pymupdf.open(input_pdf)

    positions = {
        'center': lambda rect: (rect.width/2, rect.height/2),
        'bottom_left': lambda rect: (50, rect.height - 50),
        'bottom_right': lambda rect: (rect.width - 150, rect.height - 50),
        'top_left': lambda rect: (50, 50),
        'top_right': lambda rect: (rect.width - 150, 50)
    }

    for page_num in range(doc.page_count):
        page = doc[page_num]
        page_rect = page.rect

        # Add large watermark at center
        center_pos = positions['center'](page_rect)
        page.insert_text(
            center_pos,
            "DRAFT",
            fontsize=60,
            color=(0.9, 0.0, 0.0),
            rotate=0
        )

        # Add small copyright notice in bottom right
        br_pos = positions['bottom_right'](page_rect)
        page.insert_text(
            br_pos,
            "© 2025 Your Company",
            fontsize=12,
            color=(0.4, 0.4, 0.4),
            rotate=0
        )

    doc.save(output_pdf)
    doc.close()

position_watermarks("test.pdf", "output.pdf")
スタイリングと視覚効果
プロフェッショナルな透かしには、視覚的スタイリングへの注意深い配慮が必要です。洗練された控えめな透かしを作成する方法は次のとおりです:
import pymupdf

def styled_watermark(input_pdf, output_pdf, watermark_text):
    doc = pymupdf.open(input_pdf)

    for page_num in range(doc.page_count):
        page = doc[page_num]
        page_rect = page.rect

        # Semi-transparent background rectangle
        bg_rect = pymupdf.Rect(
            page_rect.width/2 - 120,
            page_rect.height/2 - 30,
            page_rect.width/2 + 120,
            page_rect.height/2 + 30
        )

        # Add background with border
        page.draw_rect(bg_rect, color=(0.9, 0.9, 0.9), fill=(0.95, 0.95, 0.95), width=1)

        # Add main watermark text
        page.insert_text(
            (page_rect.width/2 - 80, page_rect.height/2 + 5),
            watermark_text,
            fontsize=16,
            color=(0.6, 0.6, 0.6)
        )

        # Add decorative elements
        page.draw_line(
            pymupdf.Point(page_rect.width/2 - 100, page_rect.height/2 - 15),
            pymupdf.Point(page_rect.width/2 + 100, page_rect.height/2 - 15),
            color=(0.7, 0.7, 0.7),
            width=0.5
        )

        page.draw_line(
            pymupdf.Point(page_rect.width/2 - 100, page_rect.height/2 + 15),
            pymupdf.Point(page_rect.width/2 + 100, page_rect.height/2 + 15),
            color=(0.7, 0.7, 0.7),
            width=0.5
        )

    doc.save(output_pdf)
    doc.close()

styled_watermark("test.pdf", "output.pdf", "SAMPLE DOCUMENT")
回転テキストと透かし
多くの典型的な透かしは、すべての文書ページに次のように大きなテキストを斜めに描画したいと考えています:
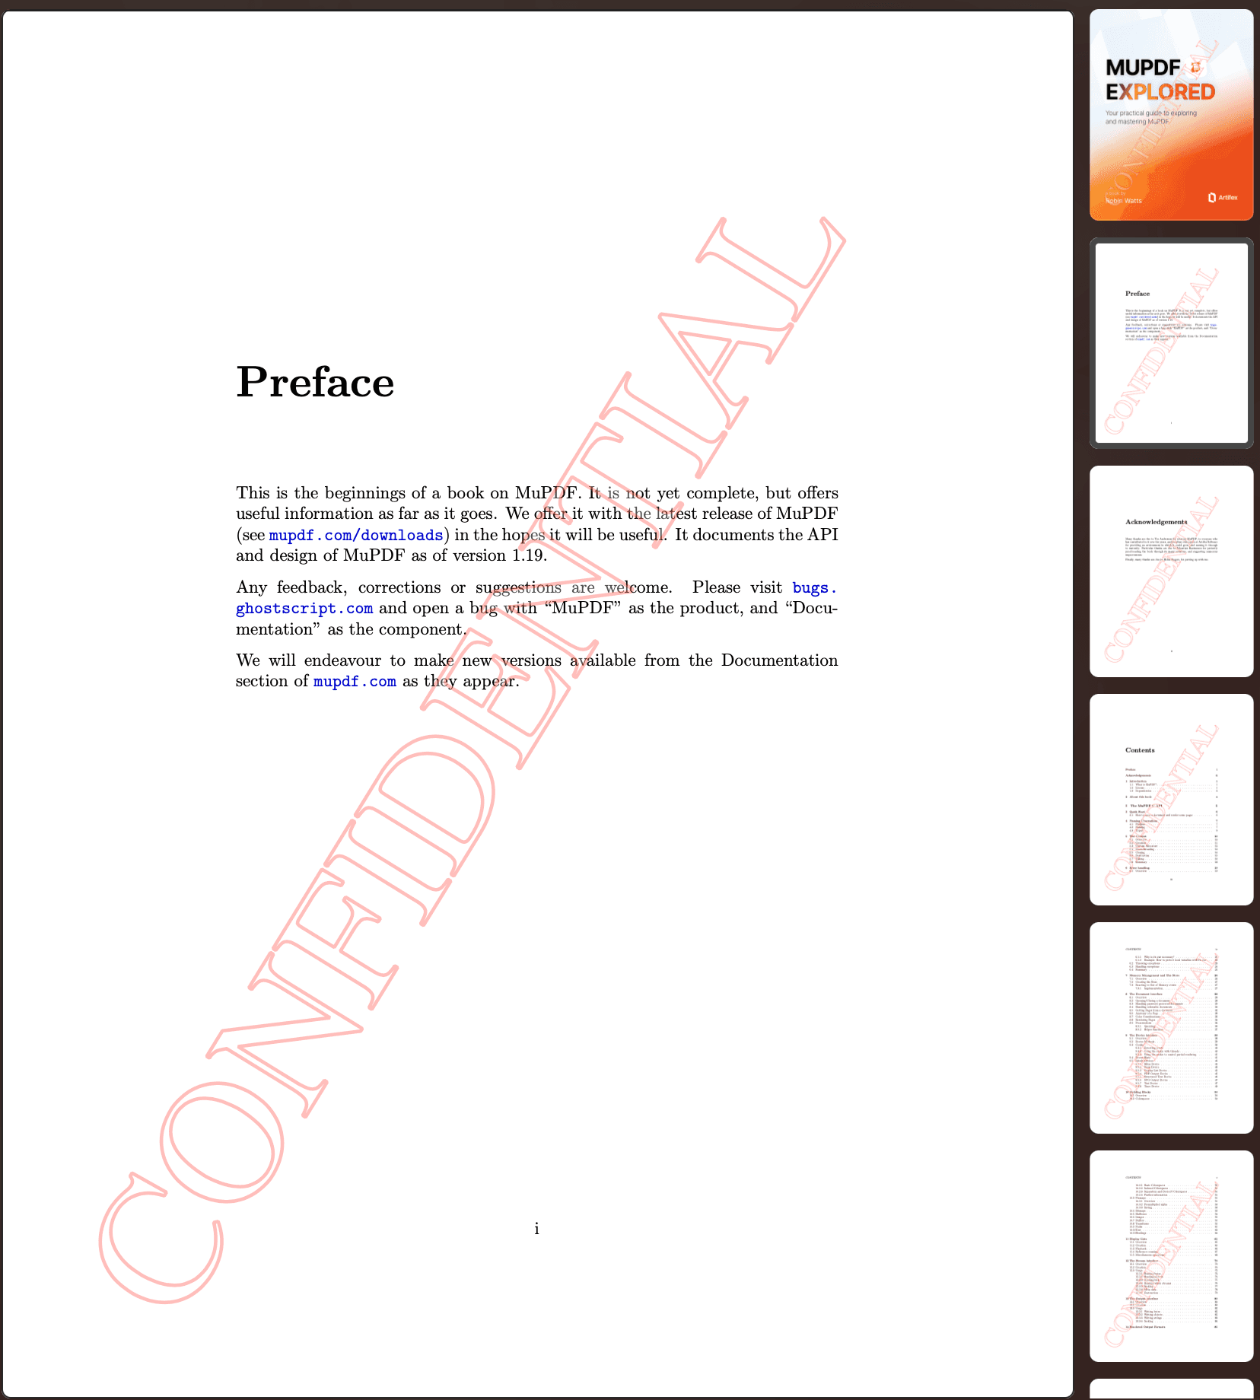
しかし、PyMuPDFでテキストの回転をどのように適用するのでしょうか?
基本的に、供給された行列でテキストを変形し、次の数学を使用する必要があります:
import pymupdf
import math

def add_rotated_text_watermark(input_pdf, output_pdf, watermark_text):
    # Open the PDF document
    doc = pymupdf.open(input_pdf)

    for page_num in range(doc.page_count):
        page = doc[page_num]

        # choose desired font
        font = pymupdf.Font("tiro")
        page.insert_font(fontname="myfont", fontbuffer=font.buffer)
        font_size = 100

        # choose 2 points to define a line along which to insert text
        p1 = pymupdf.Point(100, 750)
        p2 = pymupdf.Point(500, 100)
        # compute angle of line
        cos, sin = (p2 - p1).unit
        theta = math.degrees(math.atan2(sin, cos))
        # define matrix to rotate text
        mat = pymupdf.Matrix(-theta)
        # we want to insert this text along the line
        text = watermark_text #f"This text inserted at {round(-theta,1)}°"
        """
        Optional: Shrink / stretch text to fit along the line
        ---------------------------------------------------------------------
        """
        # length of line
        line_len = abs(p2 - p1)
        text_len = font.text_length(text, fontsize=font_size)
        # scale factor
        scale = line_len / text_len
        # scale matrix
        scale_mat = pymupdf.Matrix(scale, scale)
        # mat *= scale_mat  # (un-)comment to see its effect
        """
        ---------------------------------------------------------------------
        """
        page.insert_text(
            p1,
            text,
            fontsize=font_size,
            fontname="myfont",
            fill_opacity=0.3,
            stroke_opacity=0.3,
            color=(1, 0, 0),
            fill=(1, 1, 1),
            border_width=0.02,
            render_mode=2,
            morph=(p1, mat),
        )
        #page.draw_line(p1, p2, color=(1, 0, 0))

    # Save the watermarked PDF
    doc.save(output_pdf)
    doc.close()

# Usage
add_rotated_text_watermark("sample.pdf", "output.pdf", "CONFIDENTIAL")
複数PDFのバッチ処理
複数のファイルに透かしを追加する必要がある場合、バッチ処理により時間を節約し、一貫性を確保できます:
import pymupdf
import os

def batch_watermark_directory(input_dir, output_dir, watermark_text):
    # Create output directory if it doesn't exist
    os.makedirs(output_dir, exist_ok=True)

    # Process all PDF files in the input directory
    pdf_files = [f for f in os.listdir(input_dir) if f.lower().endswith('.pdf')]

    for i, filename in enumerate(pdf_files, 1):
        input_path = os.path.join(input_dir, filename)
        output_filename = f"watermarked_{filename}"
        output_path = os.path.join(output_dir, output_filename)

        try:
            print(f"Processing {i}/{len(pdf_files)}: {filename}")

            doc = pymupdf.open(input_path)

            for page_num in range(doc.page_count):
                page = doc[page_num]
                page_rect = page.rect

                # Add watermark
                page.insert_text(
                    (page_rect.width/2, page_rect.height/2),
                    watermark_text,
                    fontsize=40,
                    color=(0.8, 0.8, 0.8)
                )

            doc.save(output_path)
            doc.close()

            print(f"✓ Successfully processed: {filename}")

        except Exception as e:
            print(f"✗ Error processing {filename}: {str(e)}")
            continue

# Usage
batch_watermark_directory("./input_pdfs", "./watermarked_pdfs", "CONFIDENTIAL")
エラー処理とエッジケース
堅牢なエラー処理により、透かし処理プロセスが確実に動作します:
import pymupdf
import os

def robust_watermarking(input_pdf, output_pdf, watermark_text):
    try:
        # Check if input file exists
        if not os.path.exists(input_pdf):
            raise FileNotFoundError(f"Input PDF not found: {input_pdf}")

        # Open document with error handling
        doc = pymupdf.open(input_pdf)

        # Check if document is encrypted
        if doc.needs_pass:
            print(f"Warning: {input_pdf} is password protected. Skipping...")
            doc.close()
            return False

        # Check if document has pages
        if doc.page_count == 0:
            print(f"Warning: {input_pdf} has no pages. Skipping...")
            doc.close()
            return False

        for page_num in range(doc.page_count):
            try:
                page = doc[page_num]
                page_rect = page.rect

                # Handle pages with zero dimensions
                if page_rect.width <= 0 or page_rect.height <= 0:
                    print(f"Warning: Page {page_num + 1} has invalid dimensions. Skipping...")
                    continue

                # Add watermark
                page.insert_text(
                    (page_rect.width / 2, page_rect.height / 2),
                    watermark_text,
                    fontsize=min(50, page_rect.width / 10),  # Adaptive font size
                    color=(0.7, 0.7, 0.7),
                    rotate=45
                )

            except Exception as page_error:
                print(f"Error processing page {page_num + 1}: {str(page_error)}")
                continue

        # Save with error handling
        doc.save(output_pdf)
        doc.close()

        print(f"✓ Successfully watermarked: {input_pdf} -> {output_pdf}")
        return True

    except Exception as e:
        print(f"✗ Error watermarking {input_pdf}: {str(e)}")
        return False


robust_watermarking("test.pdf", "output.pdf", "CONFIDENTIAL")
実用例と使用例
完全なコード例を使った実際のアプリケーションをいくつか紹介します:
企業文書ブランディング
import pymupdf
import os

def corporate_branding_watermark(input_pdf, output_pdf, company_name, logo_path=None):
    doc = pymupdf.open(input_pdf)

    for page_num in range(doc.page_count):
        page = doc[page_num]
        page_rect = page.rect

        # Company name in header
        page.insert_text(
            (20, 20),
            company_name,
            fontsize=12,
            color=(0.3, 0.3, 0.7),
            fontname="helvetica-bold"
        )

        # Confidentiality notice in footer
        page.insert_text(
            (20, page_rect.height - 20),
            "This document contains confidential and proprietary information.",
            fontsize=8,
            color=(0.5, 0.5, 0.5)
        )

        # Optional logo watermark
        if logo_path and os.path.exists(logo_path):
            try:
                # create a pixmap from the image
                pixmap = pymupdf.Pixmap(logo_path)

                logo_rect = pymupdf.Rect(
                    page_rect.width - 60,
                    10,
                    page_rect.width - 10,
                    60
                )
                page.insert_image(logo_rect, pixmap=pixmap, overlay=False)

            except:
                pass  # Continue without logo if there's an error

    doc.save(output_pdf)
    doc.close()

corporate_branding_watermark("test.pdf", "output.pdf", "Artifex Software Inc.", "logo.png")
ベストプラクティスとヒント
PDF透かしを実装する際は、最適な結果を得るために以下のベストプラクティスに従ってください:
-
適切な不透明度を選択する:透かしは見えるべきですが、文書の読みやすさを妨げてはいけません。画像透かしには20-30%の不透明度、テキストには薄いグレー色から始めてください。
-
文書レイアウトを考慮する:重要なコンテンツを覆わないように透かしを配置します。一貫した配置を確保するため、さまざまな文書タイプでテストしてください。
-
ファイル命名規則:透かし入りファイルには明確で説明的な名前を使用します。タイムスタンプやバージョン番号の追加を検討してください。
-
バージョン管理:元のファイルを透かし入りバージョンとは別に保管してください。体系的なフォルダ構造の使用を検討してください。
-
テスト:重要なファイルをバッチ処理する前に、必ずサンプル文書で透かしをテストしてください。
-
パフォーマンス:大きなバッチの場合、ファイルをより小さなグループで処理し、進捗追跡を実装することを検討してください。
-
セキュリティ:透かしは意図的な個人によって削除される可能性があることに注意してください。高セキュリティアプリケーションの場合、追加の保護方法を検討してください。
結論
PyMuPDFは、単純なテキスト追加から複雑な複数要素ブランディングシステムまでスケールするPDF透かしの強力で柔軟な基盤を提供します。ライブラリの速度と豊富なカスタマイズオプションにより、一回限りの透かしタスクと大規模バッチ処理の両方に理想的です。
このガイドで取り上げた技術により、企業文書保護から学術論文の下書きまで、さまざまな使用例に対するプロフェッショナルな透かしソリューションを実装するためのツールが提供されます。テキストと画像の透かしの組み合わせ、適切なエラー処理と最適化により、透かしシステムが信頼性と効率性の両方を備えることが保証されます。
効果的な透かしは、可視性と使いやすさのバランスを取ることを忘れないでください。目標は、プロフェッショナルな外観と読みやすさを維持しながら、文書を保護しブランディングすることです。
透かし以外の高度なPDF操作技術については、PyMuPDFの豊富なドキュメントをご覧ください。ライブラリは、テキスト抽出、フォーム処理、注釈管理など、すべてのPDF処理ニーズに対する包括的なソリューションとしてはるかに多くの機能を提供しています。
ここで提供した基本的な例から始めて、要件の成長に応じてより高度な機能を段階的に組み込んでください。PyMuPDFの堅牢なAPIとこのガイドで実演したパターンを使用することで、特定のニーズに合わせた洗練されたPDF透かしソリューションを作成できるようになります。
コミュニティに参加してください!

2025年9月4日18:00-18:45時のPyMuPDFウェビナーにサインアップしませんか?
Discussion