Supabaseを使用したTwitterログインのやり方(iOS/Android)
はじめに
初めまして!普段はQiitaに書くことが多いのですが、今回は知人に勧められてZennに初投稿してみました。個人開発しているフードシェアアプリ「FoodGram」に、Twitterログイン機能をSupabaseで実装してみたので、苦労した点や工夫した点を共有します!
今回は知り合いの方にぜひ、記事を書いてくれと言ってもらえたので記事を書くことにしました。
個人開発のアプリにTwitterログイン機能を追加するため、Supabaseの認証機能を利用して実装を試みました。その過程で直面した課題や解決策を共有します。
個人開発で作成しているアプリの「FoodGram」についても少し語らせてください
FoodGramは、世界中のユーザーと食の楽しさを共有できるフードシェアアプリです。美味しい料理やお気に入りのグルメスポットを記録・共有しながら、みんなでグローバルな「フードマップ」を作りましょう🍜。

ダウンロードリンク
- 「FoodGram」は、フードシェアアプリとなっており、あなたの好きなレストランの食事をぜひこのアプリで共有していただけると嬉しいです!!
このアプリのセールスポイント
- このアプリだけのレストランマップをユーザー全員で作成できる⭐️
ぜひダウンロードして使ってくれると嬉しいです🙇
ちなみに、Twitterログインの内容もAndroidではすでに使えるようになっており、iOSは今日最新版を提出したので、数日後に使えるようになります!
では本題に移りますね。
Twitter Developerでのアプリ登録
まずはSupabaseで使えるためにAPIKEYたちを取得しましょう。アプリを登録すると画像の通りに取得できると思います。

まずはこちらで登録してみましょう。無料プランだと1つのアプリしかできないらしいので注意が必要です。
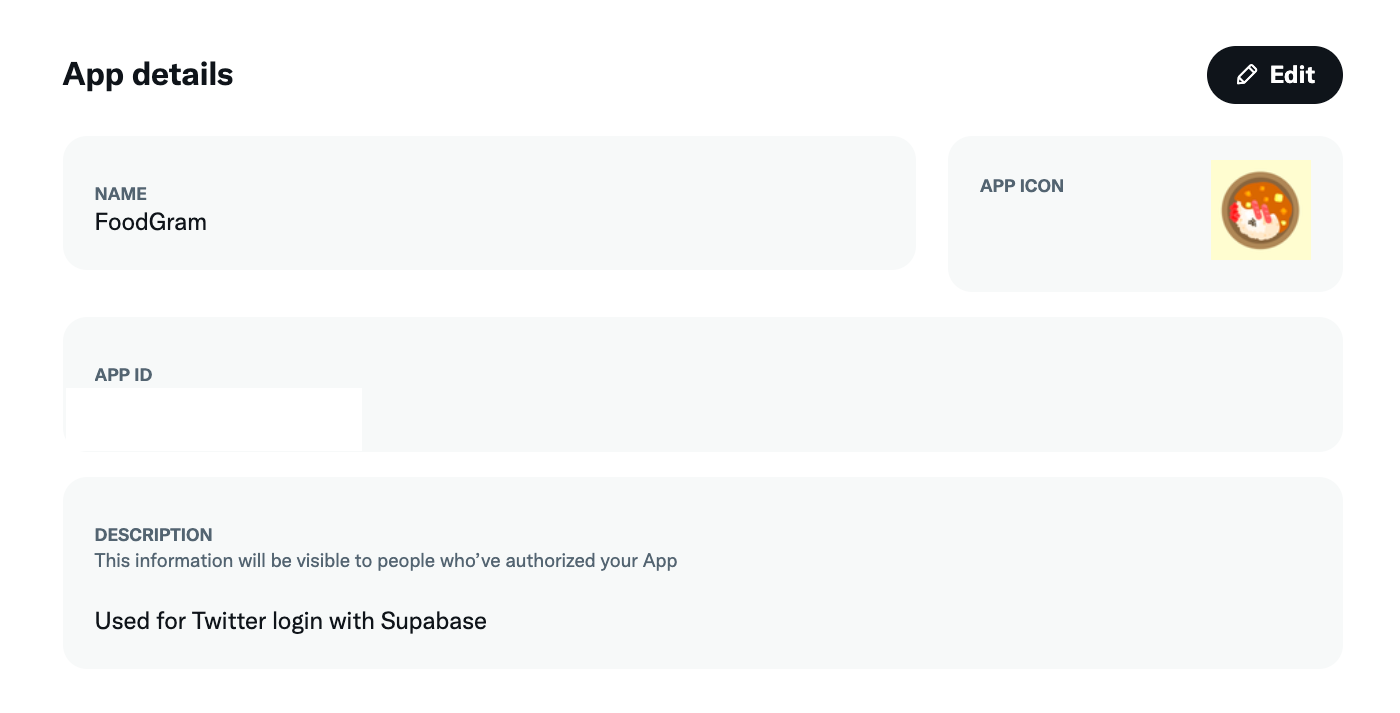
- アプリの設定をする
わからない場合は、画像を参考に作ってみてください。ログインする際に表示する内容になります。参考にしてみてください。
2.User authentication settingsを設定する
ここが一番わけわかなくて、大変でした。ドキュメントも特に分かりにくくきつかったすね。ということで分かりやすく記載できればなと思っています
App permissionsとType of Appを選択する
画像を参考にしてください。また僕自体も作りながら調整してきたので間違っていたら教えていただけると幸いです。
ここから下以降は文章にて説明します
- Callback URI / Redirect URL(必須)
- Supabaseで設定しているCallback URIを設定すると上手くいくと思います
- 例)https://<プロジェクトURL>.supabase.co/auth/v1/callback
- WebSite URL(必須)
- LPサイトとかを貼るといいと思います。
- 例)https://iseruuuuu.github.io/food_gram_web_site/
- Organization name
- 多分なんでもいいと思います。
- 例)FoodGram
- Organization URL
- 記載しなくても良さそう
- Terms of service(必須)
- アプリについての利用規約を載せる
- (僕の場合はNotionに記載して、公開しています)
- 例)https://succinct-may-e5e.notion.site/a0ad75abf8244404b7a19cca0e2304f1
- Privacy policy(必須)
- アプリについてのプライバシーポリシーを載せる
- (僕の場合はNotionに記載して、公開しています)
- https://succinct-may-e5e.notion.site/fd5584426bf44c50bdb1eb4b376d165f
Supabase側の設定を行う
事前にSupabaseのセットアップが終わっている前提で進めさせていただきます。
最初にTwitterログインを使えるようにします
Authentification > Sign in / Providers > Auth Providers でTwitterを探してください。
Twitterを 「enabled」にしてTwitter Developerから取得したAPI KeyとAPI Secret Keyを記載するだけで大丈夫です(CallBack URLは変更できないようになっているそうです)

次にリダイレクトのURLの設定を行います。
Authentification > URL Configuration > Redirect URLs において、以下のURLを追加します。
com.foodgram.scheme://auth/callback
これで一応Supabase側の準備はできていると思います。
Flutter側の実装を行う
iOS/Androidのディープリンクの設定
それぞれ必要な記述を行ってみました。
iOS
<key>CFBundleURLSchemes</key>
<array>
<string>com.foodgram.scheme</string>
</array>
Android
<data
     android:scheme="com.foodgram.scheme"
     android:host="auth"
     android:path="/callback"
/>
Flutterの実装をしていく
自分のアプリで書かれているコードをそのまま書こうと思っています。以下の流れで実装しています。今のトレンドの書き方ではないかもしれませんが、ご了承ください。
それぞれの責務について
- auth_service
- Supabaseのログインのビジネスロジックを担当
- authentication_view_model
- auth_serviceの内容を受け取り、その結果をView側に受け渡す。
- ボタンを押した際に発火させる処理を記載
- authentication_screen
- ログイン画面のUI部分を担当
auth_serviceの実装
Twitterのログインに必要な箇所だけを切り出しています。
import 'package:flutter_riverpod/flutter_riverpod.dart';
import 'package:food_gram_app/core/model/result.dart';
import 'package:logger/logger.dart';
import 'package:riverpod_annotation/riverpod_annotation.dart';
import 'package:supabase_flutter/supabase_flutter.dart';
part 'auth_service.g.dart';
AuthService authService(Ref ref) => AuthService(ref);
class AuthService {
AuthService(this.ref);
final Ref ref;
SupabaseClient get supabase => ref.read(supabaseProvider);
Future<Result<AuthResponse, String>> loginTwitter() async {
try {
final authResponse = await supabase.auth.signInWithOAuth(
OAuthProvider.twitter,
/// リダイレクトのURLを記述する
redirectTo: 'com.foodgram.scheme://auth/callback',
authScreenLaunchMode: LaunchMode.externalApplication,
);
return Success(authResponse);
} on AuthException catch (authError) {
logger.e('Twitter login failed: ${authError.message}');
return Failure(authError.message);
}
}
}
authentication_view_modelの実装
Twitterのログインに必要な箇所だけを切り出しています。また、書いている中でこれいらなくね?と思うものを取り除いたり、メモしてます。
import 'dart:async';
import 'package:flutter/material.dart';
import 'package:food_gram_app/core/supabase/auth/services/auth_service.dart';
import 'package:food_gram_app/core/utils/helpers/snack_bar_helper.dart';
import 'package:food_gram_app/core/utils/provider/loading.dart';
import 'package:food_gram_app/ui/screen/authentication/authentication_state.dart';
import 'package:logger/logger.dart';
import 'package:riverpod_annotation/riverpod_annotation.dart';
part 'authentication_view_model.g.dart';
class AuthenticationViewModel extends _$AuthenticationViewModel {
///省略(build関数周り)
final logger = Logger();
Loading get loading => ref.read(loadingProvider.notifier);
Future<void> loginTwitter(BuildContext context) async {
final result = await ref.read(authServiceProvider).loginTwitter();
await result.when(
success: (_) async {
///メモ ViewModel内にcontextを持っていきたくない
state = state.copyWith(loginStatus:L10n.of(context).loginSuccessful);
},
failure: (error) {
logger.e(error);
},
);
}
}
おまけの記述
念のためにauthentication_stateも記載しておきます。
import 'package:freezed_annotation/freezed_annotation.dart';
part 'authentication_state.freezed.dart';
class AuthenticationState with _$AuthenticationState {
const factory AuthenticationState({
(false) isLogin,
('') loginStatus,
}) = _AuthenticationState;
}
authentication_screenの実装
他のUIのWidgetなどを全て取り除いて必要なものだけ記載します。
import 'dart:async';
import 'dart:io';
import 'package:auth_buttons/auth_buttons.dart';
import 'package:flutter/material.dart';
import 'package:flutter_hooks/flutter_hooks.dart';
import 'package:food_gram_app/core/theme/style/authentication_style.dart';
import 'package:food_gram_app/core/utils/provider/loading.dart';
import 'package:food_gram_app/ui/screen/authentication/authentication_view_model.dart';
import 'package:gap/gap.dart';
import 'package:hooks_riverpod/hooks_riverpod.dart';
class AuthenticationScreen extends HookConsumerWidget {
const AuthenticationScreen({super.key});
Widget build(BuildContext context, WidgetRef ref) {
final buttonWidth = MediaQuery.of(context).size.width;
final controller = ref.watch(authenticationViewModelProvider().notifier);
/// 省略
TwitterAuthButton(
onPressed: () => controller.loginTwitter(context),
style: AuthenticationStyle.authButtonStyle(buttonWidth),
),
/// 省略
}
実装した例
動画を載せたいのですが、サポートしておらず、Gifだと容量が多いのでTwitterの投稿で動いた動画を載せます
iOS
Android
最後に
ドキュメント自体も正直なところ読んでもわかりづらく、特にTwitterとSupabaseがちゃんと繋げているかどうかがすごくわからないものありました。なので、この記事が少しでもお役に立てると幸いです。
ちなみに実装するまでの流れをスクラップにも記載してます。失敗してそれらを頑張って直すまでの過程が見れるので、ぜひ、気になる方は見てみてください。
また、作業したPRもこちらに載せておきますね。余計なものも入っていますが、あくまでも個人開発でやっていたので許してください。
最後まで読んでいただきありがとうございます!FoodGramのTwitterログイン導入で困ったことがあれば、お気軽にコメントください!記事が参考になったら「いいね」してもらえると励みになります!
また、アドバイスとかももらえると嬉しいです!
Discussion