Sign in with Apple の ID トークンをとってくる
動作を確認するためアプリケーションを構築せず手元でトークンエンドポイントから Sign in with Apple の ID トークンをとってきたときのメモです。
準備
App ID を作成

Certificates, Identifiers & Profiles から Identifiers+ を押して App ID を作成します。

App IDs にチェックします。

Sign in with Apple にチェックして保存します。
Service ID を作成

Certificates, Identifiers & Profiles から Identifiers+ を押して Service ID を作成します。

Sign in with Apple にチェックして Configure を選択します。Identifier の値をメモしておきます。

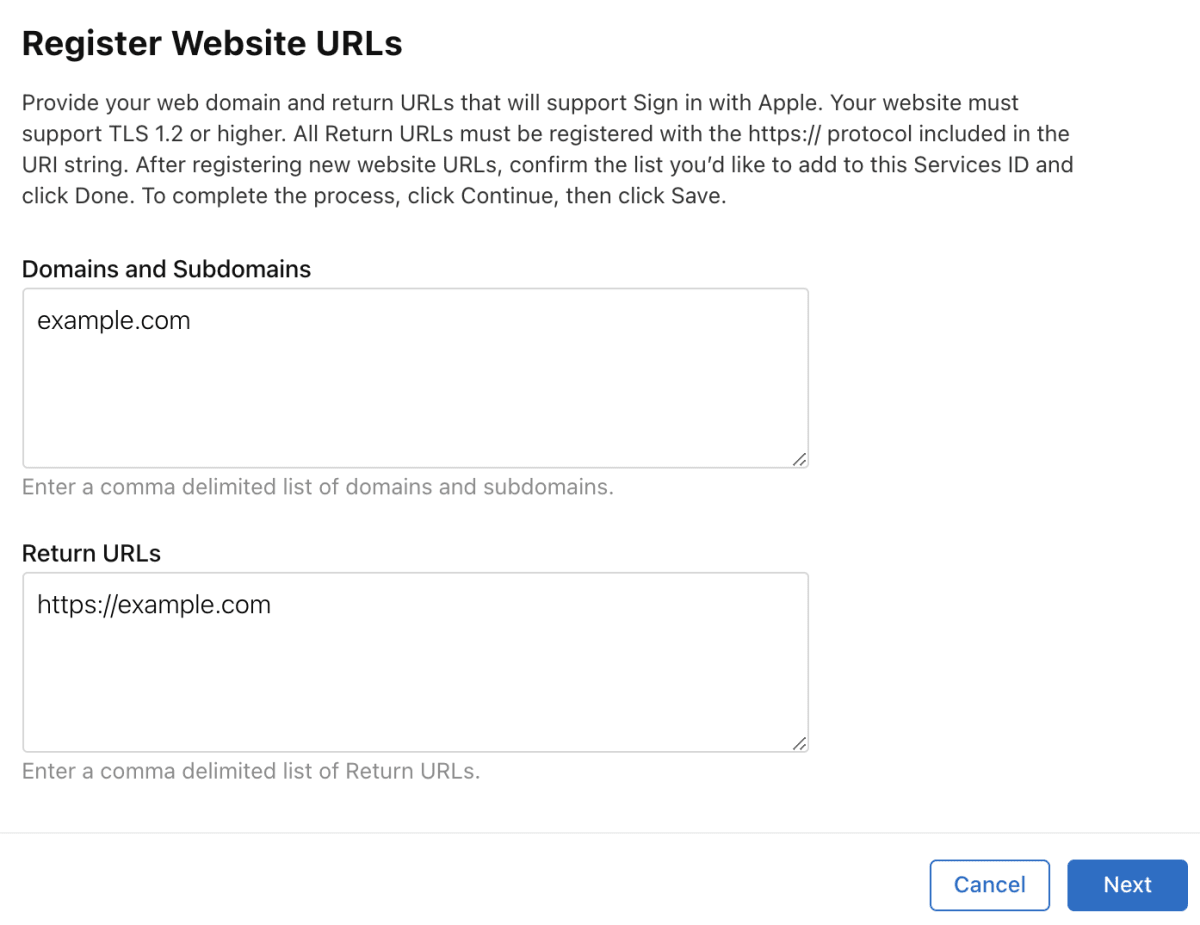
Domains and Subdomains に example.com を、Returns URLs に https://example.com を指定します。
Keys を作成

Certificates, Identifiers & Profiles から Keys+ を押して Keys を作成します。

Sign in with Apple にチェックし Configure を選択します。

Primary App ID に先ほど作成した App ID を選択します。

キーをダウンロードします。表示された Key ID をメモしておきます。
ダウンロードしたキーは xxx.p8 という拡張子になりますが、xxx.pem にリネームします。
ログインページの準備
ローカルに 以下の HTML ファイルを用意します。
<html>
    <head>
        <meta name="appleid-signin-client-id" content="xxxxx">
        <meta name="appleid-signin-scope" content="name email">
        <meta name="appleid-signin-redirect-uri" content="https://example.com">
        <meta name="appleid-signin-state" content="aaa">
        <meta name="appleid-signin-nonce" content="bbb">
        <meta name="appleid-signin-use-popup" content="false">
    </head>
    <body>
        <div id="appleid-signin" data-color="black" data-border="true" data-type="sign in"></div>
        <script type="text/javascript" src="https://appleid.cdn-apple.com/appleauth/static/jsapi/appleid/1/en_US/appleid.auth.js"></script>
    </body>
</html>
appleid-signin-client-id には Service ID の Identifier の値を指定してください。
今回は ID トークンが取得できればいいので state や nonce は適当です。
jwt-cli のインストール
トークンエンドポイントのリクエストに JWT のシークレットが必要なので jwt-cli をインストールします。
やってみる
Google Chrome で作成した HTML を開きます。POST した情報を見たいので開発者ツールのネットワークタブを開いておきます。

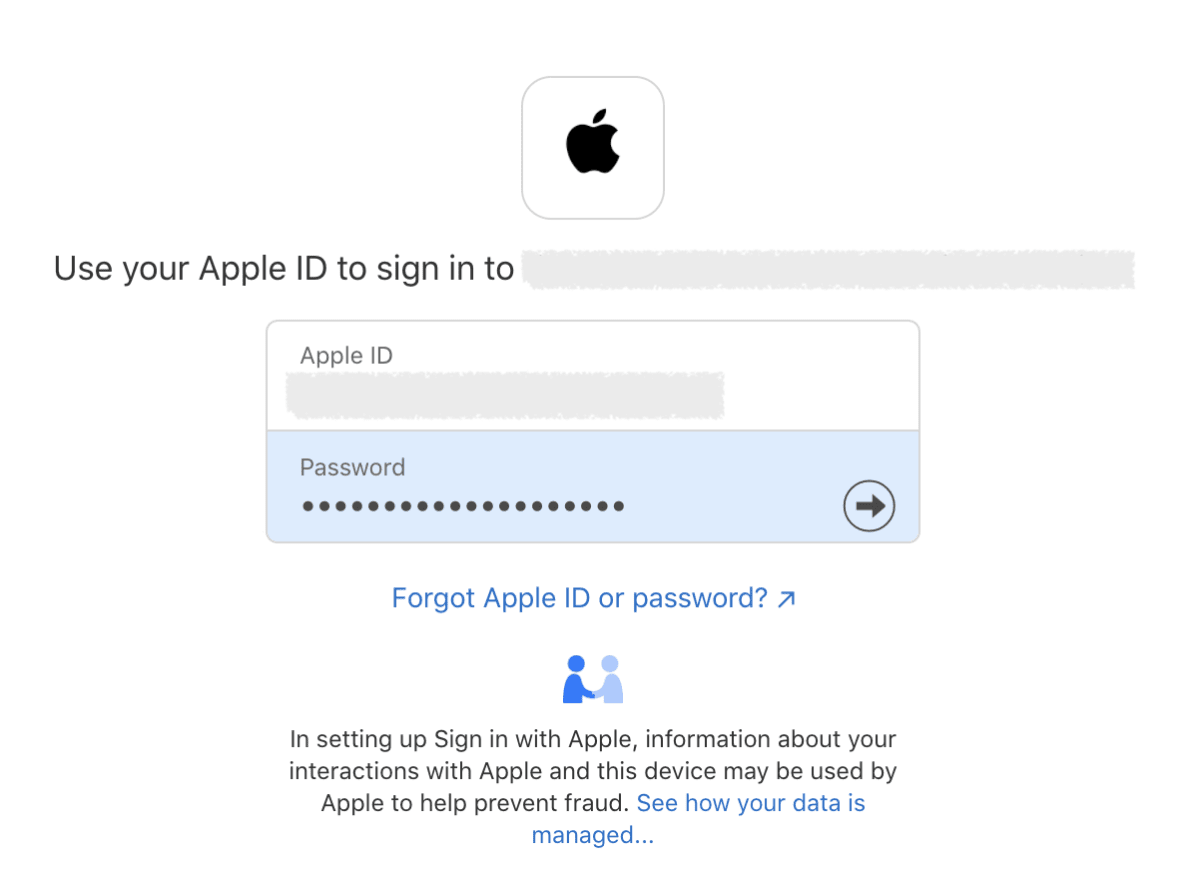
Sign in with Apple ボタンを選択すると Apple ID のサインイン画面に遷移します。

サインインします。

Continue を選択すると https://example.com に state、code、id_token が POST されます。
POST された code と id_token の値をメモしておきます。

POST された ID トークンを見てみる
$ jwt decode eyJxxxx.xxxxx.xxxxx

Token header
------------
{
  "alg": "RS256",
  "kid": "xxxxx"
}

Token claims
------------
{
  "aud": "xxxxx",
  "auth_time": 1634526055,
  "c_hash": "xxxxx",
  "email": "xxx@example.com",
  "email_verified": "true",
  "exp": 1634612455,
  "iat": 1634526055,
  "iss": "https://appleid.apple.com",
  "nonce": "bbb",
  "nonce_supported": true,
  "sub": "xxx"
}
認可コードと ID トークンを引き換える
シークレットの生成
Generate and Validate Tokens のCreating the Client Secret の手順でシークレットを生成します。
jwt-cli で作る場合以下のようになります。
jwt encode -A ES256 -k xxxxx -i xxxxx -a https://appleid.apple.com -s xxxxx -e --secret @/xxxx.pem
オプションには以下を指定してください。
- -k :
Keys を作成で表示される Key ID - -i : https://developer.apple.com/account/#!/membership/ に表示される Team ID
- -s :
Service ID を作成で表示される Identifier - --secret :
Keys を作成でダウンロードしたキーのパス(jwt-cli はキーの形式を拡張子で判断するので、拡張子が p8 ではなく pem である必要があります)
シークレットが生成できたら curl でトークンエンドポイントを叩きます。
curl -X POST "https://appleid.apple.com/auth/token" \
  -H 'content-type: application/x-www-form-urlencoded' \
  -d 'client_id=xxx' \
  -d 'client_secret=eyJxxxx.xxxxx.xxxxx' \
  -d 'code=xxx' \
  -d 'grant_type=authorization_code' \
  -d 'redirect_uri=https://example.com'
オプションには以下を指定してください。
- -client_id :
Service ID を作成で表示される Identifier(シークレット作成時の -s と同様_ - client_secret :
シークレットの生成で作成したシークレット - code :
https://example.comに POST されたcodeの値 - redirect_uri : ログインページの HTML に指定した
appleid-signin-redirect-uriの値
以下のようなレスポンスが返ってくるので、ID トークンをデコードしてみます。
{"access_token":"xxxxx","token_type":"Bearer","expires_in":3600,"refresh_token":"xxxxx","id_token":"eyJxxxx.xxxx.xxxx"}
$ jwt decode eyJxxxx.xxxxx.xxxxx

Token header
------------
{
  "alg": "RS256",
  "kid": "xxxxx"
}

Token claims
------------
{
  "aud": "xxxxx",
  "auth_time": 1634526055,
  "c_hash": "xxxxx",
  "email": "xxx@example.com",
  "email_verified": "true",
  "exp": 1634612455,
  "iat": 1634526055,
  "iss": "https://appleid.apple.com",
  "nonce": "bbb",
  "nonce_supported": true,
  "sub": "xxx"
}
デコードできました。


Discussion