🪬
SwiftUIでハートボタンタップ時のアニメーションつくってみた
はじめに

こういうハートのエフェクトを作りたくなりました。
できるもの
こういうのができます。
サンプルリポジトリ
SwiftUIを使って、以下の流れで実装していきました。
1.ハートボタンを作成する(最低限の実装)
2.ハートボタンをタップしたら、ハートのアニメーションが1つ出るようにする
3.ハートのアニメーションがタップした数だけ出るようにする
1. ハートボタンを作成する
import SwiftUI

struct ContentView: View {
    var body: some View {
        // タップ可能なハートボタン
        Button(action: {
            // ボタンをタップしたときのアクション(現時点では何もしない)
        }) {
            Image(systemName: "heart.fill")
                .resizable()
                .foregroundColor(.red)
                .frame(width: 50, height: 50)
        }
    }
}

#Preview {
    ContentView()
}

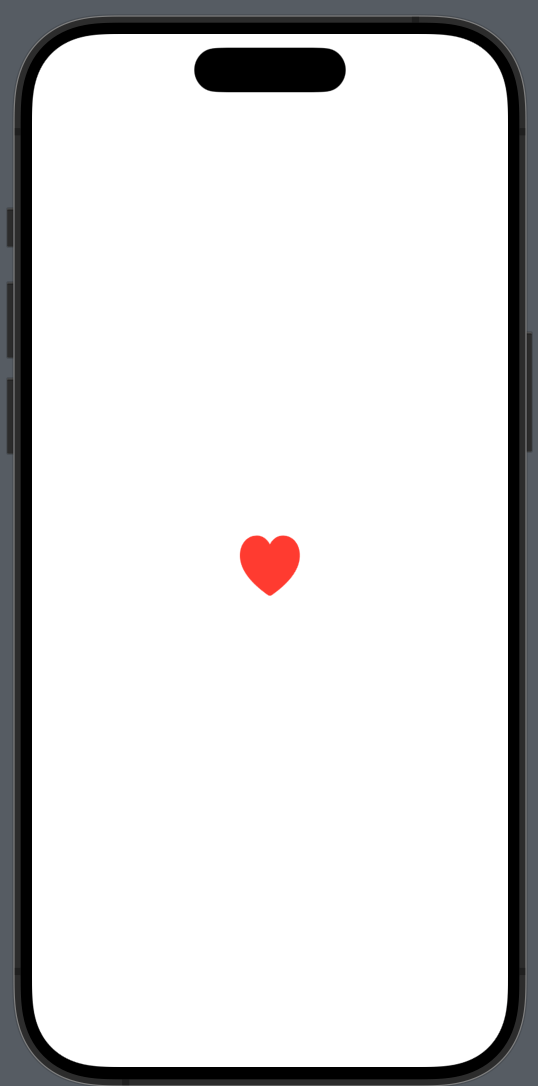
タップできるハートボタンができました!
2.ハートボタンをタップしたら、ハートのアニメーションが1つ出るようにする
ボタンをタップしたときにハートが上に移動しながらフェードアウトするアニメーションを追加します。
import SwiftUI

struct ContentView: View {
    @State private var showHeart = false

    var body: some View {
        ZStack {
            // タップ可能なハートボタン
            Button(action: {
                showHeart = true
            }) {
                Image(systemName: "heart.fill")
                    .resizable()
                    .foregroundColor(.red)
                    .frame(width: 50, height: 50)
            }

            // ハートのアニメーション
            if showHeart {
                HeartAnimationView {
                    // アニメーションが終わったらフラグをオフにする
                    showHeart = false
                }
            }
        }
    }
}

struct HeartAnimationView: View {
    @State private var yOffset: CGFloat = 0
    @State private var opacity: Double = 1

    var onAnimationEnd: () -> Void

    var body: some View {
        Image(systemName: "heart.fill")
            .resizable()
            .foregroundColor(.pink)
            .frame(width: 30, height: 30)
            .offset(y: yOffset)
            .opacity(opacity)
            .onAppear {
                startAnimation()
            }
            .onDisappear {
                onAnimationEnd()
            }
    }

    func startAnimation() {
        // ハートが上に移動しながらフェードアウトするアニメーション
        withAnimation(.easeOut(duration: 2)) {
            yOffset = -200
            opacity = 0
        }
    }
}

#Preview {
    ContentView()
}
3.ハートのアニメーションがタップした数だけ出るようにする
UUIDの配列を@Stateプロパティとして追加
@State private var heartAnimations = [UUID]()
addHeartAnimation()関数を作成し、ボタンをタップするたびに新しいUUIDをheartAnimations配列に追加
func addHeartAnimation() {
    heartAnimations.append(UUID())
}
removeHeartAnimation(id: UUID)関数を作成し、アニメーションが終了したハートを配列から削除
func removeHeartAnimation(id: UUID) {
    if let index = heartAnimations.firstIndex(of: id) {
        heartAnimations.remove(at: index)
    }
}
ForEachを使用して、heartAnimations配列内の各UUIDに対してHeartAnimationViewを生成するように追加したコード
import SwiftUI

struct ContentView: View {
    @State private var heartAnimations = [UUID]()

    var body: some View {
        ZStack {
            // タップ可能なハートボタン
            Button(action: {
                addHeartAnimation()
            }) {
                Image(systemName: "heart.fill")
                    .resizable()
                    .foregroundColor(.red)
                    .frame(width: 50, height: 50)
            }

            // ハートアニメーション
            ForEach(heartAnimations, id: \.self) { id in
                HeartAnimationView {
                    removeHeartAnimation(id: id)
                }
            }
        }
    }

    func addHeartAnimation() {
        heartAnimations.append(UUID())
    }

    func removeHeartAnimation(id: UUID) {
        if let index = heartAnimations.firstIndex(of: id) {
            heartAnimations.remove(at: index)
        }
    }
}

struct HeartAnimationView: View {
    @State private var yOffset: CGFloat = 0
    @State private var opacity: Double = 1

    var onAnimationEnd: () -> Void

    var body: some View {
        Image(systemName: "heart.fill")
            .resizable()
            .foregroundColor(.pink)
            .frame(width: 30, height: 30)
            .offset(y: yOffset)
            .opacity(opacity)
            .onAppear {
                startAnimation()
            }
            .onDisappear {
                onAnimationEnd()
            }
    }

    func startAnimation() {
        withAnimation(.easeOut(duration: 2)) {
            yOffset = -200
            opacity = 0
        }
    }
}

#Preview {
    ContentView()
}
連続でタップできます!

完成したコード
あとはxOffsetとrotationを追加して、ハートがランダムな横方向の位置と回転角度でアニメーションするようにしたり、sizeとcolorをランダムに設定し、ハートの大きさと色に変化を持たせたりした。
import SwiftUI

struct ContentView: View {
    @State private var heartAnimations = [UUID]()

    var body: some View {
        ZStack {
            // タップ可能なハートボタン
            Button(action: {
                addHeartAnimation()
            }) {
                Image(systemName: "heart.fill")
                    .resizable()
                    .foregroundColor(.red)
                    .frame(width: 50, height: 50)
            }

            // ハートのアニメーション
            ForEach(heartAnimations, id: \.self) { id in
                HeartAnimationView {
                    // アニメーションが終わったらUUIDを削除
                    removeHeartAnimation(id: id)
                }
            }
        }
    }

    func addHeartAnimation() {
        heartAnimations.append(UUID())
    }

    func removeHeartAnimation(id: UUID) {
        if let index = heartAnimations.firstIndex(of: id) {
            heartAnimations.remove(at: index)
        }
    }
}

struct HeartAnimationView: View {
    @State private var xOffset: CGFloat = 0
    @State private var yOffset: CGFloat = 0
    @State private var opacity: Double = 1
    @State private var scale: CGFloat = 1
    @State private var rotation: Double = 0
    @State private var size: CGFloat = CGFloat.random(in: 20...40)
    @State private var color: Color = [.yellow, .pink, .orange].randomElement()!

    var onAnimationEnd: () -> Void

    var body: some View {
        Image(systemName: "heart.fill")
            .resizable()
            .foregroundColor(color)
            .frame(width: size, height: size)
            .offset(x: xOffset, y: yOffset)
            .opacity(opacity)
            .scaleEffect(scale)
            .rotationEffect(Angle(degrees: rotation))
            .onAppear {
                startAnimation()
            }
            .onDisappear {
                onAnimationEnd()
            }
    }

    func startAnimation() {
        let animationDuration: Double = 2
        xOffset = CGFloat.random(in: -100...100)
        withAnimation(.easeOut(duration: animationDuration)) {
            yOffset = -300
            opacity = 0
            scale = 1.5
            rotation = Double.random(in: -45...45)
        }
    }
}


#Preview {
    ContentView()
}
参考
Discussion