新しいLearn Next.jsを読んでみる
ざっと読んだ感想
App Routerの機能に限らず周辺領域にたくさん言及されていて、「こういうメンタルモデルでやっていこうぜ!」っていうのがわかりやすい資料だった。種々の説明は端的でわかりやすく、ハンズオンの内容もとても実践的なので読み応えがある。
experimentalな機能についてもいくつか盛り込まれており、そこは賛否両論ありそう?KentがNextを使いたくない理由の一つに「アプデが忙しなすぎ」っていうのを挙げていたけど、そういう側面が如実に現れているのかなーという気がした。たぶん「今はたまたまexperimentalだけど、おれたちの目指す世界観からしたらこれは概ね必須のAPIだから!」って気持ちで盛り込まれていると思う。
一旦クローズしちゃいますけど皆様のコメントWelcomeです。
Next 14のアナウンス内容に入ってた
これっぽい。見た目いい感じ。
各章で目についたところだけ拾ってこうかな
cdにリンクついてるのなんでだろw
サンプルプロジェクトに書いていく形式
おお?Private foldersが使われてないな。あとでそうするってことかな。
ぼくがモックデータと呼んでいるもの、ここではplaceholder-dataと呼ぶらしい。へ〜。
なんかいやに実践的だな。モデルの型定義がしっかりあるぞ。
export type Invoice = {
  id: string;
  customer_id: string;
  amount: number;
  date: string;
  // In TypeScript, this is called a string union type.
  // It means that the "status" property can only be one of the two strings: 'pending' or 'paid'.
  status: 'pending' | 'paid';
};
We're manually declaring the data types, but for better type-safety, we recommend tools like Prisma, which automatically generates types based on your database schema.
Prismaが公式でおすすめされているなあ
お、進捗インジケータは前から引き継がれてる。前はポイント貯まる形式だったっけ?

プロジェクトは予めスタイリングがつけられておらず、そこからはじめるらしい。何順なんだろうこれ。わかりやすい順?最初は変化が大きいやつで楽しませる設計?
おー、Tailwindじゃん
typeじゃね? border-r-[20px]の最後の]が抜けてる気がする。
className="h-0 w-0 border-b-[30px] border-l-[20px] border-r-[20px border-b-black border-l-transparent border-r-transparent"
Quizあるのおもろいね。react.devもそうだけど。
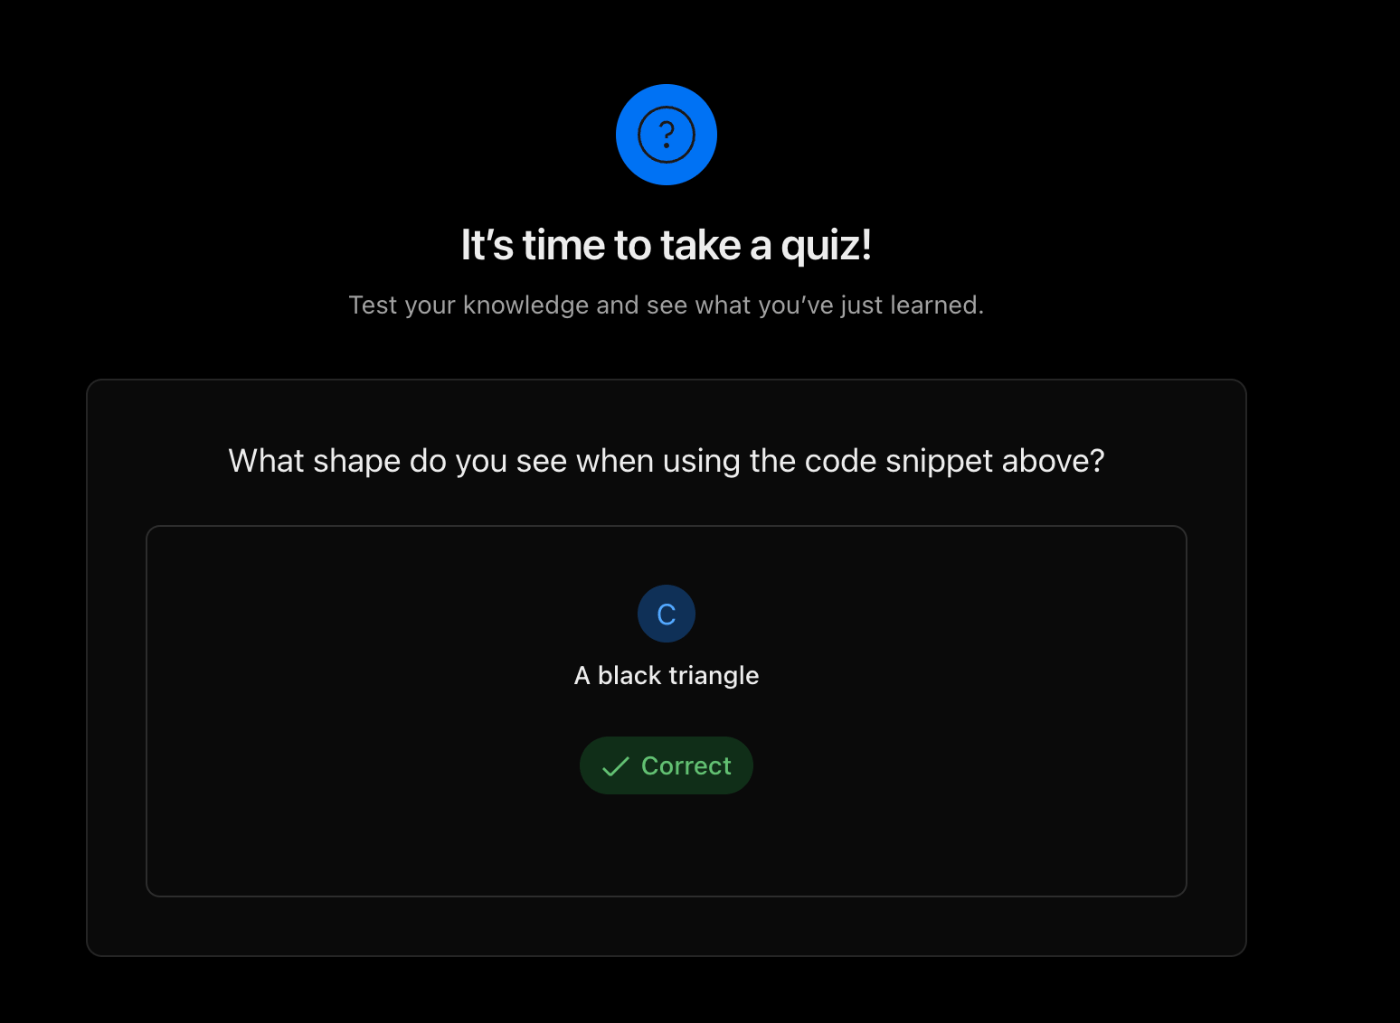
CSS Moduleも紹介されているけど、Tailwindが先なんやなあ
clsxも紹介されてんなあ。前もこんな個別のライブラリにフォーカス当ててる感じだったっけ?
Take a look at the CSS documentation for more information.
うまいことドキュメントへの誘導があっていいねー
いやまじでどういう順番??
HTML/CSSに近い(Primitiveな)ところからってことか?
それはそうと端的に学習できていいね
え、答えを隠す系のUI、トグルっぽいものを使わずにボタンだけでやってるなあ
next/imageの解説は全俺が期待していたのでありがとうございます。
デバイスごとの画像の切り替えこれでいいのかあと安心する。
  <div className="flex items-center justify-center p-6 md:w-3/5 md:px-28 md:py-12">
      {/* Add Hero Images Here */}
      <Image
        src="/hero-desktop.png"
        width={1000}
        height={760}
        className="hidden md:block"
        alt="Screenshots of the dashboard project showing desktop and mobile versions"
      />
      <Image
        src="/hero-mobile.png"
        width={560}
        height={620}
        className="block md:hidden"
        alt="Screenshot of the dashboard project showing mobile version"
      />
    </div>
そしてこれでいい理由もちゃんと書いてある。
Resizing images to avoid shipping large images to devices with a smaller viewport.
MDNもちょいちょいリファレンスされてていいなあ

個人的に、別スクラップでrefふくめ集中して読みたい章かも
盛り上がってまいりました
Why optimize navigation?
To link between pages, you'd traditionally use the <a> HTML element. At the moment, the sidebar links use <a> elements, but notice what happens when you navigate between the home, invoices, and customers pages on your browser.Did you see it?
There's a full page refresh on each page navigation!
画像のとこでも思ったけど、「最適化しないとどうなるか?」を端的に書いてくれているのが教えるの上手い人って感じする。
おお?ぬるっとクライアントコンポーネントという概念が出てきた。もう前提知識として扱うんだなこれ。
Since usePathName() is a hook, you'll need to turn nav-links.tsx into a Client Component. Add React's “use client” directive to the top of the file, then import usePathName() from next/navigation:
App Routerコワイになってるひと、大体RSC/RCCコワイで止まっている気がしたので、気になった
In addition to client-side navigation, Next.js automatically code splits your application by route segments. This is different from a traditional SPA, where browser loads all your application code on initial load.
Splitting code by routes means that pages become isolated. If a certain page throws an error, the rest of the application will still work.
ここも端的にメリットを説明しててうまいなあ
DB??
If you are using React Server Components (fetching data on the server), you can skip the API layer, and query your database directly without risking exposing your database secrets to the client.
ここが伝わるようにってことかなあ
Using Server Components to fetch data
By default, Next.js applications use React Server Components, and you can opt into Client Components when needed. There are a few benefits to fetching data with React Server Components:
- Server Components execute on the server, so you can keep expensive data fetches and logic on the server and only send the result to the client.
- Server Components support promises, providing a simpler solution for asynchronous tasks like data fetching. You can use async/await syntax without reaching out for useEffect, useState or data fetching libraries.
- Since Server Components execute on the server, you can query the database directly without an additional API layer.
まあでも最重要だからなあこれ。DB用意するのは教育的には妥当かあ。
Using SQL
えー、なんかやっぱりNext.jsを学ぶ資料の真ん中にVercel Postgresの説明が入ってくるのはうーんて感じするけどな
しかもfetch関数の中身は最初からlibに書いてあるんかいっ
But with SQL, you can fetch only the data you need. It's a little longer than using Array.length, but it means less data needs to be transferred during the request. This is the SQL alternative:
めっちゃSQLの説明してくるなあー。フルスタックフレームワークであることを全面に出してきているってことかなあ。
What are request waterfalls?
waterfallsの説明あるの純粋にいいね
え、Promise.allで終わり!?Suspenseは??ページでデータフェッチすんなって言ってくれよ
You can use a Next.js API called unstable_noStore inside your Server Components or data fetching functions to opt-out of static rendering. Let's add this.
シンプルにunstable_noStore知らんかった。説明はわかりやすかったけど learnにexperimental APIを使わざるを得ないところが、この資料の問題と言うよりNext.jsの課題に感じた。あえてなのかな。
お、お、お!ここでSuspenseかあ。よかったあ。さっきはごめんなさい。
(誰かにおすすめするときは、少なくとも7,8,9はセットで読んでもらう必要がある)
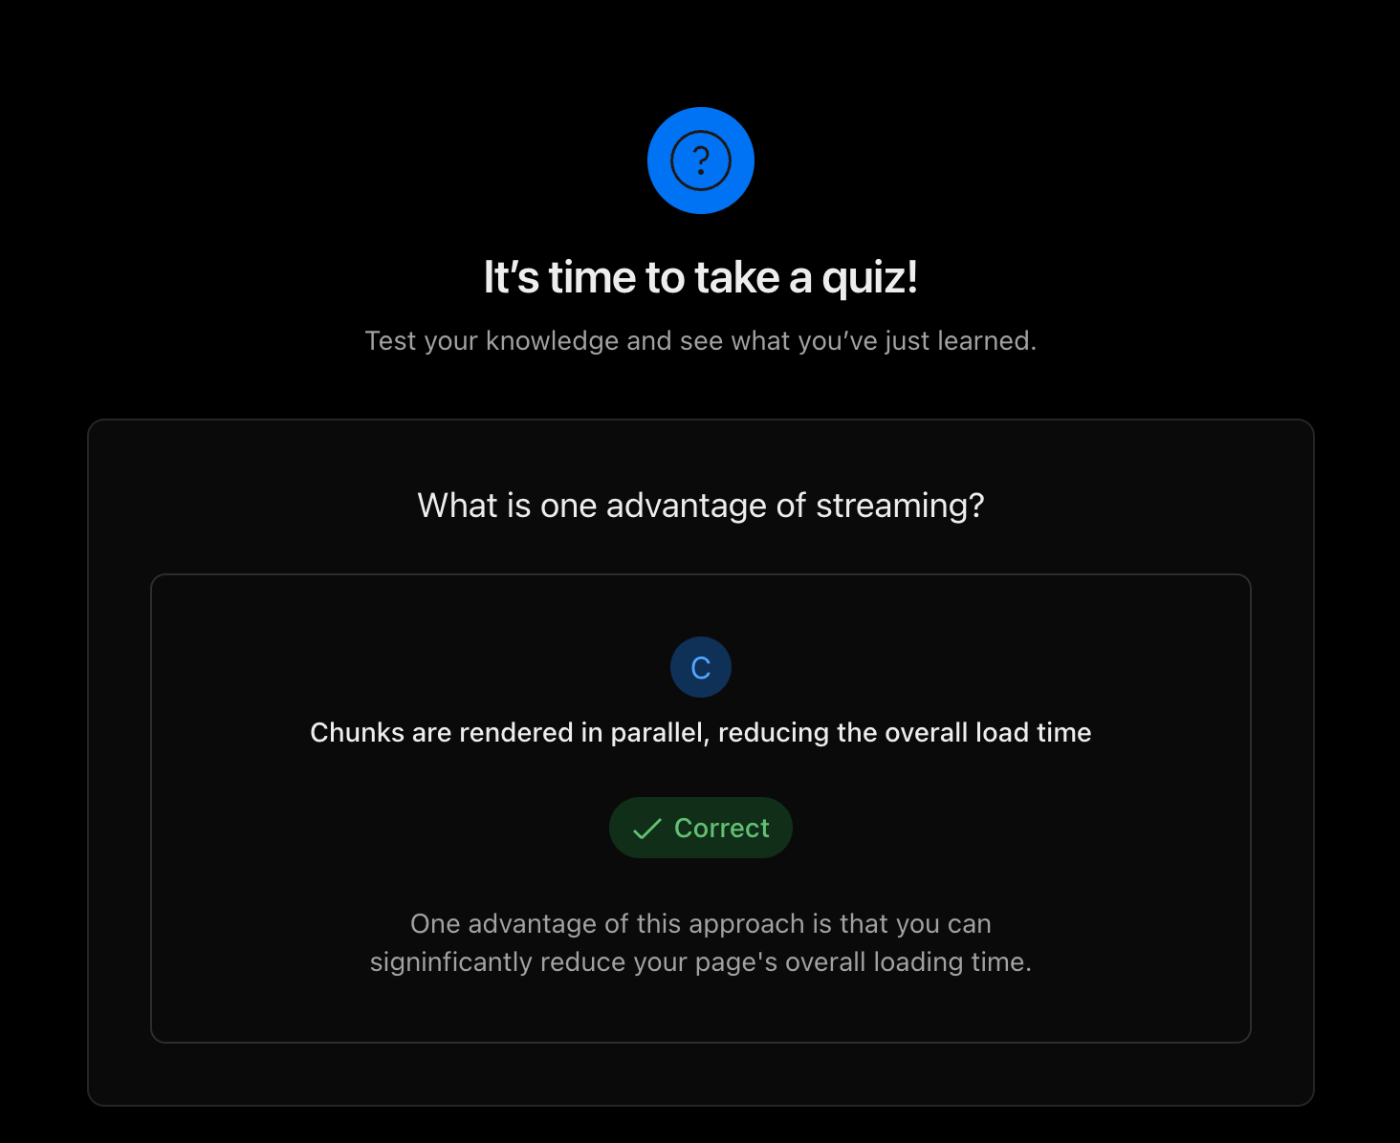
By streaming, you can prevent slow data requests from blocking your whole page. This allows the user to see and interact with parts of the page without waiting for all the data to load before any UI can be shown to the user.
With streaming, data fetching and rendering for each chunk is also initiated in parallel, solving the waterfall problem.
説明はほんとに端的で上手なんだよなあ
クイズなあ、説明の直後についているから絶対答え覚えてるんだよなあ。章末にまとめてあってもいいと思った。
There are two ways you implement streaming in Next.js:
- At the page level, with the loading.tsx file.
- For specific components, with <Suspense>.
Let's see how this works.
loading.tsxがSuspenseとセットで説明されているのはありがたいと思った。いやまあ普通にやればそうなるんだけど、「特別なファイル集」として説明されると抵抗感出ると思うので。
Luckily, we can fix this with Route Groups. Create a new folder called /(overview) inside dashboard folder. Then, move your loading.tsx and page.tsx files inside the folder:
おー、Route Groupsの説明ここで差し込んでくるのか。上手い気がした。
Suspenseを用いたRevenueChartのrefactor(もはやfixか?)。とてもいい説明。
このノリでContainer/Presenterへの言及ないかな。
Deciding where to place your Suspense boundaries
良い説明だなーと思いつつ、これはReact fundamentalの範疇だと思うので、Next.jsだけを説明してやろう!っていう意図で作られた資料じゃないんだなこれは。
ふつうに気になる章に入った
デフォルトで隠されているコンテンツをここに引用してくるのは申し訳ないと思いつつ、これはめちゃくちゃいい図だと思った
前までアプリケーション単位でSSGとかSSRとか言ってたけど、cacheという切り口で考えることでコンポーネント単位でstatic/dynamicが変わってくるよー、ってのがStreamingからの流れでよく伝わるきがする。
In Next.js 14, you can use a new rendering model called Partial Prerendering (PPR). PPR is an experimental feature that allows you to render a route statically, while keeping some parts dynamic. In other words, you can isolate the dynamic parts of a route. For example:
PPRだって。また3文字略語だね。
It's worth noting that wrapping a component in Suspense doesn't make the component itself dynamic (remember you used unstable_noStore to achieve this behavior), but rather Suspense is used as a boundary between the static and dynamic parts of your route.
The great thing about PPR is that you don't need to change your code to use it. As long as you're using Suspense to wrap the dynamic parts of your route, Next.js will know which parts of your route are static and which are dynamic.
自然なインターフェイスやなーとも思えるし、いや裏でゴニョゴニョしすぎでしょとも思えるな
まあでも教育にいいのは間違いなくて、data fetchingの章からここまでセットで読むとメンタルモデルが醸成されそう
手厚いなあ
Why use URL search params?
おーこういうところにも言及されてるの素晴らしいな。めちゃ分厚くない??
おーなんか、URLをひとつのstateとして見ようねーみたいな意図が感じられる気がするな
  function handleSearch(term: string) {
    const params = new URLSearchParams(searchParams);
    if (term) {
      params.set('query', term);
    } else {
      params.delete('query');
    }
    replace(`${pathname}?${params.toString()}`);
  }
}
defaultValue vs. value / Controlled vs. Uncontrolled
こんなところまで触れられてるんだ、いいね。state管理とURL管理の違いもよく伝わるし。
しょうもないけど"defaultValue vs. value"という並びなら" Uncontrolled vs. Controlled"のほうがいいのでは、と思った(というかvalue vs defaultValueとするのが良さそう)
      <Suspense key={query + currentPage} fallback={<InvoicesTableSkeleton />}>
        <Table query={query} currentPage={currentPage} />
      </Suspense>
Suspenseにkeyを渡すところに説明がほしいと思ったけどな
Best practice: Debouncing
すげえな、全部乗せでは
ここではuse-debounceが紹介されてる。個別のライブラリの紹介を惜しまないなあ。
Paginationのとこ、手元でコード読まないとつかみにくいかも
These patterns are different to what you may be used to when working on the client only, but hopefully, you have some skills to implement functionality that spans both the server and the client!
やはりサーバーとクライアントにまたがるシーンを意図して盛り込んでいるっぽい
What are Server Actions?
React Server Actions allow you to run asynchronous code directly on the server. They eliminate the need to create API endpoints to mutate your data. Instead, you write asynchronous functions that execute on the server and can be invoked from your Client or Server Components.
Security is a top priority for web applications, as they can be vulnerable to various threats. This is where Server Actions come in. They offer an effective security solution, protecting against different types of attacks, securing your data, and ensuring authorized access. Server Actions achieve this through techniques like POST requests, encrypted closures, strict input checks, error message hashing, and host restrictions, all working together to significantly enhance your app's safety.
stableになりましたから当然入ってきますよねえ。セキュリティ面からの説明なんだね。
An advantage of invoking a Server Action within a Server Component is progressive enhancement - forms work even if JavaScript is disabled on the client.
あ、そうか。そういうメリットもあるな...。
純粋にServer Actionを用いたformのハンズオンがあるのありがたいなあ
To handle type validation, you have a few options. While you can manually validate types, using a type validation library can save you time and effort. For your example, we'll use Zod,
今度はZodがでてきた
const date = new Date().toISOString().split('T')[0];
ここにdate format libraryを紹介するほどではなかったかw
ちゃんと生産性に対して本質的なところでライブラリを紹介しているね
revalidatePathとredirectまで書いて、ひととおりform actionを説明してくれている
Next.js allows you to create Dynamic Route Segments when you don't know the exact segment name and want to create routes based on data. This could be blog post titles, product pages, etc. You can create dynamic route segments by wrapping a folder's name in square brackets. For example, [id], [post] or [slug].
そういえばあんたの説明まだやったなあ
UUIDs vs. Auto-incrementing Keys
ここにも言及するんだ
Instead, you can pass id to the formData object with a hidden <input> field. This will allow you to access the id in your Server Action.
丁寧だなあ
いまは流し読みだけど、実際にハンズオンをやりたい章だった!
a11yへの言及もあるのかあ
eslint-plugin-jsx-a11yの紹介
これまたexperimentalなuseFormStateを使用
もはやZodの説明
const InvoiceSchema = z.object({
  id: z.string(),
  customerId: z.string({
    invalid_type_error: 'Please select a customer.',
  }),
  amount: z.coerce
    .number()
    .gt(0, { message: 'Please enter an amount greater than $0.' }),
  status: z.enum(['pending', 'paid'], {
    invalid_type_error: 'Please select an invoice status.',
  }),
  date: z.string(),
});
あ、しかもsafeParseにしてる(この流れでresult型への言及あるか?)
本筋じゃないけど、&&じゃなくて? A : nullなんだな
      {state.errors?.customerId ? (
        <div
          id="customer-error"
          aria-live="polite"
          className="mt-2 text-sm text-red-500"
        >
          {state.errors.customerId.map((error: string) => (
            <p key={error}>{error}</p>
          ))}
        </div>
      ) : null}
いい章ではあったけども、"Improving Accessibility"というタイトルから入った人からするとちょっと期待値とズレてるんじゃないかなーと言う気はした。「Formのバリデーションとエラーハンドリングをちゃんとしました」の章に思えた。
まじか、こんなところまでやるのか

