👍
Next.js のチュートリアルで作ったブログに5分でいいねボタンを実装する
はじめに
いいねボタンが押されたら Discord のチャンネルに通知がいく仕組みを作ります。
ソースコードの準備
Next.js のチュートリアルが完了した状態から話を進めます。
以下を実行すれば手っ取り早く環境を再現できます。
npx create-next-app nextjs-blog-iine --use-npm --example "https://github.com/vercel/next-learn/tree/master/basics/typescript-final"
Discord で ウェブフックURLを取得する
サーバー設定 > 連携サービス > ウェブフック > 新しいウェブフック > ウェブフックURLをコピー で取得できます。
取得したウェブフックURLは環境変数にセットしておきます。
.local.env
NEXT_PUBLIC_DISCORD_WEBHOOK_URL=https://discord.com/api/webhooks/********
実装
lib/discord.ts
const webHookUrl = process.env.NEXT_PUBLIC_DISCORD_WEBHOOK_URL

export function postMessage(title: string) {
  const data = { "username": "blog-notify", "content": title + "がいいねされました" }
  fetch(webHookUrl, {
    method: "POST",
    mode: "cors",
    headers: {
      'Content-type': 'application/json'
    },
    body: JSON.stringify(data),
  }).catch(error => console.error(error))
}
components/IineButton.tsx
import { useState } from 'react'
import { postMessage } from '../lib/discord'

export function IineButton({ title }: { title: string }) {
  const [isDisplay, setIsDisplay] = useState(false)

  function postIine(title: string) {
    postMessage(title)
    toggleDisplay()
  }

  function toggleDisplay() {
    setIsDisplay(!isDisplay)
  }

  return (
    <>
      <button disabled={isDisplay ? true : false} onClick={() => postIine(title)}>
        👍
      </button>
      <span style={{ display: isDisplay ? '' : 'none' }}> {"<"} thank you ! </span>
    </>
  )
}
pages/posts/[id].tsx
  import Layout from '../../components/layout'
  import { getAllPostIds, getPostData } from '../../lib/posts'
  import Head from 'next/head'
  import Date from '../../components/date'
  import utilStyles from '../../styles/utils.module.css'
  import { GetStaticProps, GetStaticPaths } from 'next'
+ import { IineButton } from '../../components/IineButton'

  export default function Post({
    postData
  }: {
    postData: {
      title: string
      date: string
      contentHtml: string
    }
  }) {
    return (
      <Layout>
        <Head>
          <title>{postData.title}</title>
        </Head>
        <article>
          <h1 className={utilStyles.headingXl}>{postData.title}</h1>
          <div className={utilStyles.lightText}>
            <Date dateString={postData.date} />
          </div>
          <div dangerouslySetInnerHTML={{ __html: postData.contentHtml }} />
+         <IineButton title={postData.title}/>
        </article>
      </Layout>
    )
  }
おまけ:tailwindcss でボタンを装飾する場合
自分のブログ では tailwindcss を使っているので、以下のように実装しています。

    <>
      <button className="bg-transparent text-blue-700 border py-1 px-4 ml-4 mr-2 rounded-full hover:bg-gray-100" disabled={isDisplay ? true : false } onClick={() => postIine(title)}>
        👍
      </button>
      <span style={{ display: isDisplay ? '' : 'none' }}> {"<"} thank you ! </span>
    </>
動作確認
npm run dev で環境を立ち上げて、ブログページを開きます。

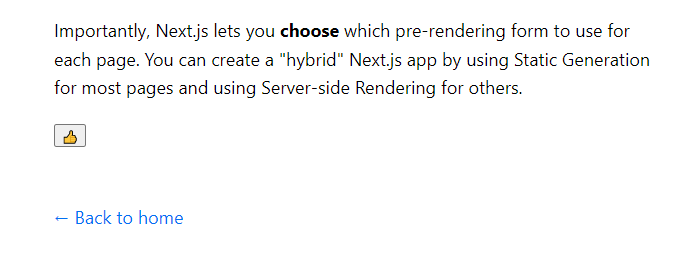
👍 ボタンを押すと ...

いいねが通知されました!

Vercel に deploy
https://vercel.com/new からデプロイしてみます。

環境変数の登録を忘れずに。

無事に公開されました。
おわりに
こちらサンプルコードです。

Discussion