FlutterのiOS アプリでの画面表示の仕組み
はじめに
FlutterでiOSアプリのデバッグをしていると、ホットリロードが効いていたり、実際どうやってFlutterアプリはiOSアプリのUIKit上で動作しているのか、よくわからないと思うところがあったので、ちょっとFlutterの内部のコードを見てみました。
このコードを見ながらどうやってiOSアプリ上で、FlutterのWidgetが表示されているのかを想像してみようと思います。
Flutterの公式にもその辺については言及もあり下記のように書かれています。
- On iOS and macOS, Flutter is loaded into the embedder as a UIViewController or NSViewController, respectively. The platform embedder creates a FlutterEngine, which serves as a host to the Dart VM and your Flutter runtime, and a FlutterViewController, which attaches to the FlutterEngine to pass UIKit or Cocoa input events into Flutter and to display frames rendered by the FlutterEngine using Metal or OpenGL.
下記のようなことが書かれていそうです。
- iOSとmacOSでは、FlutterはそれぞれUIViewControllerまたはNSViewControllerとしてロードされる。
- platform embedderは、Dart VMとFlutterランタイムのホストとして機能するFlutterEngineと、FlutterEngineに接続してUIKitまたはCocoa入力イベントをFlutterに渡し、FlutterEngineによってMetalまたはOpenGLをつかってフレームがレンダリングされる。
この辺について、実際のコードを見てみようと思います。
まずFlutterのiOSプロジェクトを見てみる
flutter createコマンドでFlutterアプリのプロジェクトを作成すると、iOSのプロジェクトはこんな感じになっている。
ライブラリ入れたりすると、ちょっとここにもコードを書いたりするかもしれないが、基本的にはそのままだと思う。

import UIKit
import Flutter

@UIApplicationMain
@objc class AppDelegate: FlutterAppDelegate {
  override func application(
    _ application: UIApplication,
    didFinishLaunchingWithOptions launchOptions: [UIApplication.LaunchOptionsKey: Any]?
  ) -> Bool {
    GeneratedPluginRegistrant.register(with: self)
    return super.application(application, didFinishLaunchingWithOptions: launchOptions)
  }
}
FlutterAppDelegateを継承している。
//
//  Generated file. Do not edit.
//

// clang-format off

#ifndef GeneratedPluginRegistrant_h
#define GeneratedPluginRegistrant_h

#import <Flutter/Flutter.h>

NS_ASSUME_NONNULL_BEGIN

@interface GeneratedPluginRegistrant : NSObject
+ (void)registerWithRegistry:(NSObject<FlutterPluginRegistry>*)registry;
@end

NS_ASSUME_NONNULL_END
#endif /* GeneratedPluginRegistrant_h */
//
//  Generated file. Do not edit.
//

// clang-format off

#import "GeneratedPluginRegistrant.h"

#if __has_include(<path_provider/FLTPathProviderPlugin.h>)
#import <path_provider/FLTPathProviderPlugin.h>
#else
@import path_provider;
#endif

@implementation GeneratedPluginRegistrant

+ (void)registerWithRegistry:(NSObject<FlutterPluginRegistry>*)registry {
  [FLTPathProviderPlugin registerWithRegistrar:[registry registrarForPlugin:@"FLTPathProviderPlugin"]];
}

@end
#import "GeneratedPluginRegistrant.h"
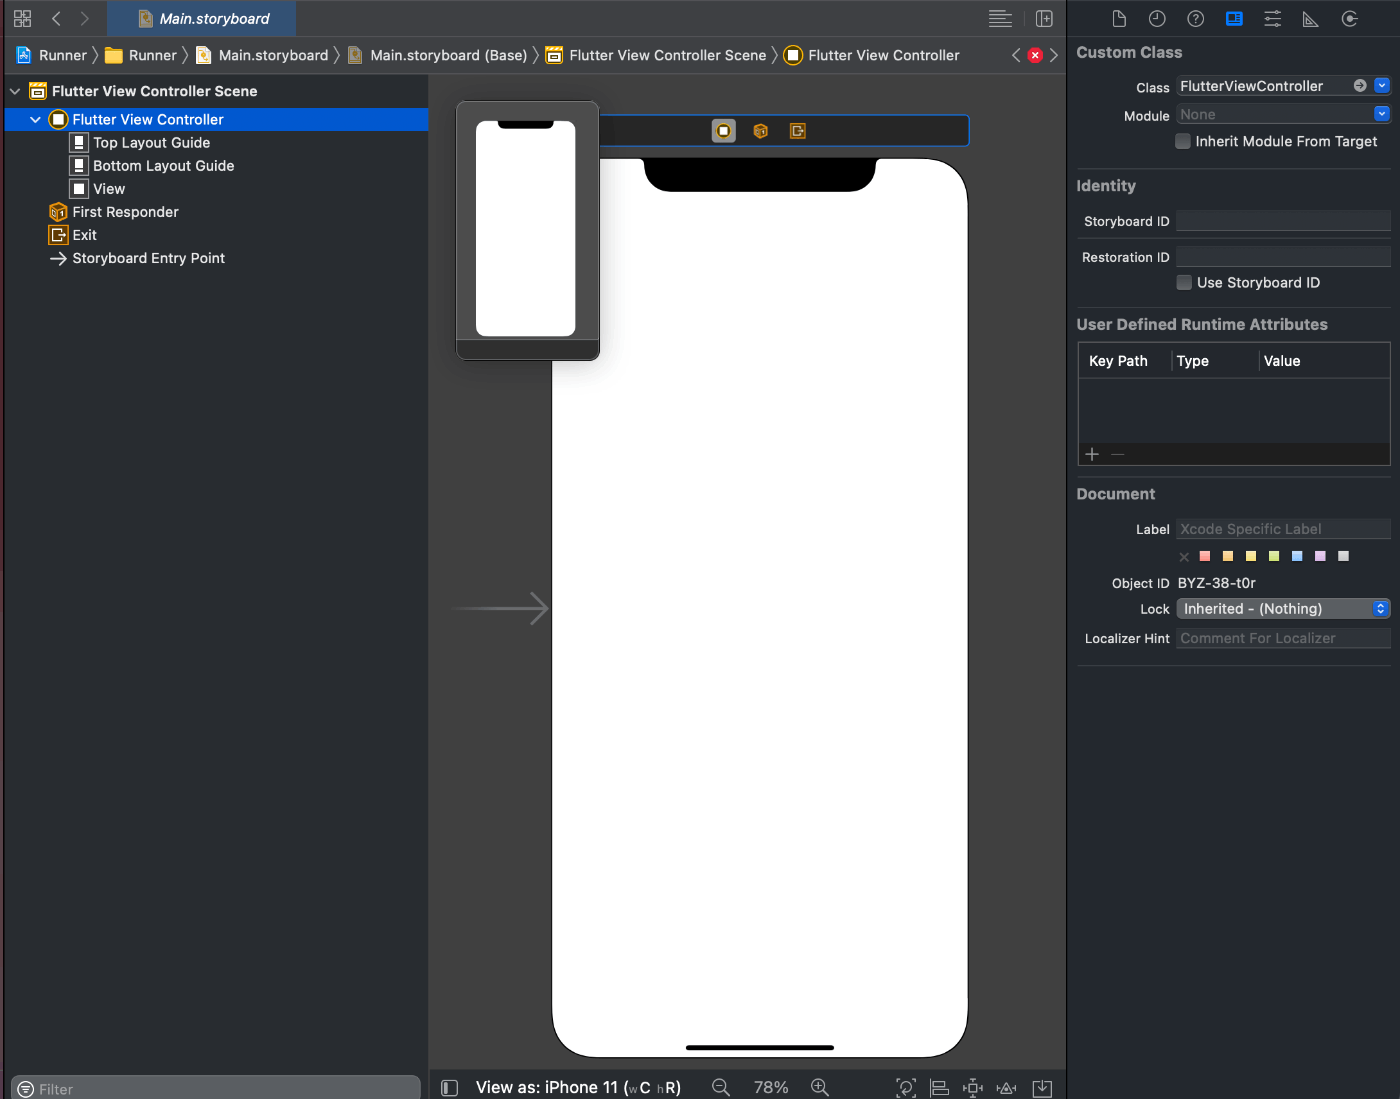
Main.storyboardのInitial View Controllerに FlutterViewController が指定されている。
FlutterViewControllerでWidget表示やユーザー操作検知のハンドリングが行われていそうです。
コードを見てみる
ググってみると FlutterAppDelegate や FlutterViewController などの内部のコードは下記のリポジトリに公開されていた。
FlutterAppDelegate
FlutterPluginAppLifeCycleDelegate* _lifeCycleDelegateにほとんど処理を移譲しているような作りだった。
(void)addApplicationLifeCycleDelegate:(NSObject<FlutterApplicationLifeCycleDelegate>*)delegate というメソッドがあり、これはネイティブのiOSアプリにFlutterの画面を追加する場合に使うっぽいです(わたしはまだやったことがないです)。
FlutterPluginAppLifeCycleDelegate は名前の通りライフサイクルを司るようになっていそうだと思われます。
FlutterViewController
FlutterViewController はこれですが結構長いです。
気になったところをいくつか抜粋してみます。
- (void)loadView {
  self.view = GetViewOrPlaceholder(_flutterView.get());
  self.view.multipleTouchEnabled = YES;
  self.view.autoresizingMask = UIViewAutoresizingFlexibleWidth | UIViewAutoresizingFlexibleHeight;

  [self installSplashScreenViewIfNecessary];
  UIScrollView* scrollView = [[UIScrollView alloc] init];
  scrollView.autoresizingMask = UIViewAutoresizingFlexibleWidth;
  // The color shouldn't matter since it is offscreen.
  scrollView.backgroundColor = UIColor.whiteColor;
  scrollView.delegate = self;
  // This is an arbitrary small size.
  scrollView.contentSize = CGSizeMake(kScrollViewContentSize, kScrollViewContentSize);
  // This is an arbitrary offset that is not CGPointZero.
  scrollView.contentOffset = CGPointMake(kScrollViewContentSize, kScrollViewContentSize);
  [self.view addSubview:scrollView];
  _scrollView.reset(scrollView);
}

static UIView* GetViewOrPlaceholder(UIView* existing_view) {
  if (existing_view) {
    return existing_view;
  }

  auto placeholder = [[[UIView alloc] init] autorelease];

  placeholder.autoresizingMask = UIViewAutoresizingFlexibleWidth | UIViewAutoresizingFlexibleHeight;
  if (@available(iOS 13.0, *)) {
    placeholder.backgroundColor = UIColor.systemBackgroundColor;
  } else {
    placeholder.backgroundColor = UIColor.whiteColor;
  }
  placeholder.autoresizesSubviews = YES;

  // Only add the label when we know we have failed to enable tracing (and it was necessary).
  // Otherwise, a spurious warning will be shown in cases where an engine cannot be initialized for
  // other reasons.
  if (flutter::GetTracingResult() == flutter::TracingResult::kDisabled) {
    auto messageLabel = [[[UILabel alloc] init] autorelease];
    messageLabel.numberOfLines = 0u;
    messageLabel.textAlignment = NSTextAlignmentCenter;
    messageLabel.autoresizingMask =
        UIViewAutoresizingFlexibleWidth | UIViewAutoresizingFlexibleHeight;
    messageLabel.text =
        @"In iOS 14+, debug mode Flutter apps can only be launched from Flutter tooling, "
        @"IDEs with Flutter plugins or from Xcode.\n\nAlternatively, build in profile or release "
        @"modes to enable launching from the home screen.";
    [placeholder addSubview:messageLabel];
  }

  return placeholder;
}
UIViewController#loadView をオーバーライドしているところのGetViewOrPlaceholder でiOS14以降でFlutterアプリをデバッグ実行していない時にflutterアプリを起動した時に表示される In iOS 14+, debug mode Flutter apps can only be launched from Flutter tooling, ~~ の文言はここに実装されていました。 GetViewOrPlaceholder の引数になっている _flutterView は - (instancetype)initWithEngine:(FlutterEngine*)engine nibName:(nullable NSString*)nibName bundle:(nullable NSBundle*)nibBundle などのイニシャライザでFlutterView型で初期化されています。
そのため、Flutterアプリが普通に動いている時は self.view には FlutterView が設定されていそうです。また、self.view には子ビューに scrollView が addSubview されていました。
_flutterView を初期化しているところを見てみます。
- (instancetype)initWithEngine:(FlutterEngine*)engine
                       nibName:(nullable NSString*)nibName
                        bundle:(nullable NSBundle*)nibBundle {
  NSAssert(engine != nil, @"Engine is required");
  self = [super initWithNibName:nibName bundle:nibBundle];
  if (self) {
    _viewOpaque = YES;
    if (engine.viewController) {
      FML_LOG(ERROR) << "The supplied FlutterEngine " << [[engine description] UTF8String]
                     << " is already used with FlutterViewController instance "
                     << [[engine.viewController description] UTF8String]
                     << ". One instance of the FlutterEngine can only be attached to one "
                        "FlutterViewController at a time. Set FlutterEngine.viewController "
                        "to nil before attaching it to another FlutterViewController.";
    }
    _engine.reset([engine retain]);
    _engineNeedsLaunch = NO;
    _flutterView.reset([[FlutterView alloc] initWithDelegate:_engine opaque:self.isViewOpaque]);
    _weakFactory = std::make_unique<fml::WeakPtrFactory<FlutterViewController>>(self);
    _ongoingTouches.reset([[NSMutableSet alloc] init]);

    [self performCommonViewControllerInitialization];
    [engine setViewController:self];
  }

  return self;
}

- (void)sharedSetupWithProject:(nullable FlutterDartProject*)project
                  initialRoute:(nullable NSString*)initialRoute {
  // Need the project to get settings for the view. Initializing it here means
  // the Engine class won't initialize it later.
  if (!project) {
    project = [[[FlutterDartProject alloc] init] autorelease];
  }
  FlutterView.forceSoftwareRendering = project.settings.enable_software_rendering;
  auto engine = fml::scoped_nsobject<FlutterEngine>{[[FlutterEngine alloc]
                initWithName:@"io.flutter"
                     project:project
      allowHeadlessExecution:self.engineAllowHeadlessExecution
          restorationEnabled:[self restorationIdentifier] != nil]};

  if (!engine) {
    return;
  }

  _viewOpaque = YES;
  _weakFactory = std::make_unique<fml::WeakPtrFactory<FlutterViewController>>(self);
  _engine = std::move(engine);
  _flutterView.reset([[FlutterView alloc] initWithDelegate:_engine opaque:self.isViewOpaque]);
  [_engine.get() createShell:nil libraryURI:nil initialRoute:initialRoute];
  _engineNeedsLaunch = YES;
  _ongoingTouches.reset([[NSMutableSet alloc] init]);
  [self loadDefaultSplashScreenView];
  [self performCommonViewControllerInitialization];
}
2箇所ありますが、いずれも _flutterView.reset([[FlutterView alloc] initWithDelegate:_engine opaque:self.isViewOpaque]); のときに 引数のdelegate に_engine を指定しておりました。_engine は FlutterEngine 型のようです。
上記以外にタップやロングタップなどの検知はここのでFlutterViewControllerやっているようでした。
FlutterView
FlutterViewはコード量は少なめ(143行ほど)です。
- (void)drawLayer:(CALayer*)layer inContext:(CGContextRef)context が一番長い処理になっていて、ここでFlutterのWidgetの描画をやっていそうです。
- (void)drawLayer:(CALayer*)layer inContext:(CGContextRef)context {
  TRACE_EVENT0("flutter", "SnapshotFlutterView");

  if (layer != self.layer || context == nullptr) {
    return;
  }

  auto screenshot = [_delegate takeScreenshot:flutter::Rasterizer::ScreenshotType::UncompressedImage
                              asBase64Encoded:NO];

  if (!screenshot.data || screenshot.data->isEmpty() || screenshot.frame_size.isEmpty()) {
    return;
  }

  NSData* data = [NSData dataWithBytes:const_cast<void*>(screenshot.data->data())
                                length:screenshot.data->size()];

  fml::CFRef<CGDataProviderRef> image_data_provider(
      CGDataProviderCreateWithCFData(reinterpret_cast<CFDataRef>(data)));

  fml::CFRef<CGColorSpaceRef> colorspace(CGColorSpaceCreateDeviceRGB());

  fml::CFRef<CGImageRef> image(CGImageCreate(
      screenshot.frame_size.width(),      // size_t width
      screenshot.frame_size.height(),     // size_t height
      8,                                  // size_t bitsPerComponent
      32,                                 // size_t bitsPerPixel,
      4 * screenshot.frame_size.width(),  // size_t bytesPerRow
      colorspace,                         // CGColorSpaceRef space
      static_cast<CGBitmapInfo>(kCGImageAlphaPremultipliedLast |
                                kCGBitmapByteOrder32Big),  // CGBitmapInfo bitmapInfo
      image_data_provider,                                 // CGDataProviderRef provider
      nullptr,                                             // const CGFloat* decode
      false,                                               // bool shouldInterpolate
      kCGRenderingIntentDefault                            // CGColorRenderingIntent intent
      ));

  const CGRect frame_rect =
      CGRectMake(0.0, 0.0, screenshot.frame_size.width(), screenshot.frame_size.height());

  CGContextSaveGState(context);
  CGContextTranslateCTM(context, 0.0, CGBitmapContextGetHeight(context));
  CGContextScaleCTM(context, 1.0, -1.0);
  CGContextDrawImage(context, frame_rect, image);
  CGContextRestoreGState(context);
}
auto screenshot = [_delegate takeScreenshot:flutter::Rasterizer::ScreenshotType::UncompressedImage asBase64Encoded:NO]; で取得した screenshot を使って、CGContextDrawImage メソッドなどのネイティブのコードでViewへの描画処理をしているようです。
delegateに関しては、さきほどの FlutterViewController で見たように実体は FlutterEngine です。
FlutterEngine
このコードは量が多いです(1223行ほど)
先程の takeScreenshot:flutter::Rasterizer::ScreenshotType::UncompressedImage asBase64Encoded: メソッドのコードを見てみると下記のようになっていました。
- (flutter::Rasterizer::Screenshot)takeScreenshot:(flutter::Rasterizer::ScreenshotType)type
                                  asBase64Encoded:(BOOL)base64Encode {
  FML_DCHECK(_shell) << "Cannot takeScreenshot without a shell";
  return _shell->Screenshot(type, base64Encode);
}
_shell->Screenshot(type, base64Encode) で実際の処理をしているようです。
common/shell.cc
ここからはC++のコードのようです。多分、この辺りのコードは全プラットフォームで共通のものと思われます。
Rasterizer::Screenshot Shell::Screenshot(
    Rasterizer::ScreenshotType screenshot_type,
    bool base64_encode) {
  TRACE_EVENT0("flutter", "Shell::Screenshot");
  fml::AutoResetWaitableEvent latch;
  Rasterizer::Screenshot screenshot;
  fml::TaskRunner::RunNowOrPostTask(
      task_runners_.GetRasterTaskRunner(), [&latch,                        //
                                            rasterizer = GetRasterizer(),  //
                                            &screenshot,                   //
                                            screenshot_type,               //
                                            base64_encode                  //
  ]() {
        if (rasterizer) {
          screenshot = rasterizer->ScreenshotLastLayerTree(screenshot_type,
                                                           base64_encode);
        }
        latch.Signal();
      });
  latch.Wait();
  return screenshot;
}
screenshot = rasterizer->ScreenshotLastLayerTree(screenshot_type, base64_encode); でWidgetの表示内容を取得していそうです。
common/rasterizer.cc
ちょっと、すでに自分の理解力ではよくわからないのですが、ここで、Flutterのレイヤーツリーを取得してきてそれの表示内容をデータとして取得していそうに見えます。
シーケンス図
上記を踏まえて、全体的に表示周りのコード読んでみるとこんなのシーケンス図のイメージだった。

さいごに
コード追ってみると、完全に理解できてなくてもなんとなくわかったような気にはなれました。が、やっぱり勉強不足でまだまだ理解できてない部分も多かったです。
FlutterはUIKitの作りにはそこまで依存していないと思うが、UIKitの実装にFlutterが実装されているようだった。
Discussion