rclone + Linux(GUIなし) + pCloud
はじめに
Ubuntu ServerにpCloudに接続する方法として、pcloudccが存在する。
しかし、メンテ性やほかのクラウドストレージも意識して、rcloneによる転送の検証を行った。
ここで認証情報を取得するにあたり、Webブラウザへのアクセスが求められるが、Ubuntu ServerにGUIが非インストールなことも珍しくないであろう。
このようなケースでは、Webブラウザにアクセスできるクライアントから、rcloneを実行し、トークンを取得する必要がある。
それを踏まえての作業手順を示す。
rcloneのインストールについて
rcloneのDownloadを見ればよい。
クライアント端末におけるトークンの取得
まずはクライアント端末にrcloneをダウンロードし、ターミナルから以下のコマンドによりrclone.exeを実行する。
rclone authorize "pcloud"
2025/09/18 22:13:41 NOTICE: If your browser doesn't open automatically go to the following link: http://127.0.0.1:53682/auth?state=z9EiY8C6ckYo-ZUhzyRZAA
2025/09/18 22:13:41 NOTICE: Log in and authorize rclone for access
2025/09/18 22:13:41 NOTICE: Waiting for code...
まずはログイン情報をなんらかの通り求められるので、ログイン情報を入力する。
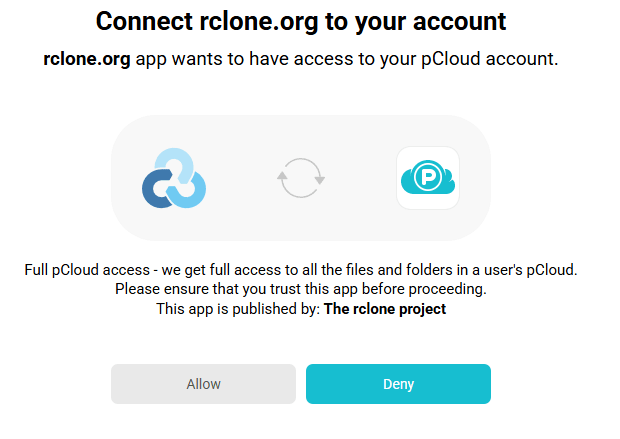
allowをクリックする。
以下の通り、表示される。
すると、ターミナルには、以下のJSONが出力される。
Paste the following into your remote machine --->
{"access_token":"xxxxxxxx","token_type":"bearer","expiry":"0001-01-01T00:00:00Z"}
<---End paste
このJSONそのものは後ほど用いるので、何らかの記録をする。
サーバ側の設定
rcloneのインストール(Linux Server)
ここでは直接インストールする。
curl https://rclone.org/install.sh | sudo bash
以下が表示されると、インストールが成功したことになる。
rclone v1.71.0 has successfully installed.
pCloudとの接続設定
まずは以下の通り設定する画面を開く。
rclone config
以下に対しては、nを入力する。
No remotes found, make a new one?
n) New remote
s) Set configuration password
q) Quit config
n/s/q>
以下に対しては、pcloudを入力する。
※リモート名なので適切につければOkと思われる。
Enter name for new remote.
name>
以下に対しては、pcloudと入力する。
Option Storage.
Type of storage to configure.
Choose a number from below, or type in your own value.

(中略)

Storage>
以下に対しては、そのままエンターを入力する。
Option client_id.
OAuth Client Id.
Leave blank normally.
Enter a value. Press Enter to leave empty.
client_id>
以下に対しては、そのままエンターを入力する。
Option client_secret.
OAuth Client Secret.
Leave blank normally.
Enter a value. Press Enter to leave empty.
client_secret>
以下に対しては、nと入力する。
Edit advanced config?
y) Yes
n) No (default)
y/n>
以下に対しては、nと入力する。
Use web browser to automatically authenticate rclone with remote?
 * Say Y if the machine running rclone has a web browser you can use
 * Say N if running rclone on a (remote) machine without web browser access
If not sure try Y. If Y failed, try N.

y) Yes (default)
n) No
y/n>
以下に対しては、さきほど取得したトークンをそのまま({"access_token":"xxxxxxxx","token_type":"bearer","expiry":"0001-01-01T00:00:00Z"}全体)を入力する。
Option config_token.
For this to work, you will need rclone available on a machine that has
a web browser available.
For more help and alternate methods see: https://rclone.org/remote_setup/
Execute the following on the machine with the web browser (same rclone
version recommended):
        rclone authorize "pcloud"
Then paste the result.
Enter a value.
config_token>
以下に対しては、yと入力する。
Configuration complete.
Options:
- type: pcloud
- token: {"access_token":"xxxxxxxx","token_type":"bearer","expiry":"0001-01-01T00:00:00Z"}
Keep this "pcloud" remote?
y) Yes this is OK (default)
e) Edit this remote
d) Delete this remote
y/e/d>
以下に対しては、qと入力する。
Current remotes:

Name                 Type
====                 ====
pcloud               pcloud

e) Edit existing remote
n) New remote
d) Delete remote
r) Rename remote
c) Copy remote
s) Set configuration password
q) Quit config
e/n/d/r/c/s/q>
設定はこれで完了となる。
接続確認
設定完了後にテストとして、以下を実行する。
なお、全件出力は大変なので、10件出力することとした。
rclone ls pcloud: | head -10
ファイル一覧が表示されればOK。
注意点
このconfigはrclone configを実行したユーザのみが実行できる。
そのためシェルスクリプトなどに埋め込む場合は実行ユーザが誰かが問題になるので、そこは各自で考える必要が生じる。
Discussion