AWS で CRM を導入する


静的IPのアタッチ
アタッチしたらSSH接続でターミナルを開く。
パスワードの確認
(bitnamiユーザーのままで)
cat bitnami_application_password
💬 アプリケーションのパスワードが表示される
apt-get の設定
sudo apt update
sudo apt upgrade
&& コマンド
sudo apt update && sudo apt upgrade
Route53でドメインを設定
- ホストゾーンで設定
- 設定したいでメインを選択
- AレコードにAWS Lightsail の静的IPを設定(*)
確認
下記サイトでAレコードとAAAAレコードが自分のドメインに結びついていることも確認しておきましょう。
DNS Propagation Checker - Global DNS Testing Tool
SSL化
sudo /opt/bitnami/bncert-tool --perform_public_ip_validation 0 --perform_dns_validation 0
新しいバージョンが使えるよ。と出てきたら [Y] を選択して、もう一度上記コマンドを打つ。
An updated version is available. Would you like to download it? You would need to run it manually later. [Y/n]: Y
# Lightsailインスタンスにsshで接続して、bncert-toolコマンドを実行
# オプションの付与を忘れずに!
$ sudo /opt/bitnami/bncert-tool --perform_public_ip_validation 0 --perform_dns_validation 0
----------------------------------------------------------------------------
Welcome to the Bitnami HTTPS Configuration tool.
----------------------------------------------------------------------------
DomainsPlease provide a valid space-separated list of domains
for which you wish to configure your web server.Domain list []: Example.com <- ここで自分のドメインを指定
The following domains were not included: www.takake-blog.com.
Do you want to add them? [Y/n]: Y <- wwwも追加する場合は"Y"
----------------------------------------------------------------------------
Enable/disable redirectionsPlease select the redirections you wish to enable
or disable on your Bitnami installation.
Enable HTTP to HTTPS redirection [Y/n]: Y <- HTTPはHTTPSにリダイレクトするべきなので"Y"
Enable non-www to www redirection [Y/n]: n <- wwwはnon-wwwへリダイレクトしたいので"n"
Enable www to non-www redirection [y/N]: Y <- ここは"Y"
----------------------------------------------------------------------------
Changes to performThe following changes will be performed to your Bitnami installation:
1. Stop web server
2. Configure web server to use a free Lets Encrypt certificate for the domains: takake-blog.com  www.takake-blog.com
3. Configure a cron job to automatically renew the certificate each month
4. Configure web server name to: takake-blog.com
5. Enable HTTP to HTTPS redirection (example: redirect https://takake-blog.com to https://takake-blog.com)
6. Enable www to non-www redirection (example: redirect www.takake-blog.com to takake-blog.com)
7. Start web server once all changes have been performed
Do you agree to these changes? [Y/n]: Y <- 上記で問題なければ"Y"
----------------------------------------------------------------------------
Create a free HTTPS certificate with Lets EncryptPlease provide a valid e-mail
address for which to associate your Lets Encrypt certificate.
Domain list: takake-blog.com  www.takake-blog.com
Server name: takake-blog.com
E-mail address []: hogehoge@huga.com <- 自分のメールアドレスを指定
The Lets Encrypt Subscriber Agreement can be found at:
https://letsencrypt.org/documents/LE-SA-v1.2-November-15-2017.pdf
Do you agree to the Let's Encrypt Subscriber Agreement? [Y/n]: Y <- とりあえず"Y"
----------------------------------------------------------------------------
Performing changes to your installationThe Bitnami HTTPS Configuration Tool will
perform any necessary actions to your Bitnami installation.
This may take some time, please be patient.
----------------------------------------------------------------------------
Success
The Bitnami HTTPS Configuration Tool succeeded in modifying your installation.
The configuration report is shown below.Backup files:
* /opt/bitnami/apache2/conf/httpd.conf.back.yyyymmdd
* /opt/bitnami/apache2/conf/bitnami/bitnami-apps-prefix.conf.back.yyyymmdd
* /opt/bitnami/apache2/conf/bitnami/bitnami.conf.back.yyyymmdd
Find more details in the log file:/tmp/bncert-yyyymmdd.log
If you find any issues, please check Bitnami Support forums at:
https://community.bitnami.comPress
[Enter] to continue:
CRMに必要な設定
MariaDB
(mycrm = 任意のデータベース名)
rootで先ほどのパスワードを使いログイン
mysql -u root -p
データベース作成
create database mycrm default character set utf8 default collate utf8_general_ci;
作成したデータベース名があるか確認
show databases;
新しいユーザーを作成し (ローカル アクセスのみ)、新しいデータベースでこのユーザーに権限を付与します。
grant all privileges on mycrm.* TO 'bitnami'@'localhost' identified by 'PASSWORD';
SET GLOBAL sql_mode = 'NO_ENGINE_SUBSTITUTION';
MariaDB 許可テーブルを変更した後、次のコマンドを実行して変更を適用します。
flush privileges;
exit
PHP.ini
vi stack/php/etc/php.ini
date.timezone = "Asia/Tokyo"

max_input_vars = 100000

max_execution_time = 600

# 以下はデフォルトで80Mとかだったのでそのまま
post_max_size = 32M
upload_max_filesize = 32M
PHP 構成ファイルを変更したら、変更を有効にするためにサーバーを再起動します。
sudo /opt/bitnami/ctlscript.sh restart
CRMダウンロード
(mycrm = 任意のフォルダ名)
cd htdocs
本体
wget https://github.com/thinkingreed-inc/F-RevoCRM/archive/refs/heads/main.zip
解凍
unzip
フォルダ名の変更
mv F-RevoCRM-main mycrm
足りないもの
移動
cd mycrm
wget https://github.com/thinkingreed-inc/F-RevoCRM/blob/1c93604f549cffab7940a7fc5e905a87b64da961/tabdata.php
wget https://github.com/thinkingreed-inc/F-RevoCRM/blob/1c93604f549cffab7940a7fc5e905a87b64da961/parent_tabdata.php
mkdir logs
&& コマンド
sudo wget https://github.com/thinkingreed-inc/F-RevoCRM/blob/1c93604f549cffab7940a7fc5e905a87b64da961/tabdata.php && sudo wget https://github.com/thinkingreed-inc/F-RevoCRM/blob/1c93604f549cffab7940a7fc5e905a87b64da961/parent_tabdata.php && mkdir logs
パーミッションの変更
htdocs に戻る
cd ..
sudo chown -R daemon:daemon mycrm
sudo chmod -R 774 mycrm
zipファイルの削除
rm main.zip
CRM カスタマーポータル
wget https://github.com/thinkingreed-inc/F-RevoCRM-CustomerPortal/archive/refs/heads/main.zip
解凍
sudo unzip main.zip
フォルダ名の変更
mv F-RevoCRM-CustomerPortal-main portal
zipファイルの削除
rm main.zip
パーミッションの変更
sudo chown -R daemon:daemon portal
sudo chmod -R 774 portal
必要な設定
PHP cURL extensionを有効にしてください
sudo apt-get install php-curl
移動
cd portal
config.sample.phpをconfig.phpにコピー、リネームしてください
cp config.sample.php config.php
vi config.php
(example.co.jp = 設定したドメイン)
'crm.url'について
> 同一のサーバーに設置する場合は、httpsである必要はなく、ドメインもlocalhostで接続可能です
  //CRM URL without trialing/
  //Example: http://yourdomain.com/crm
- 'crm.url' => 'http://localhost/frevocrm',
+ 'crm.url' => 'http://localhost/mycrm',

  //Portal URL without trialing/
  //Example: http://yourdomain.com/portal
- 'portal.url' => 'http://example.co.jp/portal',
+ 'portal.url' => 'https://example.co.jp/portal',
CRMのインストール
https://設定したドメイン/mycrm
にアクセスして、セットアップウィザードを開く
メール設定
| 項目 | 内容 |
|---|---|
| アカウントを選択 | その他 |
| メールサーバ名/IP | imap.mail.us-west-2.awsapps.com |
| ユーザ名 | メールアドレス(ユーザー名じゃない) |
| パスワード | WorkMail Userのパスワード |
| プロトコル | IMAP4(2との違いは後で調べる) |
| SSL オプション | SSL |
| 証明書の検証 | 証明書を検証する |
メールサーバー名はリージョンで異なります
- 米国西部 (オレゴン)
imap.mail.us-west-2.awsapps.com- 米国東部 (バージニア北部)
imap.mail.us-east-1.awsapps.com- 欧州 (アイルランド)
imap.mail.eu-west-1.awsapps.com
送信メール設定
システム管理者とおなじメールアドレスが必要です。
| 項目 | 内容 |
|---|---|
| サーバー種別 | その他 |
| サーバー名 | ssl://smtp.mail.us-west-2.awsapps.com:465 |
| ユーザー名 | WorkMailアドレス |
| パスワード | WorkMail Userパスワード |
| メール送信者 | 任意 |
| 認証をおこなう | チェック |
メールサーバー名はリージョンで異なります
- 米国西部 (オレゴン)
smtp.mail.us-west-2.awsapps.com- 米国東部 (バージニア北部)
smtp.mail.us-east-1.awsapps.com- 欧州 (アイルランド)
smtp.mail.eu-west-1.awsapps.com
CRM カスタマーポータル 2
CRM での設定
移動
cd .. && cd mycrm
F-RevoCRMのconfig.inc.phpにPORTAL_URLを指定する
sudo vi config.inc.php
  // url for customer portal (Example: http://vtiger.com/portal)
- $PORTAL_URL = $site_URL.'/customerportal';
+ $PORTAL_URL = 'https://設定したドメイン/portal';
crontabに、vtigercron.shの設定
ここでは/var/www/html/crm/cron/vtigercron.shをcrontabに登録する。
これによって、システム側から自動送信されるメールが送信されるようになる
ポータルユーザーへのメール送信設定
設定 > システム設定 > 自動化 > ワークフローから「Send Email to user when Portal User is True」を選択し、編集画面へ遷移する
最下部「アクション」の「カスタム関数を実行」をOnに変更して保存
顧客担当者にポータル権限を付与する
顧客担当者の編集画面へ遷移する
「サポート開始日、サポート終了日」を確認の上、「ポータルユーザー」チェックをつけて保存する
この時、「メールアドレス」項目に入っているメールアドレス向けにメールが送信される。
カスタマイズ
phpmyadmin
AWS:bitnami RedmineのphpMyAdminアクセス方法
AWS Marketplaceの Redmineにて、phpMyAdminにアクセスする方法。
通常のRedmineのURLの末尾に「/phpmyadmin/」を付けてブラウザを叩くと、phpMyAdminが起動します。
しかし、デフォルトだと「For security reasons, this URL is only accessible using localhost (127.0.0.1) as the hostname.」とエラーメッセージが表示されるので、設定を変更する必要があります。
vi /opt/bitnami/apache/conf/bitnami/phpmyadmin.conf
  <Directory "/opt/bitnami/phpmyadmin">
  Options -Indexes +FollowSymLinks -MultiViews
  AllowOverride All
-    Require local
+   Require all granted
  ErrorDocument 403 "For security reasons, this URL is only accessible using localhost (127.0.0.1) as the hostname."
  # AuthType Basic
  # AuthName phpmyadmin
  # AuthUserFile "/opt/bitnami/apache/users"
  # Require valid-user
  </Directory>
apache再起動
sudo /opt/bitnami/ctlscript.sh restart apache
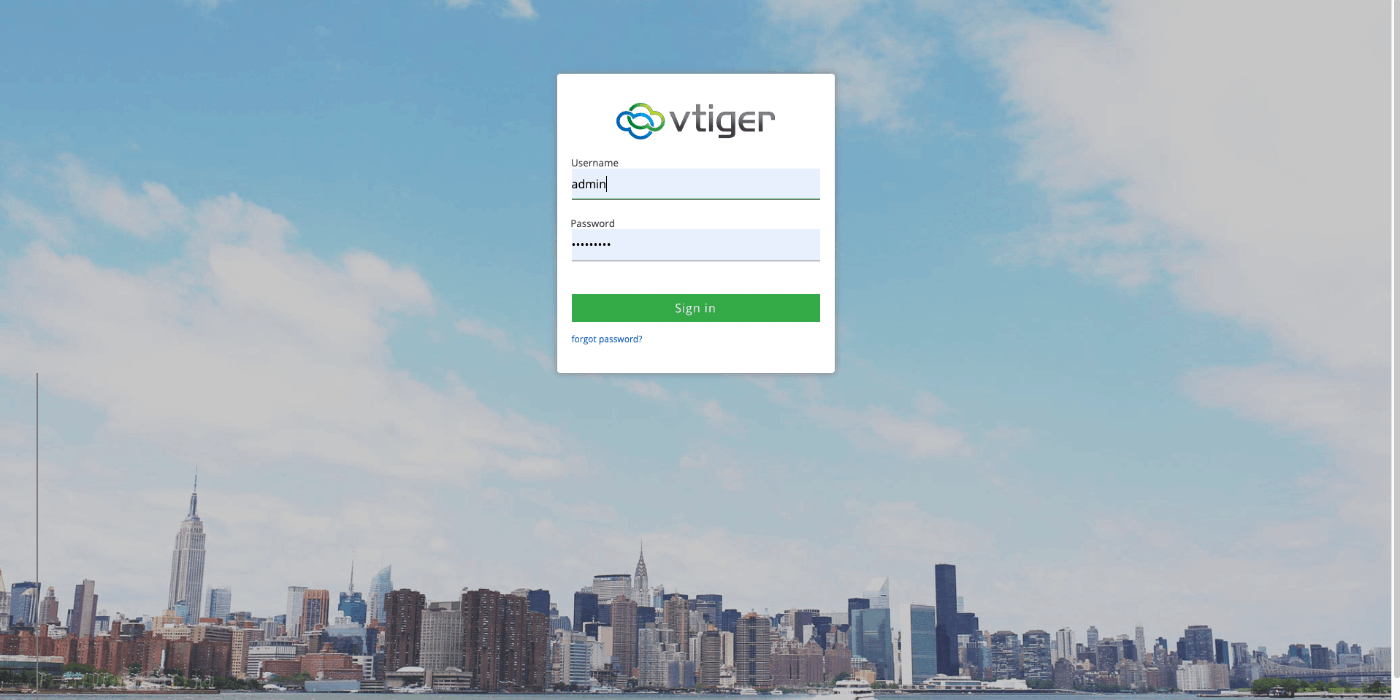
ログイン画面の余計なものを消す
vi /opt/bitnami/apache2/htdocs/vtigercrm/layouts/v7/modules/Users/Login.tpl
viエディタで検索
col-lg-5 hidden-xs hidden-sm hidden-md
-   <div class="col-lg-1 hidden-xs hidden-sm hidden-md" ><!-- ここが境目 -->
+   <div class="col-lg-1 hidden-xs hidden-sm hidden-md" style="display:none !important;">
          <div class="separatorDiv"></div>
      </div>

-     <div class="col-lg-5 hidden-xs hidden-sm hidden-md" > <!-- ここがニュースの部分 -->
+         <div class="col-lg-5 hidden-xs hidden-sm hidden-md" style="display:none !important;">
                <div class="marketingDiv widgetHeight">
                    {if $JSON_DATA}
                         <div class="scrollContainer">
                              {assign var=ALL_BLOCKS_COUNT value=0}
                                   {foreach key=BLOCK_NAME item=BLOCKS_DATA from=$JSON_DATA}
                                       {if $BLOCKS_DATA}
                                            <div>
                                                 <h4>{$BLOCKS_DATA[0].heading}</h4>
                                                  <!-- ==== 省略 ===== -->
                                            </div>
                          </div>
                  </div>
              </div>
viエディタで検索
col-lg-5 col-md-12 col-sm-12 col-xs-12
    <span class="app-nav"></span>
        <div class="container-fluid loginPageContainer">
-         <div class="col-lg-5 col-md-12 col-sm-12 col-xs-12" >
+           <div class="col-lg-5 col-md-12 col-sm-12 col-xs-12" style="width: 100% !important;">
                <div class="loginDiv widgetHeight">
                    <img class="img-responsive user-logo" src="layouts/v7/resources/Images/vtiger.png">
                    <!--  ===== 省略 ===== -->
                </div>
            </div>
          </div>
CRMのロゴ変更
場所
/opt/bitnami/apache/htdocs/mycrm/layouts/v7/resources/Images
カスタマーポータルのロゴ変更
場所
/opt/bitnami/apache/htdocs/portal/layouts/default/resources/images
数少ない日本語の情報
数少ない日本語ドキュメント
Discussion