第1回:Open ID Connect LoginをSpring Bootで使ってみる
Spring Security5が主要バージョンだった頃、それを使ったログインの仕組みを理解する時に、kazuki43zooさんのSpring Securityに関する記事に大変お世話になりました。
現在Spring Securityのバージョンは6が主流になってきており、最新の情報をまとめてみたいと考えました。
動作環境バージョン
- OpenJDK 21.0.1
- Maven 3.6.3
- Spring Boot 3.2.1
- Spring Security
- IntelliJ
認証プロバイダ
- GitHub
デモアプリケーションについて
開発プロジェクトを作る
spring initializrで下記のように入力して「GENERATE」を押してプロジェクトを作成します。
- Project
- Maven
- Language
- Java
- Spring Boot
- 3.2.1
- Project Metadata
この辺りはデフォルトのままにしてあります- Group com.example
- Artifact demo
- Name demo
- Description Demo project for Spring Boot
- Package name com.example.demo
- Packaging Jar
- Java 21
- Dependencies
- Thymeleaf
- Spring Web
- Spring Security
- OAuth2 Client
最低限の設定をしてアプリを起動
仮のプロパティを登録
作成したプロジェクトをIDEに取り込み、src/main/resources/application.propertiesに以下のように追記します。
spring.security.oauth2.client.registration.github.clientId=dummy
spring.security.oauth2.client.registration.github.clientSecret=dummy
Spring Bootアプリの起動
下記のコマンドでアプリを起動します。
mvn spring-boot:run
IDEのプラグインからも起動ができます。

ブラウザでhttp://localhost:8080/login にアクセスします。下記のようにGitHubのリンクがあるログインページが表示されます。

デモアプリの実装
GitHubにOAuth applicationの登録
OAuth アプリの作成の説明に従ってアプリを登録します。入力欄には下記のように入力しておきます。
- Application name
- spring-security6-oidc-login
- Homepage URL
- Application description
- Demo Application OIDC Login with Spring Security 6.
- Authorization callback URL
- Enable Device Flow チェックしない
OAuthアプリの詳細ページでClient IDが表示されます。同じ画面から「Generate a new client secret」を押してClient Secretを生成します。
プロジェクトのsrc/main/resources/application-local.propertiesを作成して、作成したClient IDとClient Secretを設定します。
spring.security.oauth2.client.registration.github.clientId=ここに上記で作成したClient IDの値を記入
spring.security.oauth2.client.registration.github.clientSecret=ここに上記で作成したClient Secretの値を記入
application.propertiesにspring.profiles.activeの値を設定します。
spring.profiles.active=local
spring.security.oauth2.client.registration.github.clientId=dummy
spring.security.oauth2.client.registration.github.clientSecret=dummy
※application.propertiesに記載しておくと、他の設定値と合わせてGitにコミットしてしまうことがあるため、PC上で起動するようのプロパティを分けております。
ページを作成
Indexページ
ログイン後に遷移するIndexページには下記の情報を表示します。
- 認証ユーザー名(認可されたリソースから取得)
- 認可のプロバイダー名(GitHub)
- プロフィール(ユーザーの詳細)ページへのリンク
- ログアウトボタン
<!DOCTYPE html>
<html xmlns="http://www.w3.org/1999/xhtml" xmlns:th="http://www.thymeleaf.org" xmlns:sec="http://www.thymeleaf.org/thymeleaf-extras-springsecurity6">
<head>
    <meta charset="UTF-8">
    <title>Demo Application OIDC Login with Spring Security 6</title>
</head>
<body>
<div style="float: right" th:fragment="logout" sec:authorize="isAuthenticated()">
    <div style="float:right">
        <div>
            <span style="font-weight:bold">User Name:</span>
            <span sec:authentication="principal.attributes['name']"></span>
        </div>
        <div>
            <form action="#" th:action="@{/logout}" method="post">
                <input type="submit" value="Logout"/>
            </form>
        </div>
    </div>
</div>
<div>
    <h1>Demo Application</h1>
    <p>Welcom Demo Application OIDC Login with Spring Security 6</p>
    <p>You are successfully logged in via the OIDC Client
    -<span style="font-weight:bold" th:text="${authorizedClient.clientRegistration.clientName}">Demo Client</span>-</p>
</div>
<div>
    <ul>
        <li>
            <a href="/templates/profile.html" th:href="@{/profile}">Profile</a>
        </li>
    </ul>
</div>
</body>
</html>
プロフィールページ
認可されたリソースから、ユーザーの詳細な情報を取得して表示します。
- 認証ユーザー名(認可されたリソースから取得)
- プロフィール(認可されたリソースから取得するユーザーの詳細)
- ログアウトボタン
<!DOCTYPE html>
<html xmlns="http://www.w3.org/1999/xhtml" xmlns:th="http://www.thymeleaf.org" xmlns:sec="http://www.thymeleaf.org/thymeleaf-extras-springsecurity6">
<head>
    <meta charset="UTF-8">
    <title>Demo Application OIDC Login with Spring Security 6</title>
</head>
<body>
<div style="float: right" th:fragment="logout" sec:authorize="isAuthenticated()">
    <div style="float:right">
        <div>
            <span style="font-weight:bold">User Name:</span>
            <span sec:authentication="principal.attributes['name']"></span>
        </div>
        <div>
            <form action="#" th:action="@{/logout}" method="post">
                <input type="submit" value="Logout"/>
            </form>
        </div>
    </div>
</div>
<div>
    <h1>Demo Application</h1>
</div>
<div>
    <span style="font-weight:bold">Profile:</span>
    <ul>
        <li th:each="attribute : ${profile}">
            <span style="font-weight:bold" th:text="${attribute.key}"></span>: <span th:text="${attribute.value}"></span>
        </li>
    </ul>
</div>
</body>
</html>
Controllerクラス
Index、プロフィールを表示するためのControllerクラスを作ります。
package com.example.demo;

import org.springframework.http.HttpHeaders;
import org.springframework.security.oauth2.client.OAuth2AuthorizedClient;
import org.springframework.security.oauth2.client.OAuth2AuthorizedClientService;
import org.springframework.security.oauth2.client.authentication.OAuth2AuthenticationToken;
import org.springframework.stereotype.Controller;
import org.springframework.web.bind.annotation.GetMapping;
import org.springframework.web.client.RestClient;
import org.springframework.web.servlet.ModelAndView;

import java.util.Map;

@Controller
public class DemoController {

    private final OAuth2AuthorizedClientService service;

    public DemoController(OAuth2AuthorizedClientService service) {
        this.service=service;
    }

    @GetMapping("/")
    public ModelAndView index(OAuth2AuthenticationToken token) {
        var modelAndView = new ModelAndView("index");
        modelAndView.addObject("authorizedClient", this.getAuthorizedClient(token));
        return modelAndView;
    }

    @GetMapping("/profile")
    public ModelAndView profile(OAuth2AuthenticationToken token) {

        var profile = getProfile(token);
        var modelAndView = new ModelAndView("profile");
        modelAndView.addObject("profile", profile);
        return modelAndView;
    }

    private Map getProfile(OAuth2AuthenticationToken token) {
        var client = this.service.loadAuthorizedClient(token.getAuthorizedClientRegistrationId(), token.getName());
        var uri = client.getClientRegistration().getProviderDetails().getUserInfoEndpoint().getUri();

        var restClient = RestClient.builder()
                .baseUrl(uri)
                .defaultHeader(HttpHeaders.AUTHORIZATION, "Bearer "+client.getAccessToken().getTokenValue())
                .build();
        return  restClient.get().retrieve().toEntity(Map.class).getBody();
    }

    private OAuth2AuthorizedClient getAuthorizedClient(OAuth2AuthenticationToken token) {
        return this.service.loadAuthorizedClient(token.getAuthorizedClientRegistrationId(), token.getName());
    }

}
動作確認
再びSpring Bootアプリとして起動します。ブラウザでhttp://localhost:8080/login にアクセスします。下記のようにGitHubのリンクがあるログインページが表示されます。
デモアプリにログインする
GitHubのリンク先を押下すると、GitHubにユーザー名、パスワードを入力するページに遷移します。自分が持っているこれらの情報を入力して、Sign inを押下します。
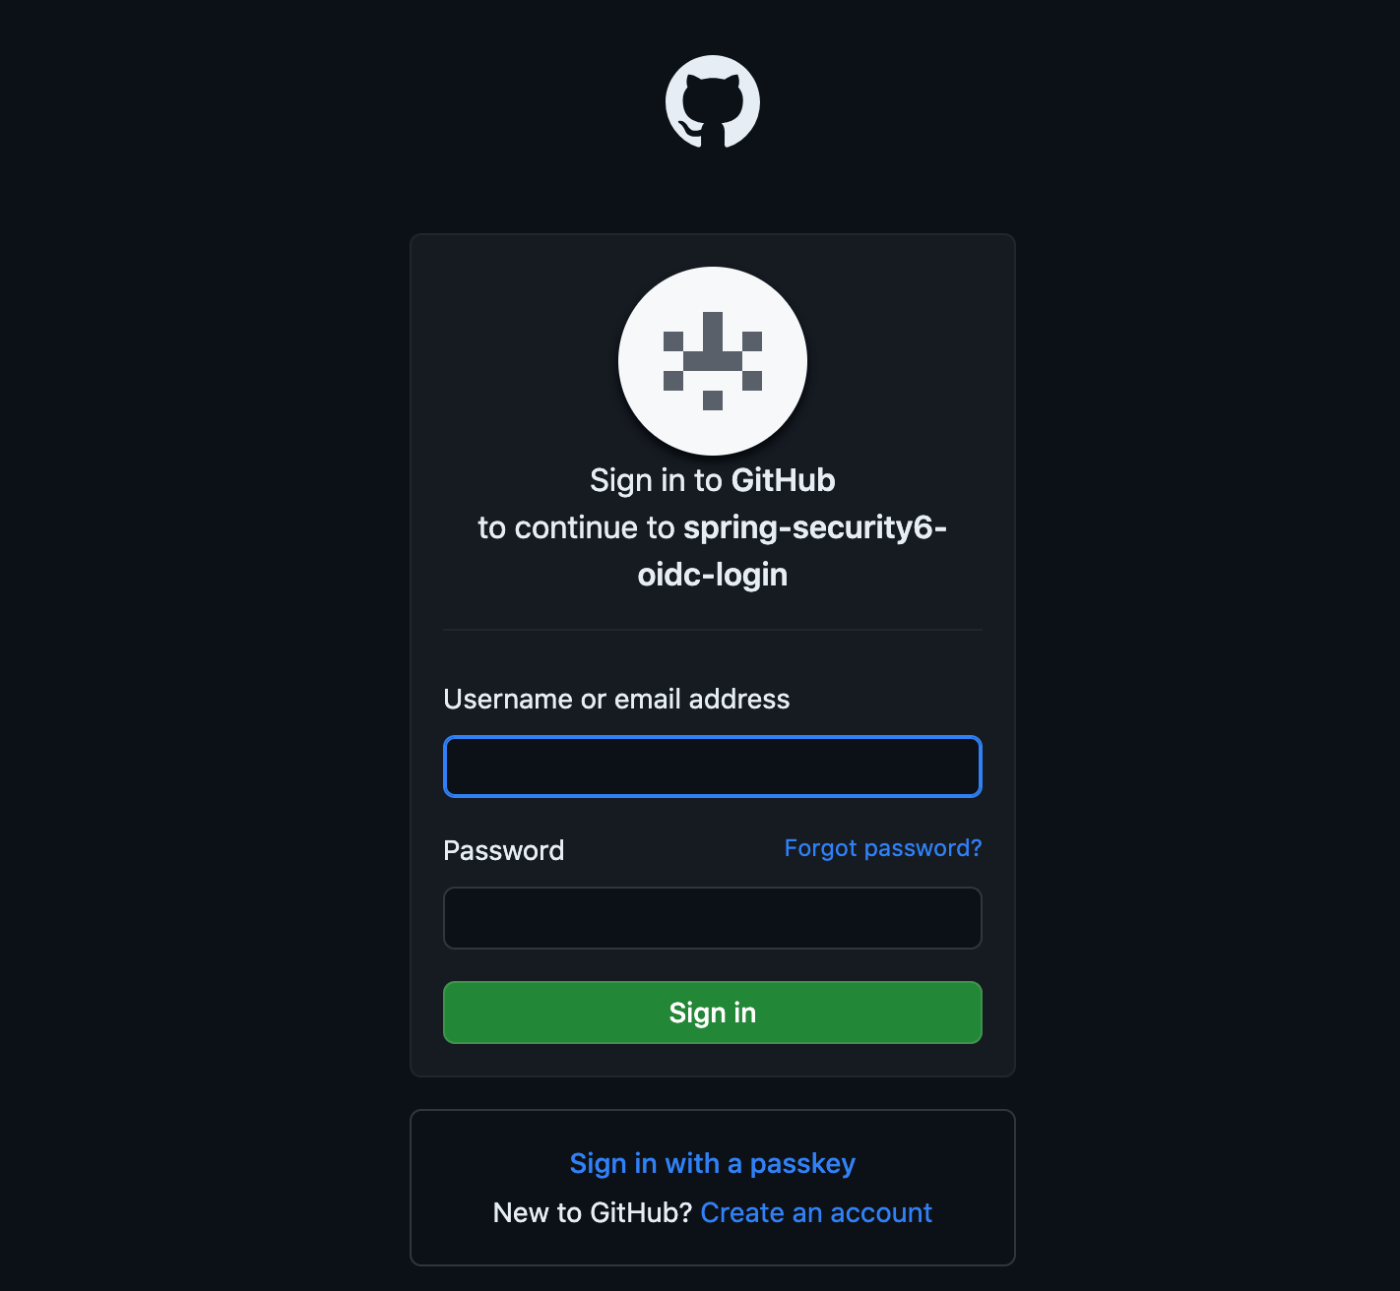
GitHubにあるユーザーのProfileを参照する旨を確認するページが表示されます。Authorize (サインインしたユーザ名)を押下します。

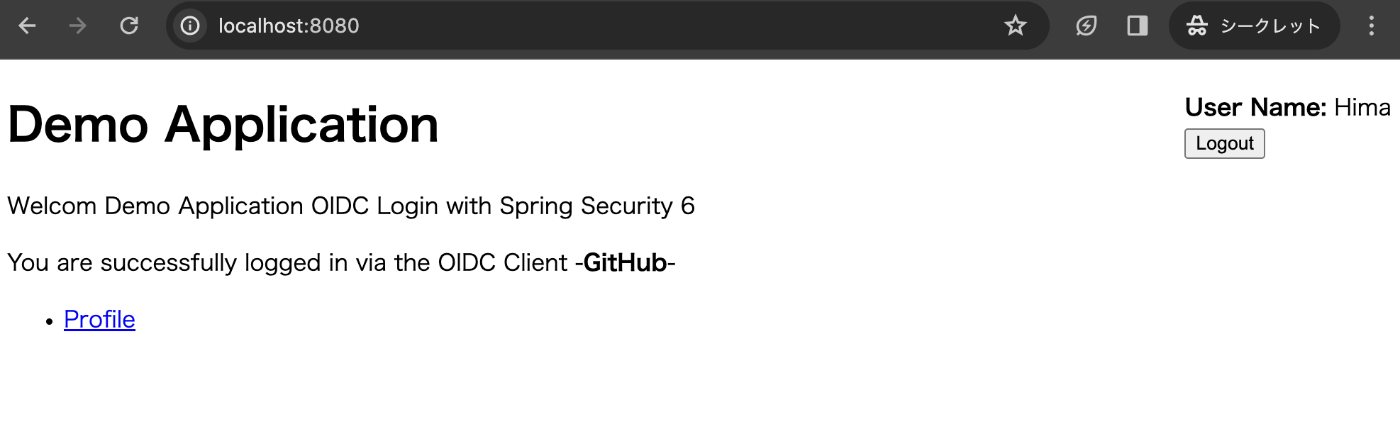
http://localhost:8080 のページが表示されます。
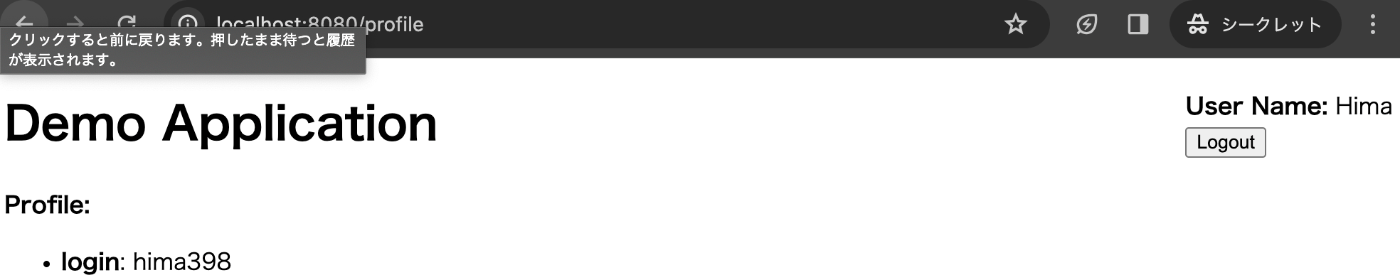
プロフィールページを表示する
Profileのリンクを押下すると、GitHubからデモアプリにログインしたユーザーに関連する詳細の情報を表示するページが表示されます。下記の画像はloginのみ表示していますが、デモアプリでは他にも様々な情報が表示されます。
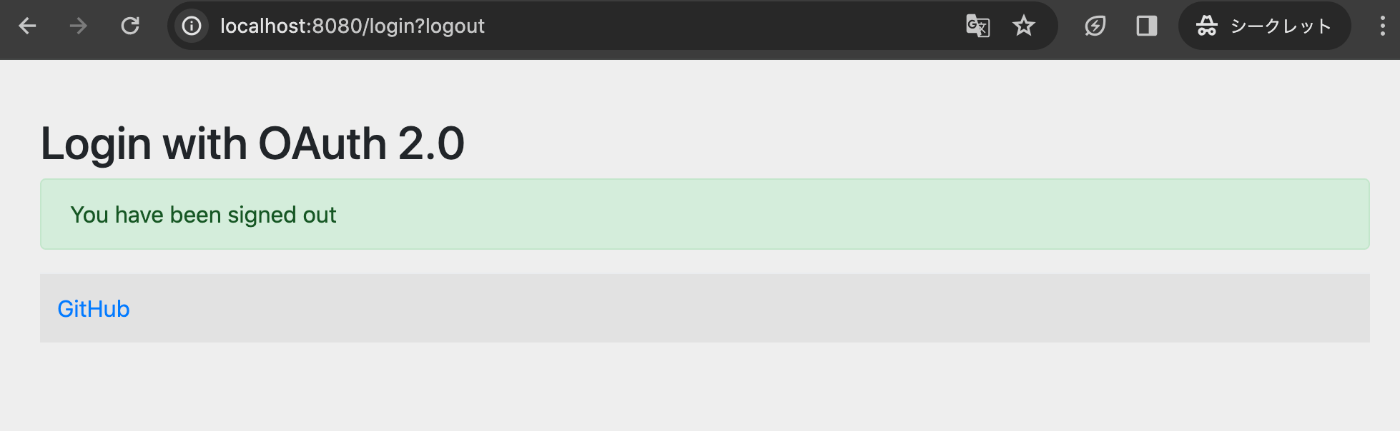
デモアプリからログアウトする
ページ右上のlogoutを押下すると、デモアプリからログアウトし、ログイン画面に戻ります。
まとめ
Spring Security6でも、OAuth2, OIDCの認可サーバと連携したログイン機能が簡単に実現できました。別の記事で引き続き、内部でどのようなクラスが作用して実現されているかを掘り下げていこうと思います。
Discussion