Hugging Face NLP Course - 4. SHARING MODELS AND TOKENIZERS
概要
の要点纏め。
The Hugging Face Hub
にホストされているモデルはトランスフォーマーやNLP以外にもある。
privateリポジトリ以外は無料で使うことができる。
Using pretrained models
マスク・フィルができるフランス語ベースのモデル探して使う例。

from transformers import pipeline

camembert_fill_mask = pipeline("fill-mask", model="camembert-base")
results = camembert_fill_mask("Le camembert est <mask> :)")
[
  {'sequence': 'Le camembert est délicieux :)', 'score': 0.49091005325317383, 'token': 7200, 'token_str': 'délicieux'},
  {'sequence': 'Le camembert est excellent :)', 'score': 0.1055697426199913, 'token': 2183, 'token_str': 'excellent'},
  {'sequence': 'Le camembert est succulent :)', 'score': 0.03453313186764717, 'token': 26202, 'token_str': 'succulent'},
  {'sequence': 'Le camembert est meilleur :)', 'score': 0.0330314114689827, 'token': 528, 'token_str': 'meilleur'},
  {'sequence': 'Le camembert est parfait :)', 'score': 0.03007650189101696, 'token': 1654, 'token_str': 'parfait'}
]
タスクに適したチェックポイントを選択する必要がある。
この場合はfill-mask

直接モデルを指定するパターン
from transformers import CamembertTokenizer, CamembertForMaskedLM

tokenizer = CamembertTokenizer.from_pretrained("camembert-base")
model = CamembertForMaskedLM.from_pretrained("camembert-base")
Auto* classes を使用する方法
※推奨
from transformers import AutoTokenizer, AutoModelForMaskedLM

tokenizer = AutoTokenizer.from_pretrained("camembert-base")
model = AutoModelForMaskedLM.from_pretrained("camembert-base")
Sharing pretrained models
事前に訓練されたモデルを使うときは、そのモデルがどのように訓練されたのか、どのデータセットで訓練されたのか、その制限とバイアスを必ず確認する。
これらの情報はすべて、モデルカードに記載されているはず。
特定の用途に特化したデータセットであったとしてもシェアすることが好ましい。
モデルリポジトリを作る方法は3つある。
- Using the push_to_hub API
- Using the huggingface_hub Python library
- Using the web interface
リポジトリを作ったら
git、git-lfs
でファイルをアップロードすることができる。
Using the push_to_hub API
まずは認証トークンを取得する。
notebookから
from huggingface_hub import notebook_login

notebook_login()
terminalから
huggingface-cli login
どちらの場合も、ユーザー名とパスワードの入力を求められる。
正しく入力すると認証トークンがキャッシュフォルダに保存される。
Trainer API を使って訓練する場合、push_to_hub=Trueを指定することで自動でモデルをアップロードできる。
この場合、saveされるたび(1epoch毎)にアップロードされる。
またデフォルトのリポジトリ名はこの場合
"bert-finetuned-mrpc"
になるが、
hub_model_id = "a_different_name"
のように指定して変更することもできる。
何らかの組織のリポジトリにpushしたい場合は
hub_model_id = "my_organization/my_repo_name"
のようにする。
from transformers import TrainingArguments

training_args = TrainingArguments(
    "bert-finetuned-mrpc", save_strategy="epoch", push_to_hub=True
)
トレーニングが終了したら、最後にtrainer.push_to_hub()を実行し、モデルの最終版をアップロードする。
また、使用したハイパーパラメータと評価結果を含むモデルカードが生成される。
モデルカードに含まれる内容の例

ローレベルのAPIでは
models, tokenizers, configuration
オブジェクトの
push_to_hub()
メソッドからアップロードできる。
このメソッドは、リポジトリの作成と、モデルとトーカナイザのファイルをリポジトリに直接プッシュすることの両方を行う。
実行例
まずはモデルとトーカナイザを初期化する
from transformers import AutoModelForMaskedLM, AutoTokenizer

checkpoint = "camembert-base"

model = AutoModelForMaskedLM.from_pretrained(checkpoint)
tokenizer = AutoTokenizer.from_pretrained(checkpoint)
modelのpush
model.push_to_hub("dummy-model")
tokenizerのpush
tokenizer.push_to_hub("dummy-model")
組織のリポジトリにpushする場合
tokenizer.push_to_hub("dummy-model", organization="huggingface")
認証トークンの指定
tokenizer.push_to_hub("dummy-model", organization="huggingface", use_auth_token="<TOKEN>")
アップロード先は以下のようになる
アクセスすると以下のようになるはず

Using the huggingface_hub Python library
terminalからログインする。
huggingface-cli login
huggingface_hub
に含まれるメソッド
from huggingface_hub import (
    # User management
    login,
    logout,
    whoami,

    # Repository creation and management
    create_repo,
    delete_repo,
    update_repo_visibility,

    # And some methods to retrieve/change information about the content
    list_models,
    list_datasets,
    list_metrics,
    list_repo_files,
    upload_file,
    delete_file,
)
リポジトリの作成
from huggingface_hub import create_repo

create_repo("dummy-model")
組織名を指定する場合
from huggingface_hub import create_repo

create_repo("dummy-model", organization="huggingface")
private: プライベートレポジトリにするか
token: 認証トークンを指定
repo_type: "dataset", "space" が指定可能
Using the web interface
webコンソールから行う方法


Uploading the model files
ファイルのアップロードには3つの方法がある。
The upload_file approach
upload_fileを使用する。
5GBまでしか送信できないのでそれ以上の場合他の方法を使う。
from huggingface_hub import upload_file

upload_file(
    "<path_to_file>/config.json",
    path_in_repo="config.json",
    repo_id="<namespace>/dummy-model",
)
The Repository class
Repositoryクラスは、gitライクな方法でローカルリポジトリを管理する。
このクラスはgitで苦労する点のほとんどを抽象化している。
このクラスを使うにはgitとgit-lfsがインストールされている必要がある。
まずはリポジトリをクローンする。
from huggingface_hub import Repository

repo = Repository("<path_to_dummy_folder>", clone_from="<namespace>/dummy-model")
以下のメソッドを使えるようになる。
repo.git_pull()
repo.git_add()
repo.git_commit()
repo.git_push()
repo.git_tag()
念のため最新の状態か確認。
repo.git_pull()
モデルとトーカナイザの保存
model.save_pretrained("<path_to_dummy_folder>")
tokenizer.save_pretrained("<path_to_dummy_folder>")
ファイルをpushする。
repo.git_add()
repo.git_commit("Add model and tokenizer files")
repo.git_push()
The git-based approach
gitで直接行う方法。
git-lfsのインストールが必要。
git lfs install
modelのクローン
git clone https://huggingface.co/<namespace>/<your-model-id>
例
git clone https://huggingface.co/lysandre/dummy
中身を見る
cd dummy && ls
README.md
大きなファイルはgit-lfsを通して登録する必要がある。
訓練済みmodelを保存する
from transformers import AutoModelForMaskedLM, AutoTokenizer

checkpoint = "camembert-base"

model = AutoModelForMaskedLM.from_pretrained(checkpoint)
tokenizer = AutoTokenizer.from_pretrained(checkpoint)

# Do whatever with the model, train it, fine-tune it...

model.save_pretrained("<path_to_dummy_folder>")
tokenizer.save_pretrained("<path_to_dummy_folder>")
ファイルが作られているはず
ls
config.json pytorch_model.bin README.md sentencepiece.bpe.model special_tokens_map.json tokenizer_config.json tokenizer.json
pytorch_model.bin
は容量が大きい。
webインターフェイスから作成した場合は.gitattributesが自動的に特定のファイルを大きなファイルとみなすように設定される。
それ以外の場合は手動で設定する必要があるっぽい。
git addして確認。
git add .
git status
On branch main
Your branch is up to date with 'origin/main'.

Changes to be committed:
  (use "git restore --staged <file>..." to unstage)
  modified:   .gitattributes
	new file:   config.json
	new file:   pytorch_model.bin
	new file:   sentencepiece.bpe.model
	new file:   special_tokens_map.json
	new file:   tokenizer.json
	new file:   tokenizer_config.json
git lfs status
大きいファイルがLFS管理になっていればOK
On branch main
Objects to be pushed to origin/main:


Objects to be committed:

	config.json (Git: bc20ff2)
	pytorch_model.bin (LFS: 35686c2)
	sentencepiece.bpe.model (LFS: 988bc5a)
	special_tokens_map.json (Git: cb23931)
	tokenizer.json (Git: 851ff3e)
	tokenizer_config.json (Git: f0f7783)

Objects not staged for commit:
コミット
git commit -m "First model version"
[main b08aab1] First model version
 7 files changed, 29027 insertions(+)
  6 files changed, 36 insertions(+)
 create mode 100644 config.json
 create mode 100644 pytorch_model.bin
 create mode 100644 sentencepiece.bpe.model
 create mode 100644 special_tokens_map.json
 create mode 100644 tokenizer.json
 create mode 100644 tokenizer_config.json
プッシュ
git push
Uploading LFS objects: 100% (1/1), 433 MB | 1.3 MB/s, done.
Enumerating objects: 11, done.
Counting objects: 100% (11/11), done.
Delta compression using up to 12 threads
Compressing objects: 100% (9/9), done.
Writing objects: 100% (9/9), 288.27 KiB | 6.27 MiB/s, done.
Total 9 (delta 1), reused 0 (delta 0), pack-reused 0
To https://huggingface.co/lysandre/dummy
   891b41d..b08aab1  main -> main
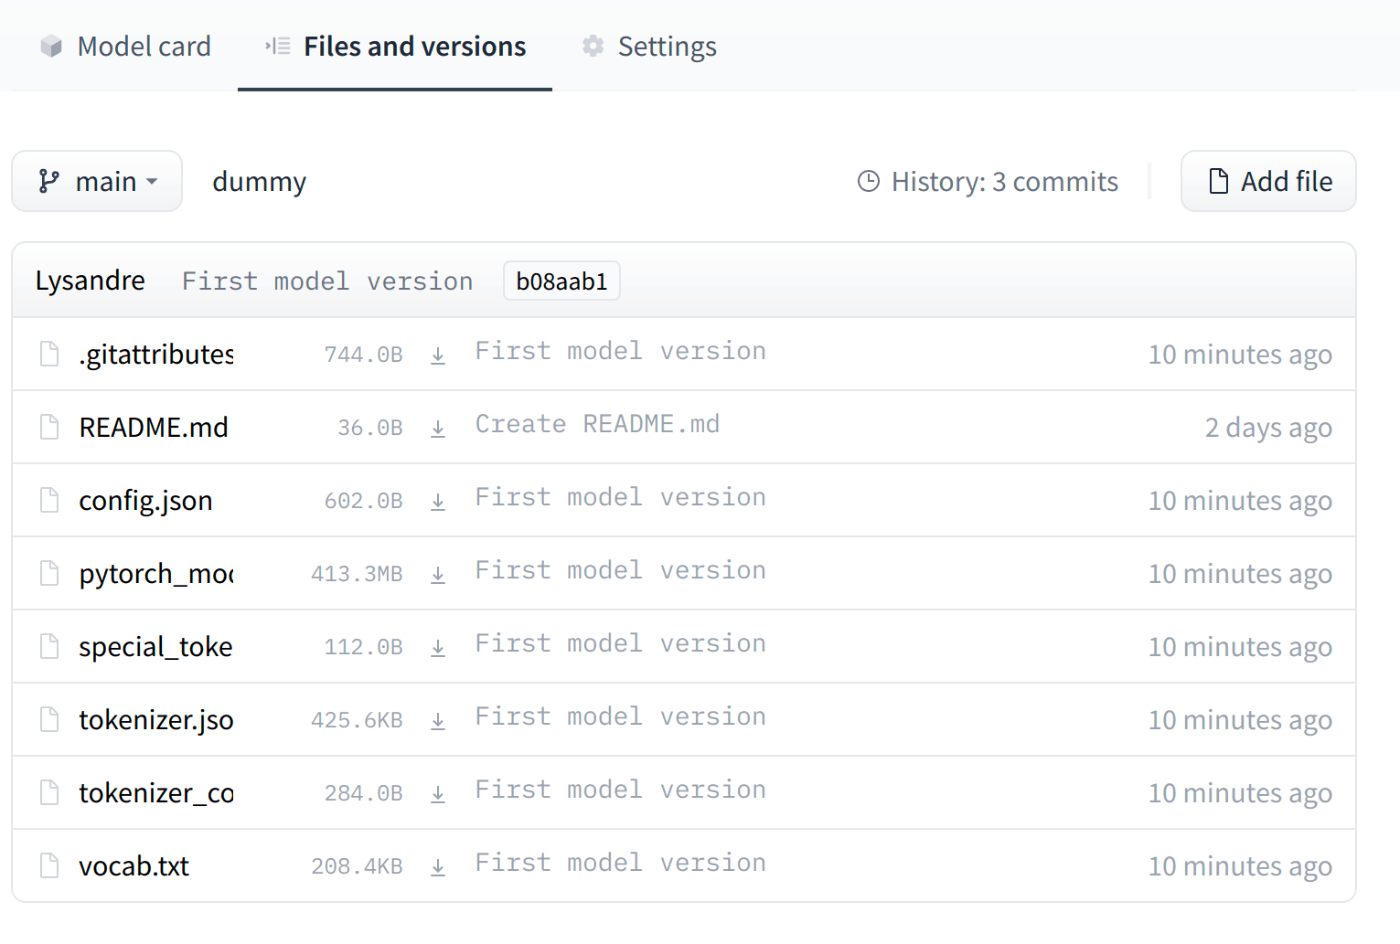
webコンソールで確認
Building a model card
model cardはモデルに関する様々な情報を記載する。
主に記載する項目は以下。
Model description
モデルに関する基本的な詳細。
Intended uses & limitations
モデルが意図するユースケース。
How to use
モデルの使い方。
実行するためのコードなど。
Training data
訓練に使用したdatasetについて。
Training procedure
トレーニングに関する情報。
モデルの学習エポック数、バッチサイズ、学習率などの詳細だけでなく、データに対して行われた前処理や後処理も含まれる。
Variable and metrics
評価のために使用したメトリクスについて。
Evaluation results
評価データセットに対するモデルの性能の指標。
Example
よくできたモデルカードの例
Note
モデルカードは必須ではないが、将来のユーザのために記載することが好ましい。
Model card metadata
モデルカードのヘッダーに以下のようなメタデータを設定することでカテゴリーを設定できる。
---
language: fr
license: mit
datasets:
- oscar
---
設定できる項目
Discussion