Generative UIを使って動的UIのチャットボットアプリを作る
Generative UIとは
従来のチャットボットアプリはユーザーからの質問に対して、Markdown形式のテキストで回答を生成していました。
しかしGenerative UIは、テキストだけでなくUIコンポーネントそのものを回答として生成し、UIに表示させる技術です。
AIを活用して、よりユーザー体験を向上させることができます。
Vercelから提供されているAI SDKの一部で使用できるようになりましたので使ってみます。
前提
サポートされている言語・フレームワーク
現状はNext.jsのApp RouterとReact Server Componentのみサポートしています。
使用する生成AI
今回は「Azure OpenAI Service」を使用します。
Vercel AI SDKではその他にも
- OpenAI
- AWS
- Anthropic
- Google Generative AI
- Google Vertex AI
などなどがサポートされています。
環境構築
Next.js製プロジェクトを作成します。
pnpm create next-app <your project name> --typescript
色々オプションの確認が表示されますが、全部Yesにします。
✔ Would you like to use ESLint? … No / Yes
✔ Would you like to use Tailwind CSS? … No / Yes
✔ Would you like to use `src/` directory? … No / Yes
✔ Would you like to use App Router? (recommended) … No / Yes
✔ Would you like to customize the default import alias (@/*)? … No / Yes
✔ What import alias would you like configured? … @/*
作成されたプロジェクトに移動して、パッケージをインストール
cd <your project name>
pnpm install ai @ai-sdk/azure zod
実装
1. Server Actionsを実装
まずは「〇〇企業の過去〇〇ヶ月の株価をしりたい」という質問が来た時に、テキストではなくUIコンポーネントを返すように設定します。
appフォルダ配下にactions.tsxファイルを作成して、以下を入力
'use server';

import { createAI, getMutableAIState, streamUI } from 'ai/rsc';
import { createAzure } from '@ai-sdk/openai';
import { ReactNode } from 'react';
import { z } from 'zod';
import { generateId } from 'ai';
import { Stock } from '@/components/stock';

export interface ServerMessage {
  role: 'user' | 'assistant';
  content: string;
}

export interface ClientMessage {
  id: string;
  role: 'user' | 'assistant';
  display: ReactNode;
}

export async function continueConversation(
  input: string,
): Promise<ClientMessage> {
  'use server';

  const history = getMutableAIState();

  const azure = createAzure({
    resourceName: <your aoai resourse name>,
    apiKey: <your aoai key>,
  });

  const result = await streamUI({
    model: azure('gpt-4o'),
    messages: [...history.get(), { role: 'user', content: input }],
    text: ({ content, done }) => {
      if (done) {
        history.done((messages: ServerMessage[]) => [
          ...messages,
          { role: 'assistant', content },
        ]);
      }

      return <div>{content}</div>;
    },
    tools: {
      showStockInformation: {
        description:
          'Get stock information for symbol for the last numOfMonths months',
        parameters: z.object({
          symbol: z
            .string()
            .describe('The stock symbol to get information for'),
          numOfMonths: z
            .number()
            .describe('The number of months to get historical information for'),
        }),
        generate: async ({ symbol, numOfMonths }) => {
          history.done((messages: ServerMessage[]) => [
            ...messages,
            {
              role: 'assistant',
              content: `Showing stock information for ${symbol}`,
            },
          ]);

          return <Stock symbol={symbol} numOfMonths={numOfMonths} />;
        },
      },
    },
  });

  return {
    id: generateId(),
    role: 'assistant',
    display: result.value,
  };
}

export const AI = createAI<ServerMessage[], ClientMessage[]>({
  actions: {
    continueConversation,
  },
  initialAIState: [],
  initialUIState: [],
});
2. 回答で返すUIコンポーネントを作成
1.のコード内のtools内で定義した通り、「株価に関する質問が来たとき」はテキストだけでなく、特定のUIコンポーネントを表示させるように設定させました。
ユーザーからの質問が「株価に関することか、それ以外か」は生成AIの中で判断してくれます。(Function Callingというやつ)
質問が株価だった時のUIコンポーネントを作成します。
本来は質問文の中から取得した「企業名」と「何ヶ月」をクエリパラメータに含ませて、APIを叩いてデータを取得するのですが、株価取得APIを持ってないので、ここではダミーデータとします。
appフォルダ配下にcomponentsフォルダを作成して、その中にStock.tsxファイルを作成して以下を入力
export async function Stock({ symbol, numOfMonths }) {
  // const data = await fetch(
  //   `https://api.example.com/stock/${symbol}/${numOfMonths}`,
  // );

  const data = {
    timeline: [
      { date: "2022-01-01", value: 100 },
      { date: "2022-01-02", value: 110 },
      { date: "2022-01-03", value: 120 },
    ],
  };

  return (
    <div>
      <div>{symbol}</div>

      <div>
        {data.timeline.map(data => (
          <div>
            <div>{data.date}</div>
            <div>{data.value}</div>
          </div>
        ))}
      </div>
    </div>
  );
}
3. UI側を実装
最後にUIを実装します。
UI側からは入力フォームと設定したServer Actionを実行するくらいで大丈夫です。
'use client';

import { useState } from 'react';
import { ClientMessage } from './actions';
import { useActions, useUIState } from 'ai/rsc';
import { generateId } from 'ai';

// Allow streaming responses up to 30 seconds
export const maxDuration = 30;

export default function Home() {
  const [input, setInput] = useState<string>('');
  const [conversation, setConversation] = useUIState();
  const { continueConversation } = useActions();

  return (
    <div>
      <div>
        {conversation.map((message: ClientMessage) => (
          <div key={message.id}>
            {message.role}: {message.display}
          </div>
        ))}
      </div>

      <div>
        <input
          type="text"
          value={input}
          onChange={event => {
            setInput(event.target.value);
          }}
        />
        <button
          onClick={async () => {
            setConversation((currentConversation: ClientMessage[]) => [
              ...currentConversation,
              { id: generateId(), role: 'user', display: input },
            ]);

            const message = await continueConversation(input);

            setConversation((currentConversation: ClientMessage[]) => [
              ...currentConversation,
              message,
            ]);
          }}
        >
          Send Message
        </button>
      </div>
    </div>
  );
}
4. UIをいい感じにする
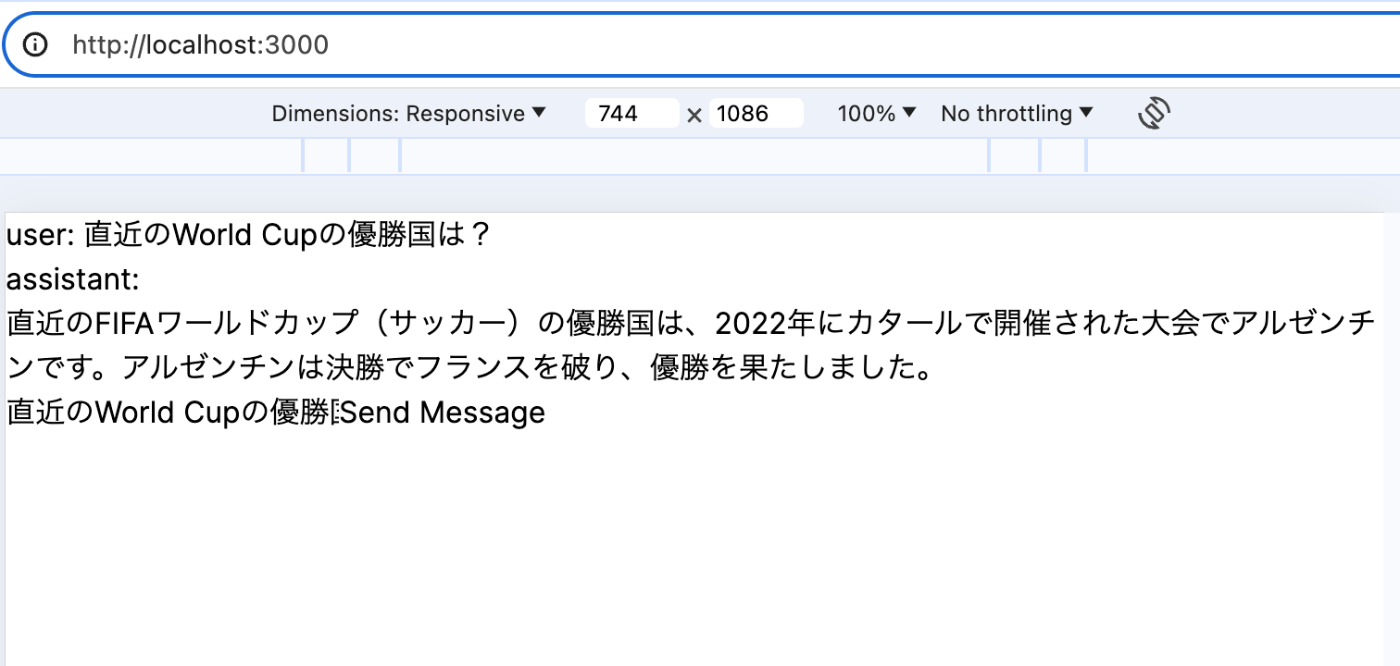
これで一旦ミニマムではあるものの実装はできました。
しかしUIが全く当たってなくて変化を感じづらいのでTailwind CSSで綺麗にします。
自分でUIを一から作っていくのは面倒なのでGitHub Copilotにおまかせします!!
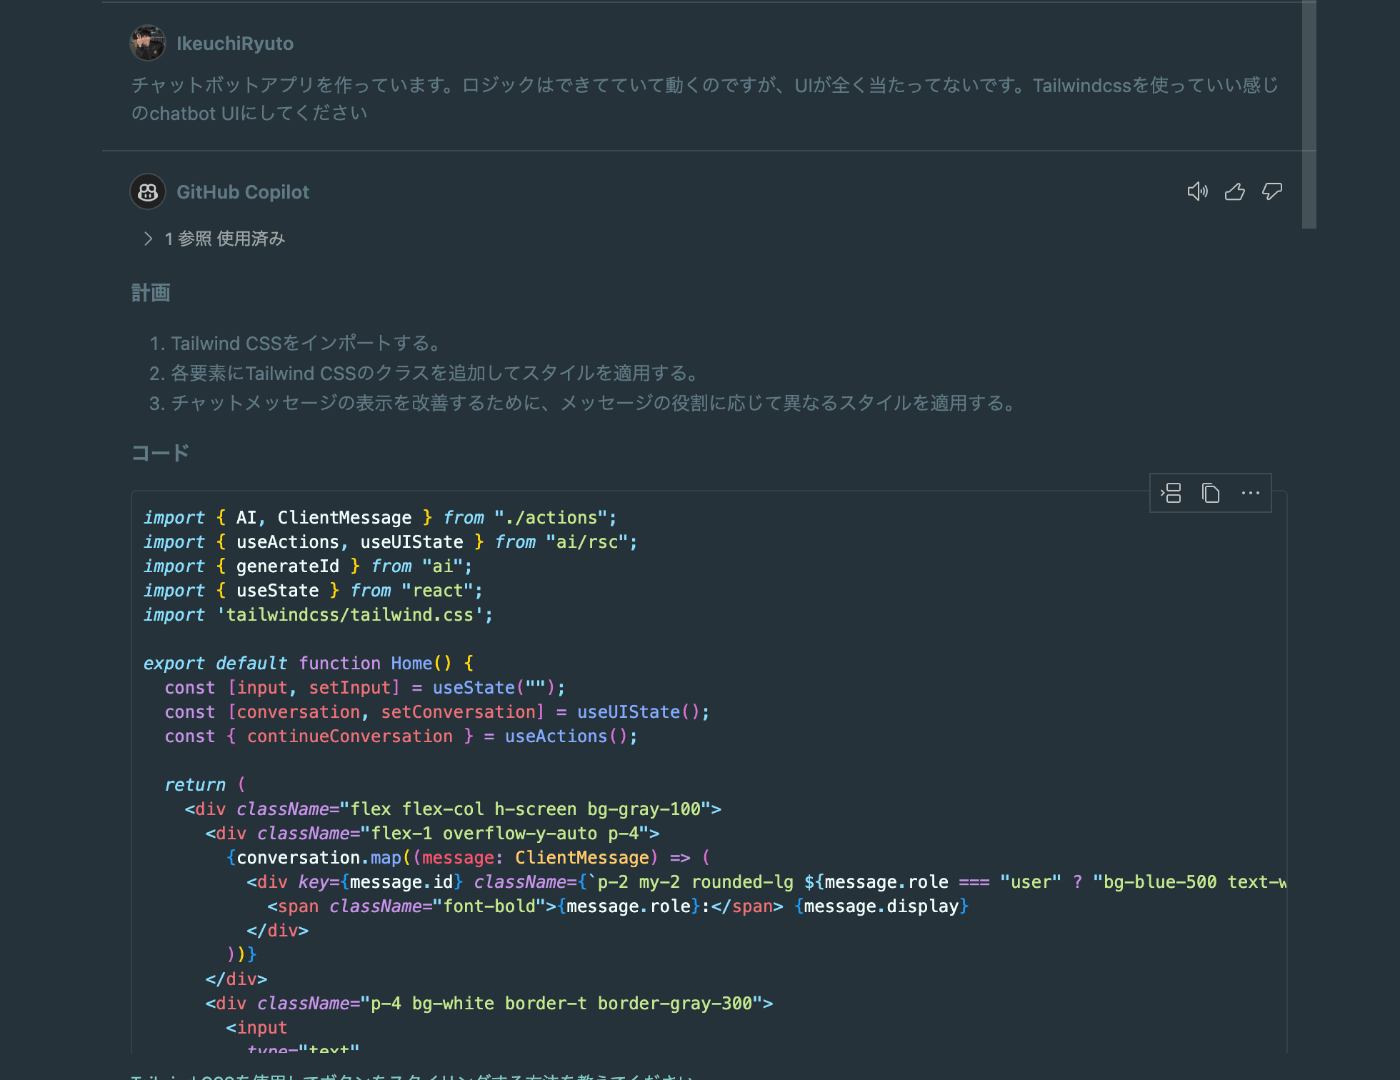
生成されたUI付きのファイル
"use client";

import { useState } from "react";
import { ClientMessage } from "./actions";
import { useActions, useUIState } from "ai/rsc";
import { generateId } from "ai";

export default function Home() {
  const [input, setInput] = useState("");
  const [conversation, setConversation] = useUIState();
  const { continueConversation } = useActions();

  return (
    <div className="flex flex-col h-screen bg-gray-100">
      <div className="flex-1 overflow-y-auto p-4">
        {conversation.map((message: ClientMessage) => (
          <div key={message.id} className={`p-2 my-2 rounded-lg ${message.role === "user" ? "bg-blue-500 text-white self-end" : "bg-gray-300 text-black self-start"}`}>
            <span className="font-bold">{message.role}:</span> {message.display}
          </div>
        ))}
      </div>
      <div className="p-4 bg-white border-t border-gray-300">
        <input
          type="text"
          value={input}
          onChange={(event) => {
            setInput(event.target.value);
          }}
          className="w-full p-2 border border-gray-300 rounded-lg"
          placeholder="Type your message..."
        />
        <button
          onClick={async () => {
            setConversation((currentConversation: ClientMessage[]) => [
              ...currentConversation,
              { id: generateId(), role: "user", display: input },
            ]);

            const message = await continueConversation(input);

            setConversation((currentConversation: ClientMessage[]) => [
              ...currentConversation,
              message,
            ]);
            setInput("");
          }}
          className="mt-2 w-full bg-blue-500 text-white p-2 rounded-lg"
        >
          Send Message
        </button>
      </div>
    </div>
  );
}
import "tailwindcss/tailwind.css";

export async function Stock({ symbol, numOfMonths }: any) {
  //   const data = await fetch(
  //     `https://api.example.com/stock/${symbol}/${numOfMonths}`
  //   );
  console.log(symbol, numOfMonths);
  const data = {
    timeline: [
      { date: "2022-01-01", value: 100 },
      { date: "2022-02-01", value: 200 },
      { date: "2022-03-01", value: 300 },
      { date: "2022-04-01", value: 400 },
      { date: "2022-05-01", value: 500 },
      { date: "2022-06-01", value: 600 },
      { date: "2022-07-01", value: 700 },
      { date: "2022-08-01", value: 800 },
      { date: "2022-09-01", value: 900 },
      { date: "2022-10-01", value: 1000 },
      { date: "2022-11-01", value: 1100 },
      { date: "2022-12-01", value: 1200 },
    ],
  };

  return (
    <div className="max-w-md mx-auto bg-white shadow-lg rounded-lg overflow-hidden">
      <div className="px-6 py-4">
        <div className="font-bold text-2xl mb-2 text-center">証券コード:{symbol}</div>
        <p className="text-gray-700 text-base text-center">
          過去{numOfMonths}ヶ月間のデータを表示
        </p>
      </div>
      <div className="px-6 py-4">
        {data.timeline.map((data, index) => (
          <div key={index} className="flex justify-between items-center border-b border-gray-200 py-2">
            <div className="text-gray-700">{data.date}</div>
            <div className="text-gray-900 font-semibold text-lg">{data.value}</div>
          </div>
        ))}
      </div>
    </div>
  );
}
いい感じになりました。
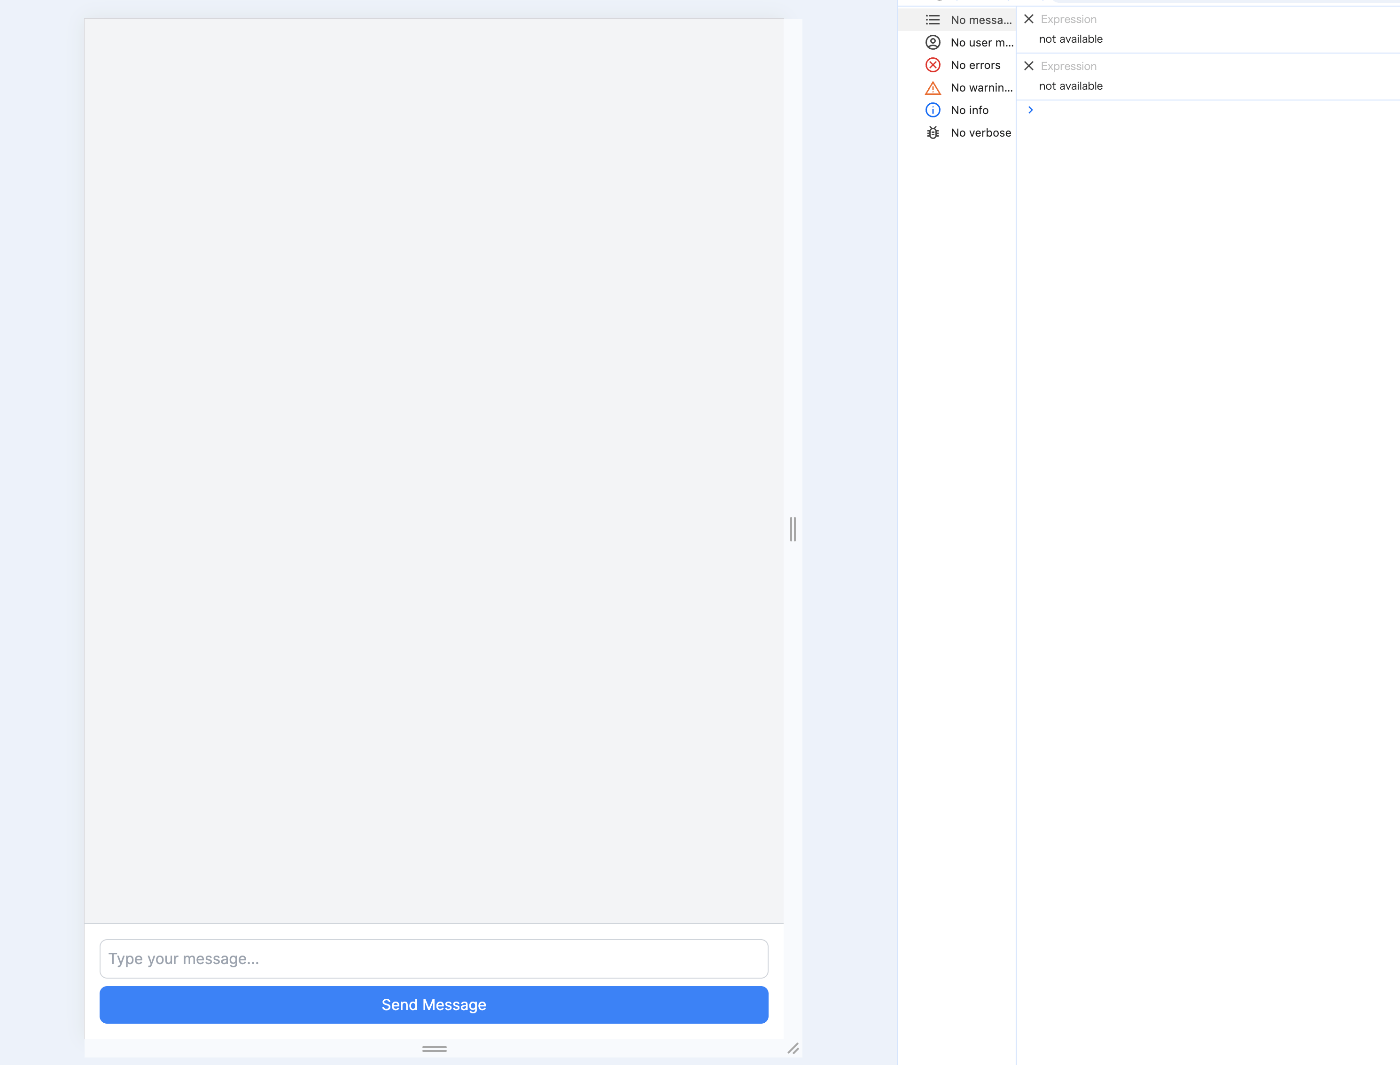
検証
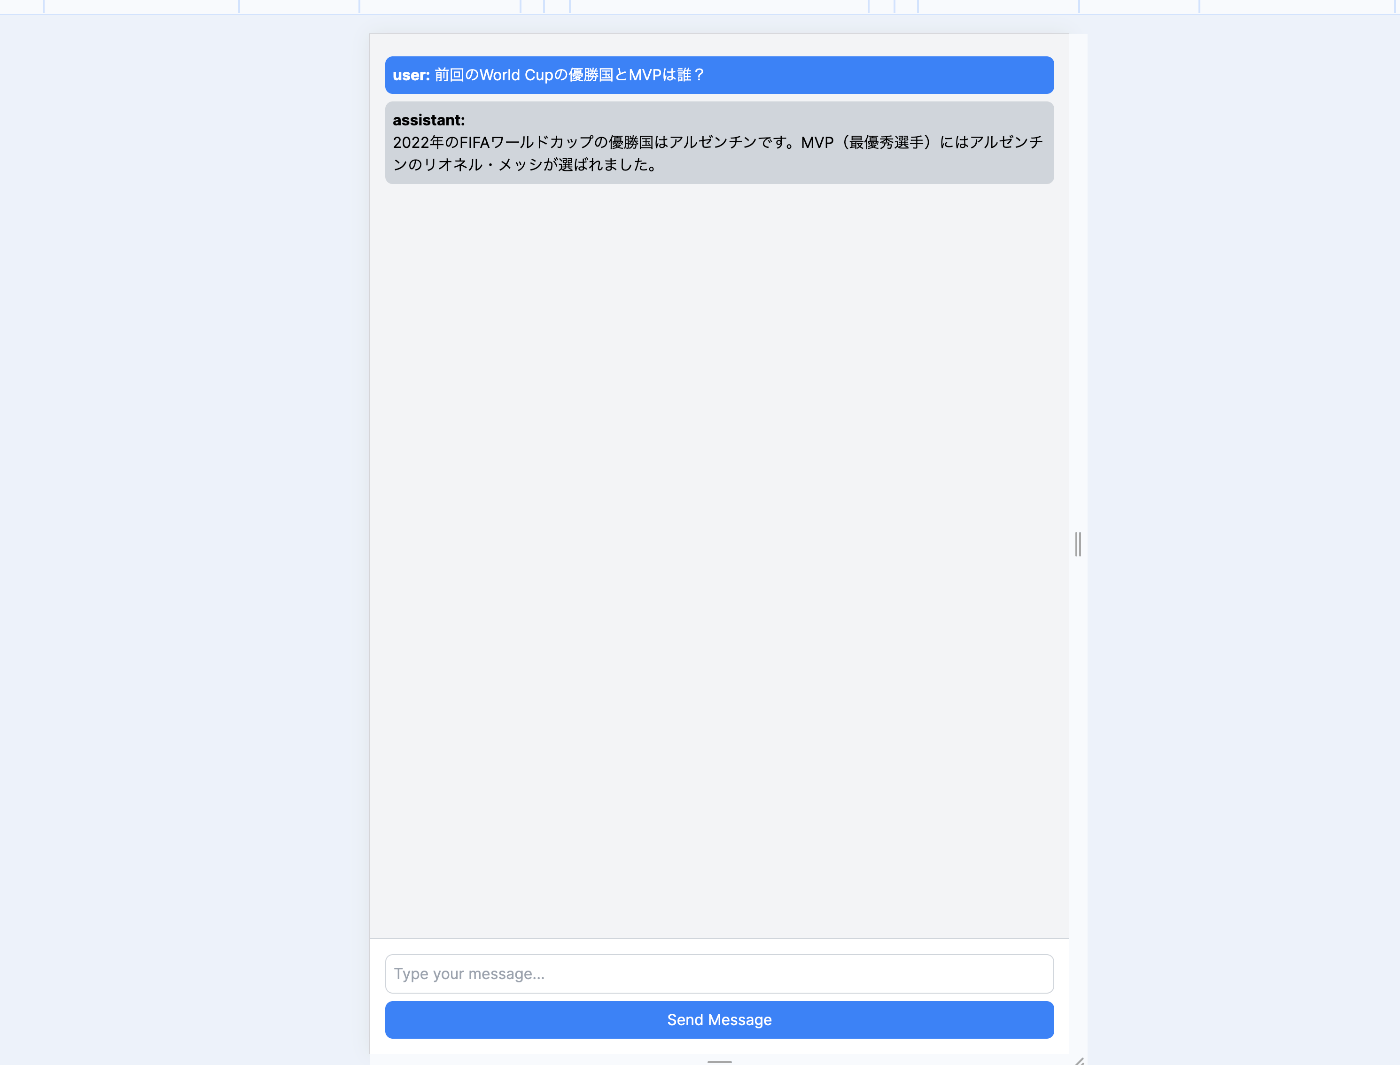
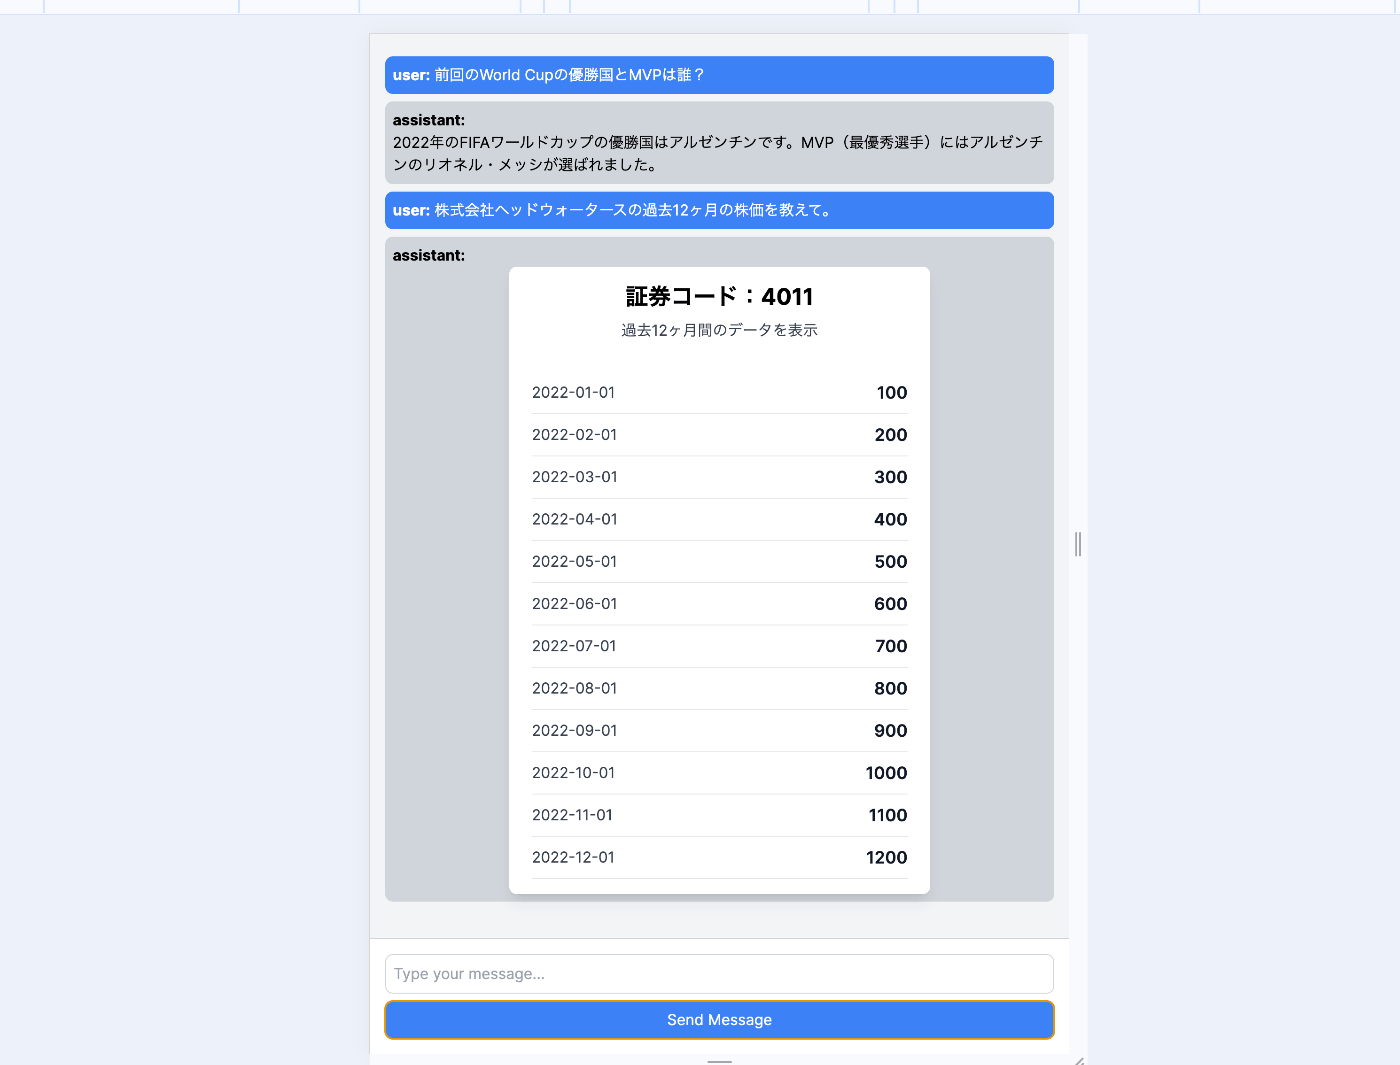
まずは株価とは関係ない質問をしてみます。
...
テキストベースで回答が返ってきました。
GPT-4oを使っているので、2022年の情報も反映されてますね。
じゃあ次に株価についての質問をしてみます。
...
設定したUIコンポーネントで結果が返ってきました~
生成AI側で株価に関する質問と判断、さらに質問文から証券コードと表示したい月まで取得しているのが分かります。
もう一個設定してみる
ここまではチュートリアルにもあるのと、データ自体はダミーのものを使っているので自分でもう一つ設定してみます。
QiitaのアカウントがあるのでQiita APIを叩くようにしてみます。
actions.tsx
toolsの中に以下を追記します。
Qiita APIはクエリパラメータを使って記事を絞り込みできますが、
今回は「タイトル文に含まれている一番最新の記事」を表示するようにしますので、ユーザーからの質問文からはタイトル名っぽいのだけ取得します。
showQiitaArticle: {
        description: "Getting Qiita articles that contain name in the title",
        parameters: z.object({
          name: z.string().describe("The name to search for"),
        }),
        generate: async ({ name }) => {
          history.done((messages: ServerMessage[]) => [
            ...messages,
            {
              role: "assistant",
              content: `Getting Qiita articles that contain ${name} in the title`,
            },
          ]);
          return <QiitaArticle name={name} />;
        },
      },
QiitaArticle.tsx
次はUIコンポーネントを作ります。
GitHub Copilotの力を借りながら以下のようにしました。
import "tailwindcss/tailwind.css";

export const QiitaArticle = async ({ name }: { name: string }) => {
  const data = await fetch(
    `https://qiita.com/api/v2/items?query=title:${name}&sort=created&per_page=1`
  );
  const json = await data.json();
  const article = json[0];

  return (
    <div className="max-w-2xl mx-auto bg-white shadow-lg rounded-lg overflow-hidden">
      <div className="px-6 py-4">
        <div className="font-bold text-2xl mb-2">{article.title}</div>
        <p className="text-gray-700 text-base mb-4">
          作成日: {new Date(article.created_at).toLocaleDateString()}
        </p>
        <div className="flex items-center mb-4">
          <img
            className="w-10 h-10 rounded-full mr-4"
            src={article.user.profile_image_url}
            alt={article.user.id}
          />
          <div className="text-sm">
            <p className="text-gray-900 leading-none">{article.user.id}</p>
            <p className="text-gray-600">
              {article.user.followers_count} フォロワー
            </p>
          </div>
        </div>
        <div className="mb-4">
          <p className="text-gray-700 text-base">タグ:</p>
          <div className="flex flex-wrap">
            {article.tags.map((tag: any, index: number) => (
              <span
                key={index}
                className="bg-gray-200 text-gray-700 text-sm font-semibold mr-2 mb-2 px-2.5 py-0.5 rounded"
              >
                {tag.name}
              </span>
            ))}
          </div>
        </div>
        <a
          href={article.url}
          className="text-indigo-500 hover:text-indigo-700"
          target="_blank"
          rel="noopener noreferrer"
        >
          記事を読む
        </a>
      </div>
    </div>
  );
};
再び検証
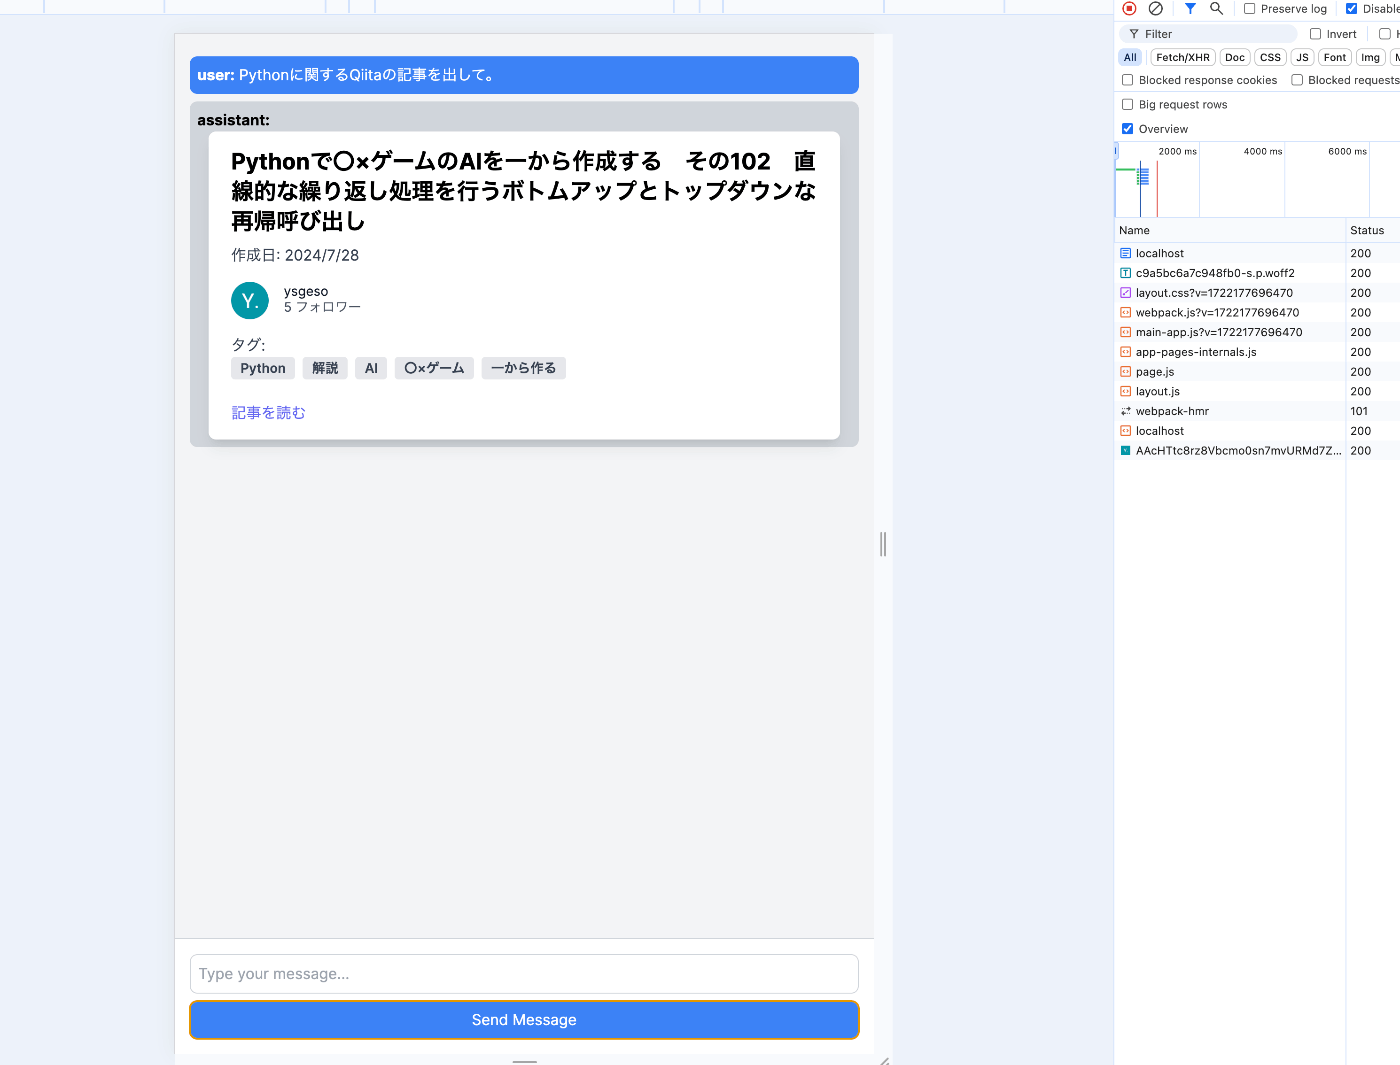
「Python」に関する記事を出して欲しいと質問してみます。
...
表示されました!
いやー面白い
最後に
UI付きなので、回答が返ってきた時の感動がとても大きいです。
「お〜」てなります。そしてレスポンスも早い
実装も簡単だなと思いました。
今回は2個しか設定してないのでちゃんと返ってきましたが、設定する数が増えたり設定した内容が近かったりすると上手くいかないかもしれません。
そこはおそらくdescriptionに記載する内容が重要になってくるのかなと。
Next.jsのApp Routerだけなので、React NativeとかFlutterでもサポートされるのを待ってます。
Discussion