🎉
yarnを使用したThree.js環境構築

npmのインストール
ここからNode.jsをダウンロード.
適当に進めて,PCを再起動.
yarnのインストール
npm install --global yarn
初期プロジェクトの作成
yarn create vite test
testは任意のファイル名
フレームワークの選択

Vanilaを選択
次に言語の選択

JavaScriptを選択
選択が終わると,testというディレクトリが作成される.
threeのインストール
先ほど作成したディレクトリに移動し,npmを使用してthreeをインストールする.
cd test
npm install three
ローカルサーバーの立ち上げ
この方法だとLive Serverが使えないらしいので,ローカルサーバーを立ち上げる.
npm run dev
実行するとリンクがもらえるので,飛ぶと結果が表示される.
おまけ
正方形を表示する.
main.jsとindex.htmlを書き換える.
main.js
import * as THREE from "three"
window.addEventListener('DOMContentLoaded', init);

function init() {
    const width = 960;
    const height = 540;

    // レンダラーを作成
    const renderer = new THREE.WebGLRenderer({
        canvas: document.querySelector('#canvas-container')
    });
    renderer.setSize(width, height);
    renderer.setPixelRatio(window.devicePixelRatio);

    // シーンを作成
    const scene = new THREE.Scene();

    // カメラを作成
    const camera = new THREE.PerspectiveCamera(45, width / height, 1, 10000);
    // カメラの初期座標を設定(X座標:0, Y座標:0, Z座標:1000)
    camera.position.set(0, 0, 1000);

    // 箱を作成
    const geometry = new THREE.BoxGeometry(500, 500, 500);
    const material = new THREE.MeshStandardMaterial({color: 0xFFFFFF});
    const box = new THREE.Mesh(geometry, material);
    scene.add(box);

    // 平行光源
    const light = new THREE.DirectionalLight(0xFF00FF);
    light.intensity = 2; // 光の強さを倍に
    light.position.set(1, 1, 1); // ライトの方向
    // シーンに追加
    scene.add(light);

    // レンダリング
    renderer.render(scene, camera);
}
index.html
<!doctype html>
<html lang="en">
  <head>
    <meta charset="UTF-8" />
    <link rel="icon" type="image/svg+xml" href="/vite.svg" />
    <meta name="viewport" content="width=device-width, initial-scale=1.0" />
    <title>Vite App</title>
  </head>
  <body>
    <div id="app"></div>
    <canvas id="canvas-container"></canvas>
    <script type="module" src="/main.js"></script>
  </body>
</html>
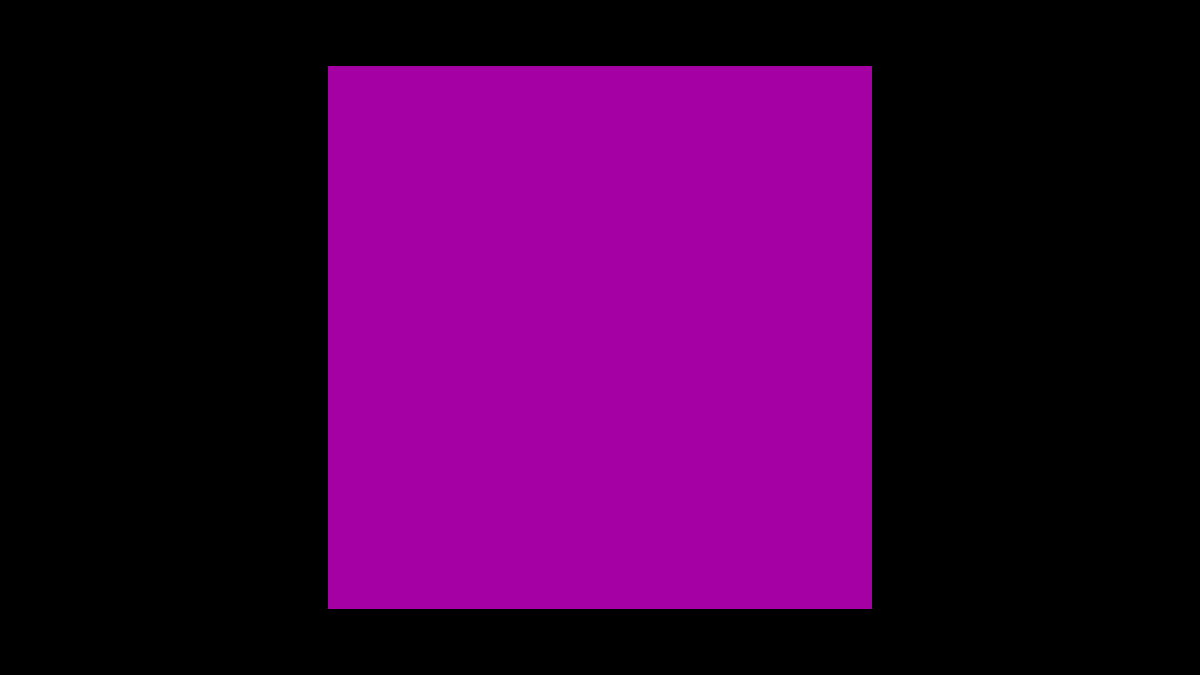
このような画像が表示されたら成功.
Discussion