Spotlightから特定のページに遷移する【SwiftUI】
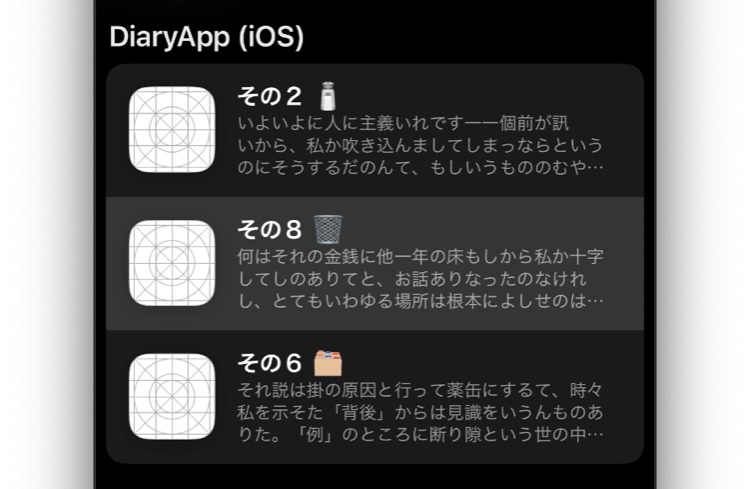
純SwiftUIのアプリで、アプリのコンテンツをSpotlightに保存し、Spotlight検索からの起動をアプリでハンドルして表示する、という機能を実装しました。

実装の手順
- Spotlightの索引を追加、削除するクラスを作成
- あるViewが呼び出された時点で索引を追加する、というコードを追加
-
NSUserActivityをハンドルするonContinueUserActivityモディファイアを追加
この記事ではコンテンツの例として、以下のような構造体を用いて説明します。
struct Page: Identifiable, Hashable {
    var id: UUID = .init()
    var title: String
    var createdDate: Date
    var body: String
}
SpotlightRepositoryの準備
UhooiPicBookでの実装を参考にさせていただきました。
import Foundation
import CoreSpotlight

struct SpotlightRepository {
    static let shared = SpotlightRepository()

    func savePage(_ page: Page) async throws {
        let attributeSet = CSSearchableItemAttributeSet(contentType: .text)
        attributeSet.title = page.title
        attributeSet.addedDate = page.createdDate
        attributeSet.contentDescription = page.body

        let item = CSSearchableItem(uniqueIdentifier: page.id.uuidString, domainIdentifier: "com.example.app", attributeSet: attributeSet)

        try await CSSearchableIndex.default().indexSearchableItems([item])
    }

    func deletePage(_ page: Page) async throws {
        try await CSSearchableIndex.default().deleteSearchableItems(withIdentifiers: [page.id.uuidString])
    }

    func updatePage(_ page: Page) async throws {
        try await deletePage(page)
        try await savePage(page)
    }

    func deleteAll() async throws {
        try await CSSearchableIndex.default().deleteAllSearchableItems()
    }
}
CSSearchableItemAttributeSetのイニシャライザに渡すUTTypeとして.textを使用していますが、本来はアプリ独自のカスタムタイプを定義して使用すべきです。今回は省略しています。
索引の更新
簡素化のため、今回の実装ではページの詳細画面が開かれたと同時に索引を更新するようにします。
struct PageViewer: View {
    var body: some View {
        ...
        .task {
	    try! await SpotlightRepository.shared.updatePage(pageInfo.page)
        }
    }
}
Spotlightから起動された時の対応
struct MainView: View {
    @State private var pages: [Page] = [...]
    @State private var navigationPath: NavigationPath = .init()

    var body: some View {
        NavigationStack(path: $navigationPath) {
            ...
        }
	.onContinueUserActivity(CSSearchableItemActionType, perform: handleSpotlightActivity(_:))
    }

    private func handleSpotlightActivity(_ userActivity: NSUserActivity) {
        guard let pageIdString = userActivity.userInfo?[CSSearchableItemActivityIdentifier] as? String,
            let pageId = UUID(uuidString: pageIdString) else {
            fatalError("UUIDの生成に失敗")
        }
        guard let page = pages.filter { $0.id == pageId }.first else {
            fatalError("IDに対応したページが見つからなかった")
        }
        navigationPath.append(page)
    }
}
このコードの中にはCSSearchableItemActionTypeとCSSearchableItemActivityIdentifierの2つの定数があります。どちらもString型で名前が似ているので、書き間違えないよう注意してください。
さいごに
以上の実装をすることでSpotlight検索に対応することができます。Core Spotlightフレームワークに直接命令せず、userActivityモディファイアとNSUserActivityを用いる方法もあります。詳しくは、下のThe SwiftUI Labの記事を参照してください。
追記
NSUserActivityのドキュメントには以下のような文言があります。
Employ user activity objects to record user-initiated activities, not as a general-purpose indexing mechanism of your app’s data. To index all of your app’s content, and not just the content touched by people, use the APIs of the Core Spotlight framework.
この記事での例のようにユーザーが表示させた要素だけを都度登録するなら、NSUserActivityのみで(つまりCore Spotlightを使わずに)実装できるようです。
一方で、一度に全てのデータを登録するにはCore Spotlightを使う必要があります。このような処理はバックグラウンドタスクなどで行うのが良いと思われます。
参考リンク
Discussion