💡
「Remix V2」に「shadcn/ui」をインストールする
Remixにtailwindcssをインストールすれば、あとは簡単だ。
1.Remixのインストール
npx create-remix@latest
開発ディレクトリに移動
cd my-remix-app
開発用ビルドとランコマンドで起動
npm run dev
Remixのインストール完。
2.tailwindcssのインストール
npm install -D tailwindcss postcss autoprefixer
npx tailwindcss init --ts -p
./tailwind.config.tsを編集
tailwind.config.ts
import type { Config } from 'tailwindcss'

export default {
  content: ['./app/**/*.{js,jsx,ts,tsx}'],
  theme: {
    extend: {},
  },
  plugins: [],
} satisfies Config
./app/にtailwind.cssファイルを作成する
tailwind.css
tailwind.css
@tailwind base;
@tailwind components;
@tailwind utilities;
./app/root.tsxにコードを挿入する
root.tsx
import type { LinksFunction } from "@remix-run/node";
import stylesheet from "~/tailwind.css?url";

export const links: LinksFunction = () => [
  { rel: "stylesheet", href: stylesheet },
];
//~~~~~~~~~~~~~
スタイルシートの読み込みが独特で草。
tailwindcssインストール完。
3.shadcn/uiのインストール
npx shadcn-ui@latest init
Would you like to use TypeScript (recommended)?  yes
Which style would you like to use? › Default
Which color would you like to use as base color? › Slate
Where is your global CSS file? › app/tailwind.css
Do you want to use CSS variables for colors? › yes
Where is your tailwind.config.js located? › tailwind.config.js
Configure the import alias for components: › ~/components
Configure the import alias for utils: › ~/lib/utils
Are you using React Server Components? › no
shadcn/uiのインストール完。
4.shadcn/uiのコンポーネントをダウンロードして使ってみる
バッジのダウンロード
npx shadcn-ui@latest add avatar
バッジの使い方
_index.tsx
import { Avatar, AvatarFallback, AvatarImage } from "~/components/ui/avatar"


export default function Index() {
  return (
   <div>
        <Avatar>
          <AvatarImage src="https://github.com/shadcn.png" />
          <AvatarFallback>CN</AvatarFallback>
        </Avatar>
    </div>
  );
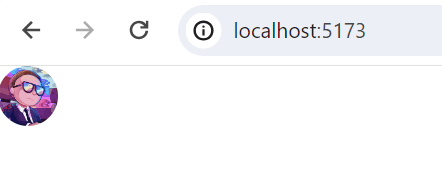
出来た😆

ファイルの数多いな・・・
Discussion