Firebase Hostingで開発環境と本番環境を分ける
手順
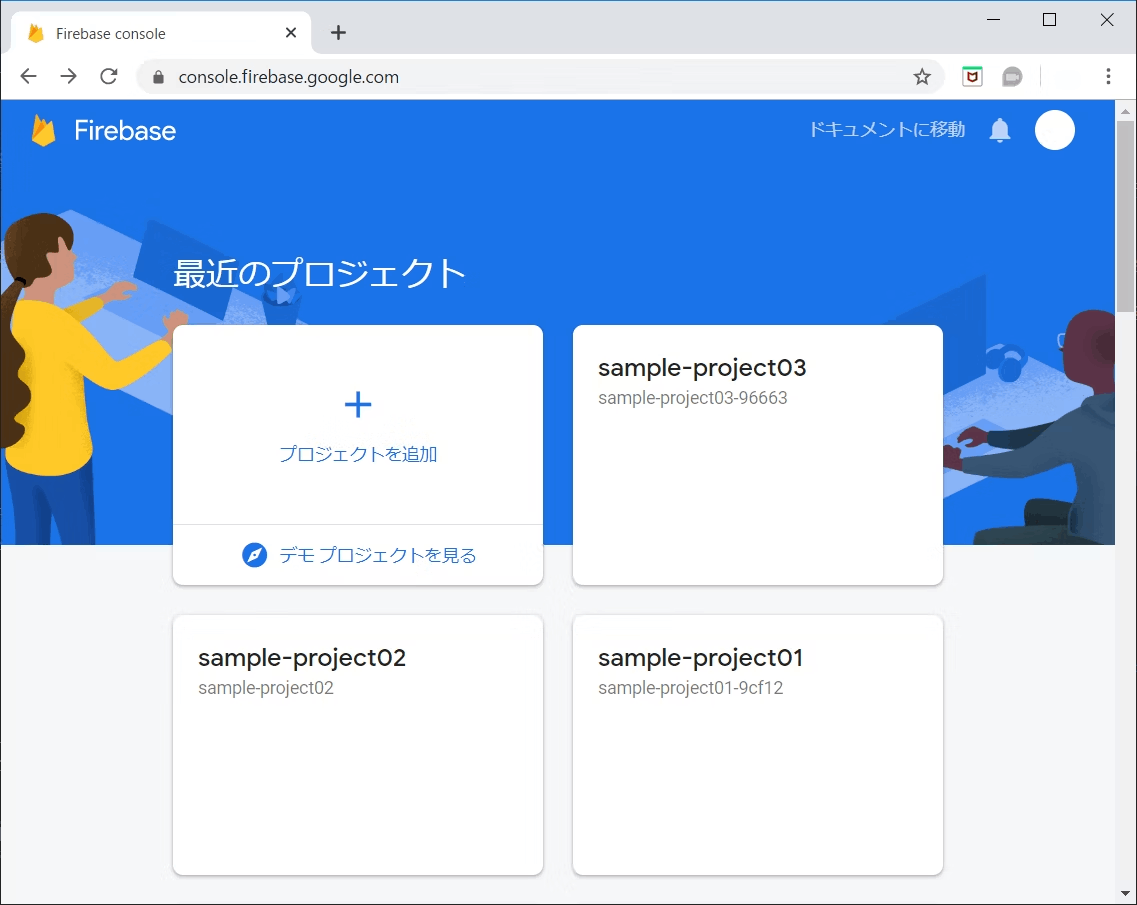
Firebaseの開発プロジェクトを管理画面から作る。
添付画像の管理画面からpjを作る。
hogeというpj名なら下記のようにすると分かりやすいかも。
開発:hoge-dev
また、ホスティングのサービスも設定する。
firebase-toolsをインストールする
npm install -g firebase-tools
Firebase のコマンドラインツールである firebase-tools をグローバルインストールする。
firebase initで開発用のHostingの初期設定をする
開発環境で下記を実行して、firebase の初期設定を行う。
firebase init
こんな画面になるので今回はFirestoreとHostingを使用した例で進める。
     ######## #### ########  ######## ########     ###     ######  ########
     ##        ##  ##     ## ##       ##     ##  ##   ##  ##       ##
     ######    ##  ########  ######   ########  #########  ######  ######
     ##        ##  ##    ##  ##       ##     ## ##     ##       ## ##
     ##       #### ##     ## ######## ########  ##     ##  ######  ########

You're about to initialize a Firebase project in this directory:

  /Users/shu/test/test

Before we get started, keep in mind:

  * You are initializing within an existing Firebase project directory

? Which Firebase features do you want to set up for this directory? Press Space to select features, then Enter to confirm your choices.
 (Press <space> to select, <a> to toggle all, <i> to invert selection, and <enter> to proceed)
 ◉ Firestore: Configure security rules and indexes files for Firestore
 ◯ Functions: Configure a Cloud Functions directory and its files
 ◉ Hosting: Configure files for Firebase Hosting and (optionally) set up GitHub Action deploys
❯◉ Hosting: Set up GitHub Action deploys
 ◯ Storage: Configure a security rules file for Cloud Storage
 ◯ Emulators: Set up local emulators for Firebase products
 ◯ Remote Config: Configure a template file for Remote Config
色々聞かれるけどこんな感じで答えておけば問題ないと思う。
| 質問 | 返答 |
|---|---|
| Which Firebase features do you want to set up for this directory? Press Space to select features, then Enter to confirm your choices. (Press <space> to select, <a> to toggle all, <i> to invert selection, and <enter> to proceed) | 「Firestore」と「Hosting」とついているものをスペースで選択してエンター(realtime databaseとかfirestoreとかインストールしている人はここの選択が必要です。) |
| What file should be used for Firestore Rules? (firestore.rules) | エンターでOK。 |
| What file should be used for Firestore indexes? | エンターでOK。 |
| What do you want to use as your public directory? | dist(状況により異なるので、build後に生成されるindex.htmlがいるところでok) |
| Configure as a single-page app (rewrite all urls to /index.html)? | SPAで作っているか聞かれるので、もしそうならY |
| Set up automatic builds and deploys with GitHub? | nでよい |
| File dist/index.html already exists. Overwrite? | nでよい |
firebase useで現在選択されているpjを確認する
firebase use
Active Project: hoge-dev
になっているはず
なっていなければ、下記でpjを選択する
firebase use hoge-dev
再度firebase useで選択中のpjを確認する。
Firebaseの本番プロジェクトを管理画面から作る。
今度は管理画面から本番pjを作る。
pj名は下記のようにすると分かりやすいかも。
本番:hoge-prod
ホスティングのサービスも設定する。
firebase use --addで本番用pjを追加する
下記でpj一覧を表示できる。
hoge-prodがちゃんと登録できているか確認。
登録できていなければ管理画面で登録できていないので、ホスティングのところとかを、もう一度見直してください。
$ firebase projects:list
✔ Preparing the list of your Firebase projects
┌────────────────────────────┬───────────────────────────────────────┬────────────────┬──────────────────────┐
│ Project Display Name       │ Project ID                            │ Project Number │ Resource Location ID │
├────────────────────────────┼───────────────────────────────────────┼────────────────┼──────────────────────┤
│ hoge-dev                   │ hoge-dev  (current)                   │ xxxxxxxxxxxx   │ asia-northeast1      │
├────────────────────────────┼───────────────────────────────────────┼────────────────┼──────────────────────┤
│ hoge-prod                  │ hoge-prod                              │ yyyyyyyyyyyy   │ asia-northeast1      │
└────────────────────────────┴───────────────────────────────────────┴────────────────┴──────────────────────┘
作成したプロジェクトが確認できたら、以下の設定を行ってプロジェクトエイリアスを設定する。
エイリアスを設定することで、ローカルで環境ごとにディレクトリを分けることなく開発・本番を切り替えることができるようになる。
$ firebase use --add
? Which project do you want to add? (Use arrow keys)
❯ hoge-dev
  hoge-prod
選択してEnterを押すとエイリアス名を入力できる。
好きな名前を設定して良いがこんな感じだと分かりやすい。
開発:dev
本番:prod
? What alias do you want to use for this project? (e.g. staging) dev

Created alias dev for hoge-dev.
Now using alias dev (hoge-dev)
これでfirebase use devを打つと開発環境に切り替えることができる。
同様に本番環境も$ firebase use --addでhoge-prodを選択してprodに設定する。
firebase deploy で現在選択中のpjへデプロイできる。
※firebaseConfigの設定も開発と本番で切り替えないといけない。ホスティング先は下記で切り替えられるが、このままではデータの保存先が切り替えられていないので、データの保存先は開発のままと言う状態になる。ここは手動でコピペするしか今のとこはわかっていない。すごい手間。やだ。誰か教えて欲しい。
開発環境の時
$ firebase use dev( 開発環境へ切り替え)
$ firebase use deploy(デプロイ)
本番環境の時
$ firebase use prod(本番環境へ切り替え)
$ firebase use deploy(デプロイ)
公開したサイトを非表示にするとき
pjを選択して下記
$firebase hosting:disable
そうするとこうなる。

おまけ
| 削除 | コマンド |
|---|---|
| functionsの削除 | firebase functions:delete |
| firestoreの削除 | firebase firestore:delete |
Discussion