


jotai とは
jotai とは、react の状態管理ライブラリです。フックスライクに状態を管理でき、学習コストも低いので、お手軽に状態管理を実装できます。
また、recoil に非常に良く似ており、recoil を使ったことがある人には、すぐに使いこなせると思います。
今回の実装する内容
今回は jotai を使って、firebaseAuth を管理し、書き味を試してみる趣旨です。
- firebase でログイン
- ユーザー状態を更新
- スタイルを変更
- firebase でログアウト
- ユーザー状態を更新
- スタイルを変更
上記を実装したいと思います。
※ firebase の解説は割愛します。
実装
準備
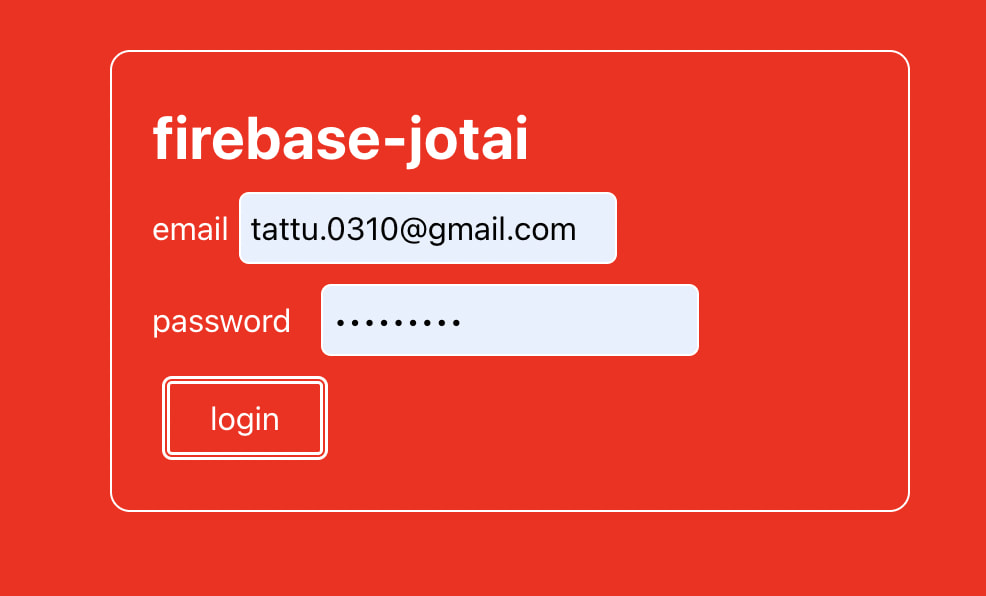
ログインしていないと背景が赤く非常にストレスフルな UI になっています。
index.tsx
import { signInWithEmailAndPassword, User } from "firebase/auth";
import { useState } from "react";
import { auth } from "../firebase/firebase";

const InputStyle = {
  border: "1px solid white",
  borderRadius: "5px",
  padding: "5px",
  margin: "5px",
  color: "black",
};

const ButtonStyle = {
  border: "4px double white",
  borderRadius: "5px",
  padding: "5px 20px",
  margin: "5px",
};

const Index = () => {
  const [email, setEmail] = useState<string>("");
  const [password, setPassword] = useState<string>("");
  const handleLogin = () => {
    signInWithEmailAndPassword(auth, email, password)
      .then((userCredential) => {
        const user: User = userCredential.user;
        alert("success");
      })
      .catch(() => {
        alert("failed");
      });
  };
  return (
    <div
      style={{
        backgroundColor: "red",
        color: "white",
        height: "100vh",
      }}
    >
      <div
        style={{
          width: "400px",
          margin: "auto",
          paddingTop: "50px",
        }}
      >
        <div
          style={{
            border: "1px solid white",
            borderRadius: "10px",
            padding: "20px",
          }}
        >
          <h1
            style={{
              fontWeight: "bold",
              fontSize: "30px",
            }}
          >
            firebase-jotai
          </h1>
          <div>
            <label>email</label>
            <input
              type="text"
              value={email}
              onChange={(e) => setEmail(e.target.value)}
              style={InputStyle}
            />
          </div>
          <div>
            <label
              style={{
                paddingRight: "10px",
              }}
            >
              password
            </label>
            <input
              type="password"
              value={password}
              onChange={(e) => setPassword(e.target.value)}
              style={InputStyle}
            />
          </div>
          <button onClick={handleLogin} style={ButtonStyle}>
            login
          </button>
        </div>
      </div>
    </div>
  );
};

export default Index;
内容としては、email と password を入力してログインボタンを押すと、firebase にログインする処理を実装しています。至ってシンプルです。
ユーザー状態の管理
いよいよ jotai を使って、ユーザー状態を管理していきます。
とは言ってもやることは簡単です。
1. jotai をインストール
yarn add jotai
2. ユーザー状態を管理する atom を作成
import type { User } from "firebase/auth";
import { atom } from "jotai";

export const userAtom = atom<User | null>(null);
3. ログイン時にユーザー状態を更新
const Index = () => {
  const [email, setEmail] = useState<string>("");
  const [password, setPassword] = useState<string>("");
+ const [user, setUser] = useAtom(userAtom);
  const handleLogin = () => {
    signInWithEmailAndPassword(auth, email, password)
      .then((userCredential) => {
        const user: User = userCredential.user;
+       setUser(user);
        alert("success");
      })
      .catch(() => {
        alert("failed");
      });
  };
  return (
      // 省略
  );
};

export default Index;
const [user, setUser] = useAtom(userAtom);これだけで、ユーザー状態を管理することができます。
read-only write-only な atom を作成
import type { User } from "firebase/auth";
import { atom } from "jotai";

export const userAtom = atom<User | null>(null);

// read-only
export const getUserEmailAtom = atom<string | null | undefined>(
  (get) => get(userAtom)?.email
);

// write-only
export const setUserAtom = atom<null, User>(null, (_get, set, update) => {
  set(userAtom, update);
});
今回は email を取得する atom と user を更新する atom を作成しました。
呼び出し方も少し変わります。
index.tsx
const Index = () => {
  const [email, setEmail] = useState<string>("");
  const [password, setPassword] = useState<string>("");
- const [user, setUser] = useAtom(userAtom);
+ const setUser = useSetAtom(setUserAtom);
+ const userEmail = useAtomValue(getUserEmailAtom);
  const handleLogin = () => {
    signInWithEmailAndPassword(auth, email, password)
      .then((userCredential) => {
        const user: User = userCredential.user;
        setUser(user);
        alert("success");
      })
      .catch(() => {
        alert("failed");
      });
  };
  return (
    <div
      style={{
        backgroundColor: "red",
        color: "white",
        height: "100vh",
      }}
    >
      <div
        style={{
          width: "400px",
          margin: "auto",
          paddingTop: "50px",
        }}
      >
        <div
          style={{
            border: "1px solid white",
            borderRadius: "10px",
            padding: "20px",
          }}
        >
          <h1
            style={{
              fontWeight: "bold",
              fontSize: "30px",
            }}
          >
            firebase-jotai
          </h1>
          <div>
            <label>email</label>
            <input
              type="text"
              value={email}
              onChange={(e) => setEmail(e.target.value)}
              style={InputStyle}
            />
          </div>
          <div>
            <label
              style={{
                paddingRight: "10px",
              }}
            >
              password
            </label>
            <input
              type="password"
              value={password}
              onChange={(e) => setPassword(e.target.value)}
              style={InputStyle}
            />
          </div>
          <button onClick={handleLogin} style={ButtonStyle}>
            login
          </button>
+         <p>
+           <span>{userEmail && `welcome ${userEmail} !!!`}</span>
+         </p>
        </div>
      </div>
    </div>
  );
};

export default Index;
renad-only な atom は useAtomValue で呼び出し、write-only な atom は useSetAtom で呼び出します。
今回は内部ロジックがほぼありませんが、ここにロジックを記述して、コンポーネント側では、呼び出すのみにすると、コンポーネントの見通しが良くなります。
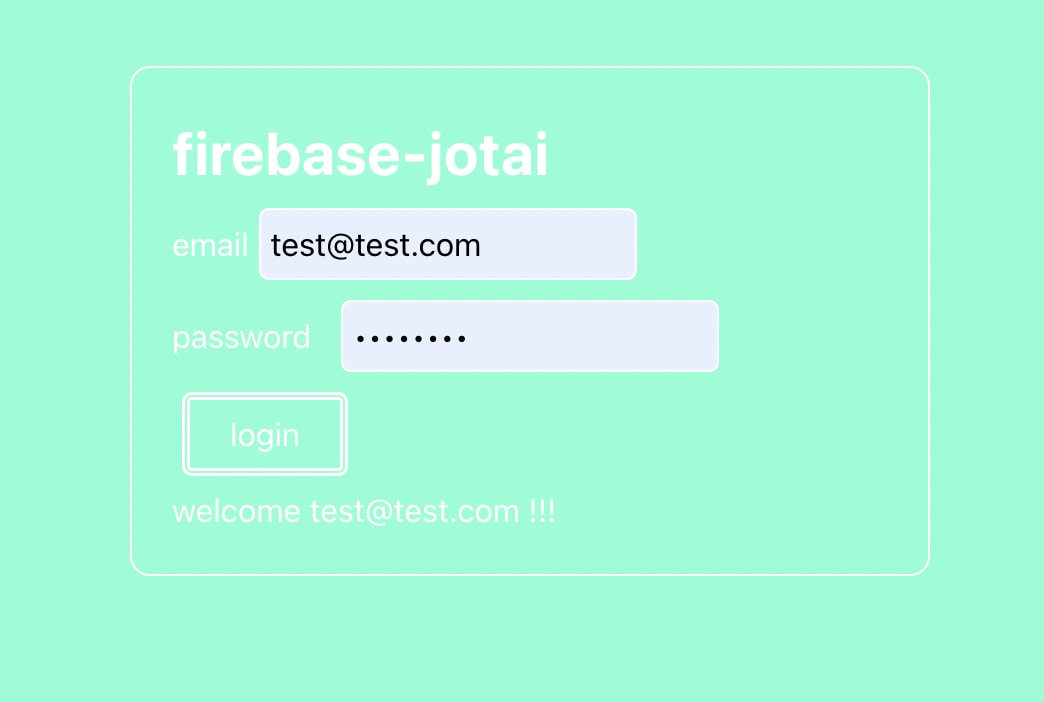
ユーザーの状態によって、背景色を変更
最後に、ユーザーの状態によって、背景色を変更してみます。
export const userAtom = atom<User | null>(null);
export const getUserAtom = atom<User | null>((get) => get(userAtom));
export const getUserEmailAtom = atom<string | null | undefined>(
  (get) => get(userAtom)?.email
);
export const setUserAtom = atom<null, User>(null, (_get, set, update) => {
  set(userAtom, update);
+ set(themeAtom, "aquamarine");
});

+ export const themeAtom = atom<"red" | "aquamarine">("red");
+ export const getThemeAtom = atom<"red" | "aquamarine">((get) => get(themeAtom));
+ export const setThemeAtom = atom<null, "red" | "aquamarine">(
+ null,
+ (_get, set, update) => {
+   set(themeAtom, update);
+ });
index.tsx
import { signInWithEmailAndPassword, User } from "firebase/auth";
import { useAtom, useAtomValue, useSetAtom } from "jotai";
import { useState } from "react";
import { auth } from "../firebase/firebase";
import {
  getUserEmailAtom,
  setUserAtom,
  userAtom,
  getThemeAtom,
} from "../state/user.state";

const InputStyle = {
  border: "1px solid white",
  borderRadius: "5px",
  padding: "5px",
  margin: "5px",
  color: "black",
};

const ButtonStyle = {
  border: "4px double white",
  borderRadius: "5px",
  padding: "5px 20px",
  margin: "5px",
};

const Index = () => {
  const [email, setEmail] = useState<string>("");
  const [password, setPassword] = useState<string>("");
  const setUser = useSetAtom(setUserAtom);
  const userEmail = useAtomValue(getUserEmailAtom);
+ const themeColor = useAtomValue(getThemeAtom);
  const handleLogin = () => {
    signInWithEmailAndPassword(auth, email, password)
      .then((userCredential) => {
        const user: User = userCredential.user;
        setUser(user);
        alert("success");
      })
      .catch(() => {
        alert("failed");
      });
  };
  return (
    <div
      style={{
+       backgroundColor: themeColor,
        color: "white",
        height: "100vh",
      }}
    >
      <div
        style={{
          width: "400px",
          margin: "auto",
          paddingTop: "50px",
        }}
      >
        <div
          style={{
            border: "1px solid white",
            borderRadius: "10px",
            padding: "20px",
          }}
        >
          <h1
            style={{
              fontWeight: "bold",
              fontSize: "30px",
            }}
          >
            firebase-jotai
          </h1>
          <div>
            <label>email</label>
            <input
              type="text"
              value={email}
              onChange={(e) => setEmail(e.target.value)}
              style={InputStyle}
            />
          </div>
          <div>
            <label
              style={{
                paddingRight: "10px",
              }}
            >
              password
            </label>
            <input
              type="password"
              value={password}
              onChange={(e) => setPassword(e.target.value)}
              style={InputStyle}
            />
          </div>
          <button onClick={handleLogin} style={ButtonStyle}>
            login
          </button>
          <p>
            <span>{userEmail && `welcome ${userEmail} !!!`}</span>
          </p>
        </div>
      </div>
    </div>
  );
};

export default Index;
動作の流れとしては
- ログインボタンを押す
- ログインに成功したら、
setUserAtomが呼び出される -
setUserAtom内でsetThemeAtomが実行、themeAtomが更新される。 -
themeAtomが更新されると、getThemeAtomによって背景色が変更される
まとめ
jotai と firebase を組み合わせて、簡単なログイン機能を実装しました。今回ログアウトの実装をしませんでしたが、ほぼ同じように実装できるのでやってみてください!
参考

Discussion