😁
Spring SecurityのアプリにGoogle認証を導入する方法
今回はSpring Securityを使用して作成したアプリケーションにGoogle認証を導入する方法を説明したいと思います。
SpringSecurityがサポートしている認証方式に関しては以下を参考にしてください。
今回使用するGoogle認証はOpenID Connectと言われるものでOAuthを拡張して作成されたものです。主要な認証・認可の方式の違いに関しては以下のサイトを参照してください!
Google認証導入の参考サイト
Google側の設定
- GoogleAPIコンソールにアクセス](https://console.cloud.google.com/apis/dashboard)
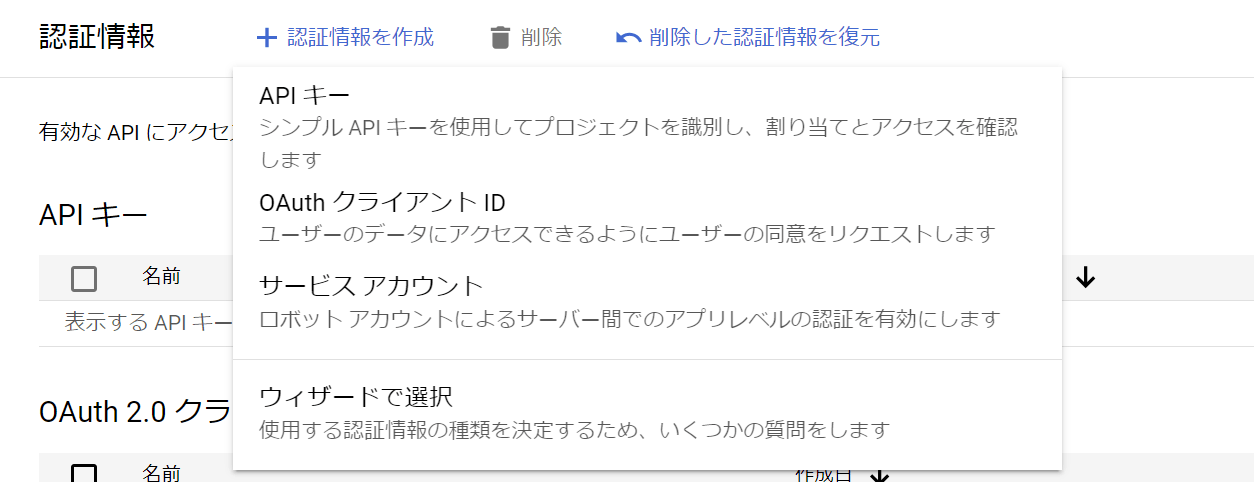
- 認証情報」から「認証情報を作成」→「OAuth クライアント ID」を選択する。
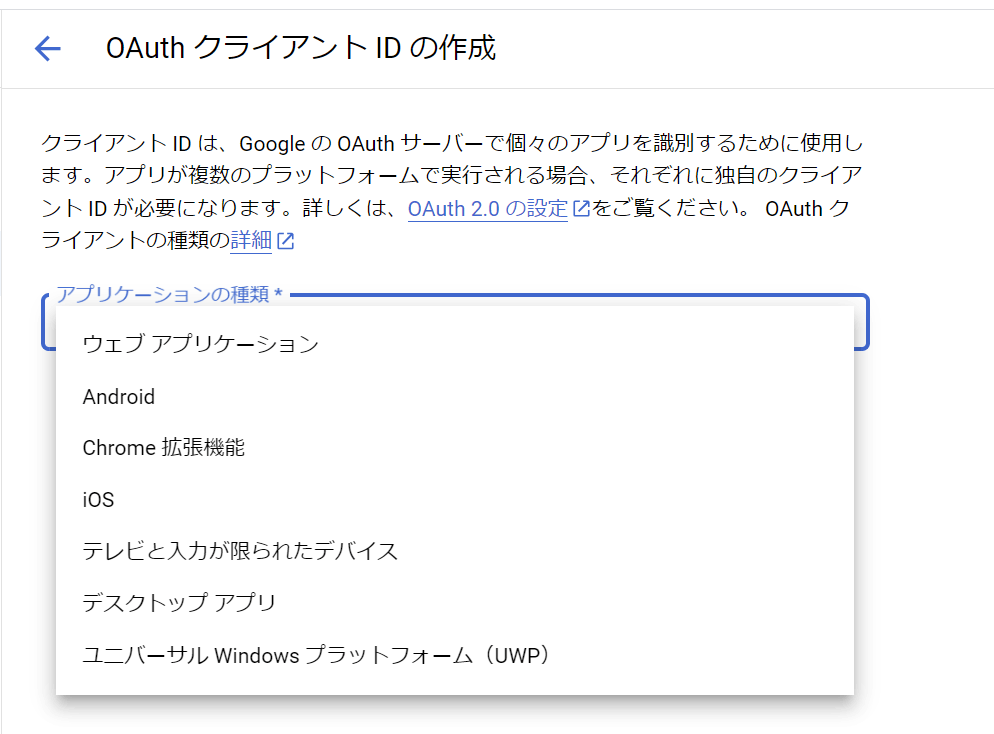
- ェブアプリケーションを選択
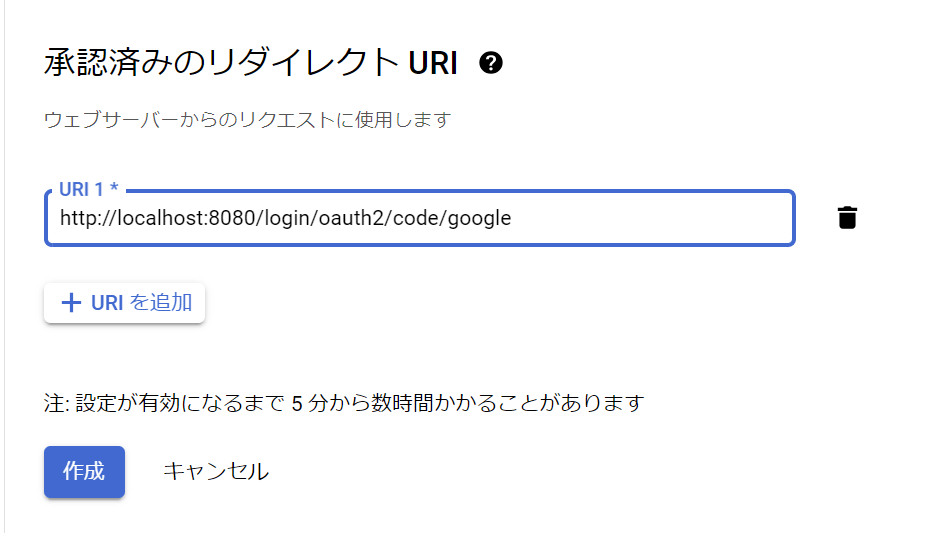
- 認済みのリダイレクトURIに http://localhost:8080/login/oauth2/code/google を追加する。
※このURLはデフォルト値なので同じ値を設定する
アプリケーションの設定
- build.gradleに以下を以下の依存関係を追加します。
//Spring Security
implementation 'org.springframework.boot:spring-boot-starter-security'
implementation 'org.thymeleaf.extras:thymeleaf-extras-springsecurity6:3.1.1.RELEASE'
testImplementation('org.springframework.security:spring-security-test')
//OAuth
implementation 'org.springframework.security:spring-security-oauth2-client'
implementation 'org.springframework.security:spring-security-oauth2-jose'
- application.ymlに以下を追加します。
spring:
  security:
    oauth2:
      client:
        registration:
          google:
            client-id: クライアントID
            client-secret: クライアントシークレット
クライアントIDとクライアントシークレットはGoogleの設定で作成したものを使用してください。
- アプリケーションクラス
特に変更はせず、デフォルトで構いません。
@SpringBootApplication
public class OidcApplication {

    public static void main(String[] args) {
        SpringApplication.run(OidcApplication.class, args);
    }
}
- Controllerクラス
@Controller
@RequestMapping
public class OAuthController {
	 @GetMapping("/")
	  public String index(@AuthenticationPrincipal OidcUser user, Model model) {
	    model.addAttribute("username", user.getFullName());
	    return "users/userinfo";
	  }
}
OidcUserに認証情報が格納されているので、そこから取得することができます。
getFullName()の他にも複数のメソッドが用意されており、認証情報の取得に役立ちます。
※メソッドによってはGoogle側が対応していないことでnullが返却される場合もあります。
OdicUserの説明サイト
- Security Config クラス
@EnableWebSecurity
@Configuration
public class WebSecurityConfig extends WebSecurityConfigurerAdapter {
     @Override
     protected void configure(HttpSecurity http) throws Exception {
	     http.authorizeRequests()
	     .mvcMatchers("/login").permitAll()
	     .anyRequest().authenticated() //上記以外のファイルへのアクセスは認証が必要
	     .and()
	     .oauth2Login()  //OpenID Connect認証(Oauth)を有効にする
     }
}
- Thymeleaf
<!DOCTYPE html>
<html xmlns:th="http://www.thymeleaf.org" xmlns:sec="http://www.thymeleaf.org/thymeleaf-extras-springsecurity4">
<html lang="en">
<head>
    <meta charset="UTF-8">
    <title>UserInfo</title>
</head>
<body>
    <div>username:<span th:text="${username}"></span></div>
    <a href="/">Back</a>
</body>
</html>
認証情報を表示する画面を作成します。${username}にはController側で設定した名前が入ってくればOKということです。
動作確認
-
Spring Bootアプリケーションを起動し、localhost:8080/にアクセス

Google認証のページが表示されれば、正しく連携ができています。 -
Googleの認証情報を入力し、認証を完了する

上記の画面が表示されれば認証が完了したということ。
おわりに
以上、とても簡単にSpringBootを使用したアプリケーションにGoogle認証を導入することができました。個人的な感想としてはSAMLにくらべ、記載量も少なく、理解しやすいと感じました。
Discussion