🔔
【2023年8月最新】Twitter APIの登録手順、GASで使うAPIキーの取得方法
Twitter APIの登録手順、APIキーの取得方法を解説します。
Developerアカウントを登録する
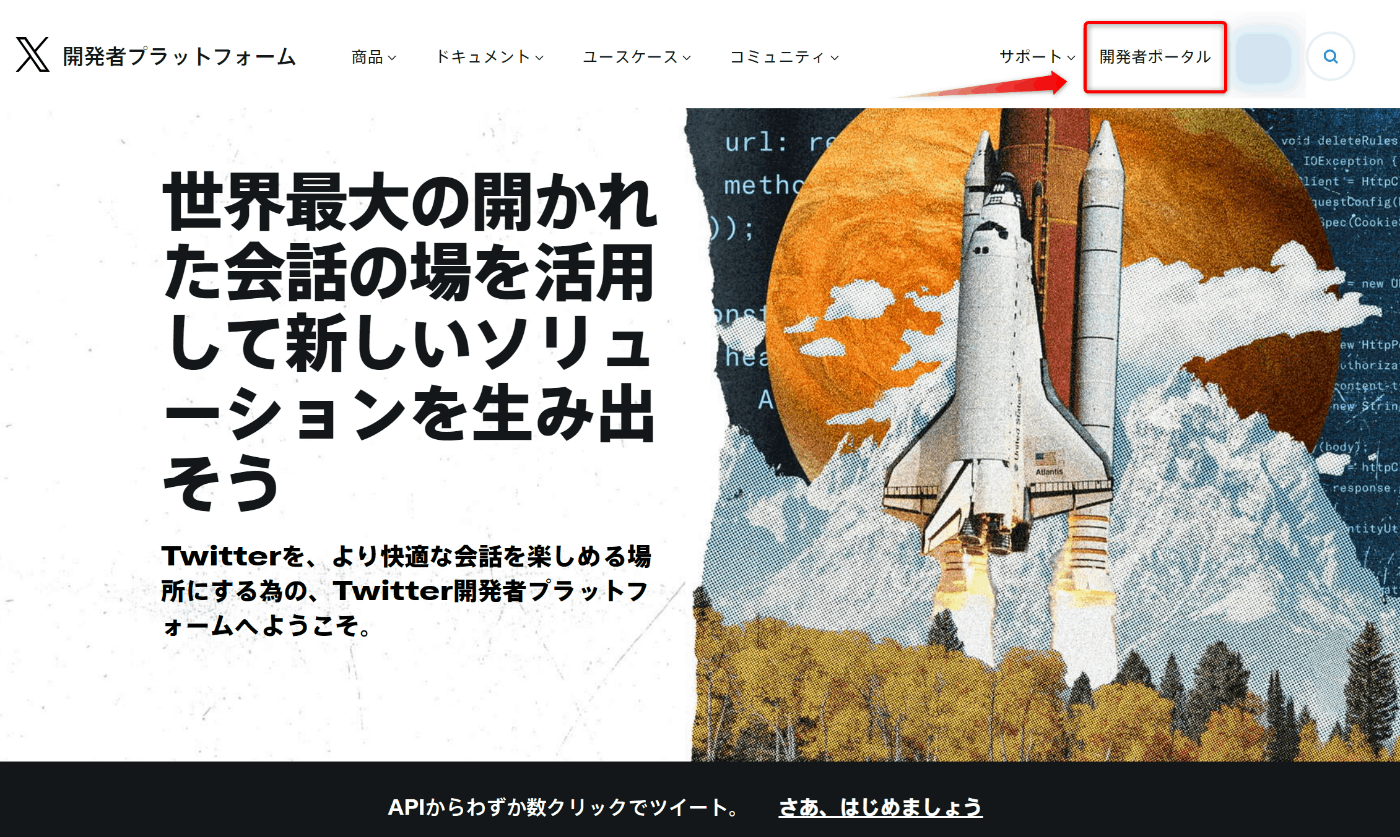
- Twitter Developer Platform( https://developer.twitter.com/ja )にアクセスする。
- 開発者ポータル( https://developer.twitter.com/en/portal/petition/essential/basic-info )をクリックする。
- ページ下部のSign up for Free Accountをクリックする。

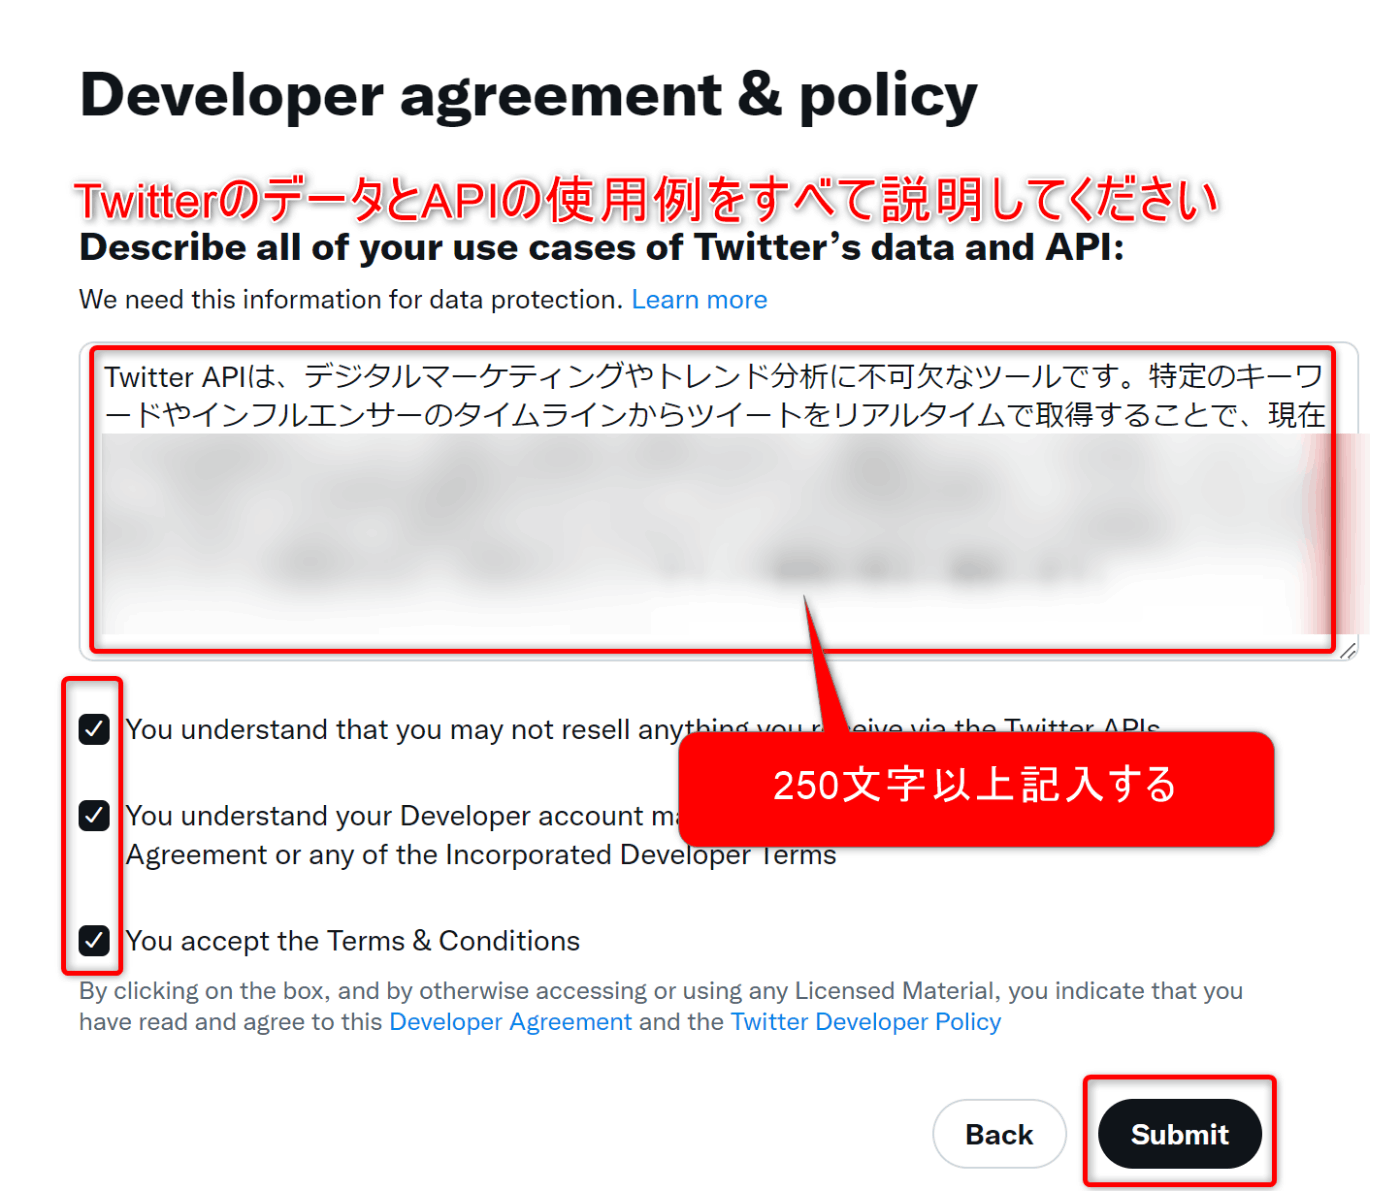
- 利用規約に同意する。
APIの利用目的(250文字以上)を記入します。審査などはされないので適当に無難な内容で大丈夫です。
- 登録完了
Dashboard( https://developer.twitter.com/en/portal/dashboard )が表示できれば登録完了です。

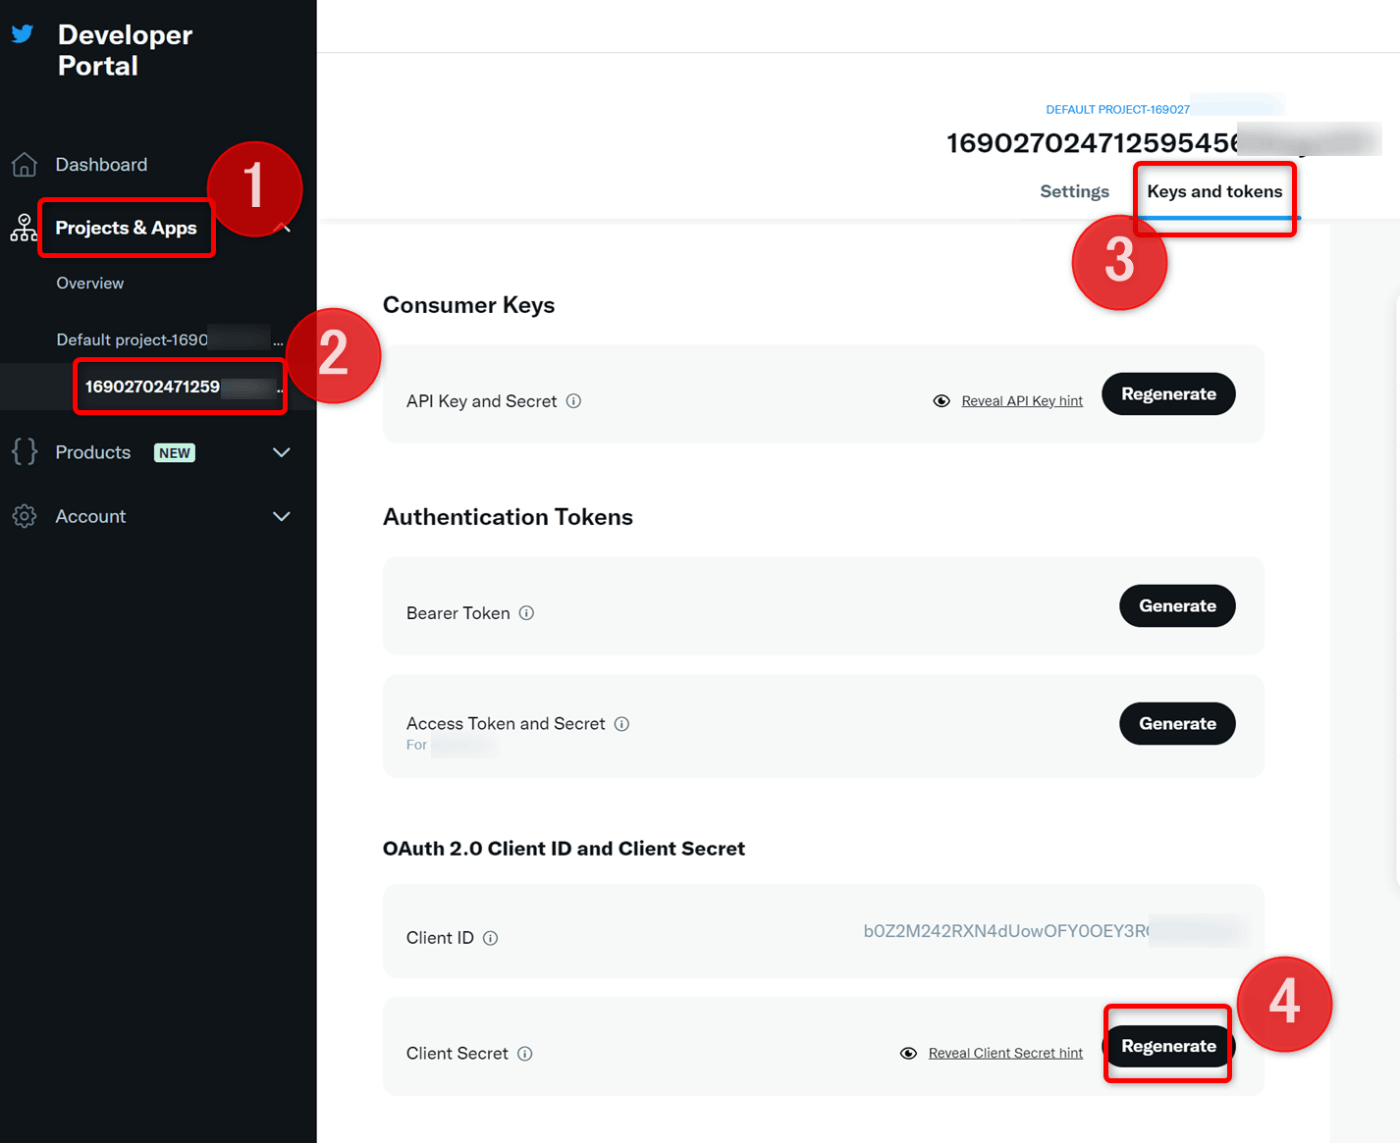
Client ID と Client Secret を取得する
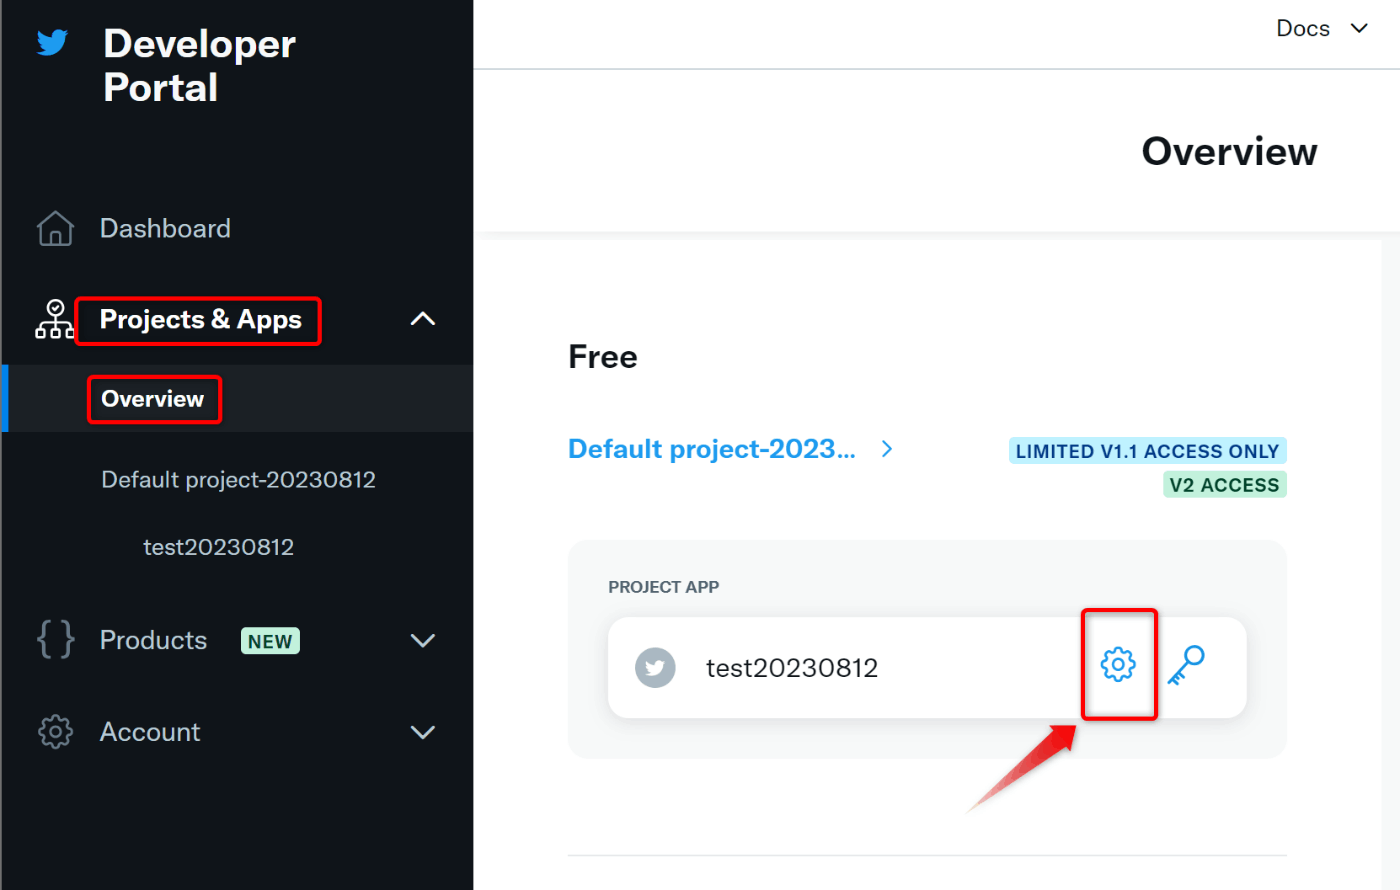
- 画面左のProjects & Apps → Overviewの順にクリックする。
- デフォルトで作成されているPROJECT APPの 設定アイコンをクリックする。
- User authentication settings の Set up をクリックする。

-
Read and write、Web App, Automated App or Botを選択する。

-
Callback URI(補足)、Website URL(TwitterのURL)を入力する。

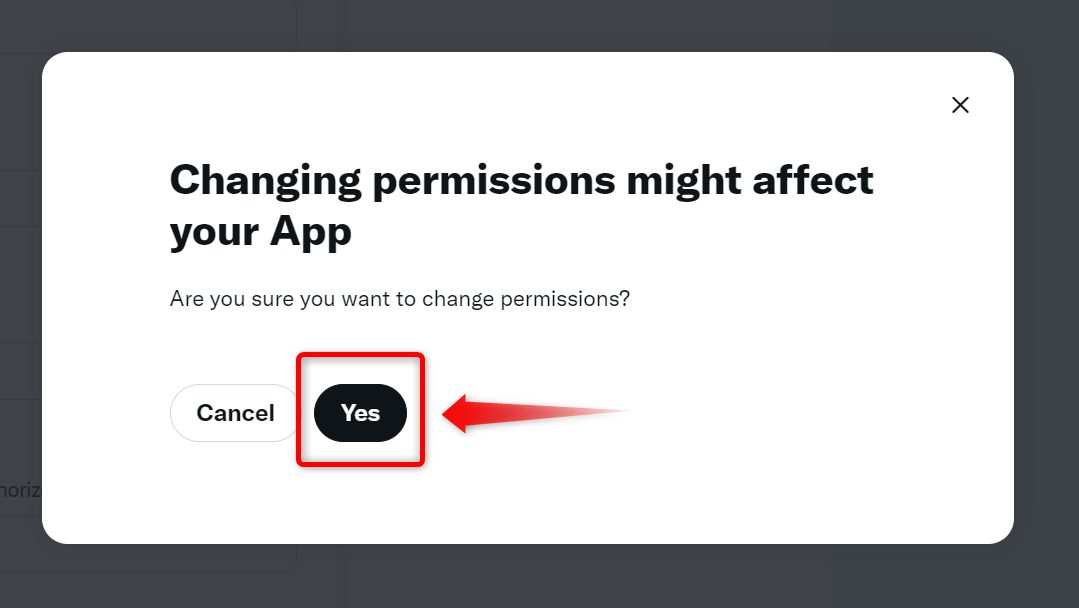
- 変更を許可する 。
- Client ID と Client Secretをメモする。

Keys と tokens
失念した場合、変更したい場合は、PROJECT APPのKeys and tokensページから再取得ができます。
- Consumer Keys
- API Key and Secret
- Authentication Tokens
- Bearer Token
- Client ID and Client Secret
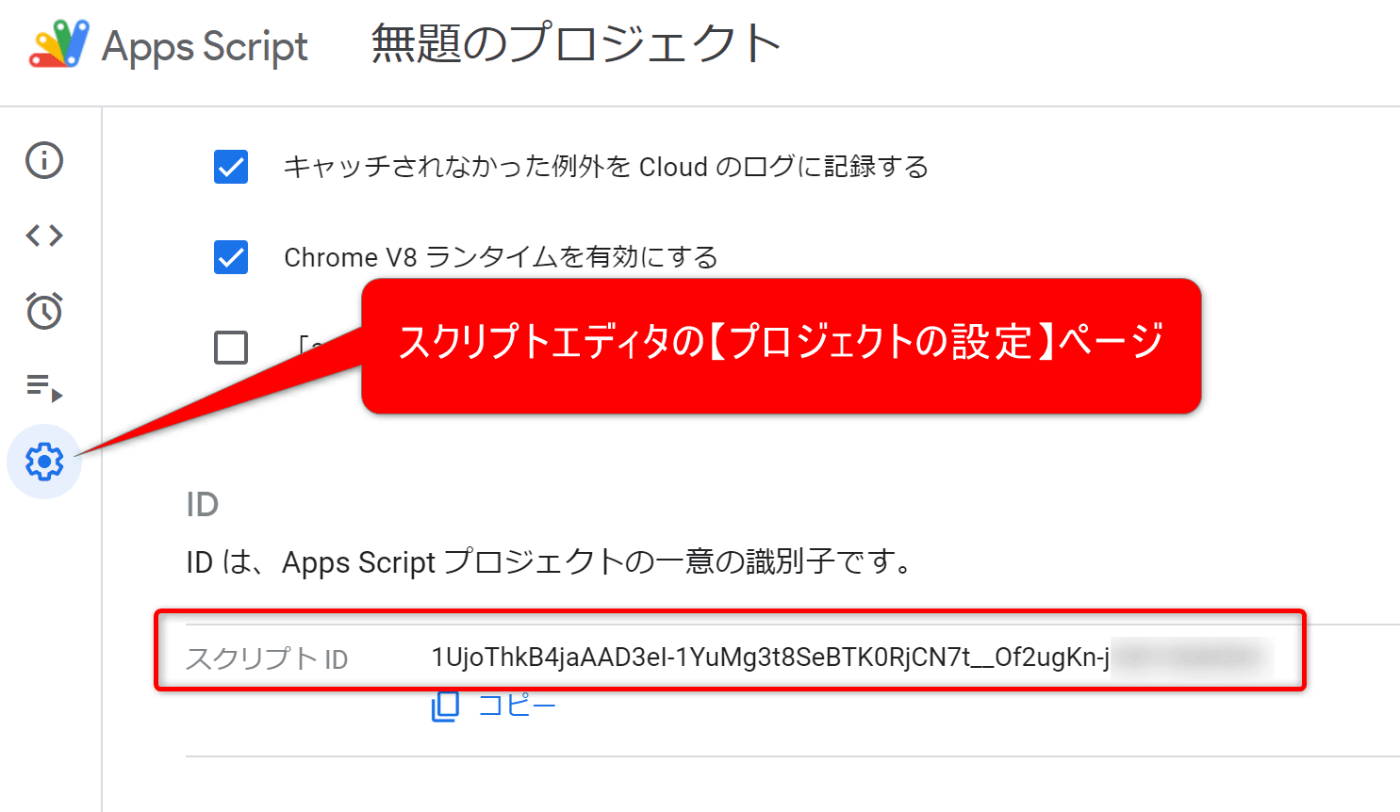
補足 コールバックURL
GASのコールバックURL(Callback URI)は次の形式になります。
https://script.google.com/macros/d/ スクリプトID /usercallback
スクリプトエディタを開いて【プロジェクトの設定】ページからスクリプトIDを確認できます。
GASのコードを実行して取得も可能です。
function getScriptId() {
  const scriptId = ScriptApp.getScriptId();

  console.log(`スクリプトID: ${scriptId}`);
  //スクリプトID: 1H45AQ7GFYDdMJzLSscwUaU81mD****

  console.log(`コールバックURL: https://script.google.com/macros/d/${scriptId}/usercallback`);
  //コールバックURL: https://script.google.com/macros/d/1H45AQ7GFYDdMJzLSscwUaU81mD****/usercallback
}
Discussion