はじめに
はじめまして、株式会社FP16の宮前です!
早速ですが、Stable Diffusion web UIって初見だと難しいと思いませんか?
指定できるパラメータが多く、社内のデザイナーさん等に触ってもらうにはハードルが高いと感じていました。
そんな時に簡単に扱えるよう、Stable Diffusionの日本語に対応したわかりやすいweb UIを作ってみました!
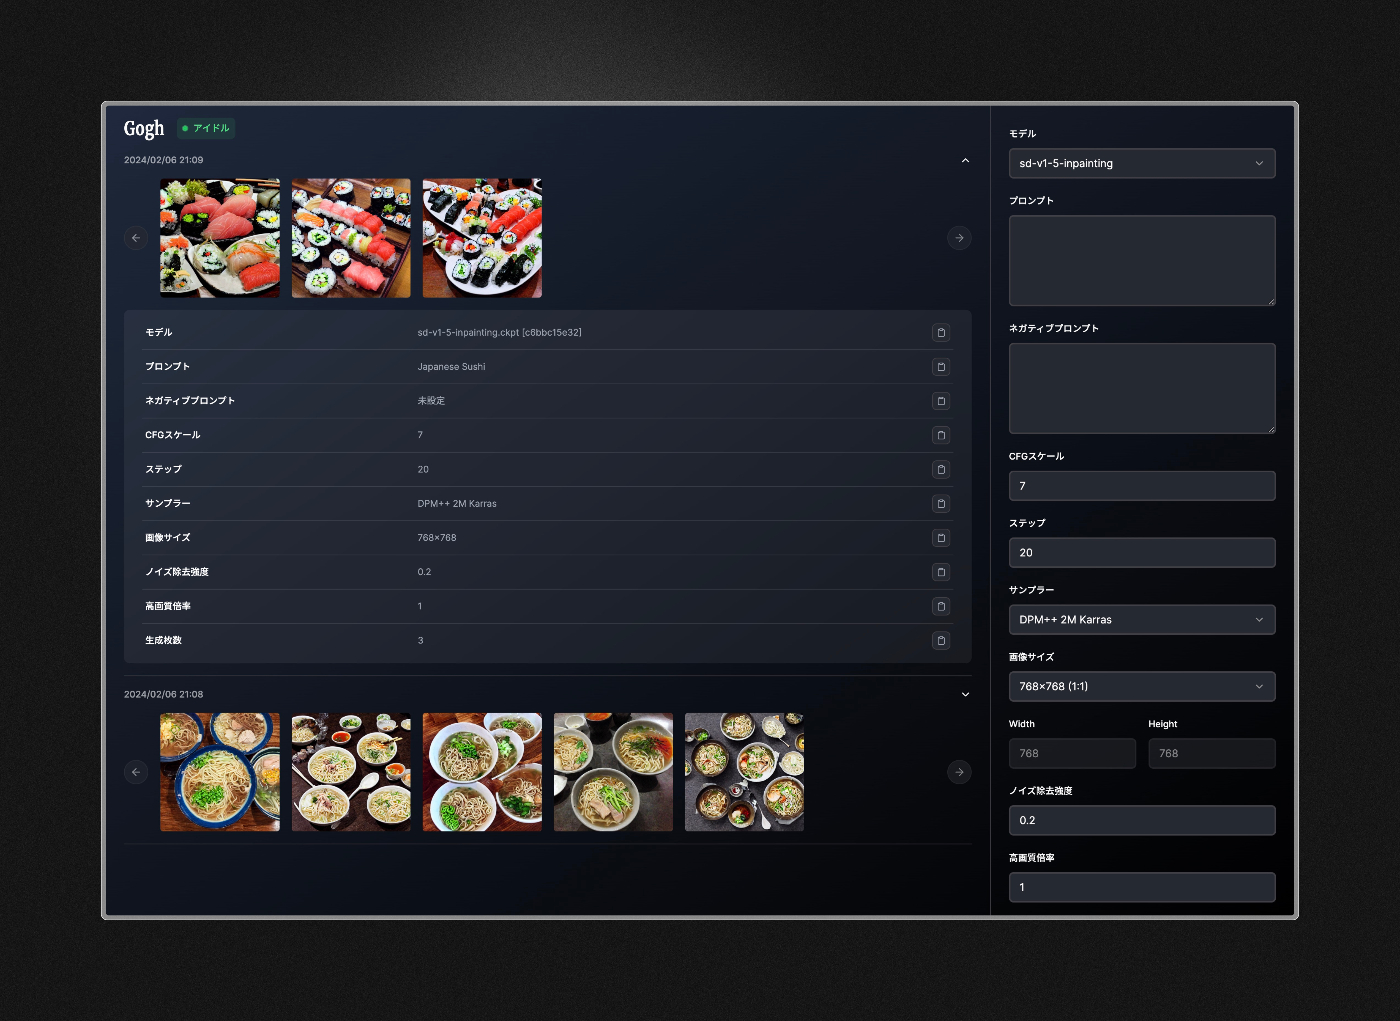
作ったもの
Gogh(ゴッホ)というStableDiffusionのWebUIです。
内部では AUTOMATIC1111/stable-diffusion-webui のAPIを利用しています。
(webUIを作るためにwebUIが必要というよくわからない事になっていますが、使い勝手を良くすることが目的なのでよしとします)
- シンプルなUI
- 画像生成履歴の保存
を提供します。
コードは GitHub 上で公開しているので、ぜひ手元で動かしてみてください!
技術スタック
- Bun
- Next.js
- Hono
- Tailwind CSS
- shadcn/ui
- Biome
HonoをNext.jsのAPIルート上で動かしています。
import { Hono } from 'hono'

const app = new Hono().basePath('/api')

const route = app.get('/', (c) => {
  return c.text('Hello Hono!')
})

// ...routes

const fetch = app.fetch

export { fetch as GET, fetch as PUT, fetch as POST, fetch as DELETE }

export type AppType = typeof route
RPCモードを使うことで手軽にレスポンスへ型をつけることが可能です🔥
また実行環境、パッケージマネージャとしてBunを、リンター、フォーマッターとしてBiomeを利用しています。
どちらもとにかく速いです。最高!
Biomeの設定
{
  "$schema": "./node_modules/@biomejs/biome/configuration_schema.json",
  "organizeImports": {
    "enabled": true
  },
  "linter": {
    "enabled": true,
    "rules": {
      "recommended": true
    }
  },
  "formatter": {
    "enabled": true,
    "indentStyle": "space",
    "lineWidth": 80
  },
  "json": {
    "parser": {
      "allowComments": true
    },
    "formatter": {
      "enabled": true,
      "indentStyle": "space"
    }
  },
  "javascript": {
    "formatter": {
      "enabled": true,
      "indentStyle": "space",
      "quoteStyle": "single",
      "semicolons": "asNeeded"
    }
  },
  "files": {
    "ignore": [".next", "src/components/ui"]
  }
}
動かしてみる
AUTOMATIC1111/stable-diffusion-webui を動かしてください。
こちらを使うと、dockerを利用して簡単に立ち上げることができます。
AbdBarho/stable-diffusion-webui-docker
git clone https://github.com/AbdBarho/stable-diffusion-webui-docker
cd stable-diffusion-webui-docker
docker compose --profile download up --build
docker compose --profile [ui] up --build
※[ui]の部分は、GPUがある方はauto,なければauto-cpuを指定してください。
次にBunのインストールをします。
動作確認は行っていないですが、Node.js,npmでも動作すると思います。
筆者はmiseを使ってインストールしています。
https://bun.sh/docs/installation
次にソースをクローンしてください。
git clone https://github.com/fp16inc/gogh
.envの値を任意の値に書き換えます。
DATABASE_URL="file:./dev.db"
NEXT_PUBLIC_APP_URL=http://localhost:3000
NEXT_PUBLIC_STABLE_DIFFUSION_BASE_URL=http://localhost:7860
Next.jsアプリケーションのルートでパッケージのインストール、起動を行います。
cd gogh/web
bun run dev

みなさん是非試してみてください!

Discussion