📝
【Flutter Widget of the Week #2】Expandedを使ってみた
はじめに
Flutter Widget of the Week #2 Expanded についてまとめましたので、紹介します。
Expandedとは
Expanded とは Row や Column の子要素として配置した Widget 間の隙間を埋めたいときに使われるものです。
以下で Expanded の有無の違い を比較してみましょう。
Column の場合
Exapanded なし
main.dart
class MyStatelessWidget extends StatelessWidget {
const MyStatelessWidget({super.key});
Widget build(BuildContext context) {
return Scaffold(
appBar: AppBar(
title: const Text('Expanded Column Sample'),
),
body: Center(
child: Column(
children: <Widget>[
Container(
color: Colors.blue,
height: 100,
width: 100,
),
Container(
child: Container(
color: Colors.amber,
height: 100,
width: 100,
),
),
Container(
color: Colors.blue,
height: 100,
width: 100,
),
],
),
),
);
}
}
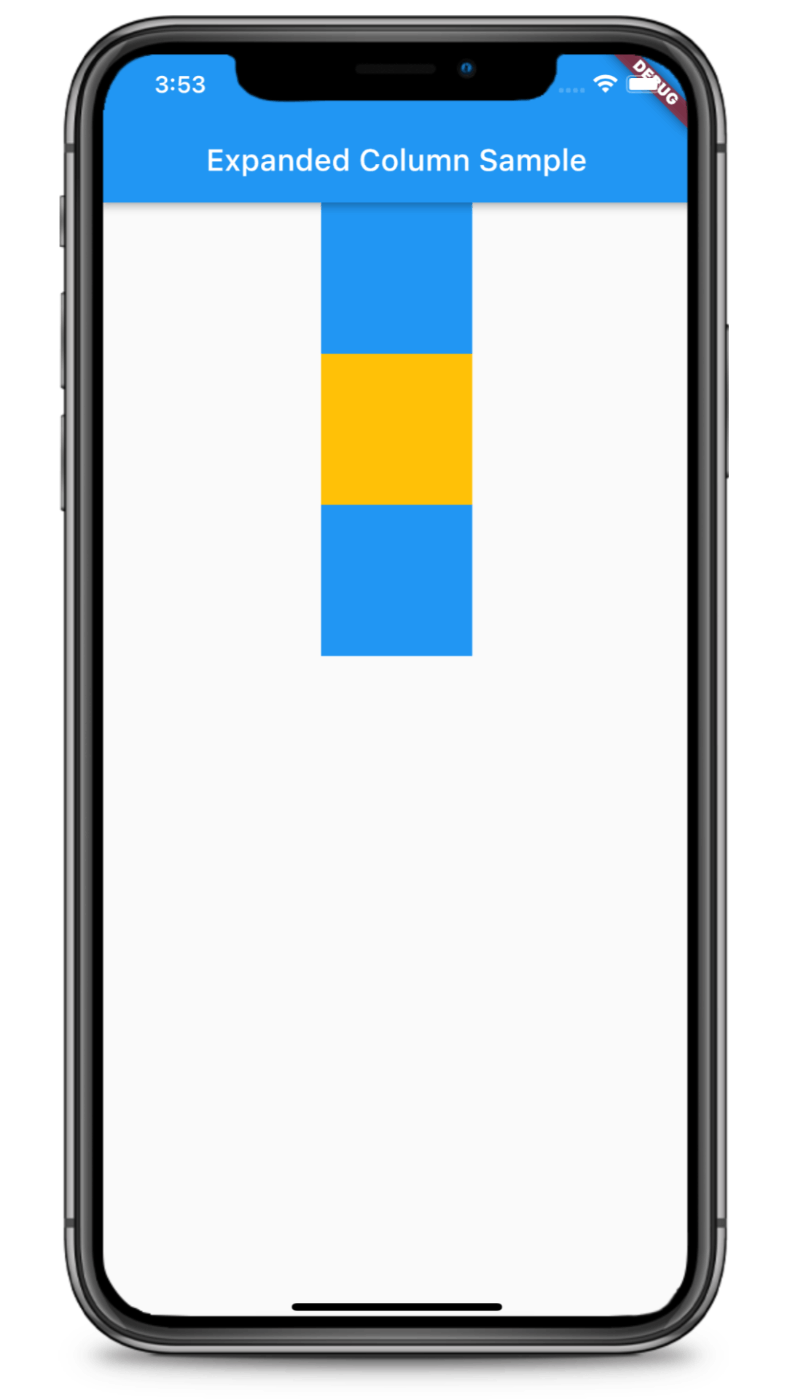
ColumnでExapandedなしの場合
Exapanded あり
main.dart
class MyStatelessWidget extends StatelessWidget {
const MyStatelessWidget({super.key});
Widget build(BuildContext context) {
return Scaffold(
appBar: AppBar(
title: const Text('Expanded Column Sample'),
),
body: Center(
child: Column(
children: <Widget>[
Container(
color: Colors.blue,
height: 100,
width: 100,
),
Expanded( // ← ここをExpandedにしてみる
child: Container(
color: Colors.amber,
height: 100,
width: 100,
),
),
Container(
color: Colors.blue,
height: 100,
width: 100,
),
],
),
),
);
}
}

ColumnでExapandedありの場合
Row の場合
Exapanded なし
main.dart
class MyStatelessWidget extends StatelessWidget {
const MyStatelessWidget({super.key});
Widget build(BuildContext context) {
return Scaffold(
appBar: AppBar(
title: const Text('Expanded Column Sample'),
),
body: Center(
child: Row(
children: <Widget>[
Container(
color: Colors.blue,
height: 100,
width: 100,
),
Container(
child: Container(
color: Colors.amber,
height: 100,
width: 100,
),
),
Container(
color: Colors.blue,
height: 100,
width: 100,
),
],
),
),
);
}
}
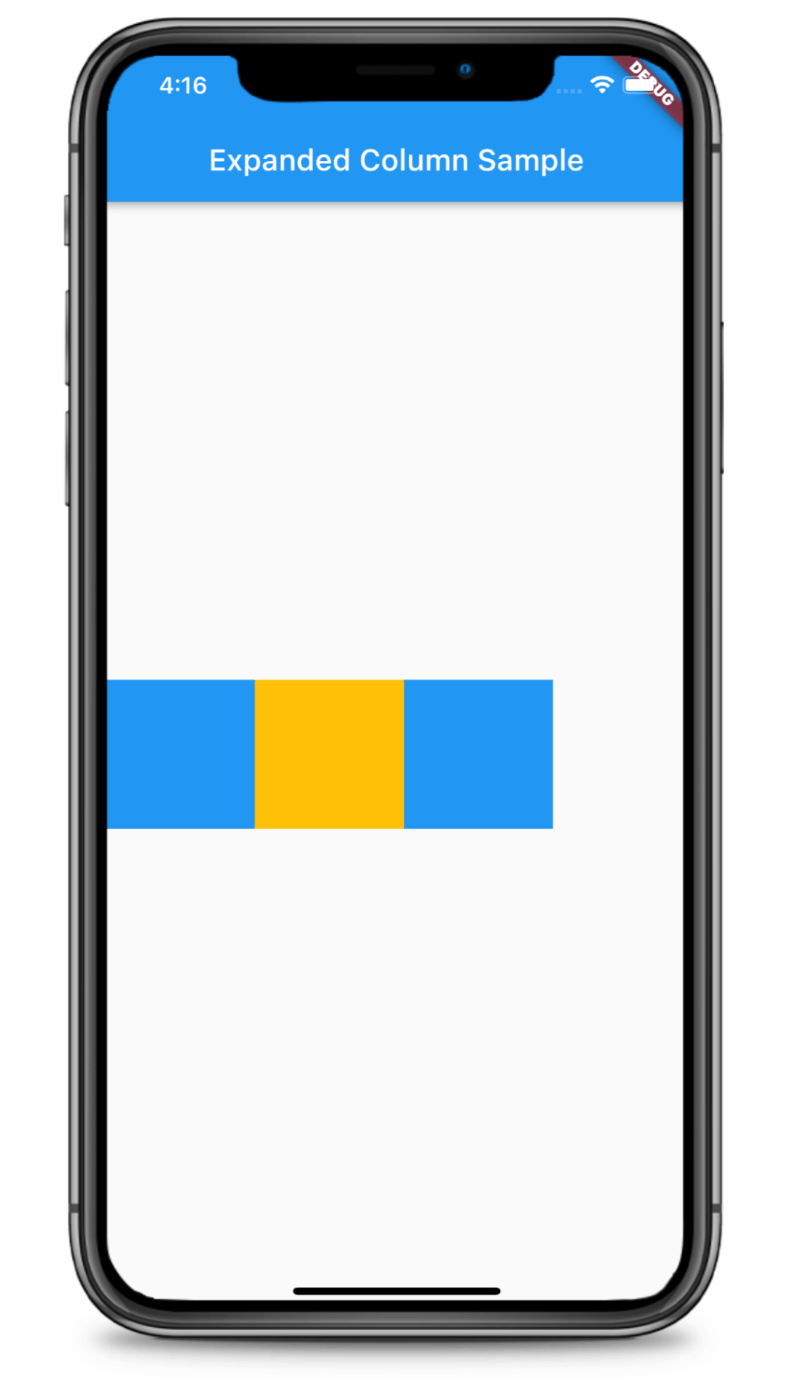
RowでExapandedなしの場合
Exapanded あり
main.dart
class MyStatelessWidget extends StatelessWidget {
const MyStatelessWidget({super.key});
Widget build(BuildContext context) {
return Scaffold(
appBar: AppBar(
title: const Text('Expanded Column Sample'),
),
body: Center(
child: Column(
children: <Widget>[
Container(
color: Colors.blue,
height: 100,
width: 100,
),
Expanded( // ← ここをExpandedにしてみる
child: Container(
color: Colors.amber,
height: 100,
width: 100,
),
),
Container(
color: Colors.blue,
height: 100,
width: 100,
),
],
),
),
);
}
}
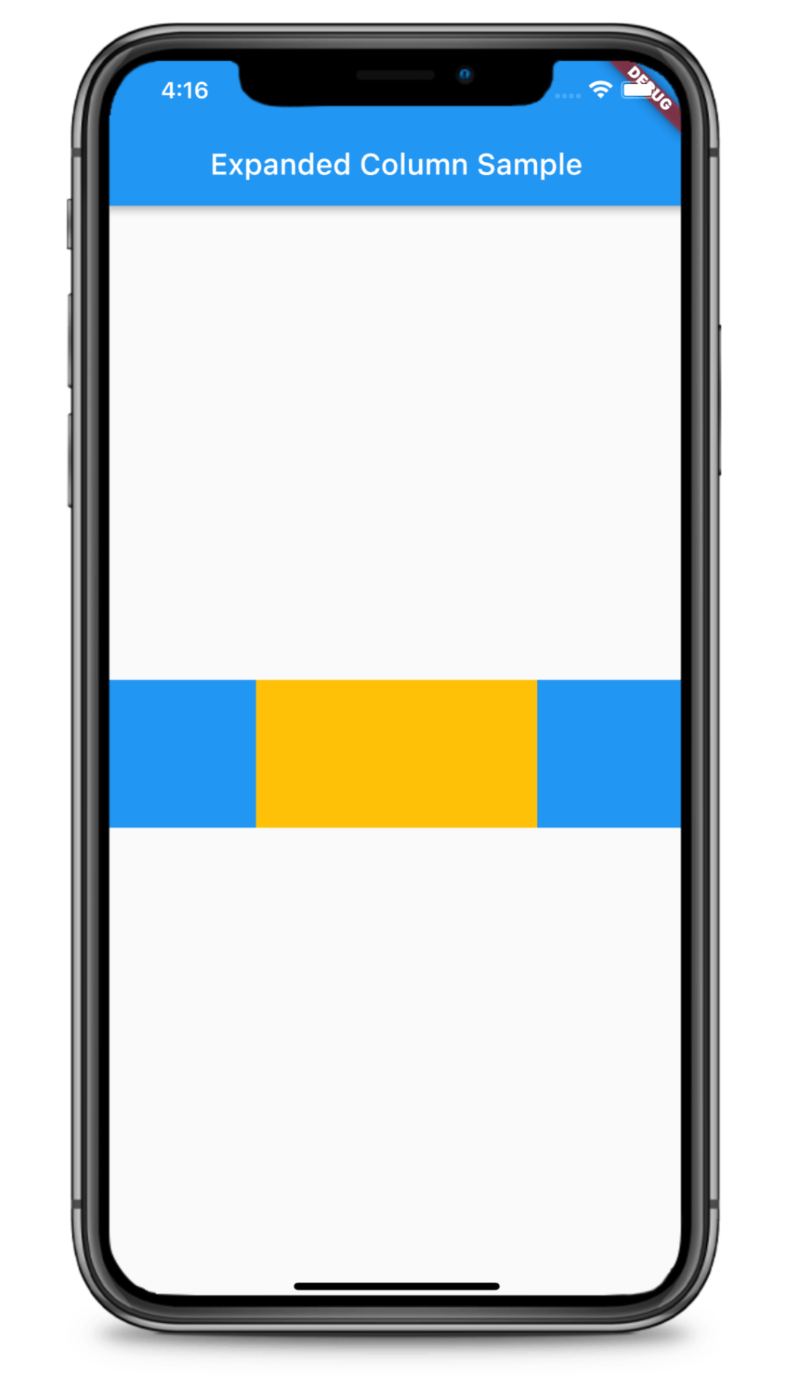
RowでExapandedありの場合
Expanded のプロパティについて
Expanded には flex というプロパティがありますので紹介します。
(new) Expanded Expanded({
  Key? key,
  int flex = 1, //flexのデフォルト値は1
  required Widget child,
})
flex
flex は Row や Columne の子要素に複数の Expanded が使われているとき、幅の優先順位を付けるためにいじるプロパティです。要するに幅の比率ですね。
例えば、Column に3つの子要素があり、そのうちの真ん中と下の要素が Expanded の場合、 flex を何も指定しないとこの二つは同じ幅で表示されます。
flex 指定なしの場合(デフォルトのまま)
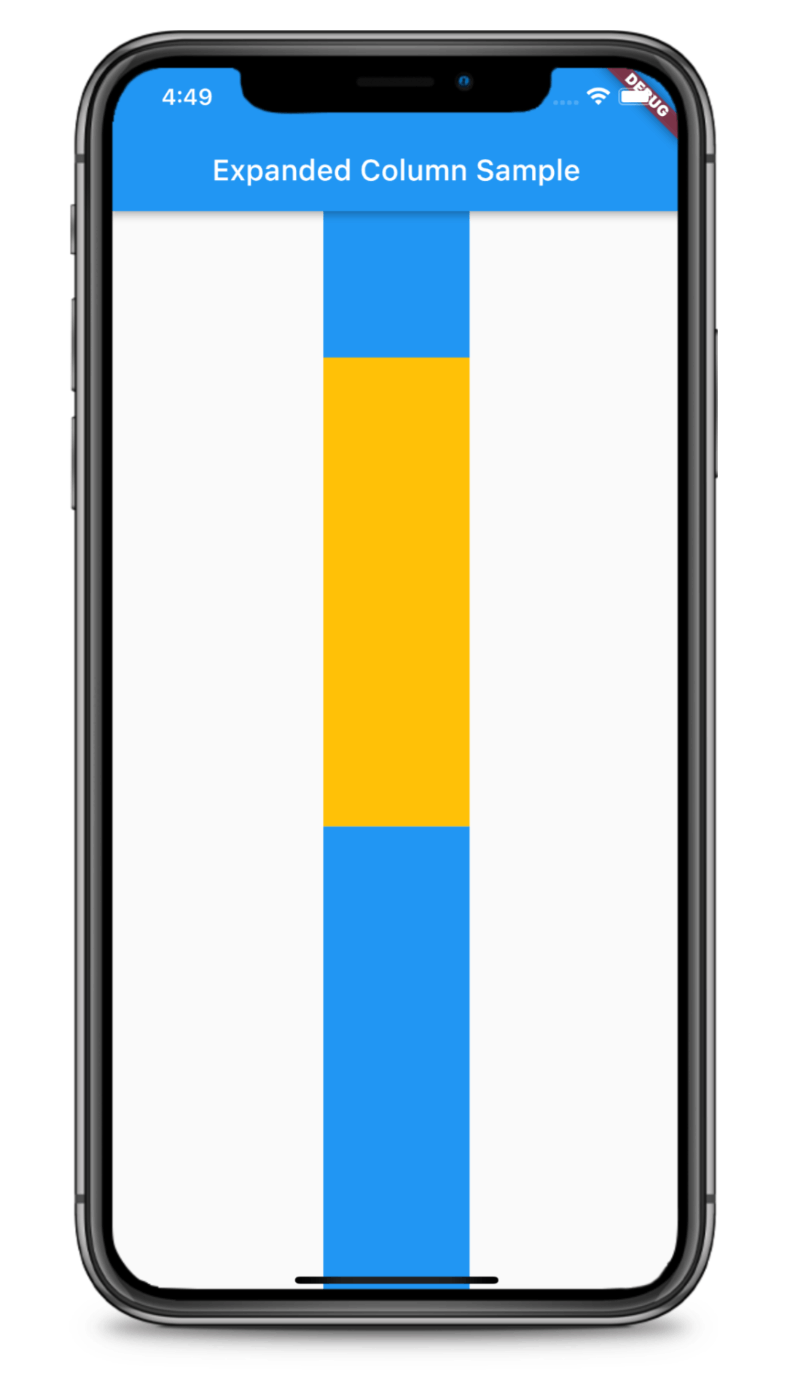
flex デフォルトのまま
main.dart
class MyStatelessWidget extends StatelessWidget {
const MyStatelessWidget({super.key});
Widget build(BuildContext context) {
return Scaffold(
appBar: AppBar(
title: const Text('Expanded Column Sample'),
),
body: Center(
child: Column(
children: <Widget>[
Container(
color: Colors.blue,
height: 100,
width: 100,
),
Expanded(
child: Container(
color: Colors.amber,
height: 100,
width: 100,
),
),
Expanded(
child: Container(
color: Colors.blue,
height: 100,
width: 100,
),
),
],
),
),
);
}
}
flex を指定してみた場合
次にflexを指定してみましょう。
3つの子要素のうち真ん中の要素に1、下の要素に2を入れてみました。
ご覧の通り、Container で作られている上の要素以外の隙間を 真ん中:下=1:2 の比率で埋めてくれていることが分かります。
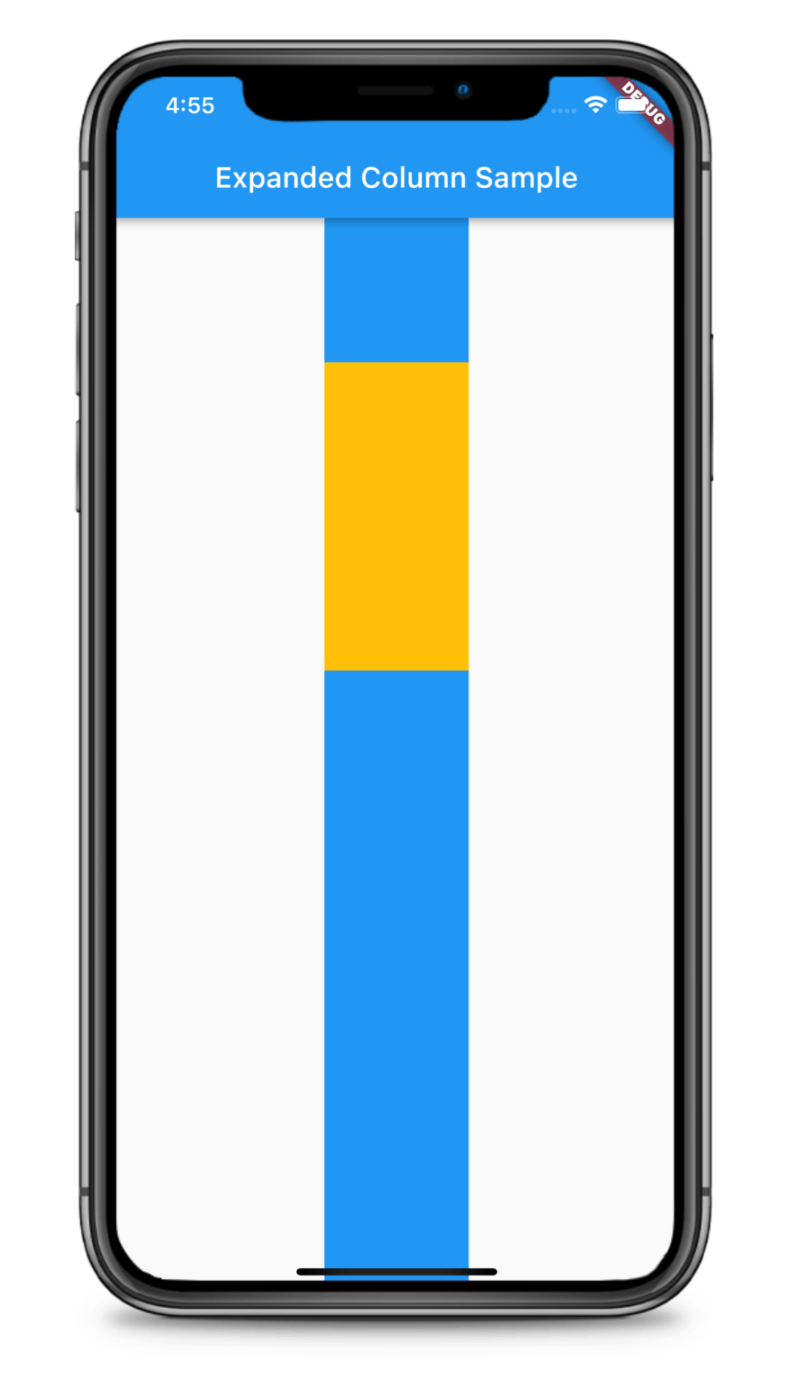
flex 指定してみた
main.dart
class MyStatelessWidget extends StatelessWidget {
const MyStatelessWidget({super.key});
Widget build(BuildContext context) {
return Scaffold(
appBar: AppBar(
title: const Text('Expanded Column Sample'),
),
body: Center(
child: Column(
children: <Widget>[
Container(
color: Colors.blue,
height: 100,
width: 100,
),
Expanded(
flex: 1,
child: Container(
color: Colors.amber,
height: 100,
width: 100,
),
),
Expanded(
flex: 2,
child: Container(
color: Colors.blue,
height: 100,
width: 100,
),
),
],
),
),
);
}
}
最後に
今回は Expanded を紹介しました。端末によって残りのサイズ幅が分からない、けど隙間を埋めたいというときに、この Widget は役立つなと思いました。
次は #3 Wrap です。またお会いしましょう。
参考記事
Discussion