"The Book of Shaders" を WGSL で学んでいく
<placeholder>
初めの一歩
ハローワールド!
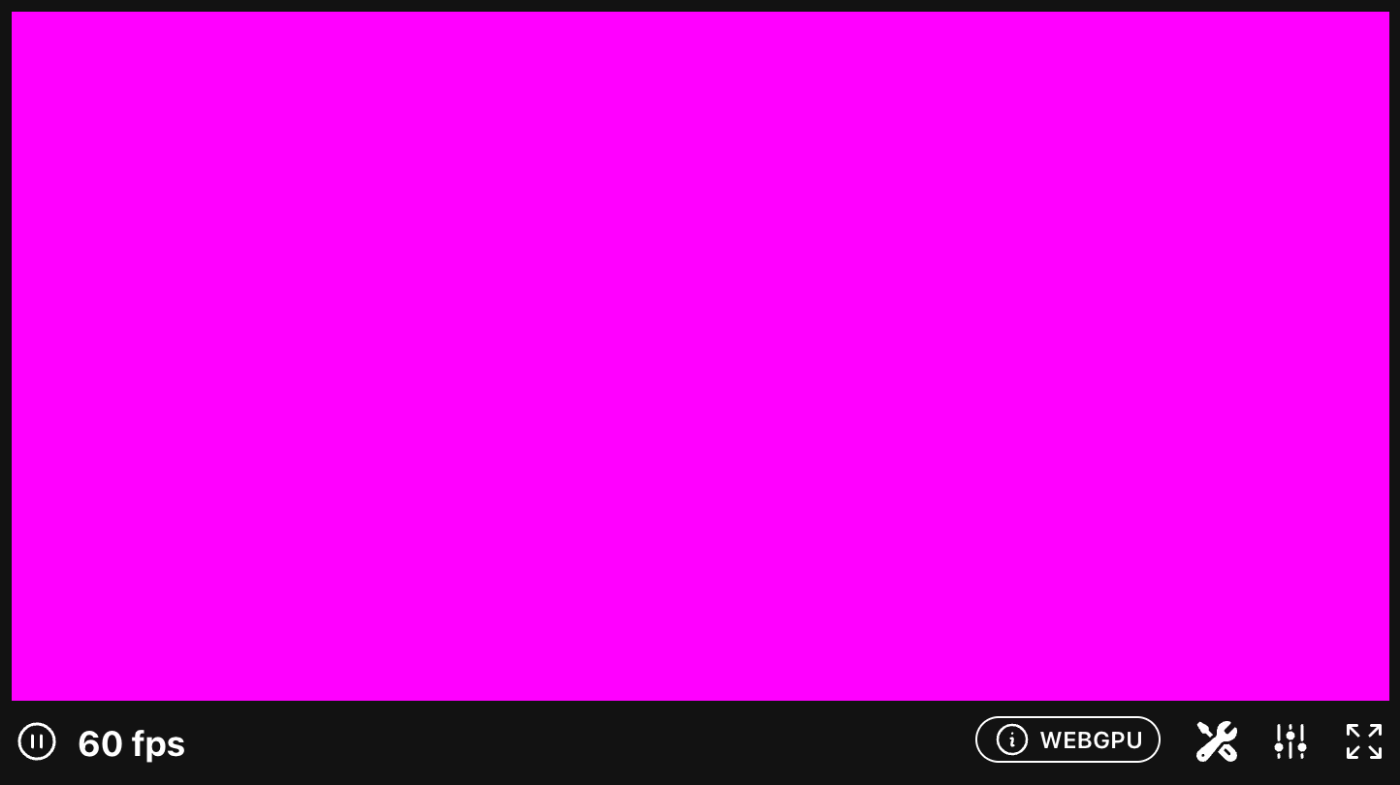
課題:canvas 全体を単色 ( #FF00FF ) で塗りつぶす。
GLSL では予約された変数 gl_FragColor に代入された値がピクセルに出力される色となるが、WGSL ではフラグメントシェーダ関数の vec4 型の返り値がピクセルの出力色となる。
struct VertexOutput {
    @builtin(position) pos: vec4<f32>,
};

@fragment
fn fs_main(in: VertexOutput) -> @location(0) vec4<f32> {
    return vec4<f32>(1.0, 0.0, 1.0, 0.0);
}
↓結果
ユニフォーム変数
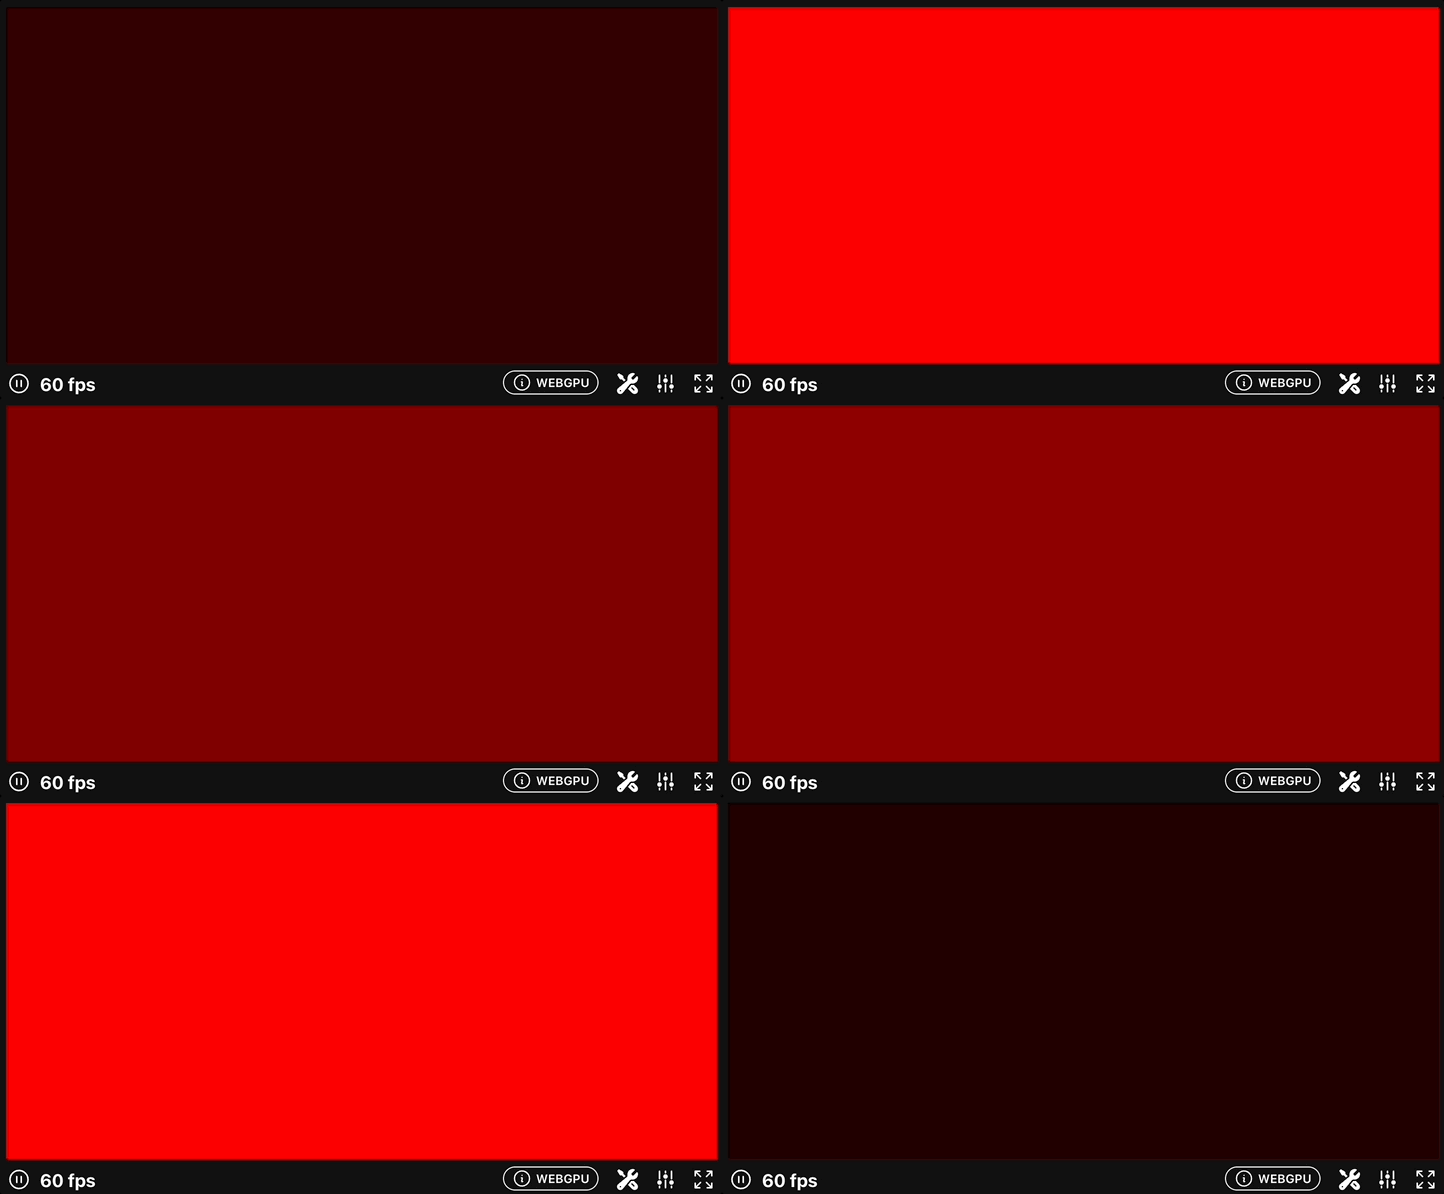
課題:ユニフォーム変数を利用してピクセルの色を時間変化させる。
shinylasers WGSL playground では構造体 DefaultInput が canvas の大きさと経過時間を持つユニフォーム変数としてデフォルトで定義されている。これらはそれぞれ ShaderToy.com での iResolution, iTime に相当するものと考えて良いだろう。
struct DefaultInput {
    res: vec2<f32>,
    time: f32,
};
これを利用すると、単色 #FF0000 の濃さを正弦波で時間変化させるシェーダを作れる。返り値 vec4<f32> が取る色の各チャンネルの値域は [0.0, 1.0] なので、値が負数とならないよう絶対値をとる関数 abs() で包む[1]。
struct VertexOutput {
    @builtin(position) pos: vec4<f32>,
};

struct DefaultInput {
    res: vec2<f32>,
    time: f32,
};

@group(0) @binding(0)
var<uniform> u: DefaultInput; // ←変数名 `u` は自由に変えてOK

@fragment
fn fs_main(in: VertexOutput) -> @location(0) vec4<f32> {
    return vec4<f32>(abs(sin(u.time)), 0.0, 0.0, 0.0);
}
↓結果
-
別に
abs()で包まなくてもコンパイルは通るが、ピクセル色としての出力値は [0.0, 1.0] に丸め込まれる。上記シェーダの場合、値が負数であるときは画面がvec4(0.0, 0.0, 0.0, 1.0)= 真っ黒 となりつまらないため絶対値を取っている。…のだと思う。 ↩︎
gl_FragCoord
課題:canvas 上の位置に応じて色を変える。
GLSL では varying 変数 gl_FragCoord が canvas 上の位置の情報を持っているが、WGSL では builtin 変数 @builtin(position) が座標情報を持っている。
ただし WGSL における @builtin(position) は GLSL における gl_FragCoord とは使われ方が異なるので注意。
GLSL における gl_FragCoord
- フラグメントシェーダ内で利用可能な canvas の座標情報
- 座標系の定義: canvas の 左下 が (0.0, 0.0)、右上 が (1.0, 1.0)
WGSL における @builtin(position)
- 頂点シェーダとフラグメントシェーダの両方で使われ、それぞれ意味合いが異なる
- 頂点シェーダ: 出力値。各頂点の座標を示す
- フラグメントシェーダ: 入力値。各ピクセルの座標を示す
- フラグメントシェーダにおける座標系の定義: canvas の 左上 が (0.0, 0.0)、右下 が (1.0, 1.0)
このように WGSL における @builtin(position) は同一の変数名であっても頂点シェーダ内とフラグメントシェーダ内ではそれぞれ別物なので、混同しないこと。 このあたりは下記サイトが参考になる。
shinylasers WGSL playground では下記の構造体 VertexOutput が @builtin(position) をフィールドとして持つ型としてデフォルトで定義されている。
struct VertexOutput {
    @builtin(position) pos: vec4<f32>,
};
しかし、フラグメントシェーダでピクセル座標を使いたいだけなら VertexOutput という紛らわしい名前の型を介さずとも、フラグメントシェーダ関数の引数に直接 @builtin(position) を紐づけてやれば良い。
- struct VertexOutput {
-     @builtin(position) pos: vec4<f32>,
- };

@fragment
- fn fs_main(in: VertexOutput) -> @location(0) vec4<f32> {
+ fn fs_main(@builtin(position) pos: vec4<f32>) -> @location(0) vec4<f32> {
    // ...
}
The Book of Shaders の出力例 を再現するには、GLSL と WGSL のピクセル座標系の違いを考慮して y 座標だけ [0.0, 1,0] の範囲で反転させる必要がある。
struct DefaultInput {
    res: vec2<f32>,
    time: f32,
};

@group(0) @binding(0)
var<uniform> u: DefaultInput;

@fragment
fn fs_main(@builtin(position) pos: vec4f) -> @location(0) vec4<f32> {
    // ピクセル座標を canvas のサイズで正規化
    // → 値が [0.0, 1.0] の範囲に収まるようにする
    // 次の行で再代入するので let ではなく var を使う
    var px = pos.xy / u.res;

    // GLSL の座標系と同じになるよう y 座標だけ [0.0, 1.0] の範囲で反転
    px = px * vec2f(1.0, -1.0) + vec2f(0.0, 1.0);
    return vec4<f32>(px.x, px.y , 0.0, 1.0);
}
↓結果[1]

-
シェーダ出力を画面上に描画するとちゃんと滑らかなグラデーションに見えるはずだが、上記のスクショではセル上のパターンが見えている。これはおそらくスクショしたときにビット深度が 16 bit で png 化されており、表示上の色変化の滑らかさが劣化したためと思われる(※ちゃんと検証したわけではないので推測)。 ↩︎
アルゴリズムで絵を描く
シェイピング関数
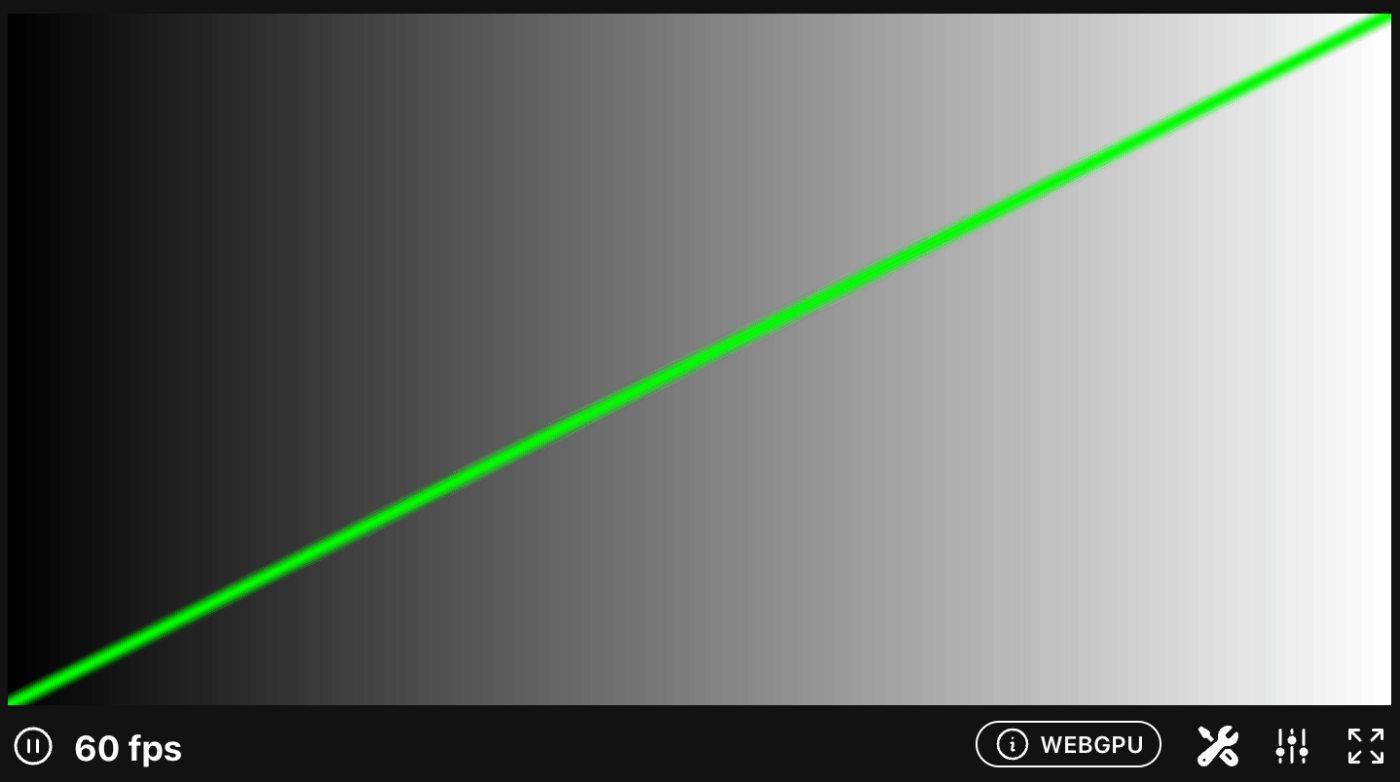
課題: smoothstep() 関数を使って線を描く
(地の文を途中まで書いていたけど飛んでしまって心が折れたので一旦 WGSL の解答だけで投稿)
struct DefaultInput {
    res: vec2<f32>,
    time: f32,
};

@group(0) @binding(0)
var<uniform> u: DefaultInput;

fn plot(st: vec2f) -> f32 {
    return smoothstep(0.02, 0.0, abs(st.y - st.x));
}

@fragment
fn fs_main(@builtin(position) pos: vec4<f32>) -> @location(0) vec4<f32> {
    let px = pos.xy / u.res * vec2f(1.0, -1.0) + vec2f(0.0, 1.0);

    let line = plot(px);
    let color = vec3(px.x) * (1.0 - line) + line * vec3f(0.0, 1.0, 0.0);
    return vec4<f32>(color, 1.0);
}
↓結果
StepとSmoothstep
struct DefaultInput {
    res: vec2<f32>,
    time: f32,
};

@group(0) @binding(0)
var<uniform> u: DefaultInput;

fn plot(st: vec2f, pct: f32) -> f32 {
    return smoothstep(pct-0.02, pct, st.y)
         - smoothstep(pct, pct+0.02, st.y);
}

@fragment
fn fs_main(@builtin(position) pos: vec4<f32>) -> @location(0) vec4<f32> {
    let px = pos.xy / u.res * vec2f(1.0, -1.0) + vec2f(0.0, 1.0);

    let fx = step(0.5, px.x);
    let line = plot(px, fx);
    let color = vec3(fx) * (1.0 - line) + line * vec3f(0.0, 1.0, 0.0);
    return vec4<f32>(color, 1.0);
}
↓結果

struct DefaultInput {
    res: vec2<f32>,
    time: f32,
};

@group(0) @binding(0)
var<uniform> u: DefaultInput;

fn plot(st: vec2f, pct: f32) -> f32 {
    return smoothstep(pct-0.02, pct, st.y)
         - smoothstep(pct, pct+0.02, st.y);
}

@fragment
fn fs_main(@builtin(position) pos: vec4<f32>) -> @location(0) vec4<f32> {
    let px = pos.xy / u.res * vec2f(1.0, -1.0) + vec2f(0.0, 1.0);

    let fx = smoothstep(0.1, 0.9, px.x);
    let line = plot(px, fx);
    let color = vec3(fx) * (1.0 - line) + line * vec3f(0.0, 1.0, 0.0);
    return vec4<f32>(color, 1.0);
}
↓結果

サインとコサイン
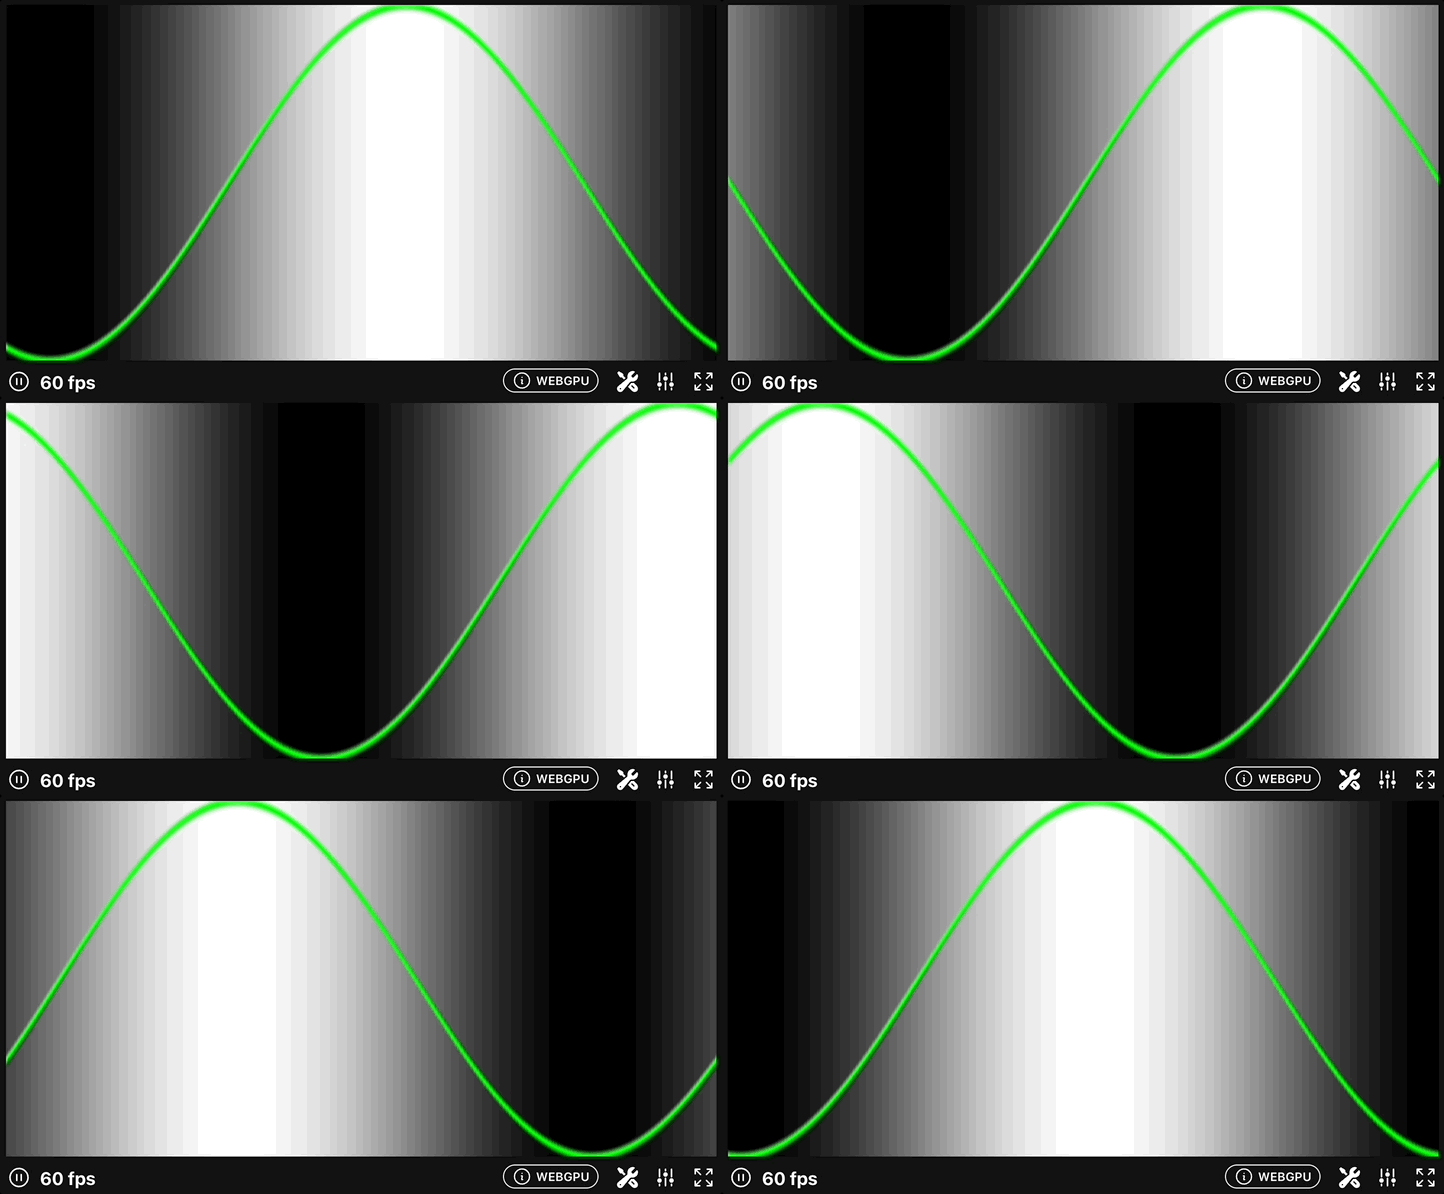
GLSLのコード課題はなかったけど、ちょっと遊んでみた。
struct DefaultInput {
    res: vec2<f32>,
    time: f32,
};

@group(0) @binding(0)
var<uniform> u: DefaultInput;

fn plot(st: vec2f, pct: f32) -> f32 {
    return smoothstep(pct-0.02, pct, st.y)
         - smoothstep(pct, pct+0.02, st.y);
}

@fragment
fn fs_main(@builtin(position) pos: vec4<f32>) -> @location(0) vec4<f32> {
    let px = pos.xy / u.res * vec2f(1.0, -1.0) + vec2f(0.0, 1.0);

    let fx = 0.5 * sin(px.x * radians(360.0) - u.time) + 0.5;
    let line = plot(px, fx);
    let color = vec3(fx) * (1.0 - line) + line * vec3f(0.0, 1.0, 0.0);
    return vec4<f32>(color, 1.0);
}
↓結果(※Zennの容量制限 3MB 以下にするため、下記 gif はフレームレートを下げています)
色について
struct DefaultInput {
    res: vec2<f32>,
    time: f32,
};

@group(0) @binding(0)
var<uniform> u: DefaultInput;

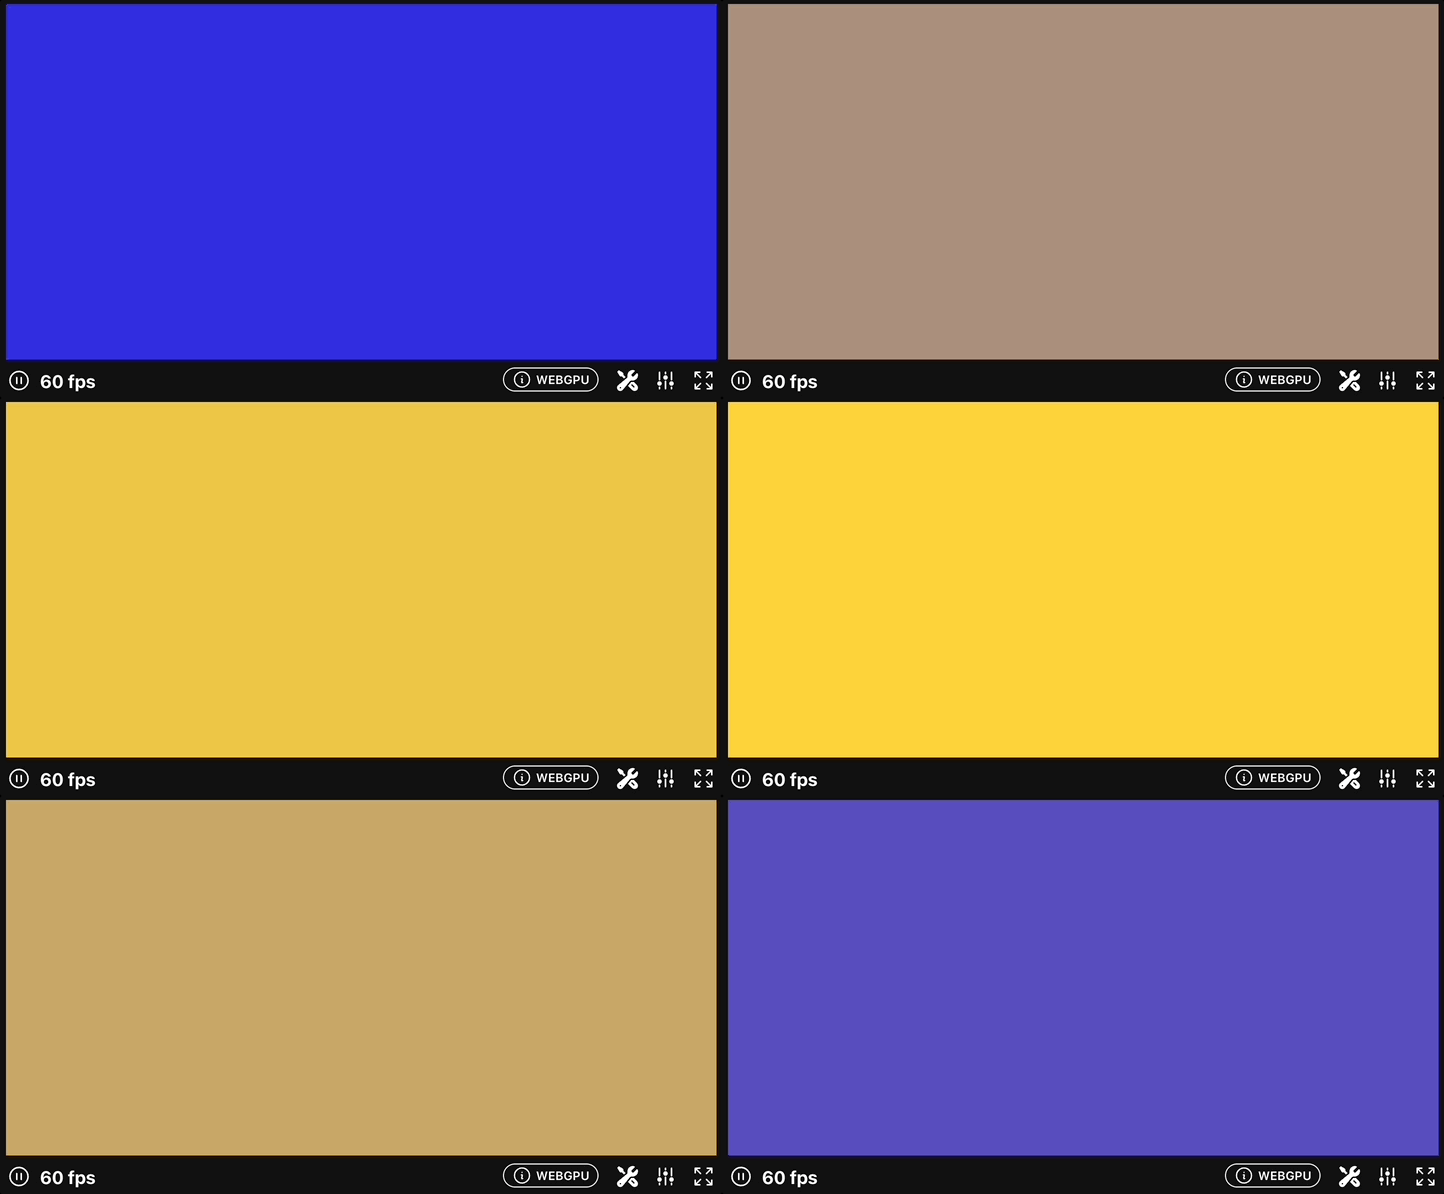
const color_a = vec3(0.149,0.141,0.912);
const color_b = vec3(1.000,0.833,0.224);

@fragment
fn fs_main(@builtin(position) pos: vec4<f32>) -> @location(0) vec4<f32> {
    let percent = abs(sin(u.time));
    let color = mix(color_a, color_b, percent);
    return vec4<f32>(color, 1.0);
}
↓結果
グラデーションで遊ぶ
struct DefaultInput {
    res: vec2<f32>,
    time: f32,
};

@group(0) @binding(0)
var<uniform> u: DefaultInput;

const PI = radians(180.);
const color_a = vec3(0.149,0.141,0.912);
const color_b = vec3(1.000,0.833,0.224);

fn plot(st: vec2f, pct: f32) -> f32 {
    return smoothstep(pct-0.01, pct, st.y)
         - smoothstep(pct, pct+0.01, st.y);
}

@fragment
fn fs_main(@builtin(position) pos: vec4<f32>) -> @location(0) vec4<f32> {
    let px = pos.xy / u.res * vec2f(1.0, -1.0) + vec2f(0.0, 1.0);

    let percent = vec3f(
        smoothstep(0.0, 1.0, px.x),
        sin(px.x * PI),
        pow(px.x, 0.5),
    );

    var color = mix(color_a, color_b, percent);
    color = mix(color, vec3(1.0, 0.0, 0.0), plot(px, percent.r));
    color = mix(color, vec3(0.0, 1.0, 0.0), plot(px, percent.g));
    color = mix(color, vec3(0.0, 0.0, 1.0), plot(px, percent.b));

    return vec4<f32>(color, 1.0);
}
↓結果

HSB
struct DefaultInput {
    res: vec2<f32>,
    time: f32,
};

@group(0) @binding(0)
var<uniform> u: DefaultInput;

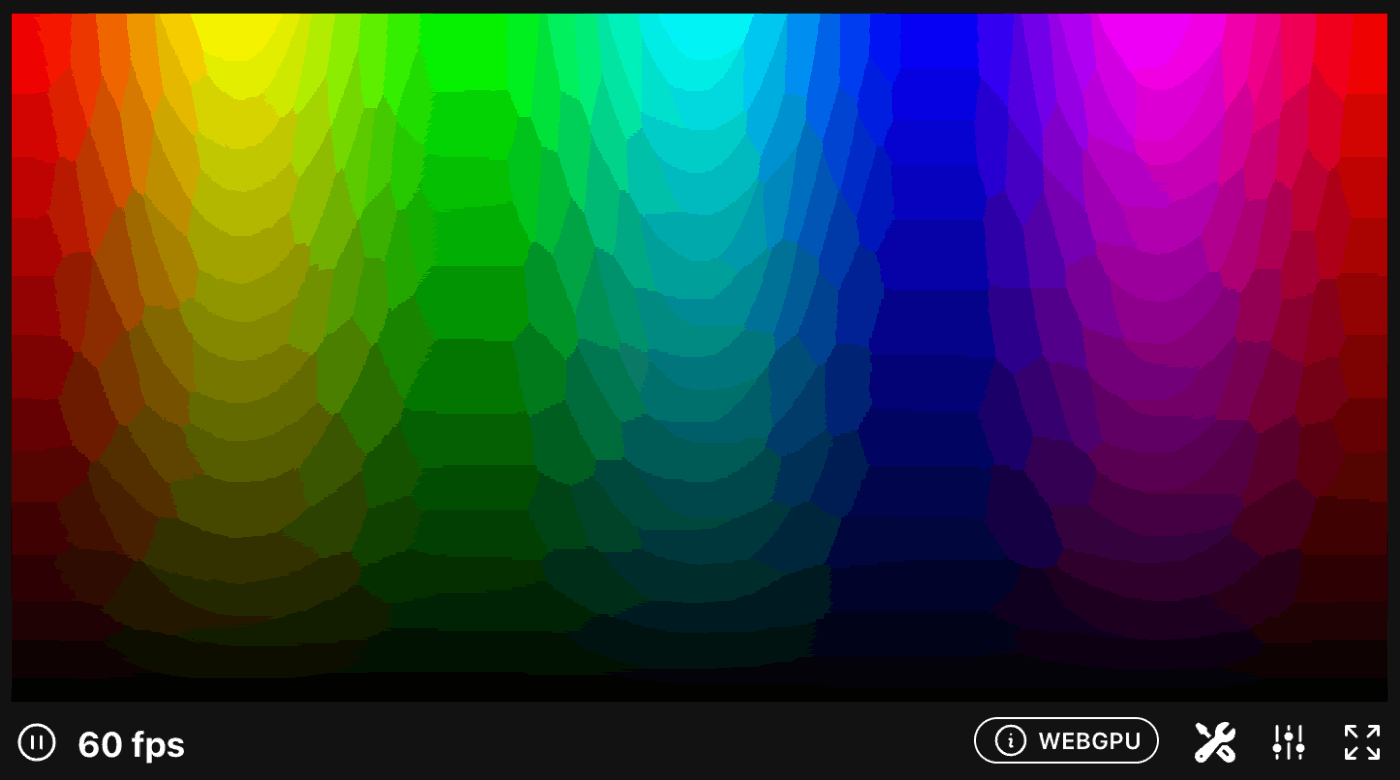
fn hsb2rgb(c: vec3f) -> vec3f {
    var rgb = saturate(abs(((c.x * 6.0 + vec3(0.0, 4.0, 2.0)) % 6.0) -3.0) -1.0);
    rgb = rgb * rgb * (3.0 - 2.0 * rgb);
    return c.z * mix(vec3(1.0), rgb, c.y);
}

@fragment
fn fs_main(@builtin(position) pos: vec4<f32>) -> @location(0) vec4<f32> {
    let px = pos.xy / u.res * vec2f(1.0, -1.0) + vec2f(0.0, 1.0);

    let color = hsb2rgb(vec3(px.x, 1.0, px.y));
    return vec4<f32>(color, 1.0);
}
↓結果(png 化による劣化がひどい…)
HSBと極座標
struct DefaultInput {
    res: vec2<f32>,
    time: f32,
};

@group(0) @binding(0)
var<uniform> u: DefaultInput;

fn hsb2rgb(c: vec3f) -> vec3f {
    var rgb = saturate(abs(((c.x * 6.0 + vec3(0.0, 4.0, 2.0)) % 6.0) -3.0) -1.0);
    rgb = rgb * rgb * (3.0 - 2.0 * rgb);
    return c.z * mix(vec3(1.0), rgb, c.y);
}

@fragment
fn fs_main(@builtin(position) pos: vec4<f32>) -> @location(0) vec4<f32> {
    let px = pos.xy / u.res * vec2f(1.0, -1.0) + vec2f(0.0, 1.0);
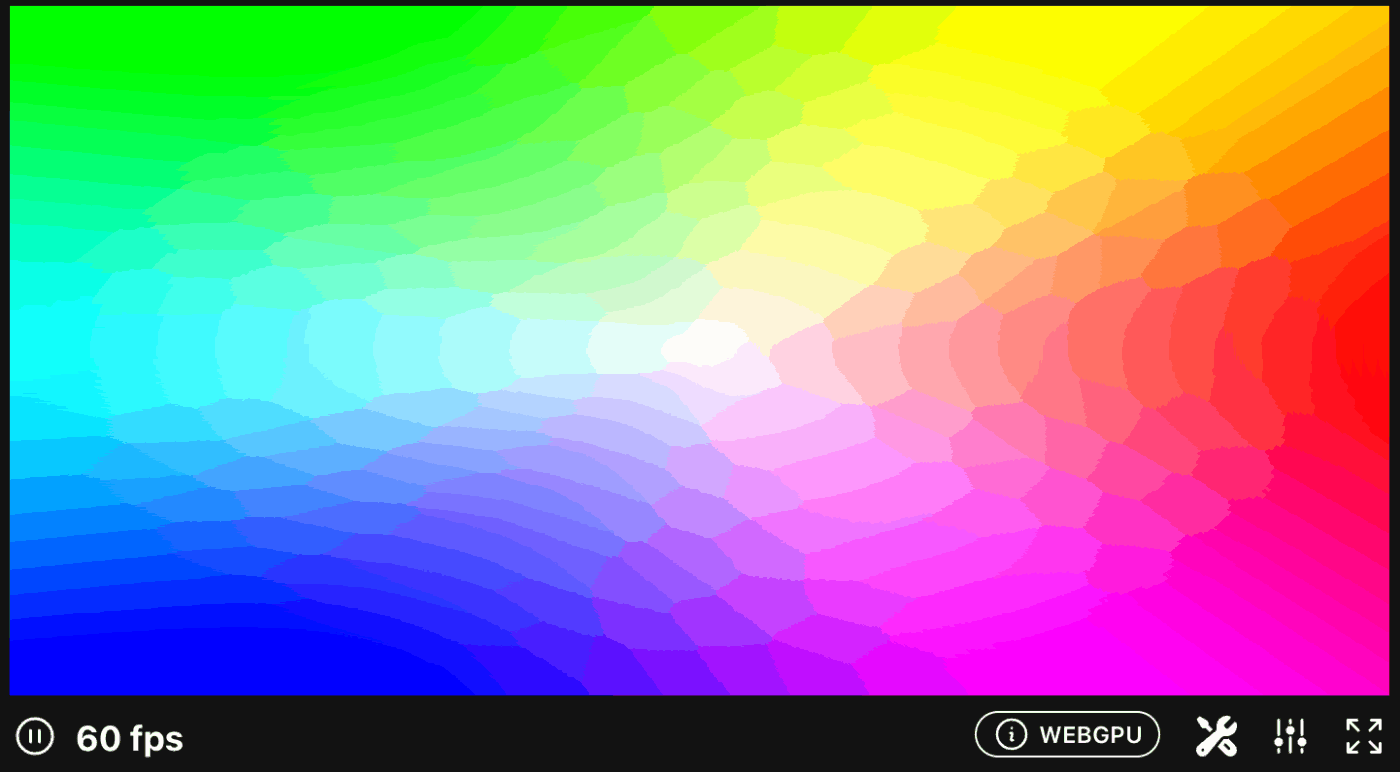
    let center = vec2f(0.5) - px;
    let angle = atan2(center.y, center.x);
    let radius = length(center) * 2.0;

    let color = hsb2rgb(vec3((angle/radians(360.0))+0.5, radius, 1.0));
    return vec4<f32>(color, 1.0);
}
↓結果
形について
struct DefaultInput {
    res: vec2<f32>,
    time: f32,
};

@group(0) @binding(0)
var<uniform> u: DefaultInput;

@fragment
fn fs_main(@builtin(position) pos: vec4<f32>) -> @location(0) vec4<f32> {
    let px = pos.xy / u.res * vec2f(1.0, -1.0) + vec2f(0.0, 1.0);
    let bl = step(vec2f(0.1), px);
    let tr = step(vec2f(0.1), 1.0 - px);
    let percent = bl.x * bl.y * tr.x * tr.y;
    let color = vec3(percent);
    return vec4<f32>(color, 1.0);
}
↓結果(分かりにくいが外周が黒で塗りつぶされている)

円
struct DefaultInput {
    res: vec2<f32>,
    time: f32,
};

@group(0) @binding(0)
var<uniform> u: DefaultInput;

@fragment
fn fs_main(@builtin(position) pos: vec4<f32>) -> @location(0) vec4<f32> {
    let px = pos.xy / u.res * vec2f(1.0, -1.0) + vec2f(0.0, 1.0);
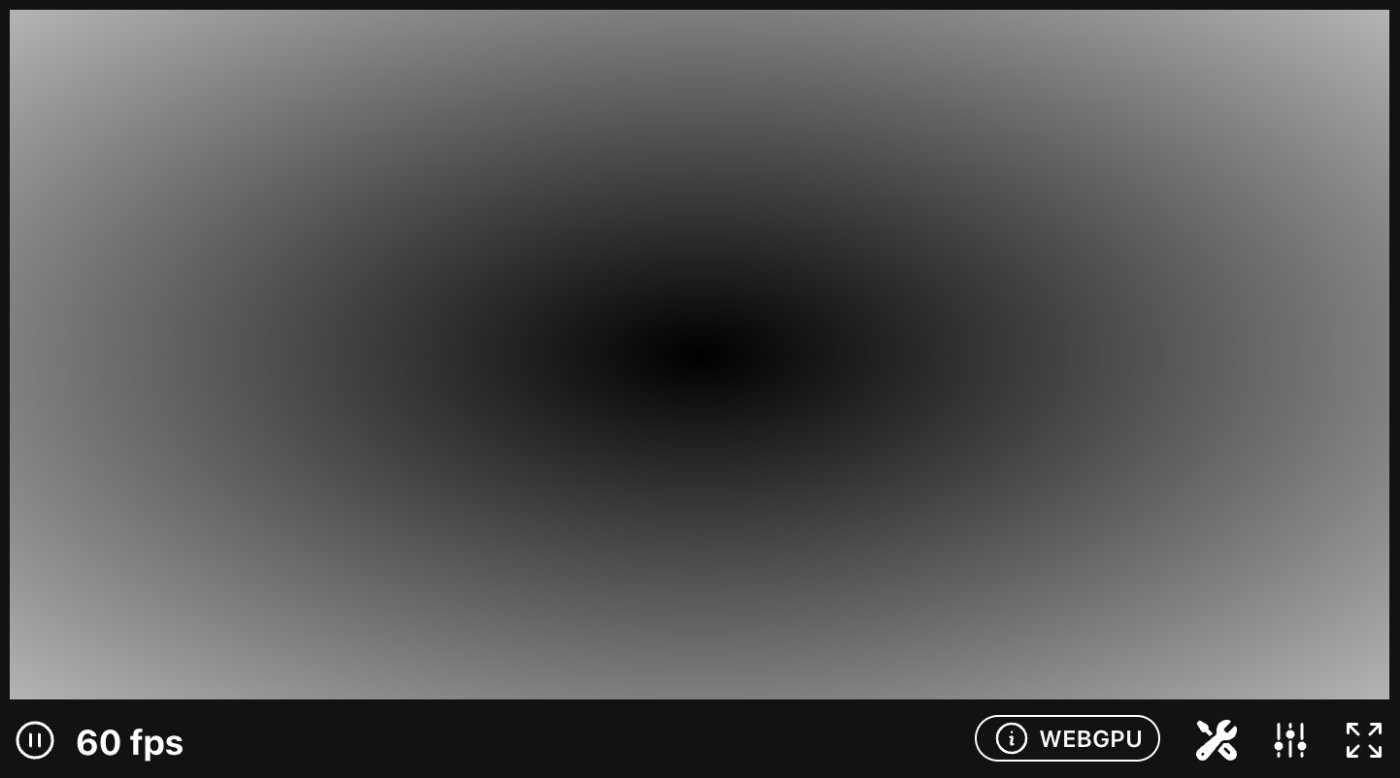
    let to_center = vec2f(0.5) - px;

    // 下3行のいずれか1行のみコメントアウトを解除する。結果はどれも同じ
    let percent = distance(px, vec2(0.5));
    // let percent = length(to_center);
    // let percent = sqrt(to_center.x * to_center.x + to_center.y * to_center.y);

    let color = vec3(percent);
    return vec4<f32>(color, 1.0);
}
↓結果
ディスタンスフィールド
struct DefaultInput {
    res: vec2<f32>,
    time: f32,
};

@group(0) @binding(0)
var<uniform> u: DefaultInput;

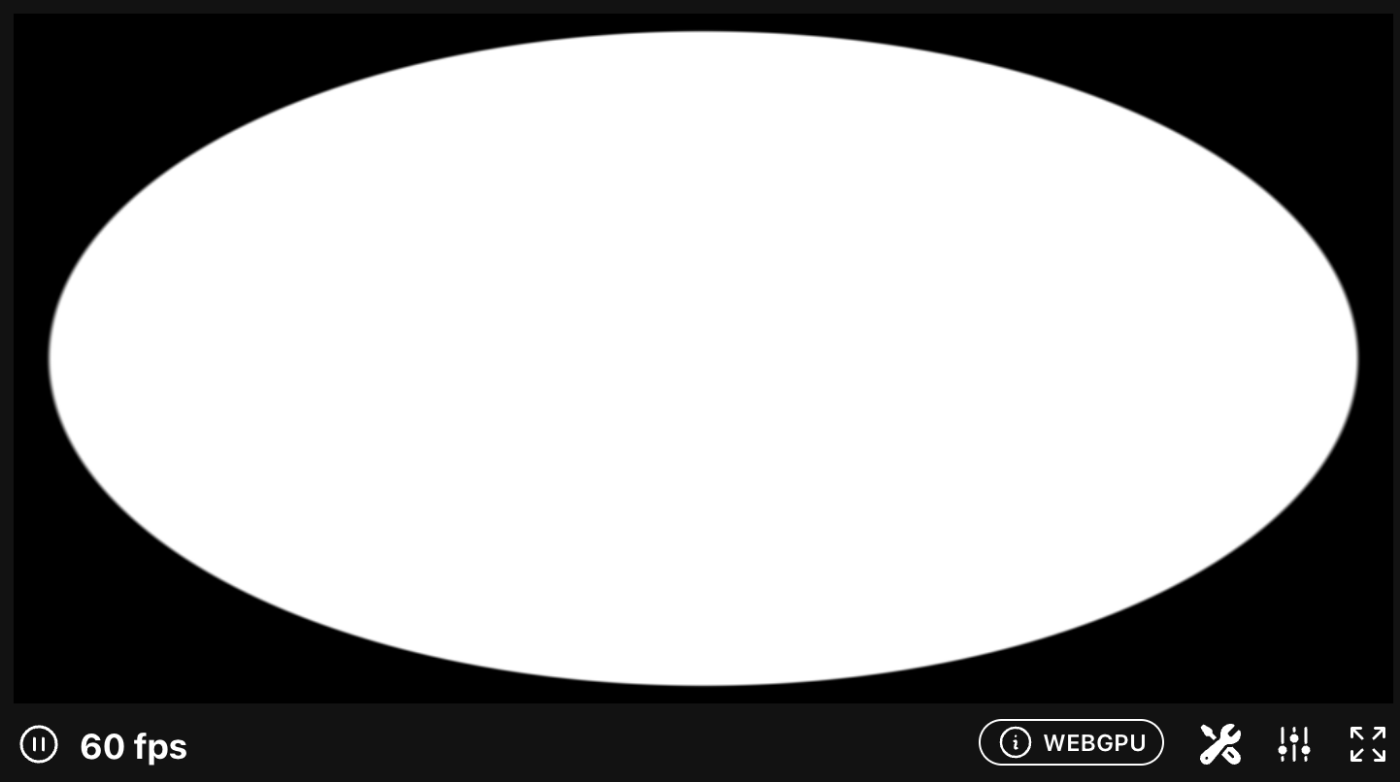
fn circle(st: vec2f, radius: f32) -> f32 {
    let dist = st - vec2(0.5);
    return 1.0 - smoothstep(radius - (radius * 0.01),
                            radius + (radius * 0.01),
                            dot(dist, dist) * 4.0);
}

@fragment
fn fs_main(@builtin(position) pos: vec4<f32>) -> @location(0) vec4<f32> {
    let px = pos.xy / u.res * vec2f(1.0, -1.0) + vec2f(0.0, 1.0);
    let color = vec3(circle(px, 0.9));
    return vec4<f32>(color, 1.0);
}
↓結果
ディスタンスフィールドの便利な性質
struct DefaultInput {
    res: vec2<f32>,
    time: f32,
};

@group(0) @binding(0)
var<uniform> u: DefaultInput;

@fragment
fn fs_main(@builtin(position) pos: vec4<f32>) -> @location(0) vec4<f32> {
    // canvas の短辺(今の場合は y 軸)で正規化 & アスペクト比を揃える
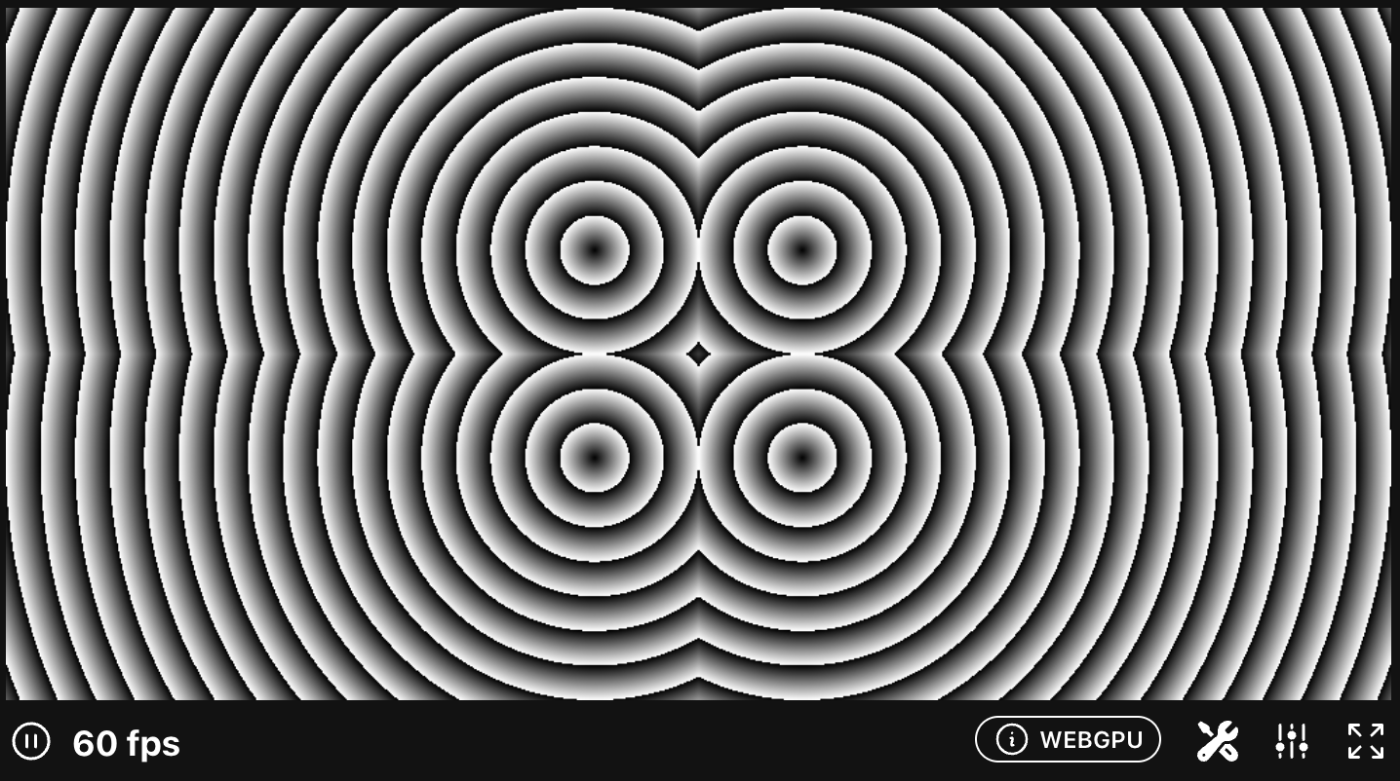
    let px = (2.0 * pos.xy - u.res) / min(u.res.x, u.res.y) * vec2f(1.0, -1.0);

    let d = length(abs(px) - 0.3);
    return vec4<f32>(vec3(fract(d * 10.0)), 1.0);
}
↓結果
ディスタンスフィールドで図形を描く
struct DefaultInput {
    res: vec2<f32>,
    time: f32,
};

@group(0) @binding(0)
var<uniform> u: DefaultInput;

@fragment
fn fs_main(@builtin(position) pos: vec4<f32>) -> @location(0) vec4<f32> {
    let px = (2.0 * pos.xy - u.res) / min(u.res.x, u.res.y) * vec2f(1.0, -1.0);

    let d = length(abs(px) - 0.3);
    let color = vec3(step(0.3, d));
    return vec4<f32>(color, 1.0);
}
↓結果

struct DefaultInput {
    res: vec2<f32>,
    time: f32,
};

@group(0) @binding(0)
var<uniform> u: DefaultInput;

@fragment
fn fs_main(@builtin(position) pos: vec4<f32>) -> @location(0) vec4<f32> {
    let px = (2.0 * pos.xy - u.res) / min(u.res.x, u.res.y) * vec2f(1.0, -1.0);

    let d = length(abs(px) - 0.3);
    let color = vec3(step(0.3, d) * step(d, 0.4));
    return vec4<f32>(color, 1.0);
}
↓結果

struct DefaultInput {
    res: vec2<f32>,
    time: f32,
};

@group(0) @binding(0)
var<uniform> u: DefaultInput;

@fragment
fn fs_main(@builtin(position) pos: vec4<f32>) -> @location(0) vec4<f32> {
    let px = (2.0 * pos.xy - u.res) / min(u.res.x, u.res.y) * vec2f(1.0, -1.0);

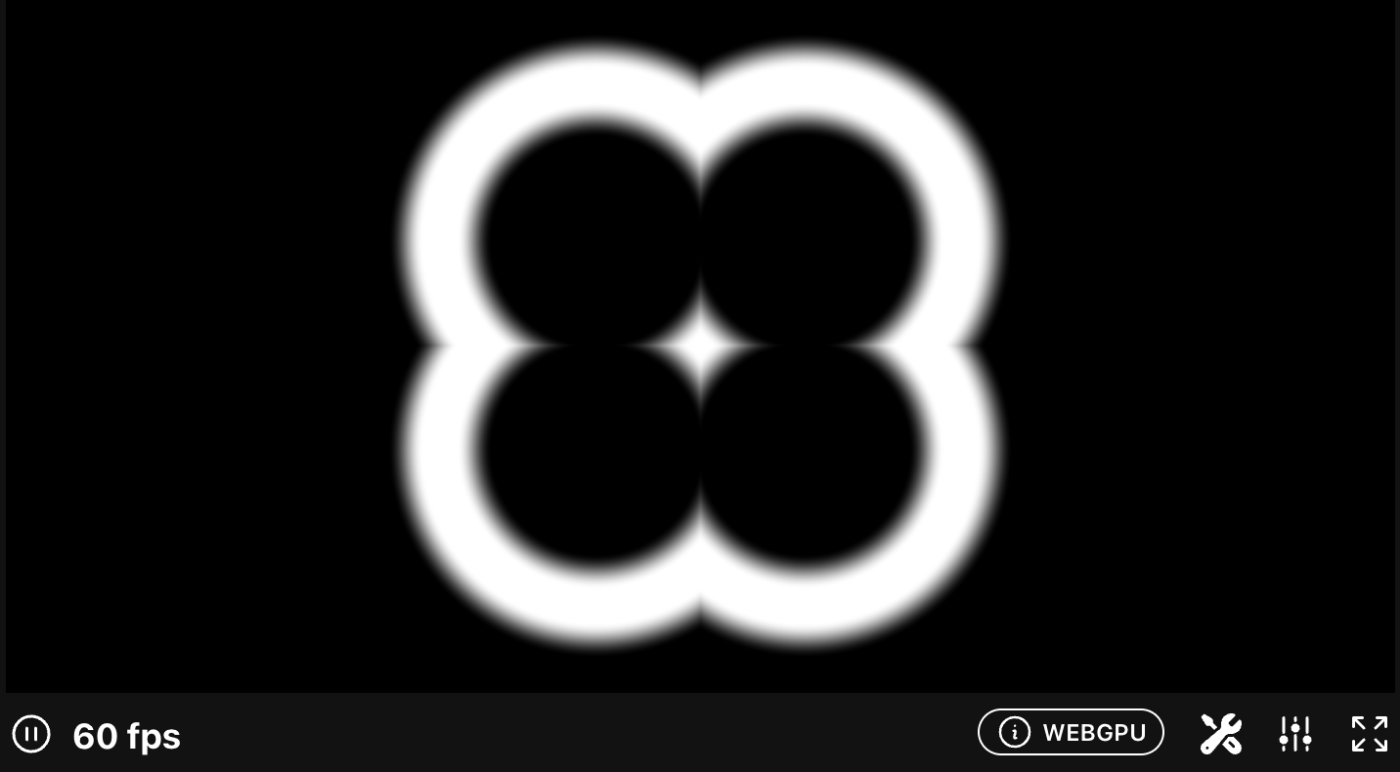
    let d = length(abs(px) - 0.3);
    let color = vec3(smoothstep(0.3, 0.4, d) * smoothstep(0.6, 0.5, d));
    return vec4<f32>(color, 1.0);
}
↓結果
ふーんなるほどね?
つまり step() や smoothstep() で x軸 = 関数の値が変化する向き に距離関数を与えてやれば、その距離関数に応じた図形を描くことができるってことか。完全に理解した
極座標を使った図形
struct DefaultInput {
    res: vec2<f32>,
    time: f32,
};

@group(0) @binding(0)
var<uniform> u: DefaultInput;

@fragment
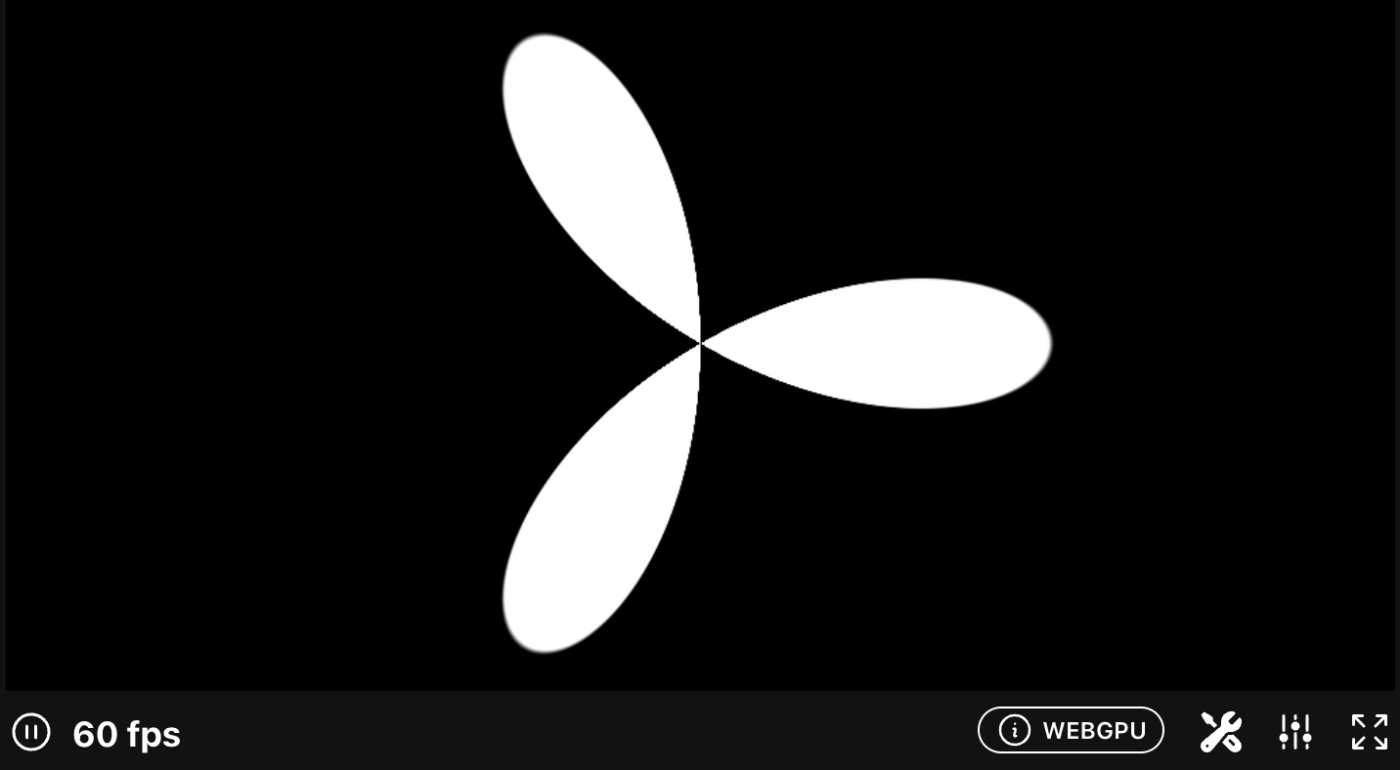
fn fs_main(@builtin(position) pos: vec4<f32>) -> @location(0) vec4<f32> {
    let px = (2.0 * pos.xy - u.res) / min(u.res.x, u.res.y) * vec2f(1.0, -1.0);

    let radius = length(px);
    let angle = atan2(px.y, px.x);
    let f = cos(angle * 3.0);
    let color = vec3(1.0 - smoothstep(f, f+0.02, radius));
    return vec4<f32>(color, 1.0);
}
↓結果
struct DefaultInput {
    res: vec2<f32>,
    time: f32,
};

@group(0) @binding(0)
var<uniform> u: DefaultInput;

@fragment
fn fs_main(@builtin(position) pos: vec4<f32>) -> @location(0) vec4<f32> {
    let px = (2.0 * pos.xy - u.res) / min(u.res.x, u.res.y) * vec2f(1.0, -1.0);

    let radius = length(px);
    let angle = atan2(px.y, px.x);
    let f = smoothstep(-0.5, 1.0, cos(angle * 12.)) * 0.2 + 0.5;
    let color = vec3(1.0 - smoothstep(f, f+0.02, radius));
    return vec4<f32>(color, 1.0);
}
↓結果
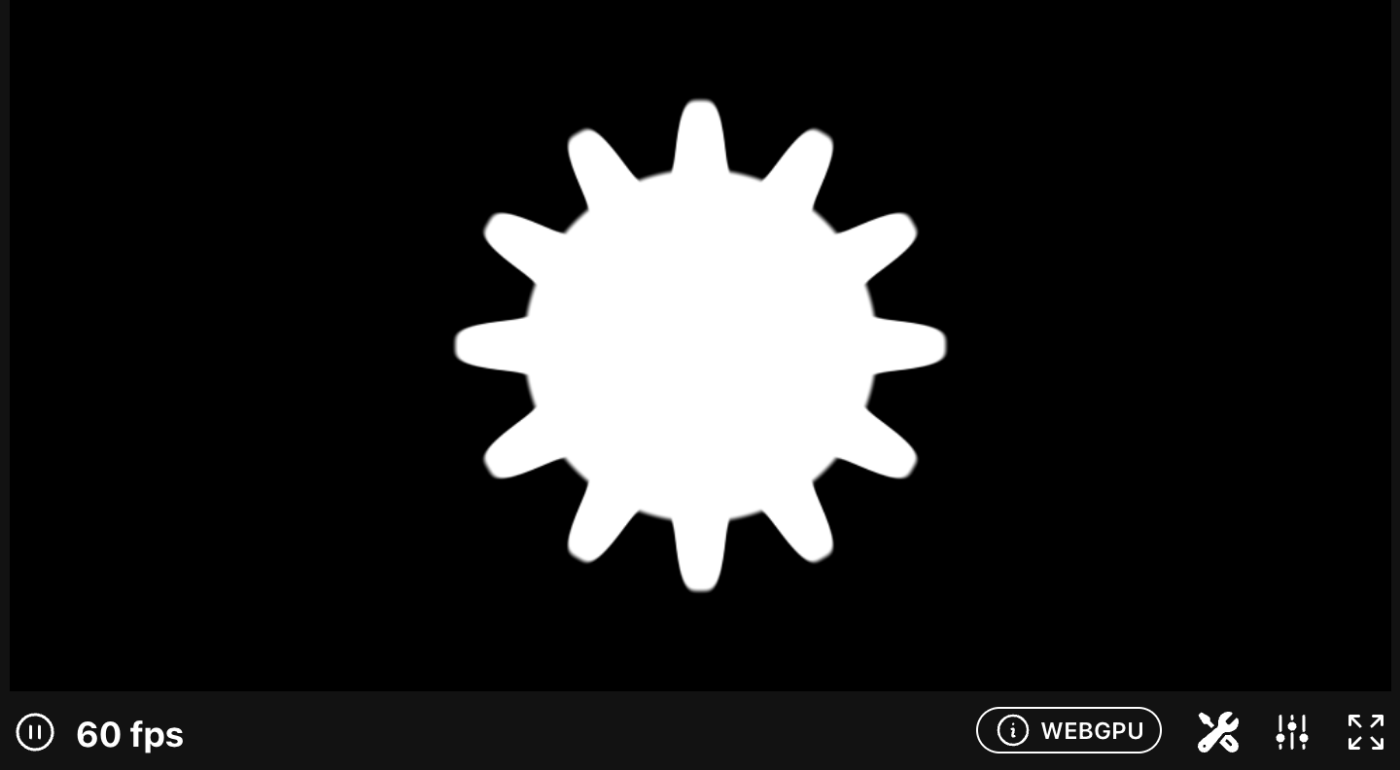
そうか、極座標で smoothstep() と周期関数を組み合わせれば歯車図形も描けるのか。おもしろ!
技を掛け合わせる
struct DefaultInput {
    res: vec2<f32>,
    time: f32,
};

@group(0) @binding(0)
var<uniform> u: DefaultInput;

const PI = radians(180.);

@fragment
fn fs_main(@builtin(position) pos: vec4<f32>) -> @location(0) vec4<f32> {
    let px = (2.0 * pos.xy - u.res) / min(u.res.x, u.res.y) * vec2f(1.0, -1.0);

    let n = 3;
    let radius = 2.0 * PI / f32(n);
    let angle = atan2(px.x, px.y) + PI;

    let d = cos(floor(0.5 + angle/radius) * radius - angle) * length(px);

    let color = vec3(1.0 - smoothstep(0.4, 0.41, d));
    return vec4<f32>(color, 1.0);
}
↓結果
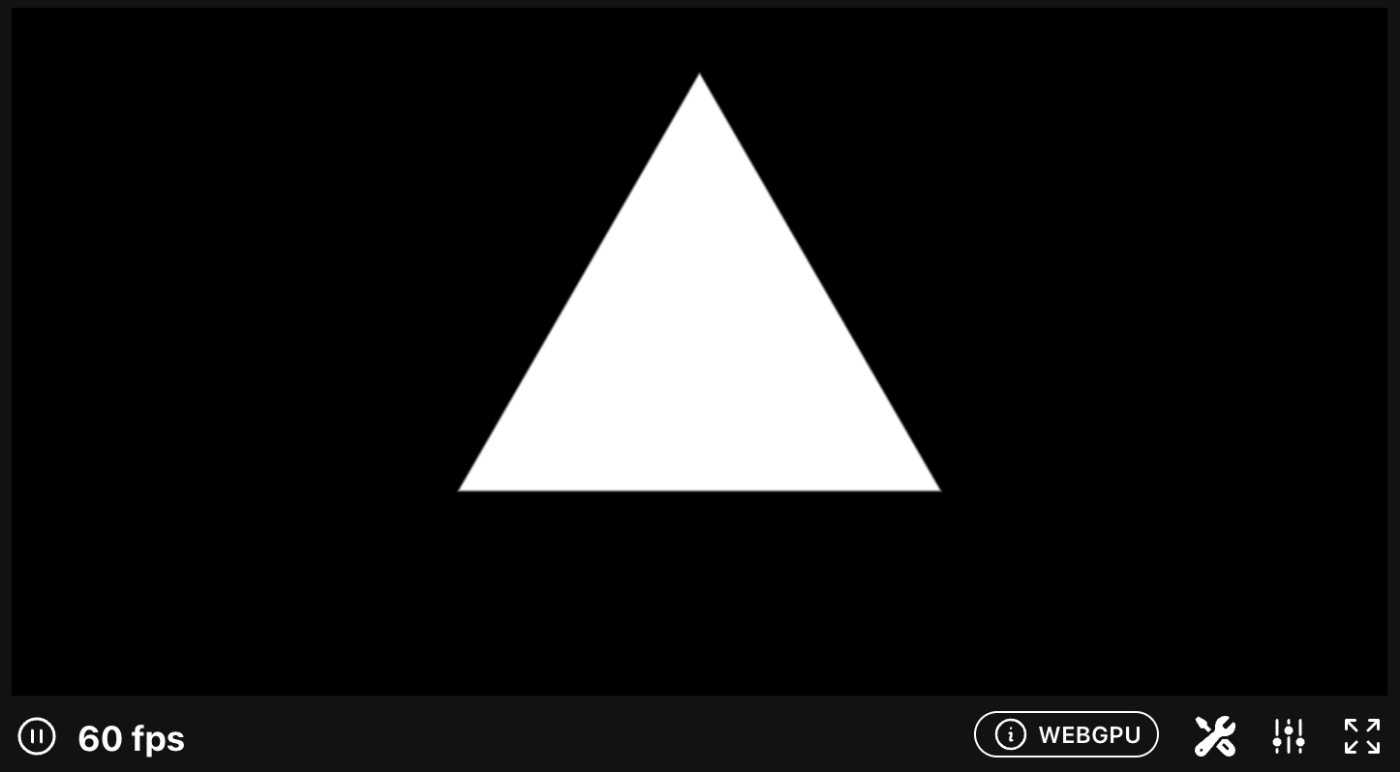
〜ちょっとお遊び〜
struct DefaultInput {
    res: vec2<f32>,
    time: f32,
};

@group(0) @binding(0)
var<uniform> u: DefaultInput;

const PI = radians(180.);

@fragment
fn fs_main(@builtin(position) pos: vec4<f32>) -> @location(0) vec4<f32> {
    let px = (2.0 * pos.xy - u.res) / min(u.res.x, u.res.y) * vec2f(1.0, -1.0);

    let n = 8;
    let radius = 2.0 * PI / f32(n);
    let angle = atan2(px.x, px.y) + PI;

    let d = cos(floor(0.5 + angle/radius) * radius - angle) * length(px);

    let color = vec3(0.6862, 0.3020, 0.1490) * fract(d * 4.0);
    return vec4<f32>(color, 1.0);
}
↓結果

二次元行列
平行移動
struct DefaultInput {
    res: vec2<f32>,
    time: f32,
};

@group(0) @binding(0)
var<uniform> u: DefaultInput;

fn box(st: vec2f, size: vec2f) -> f32 {
    let _size = vec2(0.5) - size * 0.5;
    let uv = smoothstep(_size, _size + vec2(0.001), st)
           * smoothstep(_size, _size + vec2(0.001), vec2(1.0) - st);
    return uv.x * uv.y;
}

fn cross(st: vec2f, size: f32) -> f32 {
    return box(st, vec2(size, size / 4.0))
         + box(st, vec2(size / 4.0, size));
}

@fragment
fn fs_main(@builtin(position) pos: vec4<f32>) -> @location(0) vec4<f32> {
    var px = pos.xy / min(u.res.x, u.res.y) * vec2f(1.0, -1.0) + vec2f(0.0, 1.0);

    let translate = vec2(cos(u.time), sin(u.time));
    px += translate * 0.35;
    let color = vec3(cross(px, 0.25));
    return vec4<f32>(color, 1.0);
}
↓結果
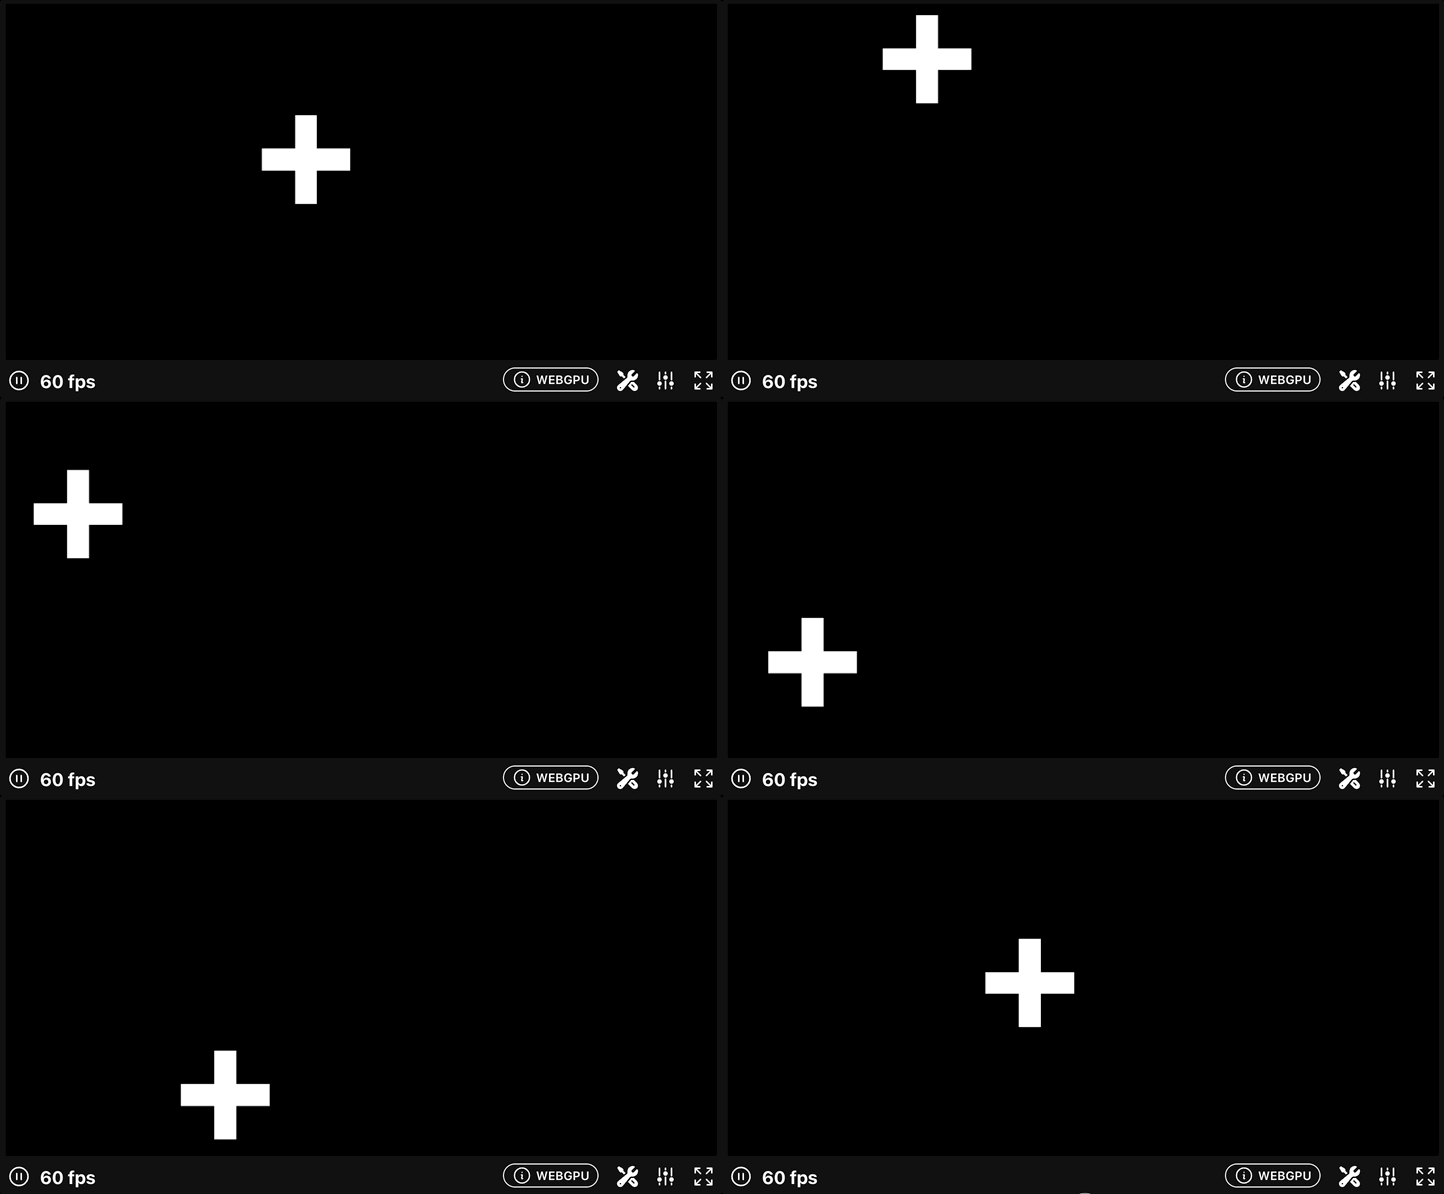
回転
GLSL では2次元回転はビルトイン関数 rotate2d() が用意されているが、WGSL には同様の関数はないっぽい? ので mat2x2f で回転行列を作る。
struct DefaultInput {
    res: vec2<f32>,
    time: f32,
};

@group(0) @binding(0)
var<uniform> u: DefaultInput;

const PI = radians(180.);

fn box(st: vec2f, size: vec2f) -> f32 {
    let _size = vec2(0.5) - size * 0.5;
    let uv = smoothstep(_size, _size + vec2(0.001), st)
           * smoothstep(_size, _size + vec2(0.001), vec2(1.0) - st);
    return uv.x * uv.y;
}

fn cross(st: vec2f, size: f32) -> f32 {
    return box(st, vec2(size, size / 4.0))
         + box(st, vec2(size / 4.0, size));
}

fn rotate2d(a: f32) -> mat2x2f {
    return mat2x2f(
        vec2f(cos(a), -sin(a)),
        vec2f(sin(a), cos(a)),
    );
}

@fragment
fn fs_main(@builtin(position) pos: vec4<f32>) -> @location(0) vec4<f32> {
    var px = pos.xy / min(u.res.x, u.res.y) * vec2f(1.0, -1.0) + vec2f(0.0, 1.0);

    px -= vec2f(0.5);
    px = rotate2d(sin(u.time) * PI) * px;
    px += vec2f(0.5);
    let color = vec3(cross(px, 0.25));
    return vec4<f32>(color, 1.0);
}
↓結果
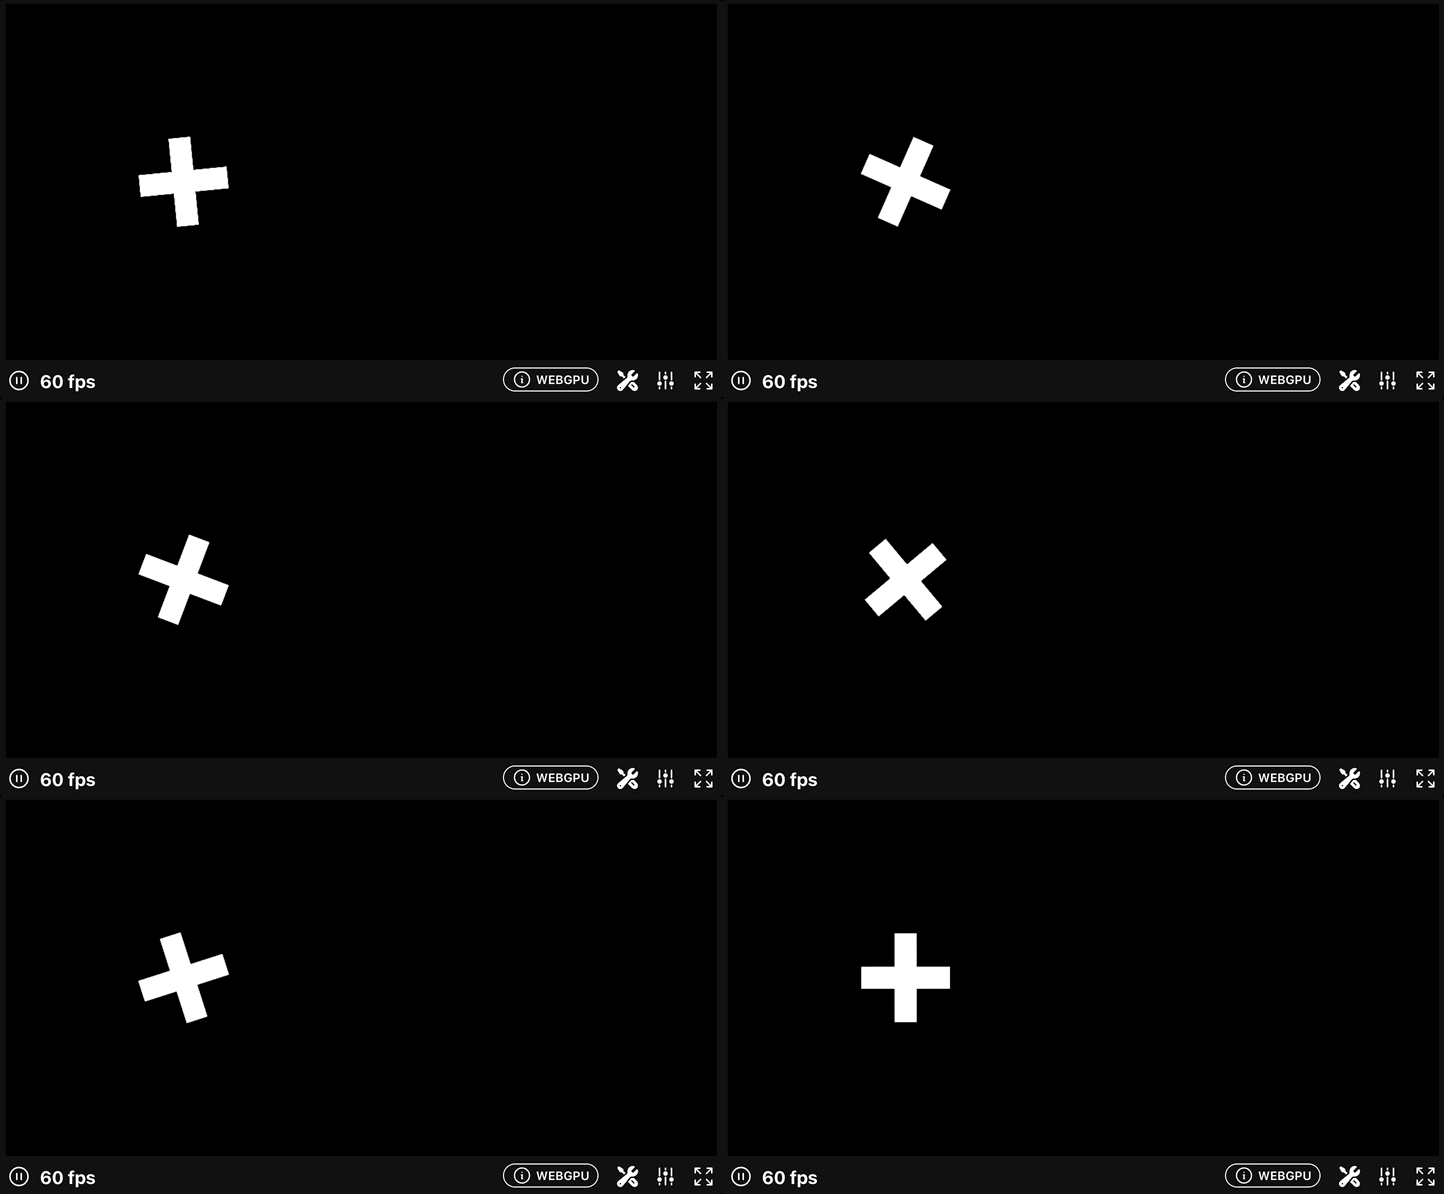
より自由を求めて…
↑ここまでの投稿の WGSL シェーダは全て shinylasers WGSL playground のオンラインエディタで作成・再生していたが、今後よりインタラクティブなシェーダコンテンツを作ろうと思うと「canvas 要素からイベントを発火してその情報をシェーダで使う」というようなニーズにも対応できるようにしたい。
そこで Rust-only で WGSL を実行できるようなフロントエンド環境を作った(Rust-only なのは好みの問題)。リモートリポジトリやホスティング環境などはこれから準備するので、これからは The Book of Shaders の勉強に限らず作ったシェーダは公開していきたい。お気持ち表明!
プロジェクトの構造
本質的な部分のみ抜粋すると以下のような感じ。
.
├── src
│   ├── lib.rs
│   ├── main.rs
│   ├── shaders
│   │   ├── glslsandbox_example.rs
│   │   ├── glslsandbox_example.wgsl
│   │   ├── hello_triangle.rs
│   │   ├── hello_triangle.wgsl
│   │   ├── hello_triangle_with_vertex_buffer.rs
│   │   └── hello_triangle_with_vertex_buffer.wgsl
│   └── shaders.rs
└── Cargo.toml
shaders というモジュールを作り、その下に wgpu ベースのレンダリングループ作成処理と各シェーダの WGSL ソースコードを置いていくことにした(管理の簡便さのために .wgsl も同じディレクトリに置いてしまっている)。レンダリングループ作成処理は正直全く DRY にはなっていないけど、自分がまだ WebGPU/wgpu の理解が浅いため、最初から共通化を頑張るよりは多少同じコードが繰り返されていても個別のモジュール内で1つのシェーダコンテンツを完結できることを優先した。
この環境を整えるのにも割と大変さと学びがあったので、それはまた別の機会にちゃんと記事にしたいと思う。
どんな環境?
ひとまずは shinylasers WGSL playground と同様、canvas 全体に一枚の板ポリを表示してフラグメントシェーダ中心にグラフィックを作れるような環境にした。レンダリングループ作成処理は Learn Wgpu を読みながら作った。
ユニフォーム変数
#[repr(C)]
#[derive(Copy, Clone, Debug, bytemuck::Pod, bytemuck::Zeroable)]
struct Uniform {
    resolution: [f32; 2],
    time: f32,
    frame: i32,
    mouse: [f32; 2],
    _padding: [f32; 2],
}
↓
struct Uniform {
    res: vec2<f32>,
    time: f32,
    frame: i32,
    mouse: vec2<f32>,
    _padding: vec2<f32>,
}
shinylasers で用意されていたのは res と time だけだったが、ここではそれらに加えて以下2つの情報もシェーダで使えるようにした。
-
frame: 現在のフレーム数 -
mouse: canvas 上のマウス座標(ブラウザイベントのevent.offsetX,event.offsetXに相当)
ぶっちゃけ frame は今んとこあまり使い道がないかも。メモリのレイアウト的に 4 byte 余ったので入れてみたが、そのうち別のに変えるかもしれない。ひとまずこれで GLSL Sandbox で書けるレベルのシェーダなら WGSL でも書けるようになった。
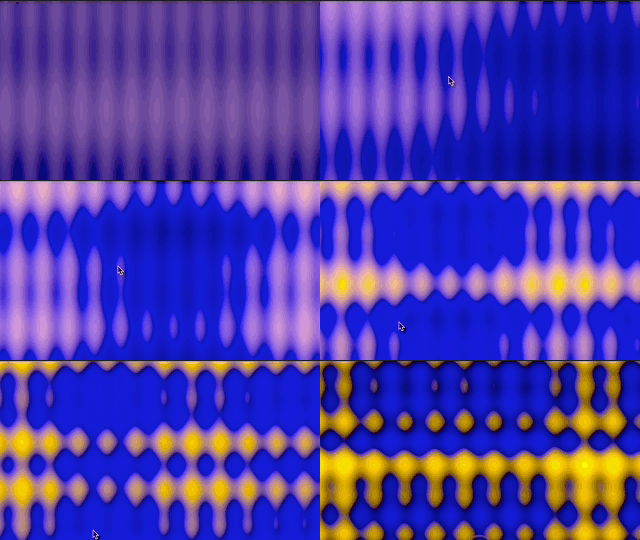
というわけで GLSL Sandbox で最初に表示されるサンプルコードを WGSL で再現してみた。
struct VertexInput {
    @location(0) pos: vec2<f32>,
}

struct VertexOutput {
    @builtin(position) pos: vec4<f32>,
}

struct Uniform {
    res: vec2<f32>,
    time: f32,
    frame: i32,
    mouse: vec2<f32>,
    _padding: vec2<f32>,
}

@group(0) @binding(0)
var<uniform> u: Uniform;

@vertex
fn vs_main(in: VertexInput) -> VertexOutput {
    var out: VertexOutput;
    out.pos = vec4f(in.pos, 0.0, 1.0);

    return out;
}

@fragment
fn fs_main(@builtin(position) pos: vec4f) -> @location(0) vec4<f32> {
    let px = (pos.xy / u.res) + (u.mouse / u.res / 4.0);

    var color = 0.0;
    color += sin(px.x * cos(u.time / 15.0) * 80.0) + cos(px.y * cos(u.time / 15.0) * 10.0);
    color += sin(px.y * sin(u.time / 10.0) * 40.0) + cos(px.x * sin(u.time / 25.0) * 40.0);
    color += sin(px.x * sin(u.time / 5.0) * 10.0) + sin(px.y * sin(u.time / 35.0) * 80.0);
    color *= sin(u.time / 10.0) * 0.5;

    return vec4f(vec3f(color, color * 0.5, sin(color + u.time / 3.0) * 0.75), 1.0);
}
↓結果
引き続きシェーダ芸を磨いていこうと思う。