Prism, OpenAPI Generator を使用した Vue3開発環境 を DockerCompose で構築
概要
今回は OpenAPI から自動生成したコードとモックサーバーを使った開発を想定した Vue3 の環境構築を行いたいと思います。
ディレクトリ構成
❯ tree -L 1
.
├── LICENSE
├── README.md
├── api
├── docker-compose.yaml
└── frontend

2 directories, 3 files
api には openapi 定義を、frontend にはフロントのコードを入れます。
コンテナ系
Dockerfile と docker-compose.yaml を用意します。コメントアウト部分に関しては Vue アプリを用意した後に戻します。
FROM node:18-alpine

WORKDIR /app

# COPY package.json yarn.lock ./

# RUN yarn install
version: "3.8"
services:
  frontend:
    build:
      context: ./frontend
      dockerfile: Dockerfile
    volumes:
      - ./frontend/:/app:cached
      # - ./frontend/node_modules:/app/node_modules
    tty: true
    ports:
      - "5173:5173"
    command: yarn dev
  mock-api:
    image: stoplight/prism:4
    ports:
      - "4010:4010"
    command: mock -h 0.0.0.0 /tmp/openapi.yaml
    volumes:
      - ./api:/tmp
# volumes:
#   node_modules:
OpenAPI
GET のエンドポイントを1つ記述した yaml を用意しておきます。localhost:8080 の BackendAPI と4010 のモックサーバーを切り替える想定です。
openapi: 3.0.3
info:
  title: sample-api
  description: サンプルAPI
  version: 1.0.0
  license:
    name: Apache-2.0
    url: https://www.apache.org/licenses/LICENSE-2.0.html
  contact:
    email: support@sample.com
tags:
  - name: sample
    description: サンプル
servers:
  - url: localhost:8080
    description: local server
  - url: localhost:4010
    description: mock server
paths:
  /sample:
    get:
      summary: get-sample
      description: サンプルエンドポイント
      operationId: get-sample
      tags:
        - sample
      responses:
        "200":
          $ref: "#/components/responses/sample200Response"
components:
  schemas:
    Sample:
      type: object
      properties:
        text:
          type: string
      required:
        - text
  responses:
    sample200Response:
      description: OK
      content:
        application/json:
          schema:
            $ref: "#/components/schemas/Sample"
          examples:
            example-1:
              $ref: "#/components/examples/sampleExample"
  examples:
    sampleExample:
      value:
        text: sample
コンテナイメージ作成
docker-compose.yaml を置いたプロジェクトルートで行います。
docker-compose build
$ docker images でイメージができたか確認できます。
Vue アプリ作成
処理が早いので Vite を使います。ディレクトリが余計に1つできるので削除します。
docker-compose run frontend yarn create vite my-vue-app --template vue-ts && \
mv ./frontend/my-vue-app/{.,}* ./frontend && \
rm -rf ./frontend/my-vue-app
frontend ディレクトリ以下に Vue アプリが生成されました。生成後、ホットリロードを有効にするために Vite 設定オブジェクトに server プロパティを追加します。
import { defineConfig } from 'vite'
import vue from '@vitejs/plugin-vue'

// https://vitejs.dev/config/
export default defineConfig({
  plugins: [vue()],
  server: {
    host: true
  },
})
OpenAPI 自動コード生成
コマンドが長いので .sh ファイルにまとめます。ジェネレーターは typescript-axios を使います。
docker run --rm -v ${PWD}:/local/app -v $(dirname ${PWD})/api:/local/api \
    openapitools/openapi-generator-cli:v6.0.1 generate \
    -i /local/api/openapi.yaml \
    -g typescript-axios \
    -o /local/app/src/api/generated
frontend ディレクトリで実行します。
cd frontend && ./generate-api.sh
自動生成コードが axios に依存しているのでインストールします。
docker-compose run --rm frontend yarn add axios
Vite 開発サーバー立ち上げ
ここで一旦コンテナを立ち上げて Vite の開発サーバーを立ててみます。Dockerfile と docker-compose.yaml のコメントアウト部分を戻したうえで実行します。
docker-compose up --build
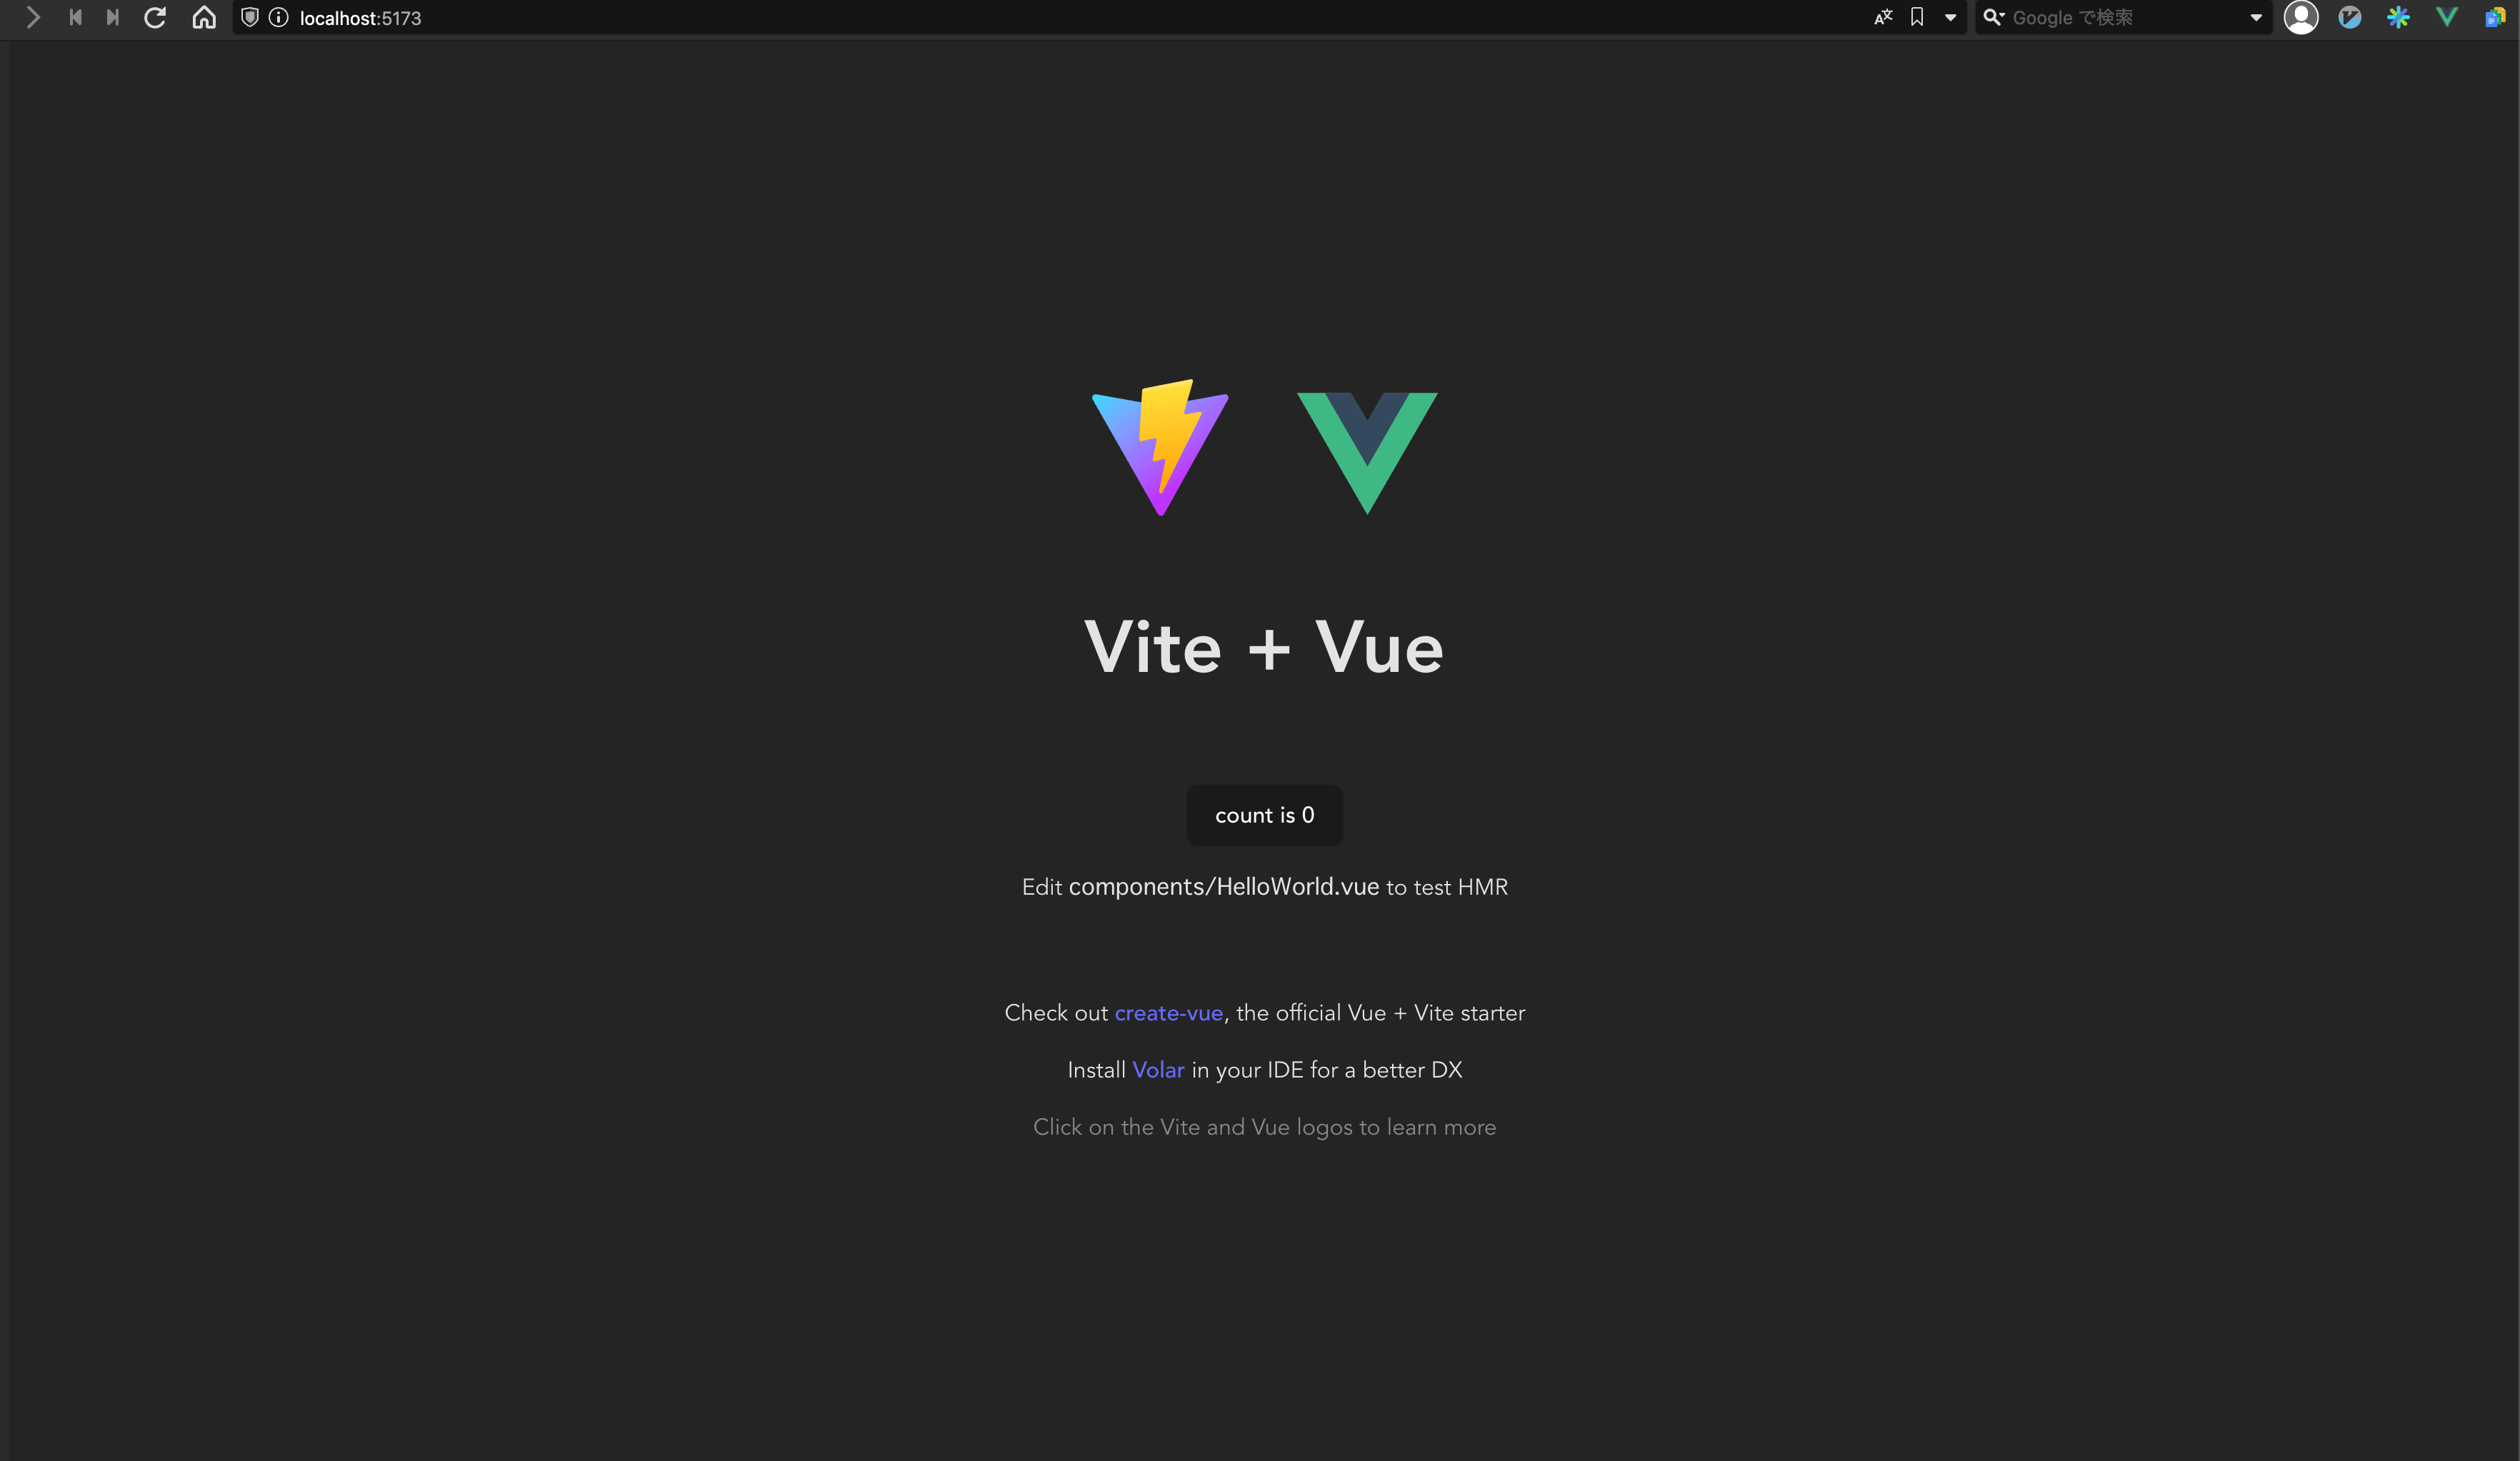
http://localhost:5173 にアクセスすると以下画面が表示されるはずです。

モックサーバーへのつなぎこみ
画面内 Vite + Vue の部分をモックサーバーから取得した内容に置き換えようと思います。App.vue の script, template 部分を以下に書き換えます。
<script setup lang="ts">
import { ref } from 'vue';
import axios from "axios";
import { SampleApiFactory, Configuration } from "./api/generated";
import HelloWorld from './components/HelloWorld.vue'

const text = ref('');

const sampleApi = SampleApiFactory(
  new Configuration({ basePath: import.meta.env.VITE_API_BASE_URL }),
  undefined,
  axios.create()
);

const getSample = async () => {
  const response = await sampleApi.getSample();
  text.value = response.data.text;
}
getSample();
</script>

<template>
  <div>
    <a href="https://vitejs.dev" target="_blank">
      <img src="/vite.svg" class="logo" alt="Vite logo" />
    </a>
    <a href="https://vuejs.org/" target="_blank">
      <img src="./assets/vue.svg" class="logo vue" alt="Vue logo" />
    </a>
  </div>
  <HelloWorld :msg="text" />
</template>
自動生成された SampleApiFactory 関数の引数でリクエスト先を指定しています。ここで使用する環境変数 VITE_API_BASE_URL はこのあと定義します。APIを叩いて取得した文字列をリアクティブな変数 text に代入しています。また template 内で text を子コンポーネント HelloWorld に渡しています。次に環境変数を定義します。
VITE_API_BASE_URL=http://localhost:4010
.env で VITE_ を頭につけて記述すると Vite が環境変数に設定してくれます。環境変数の値を変えることでリクエスト先を制御できます。
コンテナ再起動
docker-compose down && docker-compose up
再度 http://localhost:5173 にアクセスします。

取得した文字列が表示されました!
まとめ
今回は以下を Docker を使って行いました。
- Vite を使用した Vue3 開発環境の簡単な構築。
- Prism を使用した OpenAPI モックサーバーの構築。
- OpenAPI Generator(typescript-axios) を使用したフロントエンドAPIまわりのコードの自動生成。
また自動生成コードを使ってモックサーバーへつなぎこむ簡単な実装を行い、想定したレスポンスが返ることを確認しました。
最後まで読んでいただき、どうもありがとうございました。
Discussion