🔜
【iOS】 UIViewで簡単なアニメーションを作成する
はじめに
UIViewではanimateメソッドによって設定値を変更するだけで下記のように簡単にアニメーションを作ることができます。
実際にどのように設定するかみてみましょう。
サイズ変更アニメーション
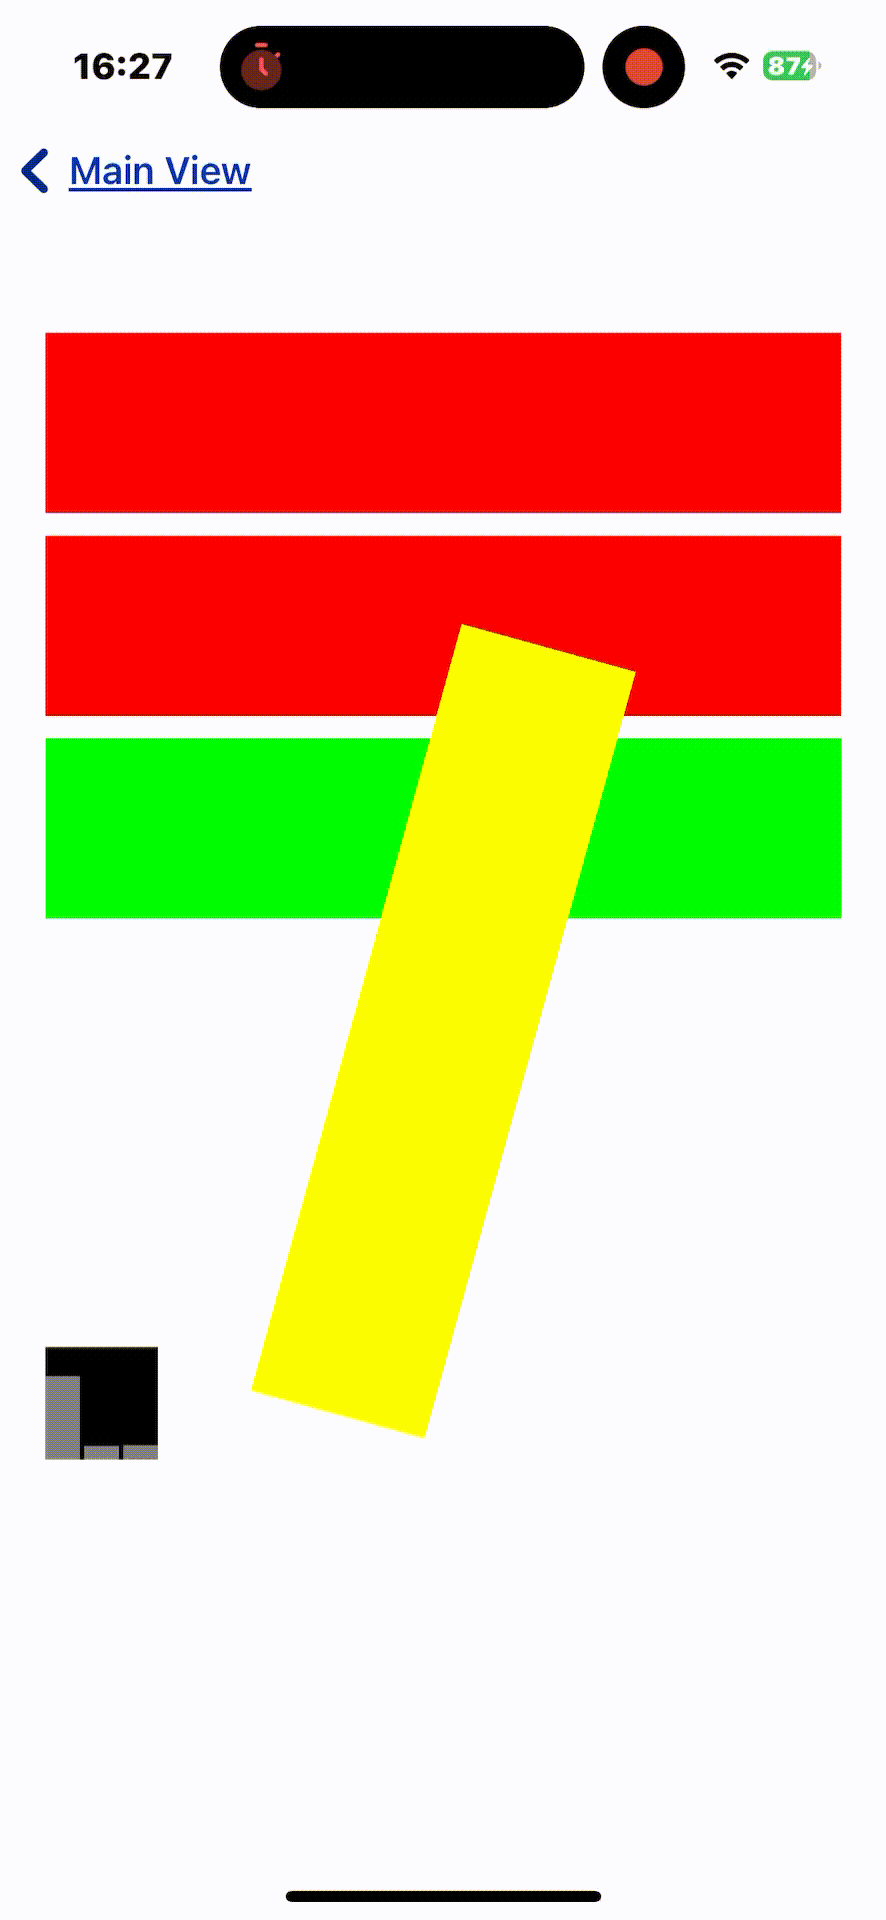
サイズ変更アニメーションでは、ビューの大きさを変えることで注目を集めたり、ユーザーのアクションに対するフィードバックを提供します。
func scaleAnimation(_ view: UIView) {
    UIView.animate(withDuration: 1) {
        view.transform = CGAffineTransform(scaleX: 1.5, y: 1.5)
    } completion: { _ in
        view.transform = .identity
    }
}
色変更アニメーション
色変更アニメーションを使用して、状態の変化を視覚的に示すことができます。
func colorChangeAnimation(_ view: UIView) {
    UIView.animate(withDuration: 1) {
        view.backgroundColor = .blue
    } completion: { _ in
        view.backgroundColor = .red
    }
}
透明度アニメーション
透明度アニメーションを利用して、ビューを徐々に表示したり隠したりすることができます。
func alphaAnimation(_ view: UIView) {
    UIView.animate(withDuration: 1) {
        view.alpha = 0.0
    } completion: { _ in
        view.alpha = 1.0
    }
}
回転アニメーション
回転アニメーションは、ビューを回転させることで動的なエフェクトを追加します。
func rotationAnimation(_ view: UIView) {
    UIView.animate(withDuration: 1) {
        view.transform = CGAffineTransform(rotationAngle: CGFloat.pi)
    } completion: { _ in
        view.transform = .identity
    }
}
音量を表すアニメーションを作成してみる
animateを利用した実用的なアニメーションを作成してみます
今回は音量を表すアニメーションを作成します。
class VolumeVisualizerView: UIView {
    private var barViews: [UIView] = []

    override init(frame: CGRect) {
        super.init(frame: frame)
        setupBars()
    }

    required init?(coder: NSCoder) {
        super.init(coder: coder)
        setupBars()
    }

    private func setupBars() {
        let barCount = 3
        let spacing: CGFloat = 2
        let barWidth = (self.bounds.width - spacing * CGFloat(barCount - 1)) / CGFloat(barCount)

        for i in 0..<barCount {
            let barView = UIView(frame: CGRect(x: (barWidth + spacing) * CGFloat(i), y: 0, width: barWidth, height: self.bounds.height))
            barView.backgroundColor = .gray
            self.addSubview(barView)
            barViews.append(barView)
        }
    }

    func updateVolume(_ volume: [CGFloat]) {
        for (index, barView) in barViews.enumerated() {
            let height = volume[index] * self.bounds.height
            let yPosition = self.bounds.height - height
            UIView.animate(withDuration: 0.1) {
                barView.frame = CGRect(x: barView.frame.origin.x, y: yPosition, width: barView.frame.width, height: height)
            }
        }
    }
}
このアニメーションをViewControllerから呼び出ししてみます
        let visualizerWidth: CGFloat = 50
        volumeVisualizerView = VolumeVisualizerView(frame: CGRect(x: 20, y: 500, width: visualizerWidth, height: 50))
        volumeVisualizerView.backgroundColor = .black
        self.view.addSubview(volumeVisualizerView)

~~~~
    func simulateVolumeChanges() {
        Timer.scheduledTimer(withTimeInterval: 0.1, repeats: true) { [weak self] _ in
            // 音の大きさをシミュレートするためにランダムな値を生成
            let randomVolumes = [CGFloat.random(in: 0.1...1.0), CGFloat.random(in: 0.1...1.0), CGFloat.random(in: 0.1...1.0)]
            self?.volumeVisualizerView.updateVolume(randomVolumes)
        }
    }
このようにすることでアニメーションが実装可能です。

今回のサンプルコードはこちらにありますので確認してみてください
Discussion