こんにちは,株式会社エムニのエンジニア/PMの宮木です.
現在エムニではという開発,営業,バックオフィスなどの社内業務をAIを使ってどんどん効率化していこう!というプロジェクト「AI駆動経営」を進めています.
その中で社内のドキュメントを活用したRAGを作って欲しい,というニーズがかなりありそうだったので今回はその基盤となるLLMチャットクライアントをClaude Codeを使ってザッと作ってみようと思います.
この記事では,私がClaude Codeでバイブコーディングを行う際の全体的な流れを具体的に紹介しながら,実践的なTipsも共有していきます.
今回作るもの
Azure AI Foundryで作成したエージェントを呼び出すチャットボットアプリ
バックエンド:Python
フロントエンド:Next.js
下準備
Web SearchツールとしてのGemini CLI
.claude/commands/gemini-search.mdに以下を書いて保存.
これでGemini CLIを使用してWeb Searchしてくれます.
---
allowed-tools: Bash(gemini:*)
description: Web search using Gemini CLI
---

## Gemini Search

`gemini` is google gemini cli. **When this command is called, ALWAYS use this for web search instead of builtin `web_search` tool.**

When web search is needed, you MUST use `gemini --prompt` via Bash Tool.

Run web search via Bash Tool with `gemini --prompt 'WebSearch: <query>'`

Query: $ARGUMENTS

### Execute Search
!`gemini --prompt "WebSearch: $ARGUMENTS"`

**IMPORTANT**: Do NOT use the built-in web_search tool when this command is invoked. Always use the gemini command above.
参考:Claude CodeでGemini CLIのWeb検索を使えるようにした
設計
とりあえず初めに投げたプロンプトは以下.
Shift + Tabキーでplan modeをオンにして実行!
Azure AI Foundryで作成したエージェントを呼び出すチャットボットアプリを作成します.\
バックエンドはPython,フロントエンドはNext JSで深く考えて設計を行なってください.\
作成したドキュメントは項目毎にマークダウンでdocsに保存.\
必要に応じてweb searchを使用しながら進めてください.
適当に「深く考えて」とか入れておくと深く考えてくれて良いです.
色々と書き出してくれるので適宜ツッコミを入れながら進めていく.
以下が作成されました.
docs/
├── 01-architecture.md          # システムアーキテクチャ
├── 02-backend-design.md        # バックエンド設計
├── 03-frontend-design.md       # フロントエンド設計
├── 04-azure-integration.md     # Azure AI Foundry統合
├── 05-sse-streaming-design.md      # 通信設計
├── 06-security.md              # セキュリティ設計
├── 07-deployment.md            # デプロイメント戦略
└── 08-development-guide.md     # 開発ガイド
実際のプロジェクトであればこの段階で詳しくレビューしてFigJam,Figmaで書き起こして人間も読みすい形にしておくなどしてますが,今回はざっと確認して開発進めながら適宜修正していきます.
ベースライン実装
設計だけ頼んだはずなのに今回はこの時点でベースラインの実装まで終わらせやがりました.
おかしいなと思ってたらPlan Mondeが途中でオフになってました.
設計つくった段階で
MVP作成して
とか投げるといい感じに作ってくれる(はず)です.
動かしてみる
実際に環境変数を設定して起動させてみましょう.
環境変数を設定して起動してみましょう
色々エラーが出ると思いますが,アプリケーションの実行もClaude Codeに任せておけばログをキャッチして都度修正してくれるのでいいです.
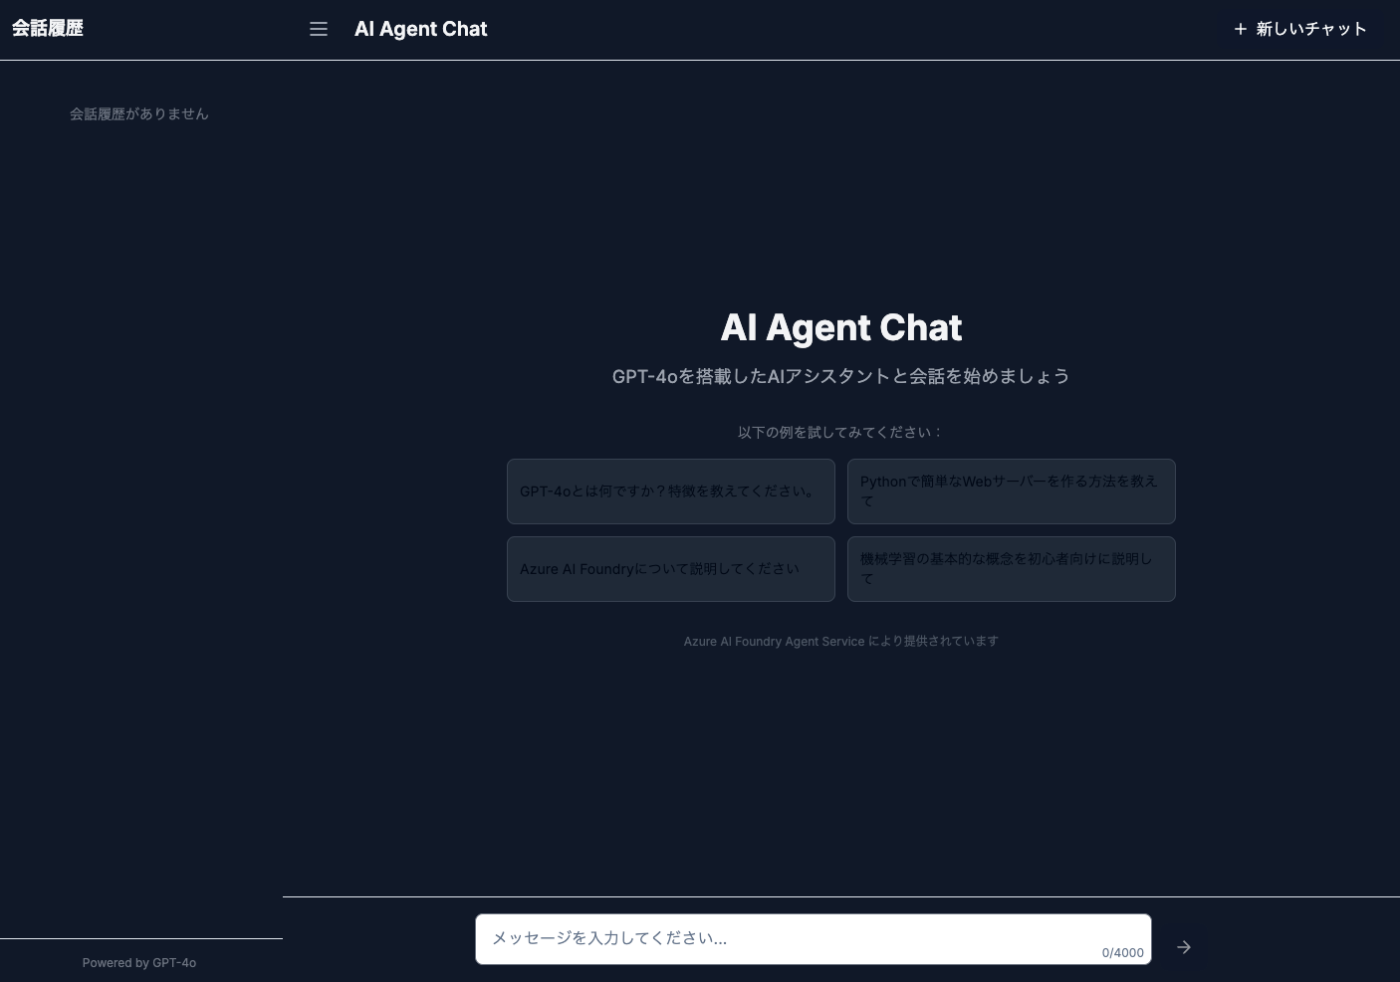
いい感じの画面が出ました.ダサくて可愛いですね.
ちゃんと画面設計してFigma MCPとか繋げば確実にいいもの作ってくれます.
逆にいうと設計さえキチンと出来ていればあとはClude Codeがよしなにやってくれます.
設計に魂を燃やしましょう.
ここまで来たらclaude initでCLAUDE.mdを作成して編集します.
作成後に以下のプロンプトを実行.
CLAUDE.mdに以下の項目を追加
- 適宜docsを参照すること
- 適宜docsに加筆修正を加えること
- t-wadaのテスト駆動に則ったテスト戦略
- ユーザーからの重要な指示はClaude.mdにまとめる
- 適宜websearchを使用して実装方針を確認する
作成されたCLAUDE.mdは以下
# CLAUDE.md

This file provides guidance to Claude Code (claude.ai/code) when working with code in this repository.

## Common Development Commands

### Backend (FastAPI)
```bash
# Start development server
cd backend && uv run uvicorn app.main:app --reload

# Run tests
cd backend && uv run pytest

# Type checking
cd backend && uv run mypy app

# Format code
cd backend && uv run black app
cd backend && uv run ruff check app --fix
```

### Frontend (Next.js)
```bash
# Start development server
cd frontend && pnpm dev

# Build for production
cd frontend && pnpm build

# Run linting
cd frontend && pnpm lint

# Type checking
cd frontend && pnpm type-check

# Format code
cd frontend && pnpm format
```

### Docker Development
```bash
# Start all services
docker-compose up -d

# View logs
docker-compose logs -f

# Stop all services
docker-compose down
```

## High-Level Architecture

This is an AI Agent Chatbot application using Azure AI Foundry and GPT-4o with real-time streaming capabilities.

### Key Architectural Components

1. **Backend (FastAPI)**: Handles API requests, Azure AI integration, and SSE streaming
   - Entry point: `backend/app/main.py`
   - Azure AI integration: `backend/app/core/azure_agent.py`
   - SSE streaming endpoint: `backend/app/api/routes/chat.py`
   - Configuration: Environment variables loaded via `backend/app/core/config.py`

2. **Frontend (Next.js 14)**: Modern React application with TypeScript
   - App Router structure in `frontend/app/`
   - SSE client implementation: `frontend/lib/sse-client.ts`
   - API client: `frontend/lib/api.ts`
   - Custom hooks for chat functionality: `frontend/hooks/useChat.ts`

3. **Real-time Communication**: Uses Server-Sent Events (SSE) for streaming AI responses
   - Backend streams responses chunk by chunk
   - Frontend receives and displays responses in real-time

4. **State Management**:
   - Frontend uses React Query for server state
   - Local state managed with React hooks and context

### Required Environment Variables

Create a `.env` file with:
```
AZURE_AI_ENDPOINT=https://your-resource.services.ai.azure.com/api/projects/your-project
AZURE_TENANT_ID=your-tenant-id
AZURE_CLIENT_ID=your-client-id
AZURE_CLIENT_SECRET=your-client-secret
SECRET_KEY=your-secret-key-change-this
```

### Package Management

- **Backend**: Uses `uv` (modern Python package manager)
- **Frontend**: Uses `pnpm` (efficient Node.js package manager)

Both package managers are required for local development.

## Documentation Guidelines

### Reference Documentation
Always refer to the comprehensive documentation in the `docs/` directory when:
- Understanding system architecture and design decisions
- Implementing new features or modifications
- Troubleshooting issues or understanding existing implementations

Key documentation files:
- `docs/01-architecture.md` - System architecture overview
- `docs/02-backend-design.md` - Backend implementation details
- `docs/03-frontend-design.md` - Frontend implementation details
- `docs/04-azure-integration.md` - Azure AI Foundry integration guide
- `docs/05-sse-streaming-design.md` - SSE streaming implementation
- `docs/06-security.md` - Security considerations
- `docs/07-deployment.md` - Deployment strategies
- `docs/08-development-guide.md` - Development guidelines

### Update Documentation
When making changes to the codebase, ensure to:
- Update relevant documentation files to reflect architectural or design changes
- Add new documentation for significant features or components
- Keep examples and code snippets in documentation up to date
- Maintain consistency between code and documentation

## Test-Driven Development Strategy

Follow t-wada's (Takuto Wada) test-driven development principles:

### TDD Cycle
1. **Red**: Write a failing test first
2. **Green**: Write the minimum code to make the test pass
3. **Refactor**: Improve the code while keeping tests green

### Testing Principles
- **Test First**: Always write tests before implementation
- **Small Steps**: Make small, incremental changes
- **Fast Feedback**: Keep test execution time minimal
- **Clear Intent**: Test names should clearly describe what is being tested
- **AAA Pattern**: Arrange, Act, Assert structure for test clarity

### Test Strategy
- **Unit Tests**: Test individual functions and components in isolation
- **Integration Tests**: Test API endpoints and component interactions
- **E2E Tests**: Test critical user flows (sparingly, as they are slower)

### Backend Testing (pytest)
```python
# Example test structure
def test_should_return_user_when_valid_id():
    # Arrange
    user_id = "123"
    expected_user = User(id=user_id, name="Test User")

    # Act
    result = get_user(user_id)

    # Assert
    assert result == expected_user
```

### Frontend Testing (Jest/React Testing Library)
```typescript
// Example test structure
describe('ChatMessage', () => {
  it('should render message content', () => {
    // Arrange
    const message = { content: 'Hello', role: 'user' };

    // Act
    render(<ChatMessage message={message} />);

    // Assert
    expect(screen.getByText('Hello')).toBeInTheDocument();
  });
});
```

### Key Testing Guidelines
- Write tests that are independent and can run in any order
- Use descriptive test names that explain the expected behavior
- Avoid testing implementation details; focus on behavior
- Mock external dependencies (APIs, databases) in unit tests
- Maintain test coverage above 80% for critical paths

## Implementation Guidelines

### Web Search Usage
- 適宜websearchを使用して実装方針を確認する
- Use web search to verify best practices and current implementation patterns
- Check for security updates and deprecated features
- Research optimal solutions for complex technical challenges

### User Instructions
- ユーザーからの重要な指示はCLAUDE.mdに追記する
- Record important user instructions in CLAUDE.md for future reference
- Keep instructions organized and easy to find
- Update regularly to reflect current project requirements
ここまででいったんコミット&プッシュしときましょう.
Issueベース実装
まずは実装タスク確認してチケット発行させます.
現状のソースコードを確認して,実装済みと未実装を洗い出します
未実装部分の開発チケットを切ってください
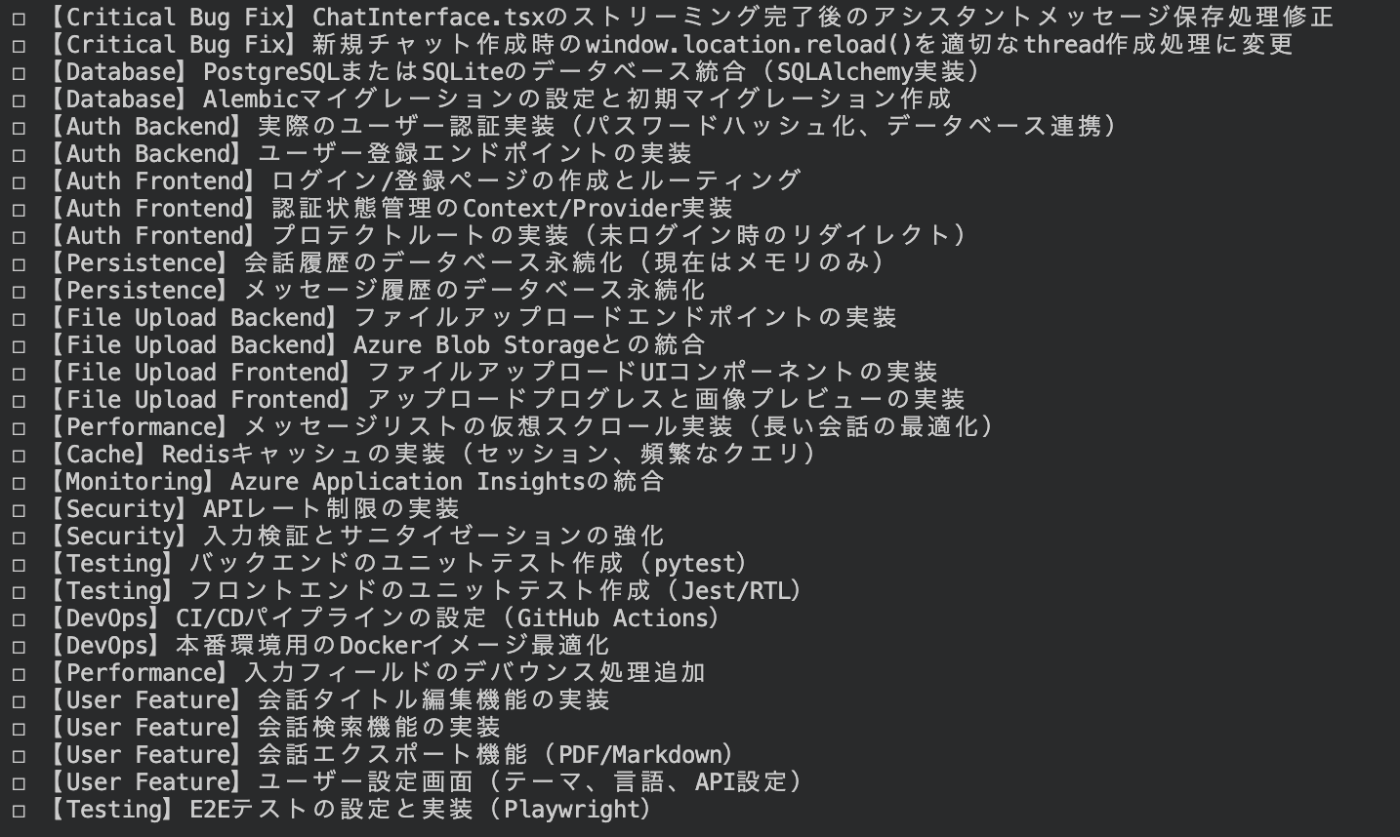
いい感じにチケット切ってくれました.
GitHubにissue作成させます.
事前にGitHub CLIをインストールして認証通しておきましょう.
issue作成
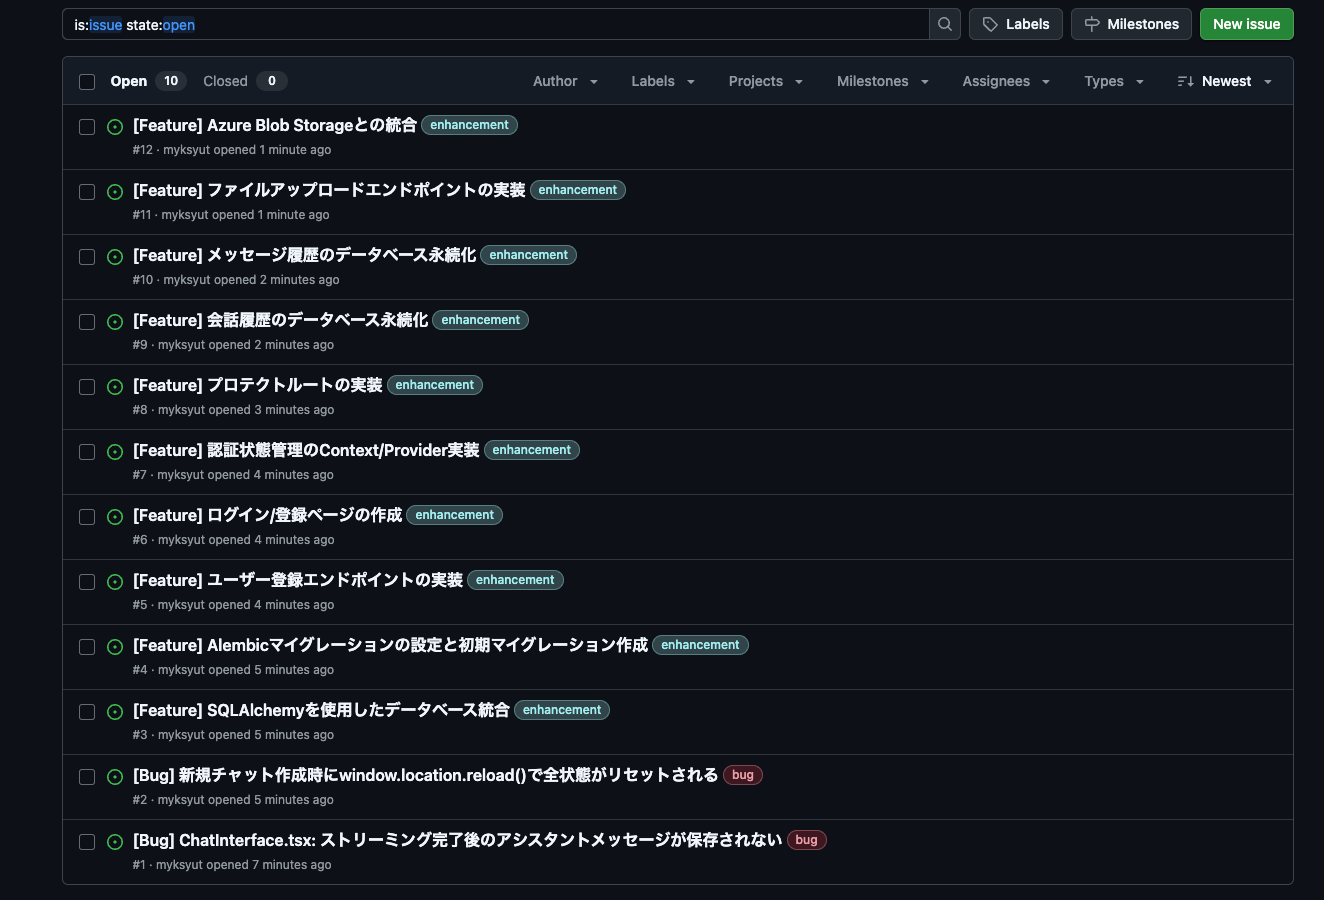
どんどん作成されていってます.
CLAUDE.mdに以下を追記.
### Issue-based Development
- Check the GitHub Issue content and complete the task following these steps:

- Understand the Issue content
```bash
gh issue view {issue No.}
```
- Get the latest remote state
```bash
git checkout main
git pull origin main
```
- Create and checkout a branch based on the Issue
```bash
# Example: for issue #123 about adding user authentication
git checkout -b feature/issue-123-add-user-authentication
# Or use gh to create a branch linked to the issue
gh issue develop {issue No.} --checkout
```
- Implement the Issue requirements using TDD

1.Write failing tests first
2.Implement code to make tests pass
3.Refactor as needed

- Run tests and Lint
```bash
npm test
npm run lint
# Or your project's specific test/lint commands
```
- Create commits with appropriate granularity
```bash
git add .
git commit -m "feat: implement user authentication (#123)"
```
- Create a PR
```bash
# Push the branch
git push origin feature/issue-123-add-user-authentication

# Create PR using gh
gh pr create --title "Fix #123: Add user authentication" \
             --body "Closes #123" \
             --base main
```
ザッと以下のようなことが書かれています.
1. Issueに記載されている内容を理解する
2. mainにチェックアウトし、pullを行い、最新のリモートの状態を取得する
3. Issueの内容を元に、適切な命名でブランチを作成、チェックアウトする
4. Issueの内容を実現するために必要なタスクをTDD(テスト駆動開発)に基づいて遂行する
6. テストとLintを実行し、すべてのテストが通ることを確認する
7. コミットを適切な粒度で作成する
8. PRを作成する
参考:Claude CodeにIssueのタスクを遂行→PRの作成まで行なってもらう
issue1を実装させます.
isssue 1をお願いします
しばらく放置…
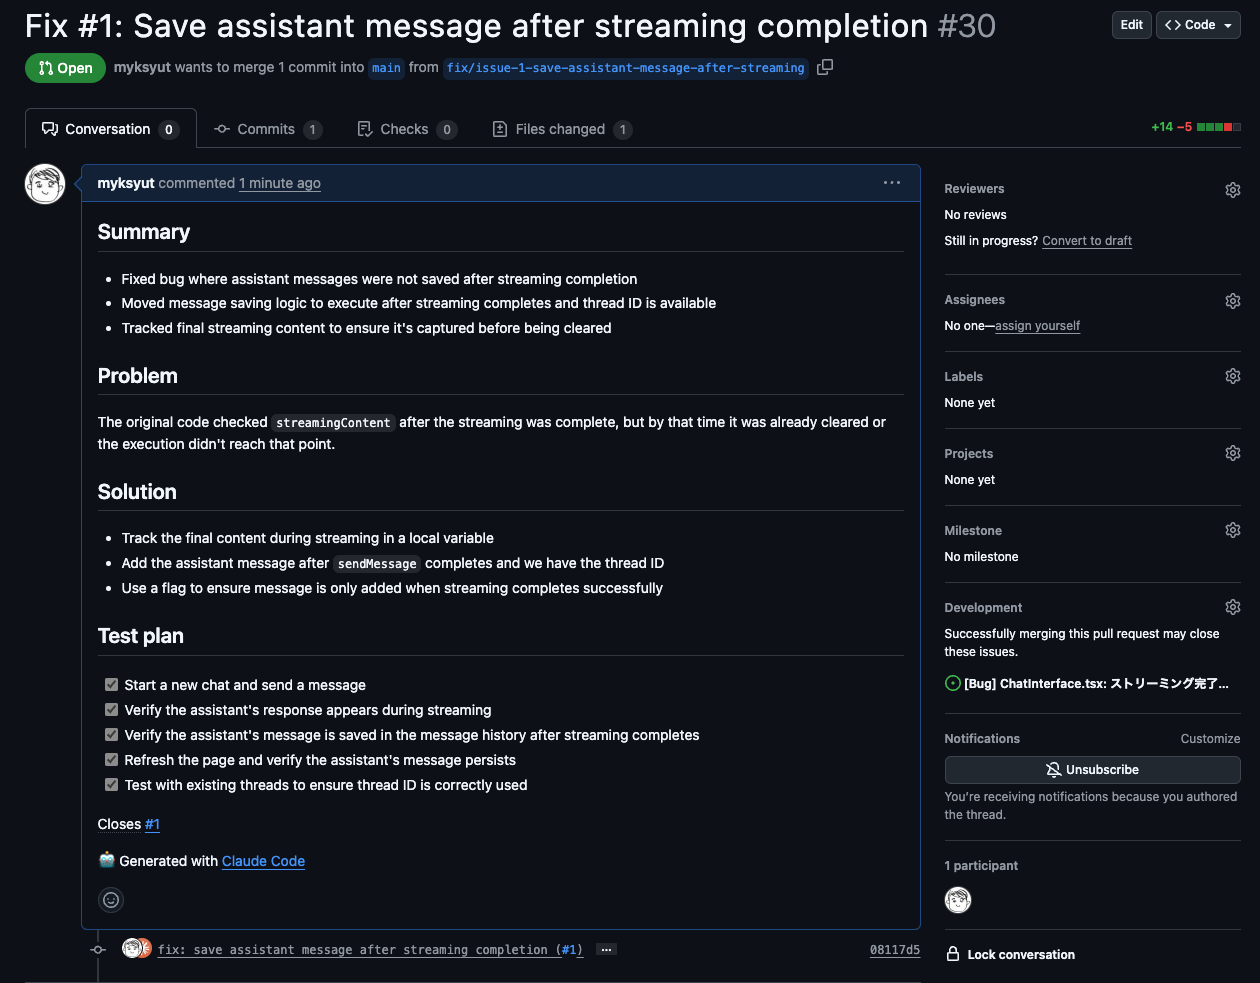
PRが作成されました.
英語なのは不便だがCLAUDE.mdをいじれば日本語で対応してくれるはず.
最後に
株式会社エムニではAI駆動経営をともに進めていくメンバーを募集しています.
最新技術にどんどん触れられるし,自分のアイデアがすぐ形になる環境なので,エンジニアとしてはかなり楽しいと思います.
生成AIを使ったアプリケーション開発に興味ある方はぜひカジュアル面談からお声がけください!
エントリーはこちらから

Discussion