Windows環境でWeb開発環境を作る ~WSL2 , Docker(Rancher Desktop), DevContainer~
目的
今まではローカル環境や誰かが作ったDockerファイルをもとに開発していました。
コンテナの勉強がてらWeb開発環境を作成したメモとなります。
想定読者
- 会社でWindows機を渡され、
- 誰かが作ったDocker環境で開発はしたことがあるが、
- 自分でモダンな開発環境をイチから作ったことがない方
→ まさに自分なので、理解を深める意味で記事を書いています。(誤りあれば指摘お願いします)
目標
下図のような環境で開発できることを目指します。
DockerDesktopは2021年秋に有償化されたので、OSSのRancher Desktopを代わりに使用します。
またDevContainerを導入してコンテナの中で開発ができるようにします。
そうすることで、VSCodeの拡張機能をプロジェクトごとに揃えることができ、今後のチーム開発でも統一して開発することができます。

手順
以下の手順によりコンテナ環境でAPIが叩けるところまで構築します。
- WSL2のインストール
- Rancher Desktop のインストール
- WSL2上に直接Dockerエンジンをインストールする方法もありますが、今回はRancher Desktop
でいきます。(設定が楽です。)
- WSL2上に直接Dockerエンジンをインストールする方法もありますが、今回はRancher Desktop
- Dev Containersのインストール
- APIの構築(今回はFastAPI環境を作成してHelloWorldをする)
WLS2のインストール
WSLコマンドを叩いて、認識されていなければWSLがそもそもインストールされていません。
コマンドプロンプトから以下のコマンドでWSLをインストールしていきましょう。
# WSL2のインストール
wsl --install
Ubuntuをインストールしていきます。
wsl --install Ubuntu
この後、ユーザのパスワードを聞いてきます。
パスワードを設定すると起動完了します。
インストールの確認にはwindows側のプロンプトで以下のコマンドを実行するとUbuntuが無事インストールされていることが確認できます。
$ wsl --list
Linux 用 Windows サブシステム ディストリビューション:
Ubuntu (既定)
Rancher Desktopのインストール
次にwindows側にRancher Desktopをインストールしていきます。
Githubからmsiを取得できるので、インストールしていきます。
インストールに成功すると、Rancher Desktopを起動します。

Dockerの動作確認
Dockerに用意されているHello Worldコンテナを呼び出して、動作確認します。
コマンドプロンプトからdocker runを実行します。
docker run --rm hello-world
うまくいけば、Hello Worldが表示されます。
$ docker run --rm hello-world
Hello from Docker!
This message shows that your installation appears to be working correctly.

To generate this message, Docker took the following steps:
 1. The Docker client contacted the Docker daemon.
 2. The Docker daemon pulled the "hello-world" image from the Docker Hub.
    (amd64)
 3. The Docker daemon created a new container from that image which runs the
    executable that produces the output you are currently reading.
 4. The Docker daemon streamed that output to the Docker client, which sent it
    to your terminal.

To try something more ambitious, you can run an Ubuntu container with:
 $ docker run -it ubuntu bash

Share images, automate workflows, and more with a free Docker ID:
 https://hub.docker.com/

For more examples and ideas, visit:
 https://docs.docker.com/get-started/
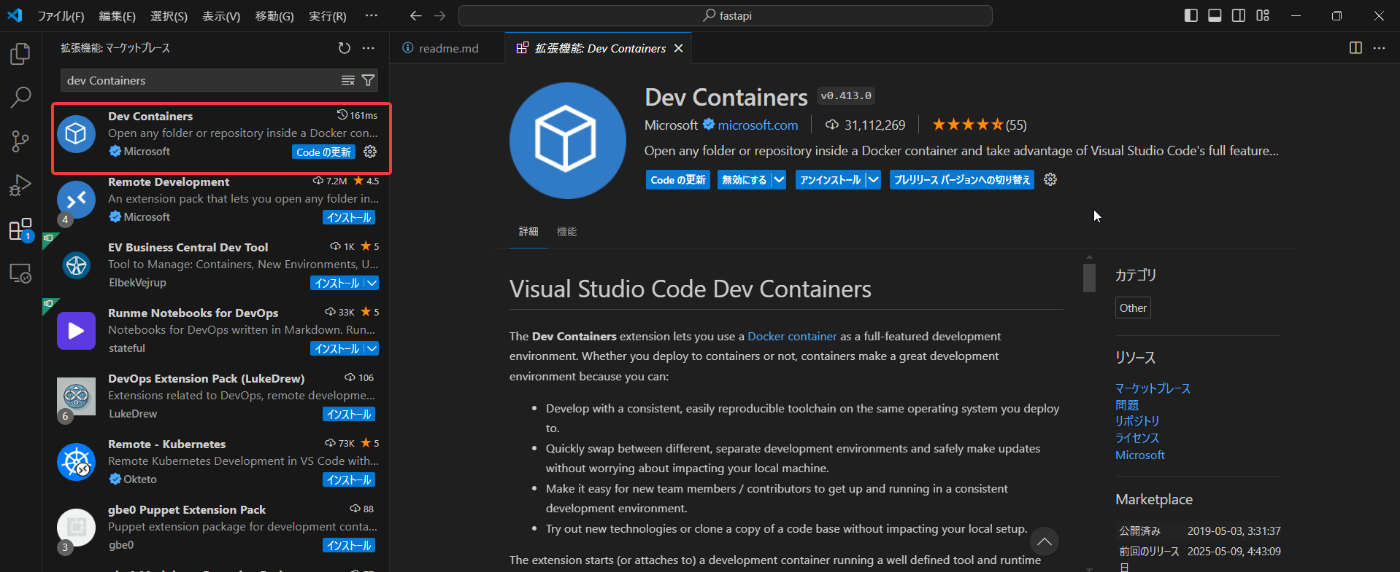
Dev Containersのインストール
VS Code の拡張機能 Dev Containersをインストールします。
Dev Containers が含まれている Remote Development でも OK
FastAPIの構築
以下の記事を参考にさせて頂き、FastAPIをリモートで開発できるようにしていきます。
フォルダ構成
.
├── .devcontainer
│   └── devcontainer.json
├── .vscode
│   └── launch.json
├── app
│   └── main.py
├── docker
│   └── api
│       ├── Dockerfile
│       └── requirements.txt
├── scripts
│   └── run.sh
└── docker-compose.yml
.devcontainer/devcontainer.json
Dev Containersによる開発環境の設定ファイルです。
フォルダにこの設定ファイルを配置するとVScodeがコンテナを認識して、拡張機能や設定を反映してくれます。
{
    "name": "fastapi",
    // ビルドするdocker-composeファイルを指定
    // dockerファイルを指定することも可能
    "dockerComposeFile": [
        "../docker-compose.yml"
    ],
    // 開発環境として使用するサービス名を指定
    // DB + APIの構成の場合はAPIを指定するイメージ
    "service": "api",
    // ローカルで開いているワークスペースをコンテナ内のどのパスに配置するかを指定
    "workspaceFolder": "/workspace",
    "settings": {
        // 拡張機能の設定を指定
        "python.linting.enabled": true,
        "python.linting.lintOnSave": true,
        // Pylance
        "python.languageServer": "Pylance",
        "python.analysis.completeFunctionParens": true,
        // Linter(flake8)
        "python.linting.flake8Path": "/usr/local/bin/flake8",
        "python.linting.pylintEnabled": false,
        "python.linting.flake8Enabled": true,
        // Formatter(black)
        "python.formatting.blackPath": "/usr/local/bin/black",
        "python.formatting.provider": "black",
        "python.formatting.blackArgs": [
            "--line-length=79"
        ],
        "[python]": {
            "editor.formatOnSave": true
        }
    },
    // マーケットプレイスからインストールする拡張機能を指定
    "extensions": [
        "ms-python.python",
        "ms-python.vscode-pylance",
        "njpwerner.autodocstring"
    ],
}
docker-compose.yml
fastapi用のコンテナを作成します。
コンテナ側のworkspace配下へファイルを配置します。
services:
  api:
    container_name: "api"
    volumes:
      - ./app:/workspace/app:cached
      - ./scripts:/workspace/scripts:cached
    build:
      context: ./docker/api
      dockerfile: Dockerfile
    working_dir: /workspace/scripts
    command: bash -c "./run.sh"
    ports:
      - 8080:8080
docker/api/Dockerfile
FROM python:3.9-slim

WORKDIR /workspace
COPY requirements.txt .

RUN pip install -U pip \
    && pip install --no-cache-dir --upgrade -r requirements.txt
docker/api/requirements.txt
Dockerfileで読み込みます。
fastapi==0.78.0
uvicorn==0.18.1
flake8==4.0.1
black==22.3.0
app/main.py
最低限なFastAPIのファイルです。
from typing import Union
from fastapi import FastAPI

app = FastAPI()

@app.get("/")
def read_root():
    return {"Hello": "World"}

@app.get("/items/{item_id}")
def read_item(item_id: int):
    return {"item_id": item_id}
scripts/run.sh
#!/bin/bash

cd /workspace/app && uvicorn main:app --reload --port=8080 --host=0.0.0.0
.vscode/launch.json
デバックするために必要になります。
{
    "version": "0.2.0",
    "configurations": [
        {
            "name": "Python: FastAPI",
            "type": "debugpy",
            "request": "launch",
            "module": "uvicorn",
            "args": [
                "app.main:app",
                "--reload"
            ],
            "jinja": true,
            "justMyCode": true
        }
    ]
}
Dev Containersの起動
- Rancher Desktopを起動していることを確認し、左下のアイコンをクリック

- コンテナで再度開くをクリック

- コンテナが起動し、開発コンテナー”API”に入ります。

-
http://localhost:8080/docs にアクセスしAPIを叩ければ成功です!

コンテナ内でのデバック
先ほど作成した.vscode/launch.jsonによりコンテナ内でもデバックができるようになります!

ブレークポイントを設定し、
http://localhost:8000/items/123 へアクセスすると
ブレークポイントで停止することが確認できます。

Discussion