Dockerを使用してZabbixをデプロイする
はじめに
zabbixについて調べる機会があったので、記事に残します。
zabbixのテスト環境をデプロイし、MacBook(zabbixサーバー) から Fedoraサーバー(zabbixクライアント)を認識できればOKとします。
【テスト環境について】
- 【zabbixサーバー】
- MacBookAir(sequoia15.5)
- Dockerコンテナでzabbixをデプロイ
- 【zabbixクライアント】
- VMWareFusion上の仮想マシン(Fedora42)
- Zabbixエージェントをインストール
サーバーデプロイ
gitコマンドでzabbix公式のdocker-compose用ファイルを取得します。
% git clone https://github.com/zabbix/zabbix-docker.git
zabbix-dockerディレクトリに移動します。
% cd zabbix-docker
zabbix-dockerディレクトリには以下のファイルが格納されています。
今回は docker-compose_v3_centos_mysql_latest.yaml を使用してDockerコンテナを起動しようと思います。
zabbix-docker % ls
build.json                                      docker-compose_v3_alpine_mysql_local.yaml       docker-compose_v3_ol_mysql_local.yaml           env_vars
build.sh                                        docker-compose_v3_alpine_pgsql_latest.yaml      docker-compose_v3_ol_pgsql_latest.yaml          kubernetes.yaml
compose_additional_components.yaml              docker-compose_v3_alpine_pgsql_local.yaml       docker-compose_v3_ol_pgsql_local.yaml           LICENSE
compose_databases.yaml                          docker-compose_v3_centos_mysql_latest.yaml      docker-compose_v3_ubuntu_mysql_latest.yaml      README.md
compose_zabbix_components.yaml                  docker-compose_v3_centos_mysql_local.yaml       docker-compose_v3_ubuntu_mysql_local.yaml       SECURITY.md
compose.yaml                                    docker-compose_v3_centos_pgsql_latest.yaml      docker-compose_v3_ubuntu_pgsql_latest.yaml      sources
config_templates                                docker-compose_v3_centos_pgsql_local.yaml       docker-compose_v3_ubuntu_pgsql_local.yaml       zbx_env
docker-compose_v3_alpine_mysql_latest.yaml      docker-compose_v3_ol_mysql_latest.yaml          Dockerfiles
zabbixサーバーを起動します。
zabbix-docker % docker compose -f docker-compose_v3_centos_mysql_latest.yaml up -d
[+] Running 41/41
✔ db-data-mysql Pulled 21.8s
✔ 37259e733066 Pull complete 9.2s
✔ ad9bf12774e0 Pull complete 9.2s
✔ 6c7475e9a1eb Pull complete 9.3s
✔ fd3187d6acde Pull complete 9.4s
✔ 573b5990cac7 Pull complete 10.1s
✔ 34ed8d648854 Pull complete 10.1s
✔ e0da14ecf374 Pull complete 10.3s
✔ a3e06971819c Pull complete 10.3s
✔ 23cc1624198a Pull complete 15.6s
✔ ab853045aefc Pull complete 15.6s
✔ 004d8ff67987 Pull complete 15.6s
✔ c7658a5ec36b Pull complete 15.6s
✔ 5d55ae5ad2ee Pull complete 15.6s
✔ bdb93ed47a09 Pull complete 15.6s
✔ zabbix-server Pulled 32.9s
✔ 666ea7a13767 Pull complete 20.9s
✔ 3734eb4deb59 Pull complete 21.8s
✔ 53308dff78dc Pull complete 23.7s
✔ 182d3d73bbbc Pull complete 25.2s
✔ 6f214efd5c0f Pull complete 26.6s
✔ f3e64572c751 Pull complete 26.6s
✔ mysql-server Pulled 19.5s
✔ 66c8c73e9d3d Pull complete 3.5s
✔ e45847b03d78 Pull complete 3.5s
✔ 87befc648177 Pull complete 3.5s
✔ 008e8e968476 Pull complete 3.6s
✔ a72970729c8f Pull complete 3.6s
✔ 2e233918858c Pull complete 3.6s
✔ a31ce92dd918 Pull complete 5.4s
✔ 65e9b4ff7ef3 Pull complete 5.4s
✔ 716cb42e8cc8 Pull complete 13.3s
✔ da03dc1a3c14 Pull complete 13.3s
✔ zabbix-web-nginx-mysql Pulled 29.4s
✔ 0ff58eaf9110 Pull complete 19.2s
✔ cbad51cfab34 Pull complete 20.2s
✔ e76337ae87ed Pull complete 20.2s
✔ 2b8f36b2c77a Pull complete 23.2s
✔ 4f4fb700ef54 Pull complete 26.7s
✔ 987101380fe2 Pull complete 23.2s
✔ server-db-init Pulled 32.9s
WARN[0033] Found orphan containers ([zabbix-docker-zabbix-web-nginx-pgsql-1 zabbix-docker-postgres-server-1 zabbix-docker-db-data-pgsql-1]) for this project. If you removed or renamed this service in your compose file, you can run this command with the --remove-orphans flag to clean it up.
[+] Running 5/5
✔ Container zabbix-docker-mysql-server-1 Started 0.5s
✔ Container zabbix-docker-db-data-mysql-1 Started 0.5s
✔ Container zabbix-docker-server-db-init-1 Exited 20.4s
✔ Container zabbix-docker-zabbix-web-nginx-mysql-1 Started 20.4s
✔ Container zabbix-docker-zabbix-server-1 Started
dockerのプロセスを確認すると、zabbix , mysql , nginx が稼働している事が確認できます。
zabbix-docker % docker ps
CONTAINER ID   IMAGE                                             COMMAND                   CREATED          STATUS                   PORTS                                                                                NAMES
3ce73acee75e   zabbix/zabbix-server-mysql:centos-7.4-latest      "/usr/bin/docker-ent…"   11 seconds ago   Up 5 seconds             0.0.0.0:10051->10051/tcp, [::]:10051->10051/tcp                                      zabbix-docker-zabbix-server-1
ac1f62b04967   zabbix/zabbix-web-nginx-mysql:centos-7.4-latest   "docker-entrypoint.sh"    11 seconds ago   Up 5 seconds (healthy)   0.0.0.0:80->8080/tcp, [::]:80->8080/tcp, 0.0.0.0:443->8443/tcp, [::]:443->8443/tcp   zabbix-docker-zabbix-web-nginx-mysql-1
757e61b43648   mysql:8.4-oracle                                  "docker-entrypoint.s…"   11 seconds ago   Up 11 seconds                                                                                                 zabbix-docker-mysql-server-1
http://localhost:80 にアクセスしてZabbix Web UIにアクセスしてみます。
無事ログイン画面が表示されましたので、デフォルトのユーザーとパスワードを使用してログインします。
- ユーザー : Admin
- パスワード : zabbix
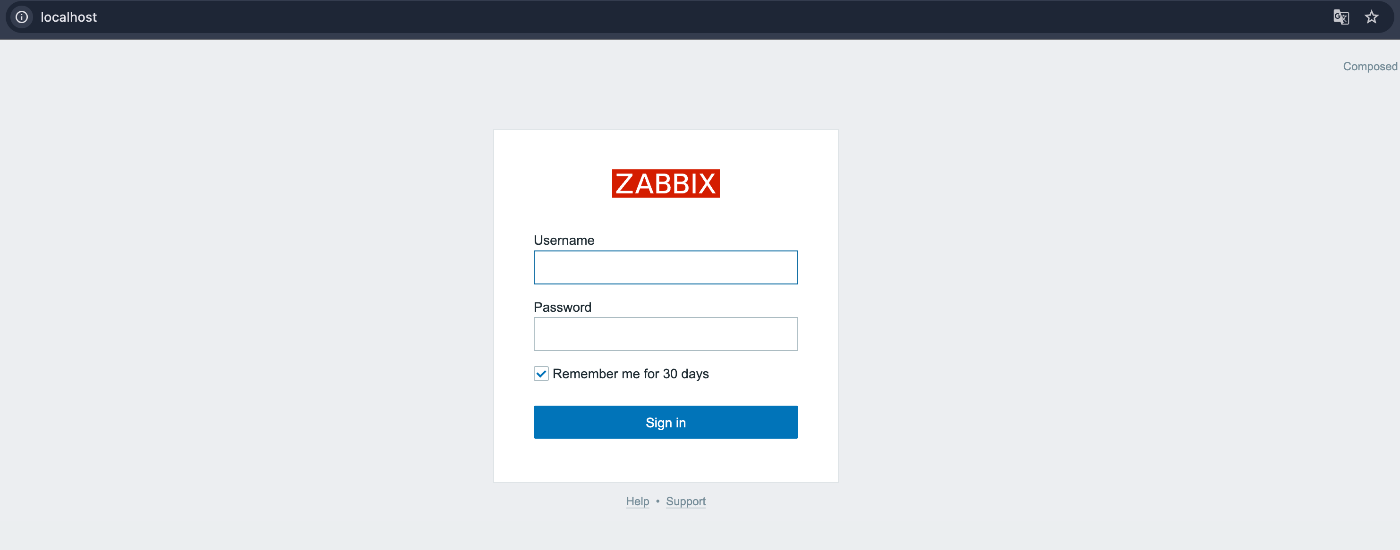 ログイン画面
ダッシュボード画面が表示され、Zabbixサーバーのデプロイが完了しました。
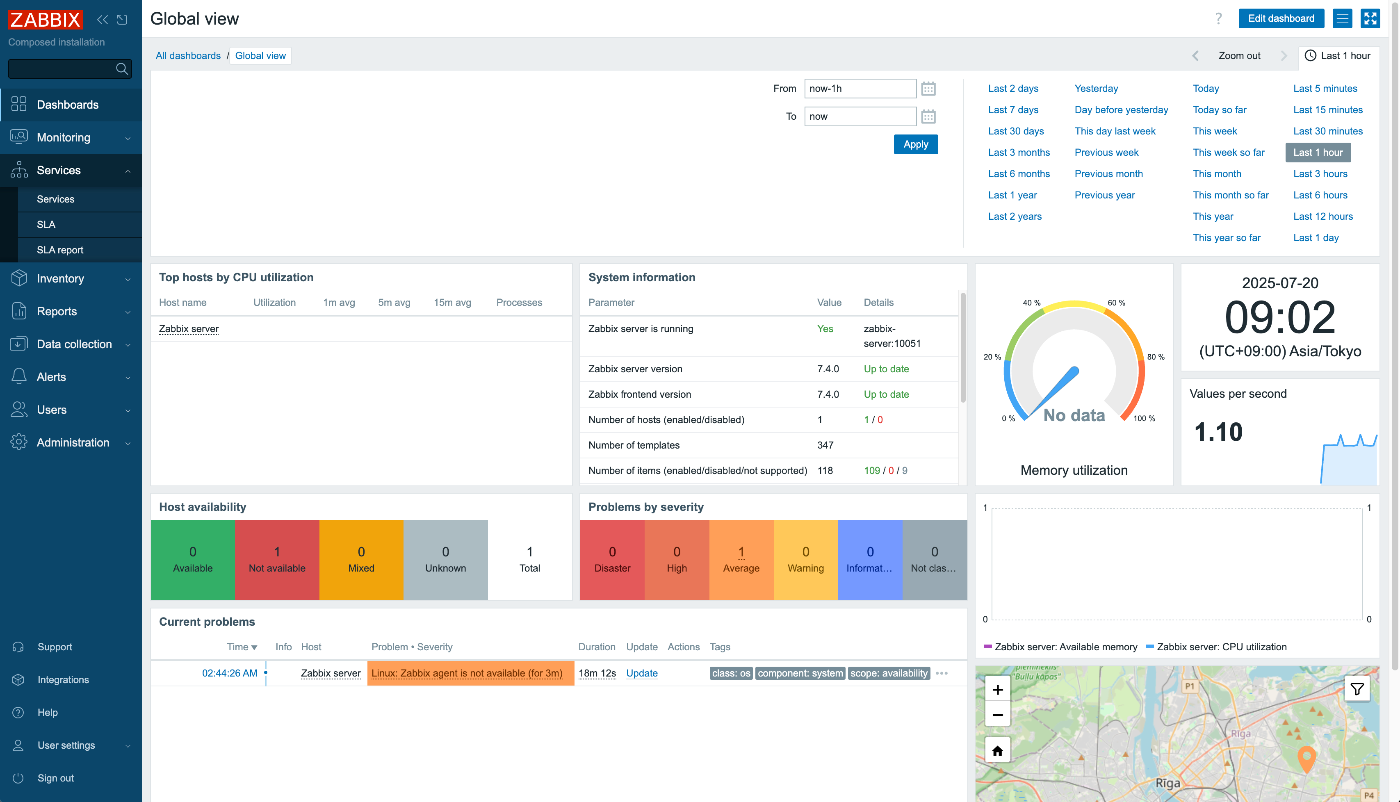 ダッシュボード画面
クライアントデプロイ
続いて監視対象にzabbixエージェントをインストールしていきます。
※Fedoraサーバーにssh接続して作業を行います。
zabbixエージェントをインストールします。
root@fedora:~# sudo dnf install zabbix-agent -y
続いて、zabbixエージェントの起動を行います。
root@fedora:~# sudo systemctl start zabbix-agent
クライアントの設定ファイルを修正します。
root@fedora:~# sudo vi /etc/zabbix/zabbix_agentd.conf
記述内容
root@fedora:~# cat /etc/zabbix/zabbix_agentd.conf
# xサーバーのIPアドレス(MacのローカルIPやDockerホストのIP)
Server=***.***.***.***

# パッシブ監視時のサーバー(上と同じでOK)
ServerActive=***.***.***.***

# このクライアントのホスト名(Zabbixサーバー上で登録する名前)
Hostname=fedora-client
zabbixエージェントを再起動します。
root@fedora:~# sudo systemctl restart zabbix-agent
ファイアウォールの設定
root@fedora:~# sudo firewall-cmd --add-port=10050/tcp --permanent
success

root@fedora:~# sudo firewall-cmd --reload
success
ここまでで、クライアント側の設定は完了です。
サーバーにクライアントを登録
web画面で監視対象のホストを登録します。
ダッシュボード>データ収集>ホスト>ホストの作成から先ほどzabbixエージェントをインストールしたFedoraサーバーを登録します。

ホスト登録画面
| フィールド名 | 入力例 |
|---|---|
| ホスト名 | fedora-client(Agentの設定と一致) |
| 表示名 | fedora-client |
| テンプレート | なし |
| ホストグループ | virtual machines |
| インターフェース | エージェント 192.168.0.x(FedoraのIPアドレス) 10050ポート |
| 説明 | This is test |
ホストが作成されました。

ホスト一覧
さいごに
ここまでで、Zabbix環境の構築が完了しました。またZabbixを使用した応用についても引き続き学んでいこうと思います。Zabbixの応用については改めて別の記事に残そうと思います。
また、zabbixサーバーを停止する場合は以下のコマンドでコンテナを停止できます。
zabbix-docker % docker compose -f docker-compose_v3_centos_mysql_latest.yaml down
Discussion