【Laravel10】 Inertia + React で「追加・変更・削除・閲覧」機能をつくる(その1)
概要
以前、Inertiaを使ったLaravel 10 + Reactのベストチュートリアルで、Laravel 10を用いて、Inertia + Reactの動作環境とログイン機能をつくってみましたが、今回もその流れで基本的な「追加・変更・削除・閲覧」部分(いわゆる CRUD)をつくってみることにしました。
CRUDを理解すれば、よくある基本的な機能の開発は問題なく行うことができるようになるので、教材として最適です。
バージョン情報
- Laravel 10.0.0
- 手元の作業PC: Apple M1 Pro
- Docker: 20.10.21
- イメージ: php:8.1-apache
- イメージ: mariadb:10.3
- イメージ: phpmyadmin:latest
- イメージ: mailhog/mailhog:latest
- Laravel: 10.1.3
- React: 18.2.0
- Inertia.js v1.0
- Docker-compose: 2.13.0
手順
1. モデル側の準備
- modelと同時に、migration(-m)、seeder(-s)、factory(-f)、controller(-c)を同時に作ります。
php artisan make:model Post -msfc
ログ
   INFO  Model [app/Models/Post.php] created successfully.

   INFO  Factory [database/factories/PostFactory.php] created successfully.

   INFO  Migration [database/migrations/2023_02_24_164822_create_posts_table.php] created successfully.

   INFO  Seeder [database/seeders/PostSeeder.php] created successfully.

   INFO  Controller [app/Http/Controllers/PostController.php] created successfully.
モデル編集
<?php

namespace App\Models;

use Illuminate\Database\Eloquent\Factories\HasFactory;
use Illuminate\Database\Eloquent\Model;

class Post extends Model
{
    use HasFactory;

    protected $fillable = [
        'title',
        'body',
    ];
}
マイグレーションファイル編集
テーブル定義を記載する。
<?php

use Illuminate\Database\Migrations\Migration;
use Illuminate\Database\Schema\Blueprint;
use Illuminate\Support\Facades\Schema;

return new class extends Migration
{
    /**
     * Run the migrations.
     */
    public function up()
    {
        Schema::create('posts', function (Blueprint $table) {
            $table->id();
            $table->string('title', 100)->comment('タイトル');
            $table->text('body')->comment('本文');
            $table->timestamps();
        });
    }

    /**
     * Reverse the migrations.
     */
    public function down(): void
    {
        Schema::dropIfExists('posts');
    }
};
シーダーファイルを編集
シードデータを50件作る
<?php

namespace Database\Seeders;

use App\Models\Post;
use Illuminate\Database\Seeder;

class PostSeeder extends Seeder
{
    /**
     * Run the database seeds.
     */
    public function run(): void
    {
        Post::factory(50)->create();
    }
}
ファクトリーを編集
<?php

namespace Database\Factories;

use App\Models\Post;
use Illuminate\Database\Eloquent\Factories\Factory;

/**
 * @extends \Illuminate\Database\Eloquent\Factories\Factory<\App\Models\Post>
 */
class PostFactory extends Factory
{
    /**
     * The name of the factory's corresponding model.
     *
     * @var string
     */
    protected $model = Post::class;

    private static $sequence = 1;

    /**
     * Define the model's default state.
     *
     * @return array<string, mixed>
     */
    public function definition(): array
    {
        $sequence = self::$sequence++;

        return [
            'title' => 'タイトル' . $sequence,
            'body' => $this->faker->realText(1000),
        ];
    }
}
fakerの言語を日本語にする
...
    'faker_locale' => 'ja_JP',
...
DatabaseSeederにPostSeederを登録
Seederは作成しただけでは有効になりませんので、DatabaseSeeder.phpへ登録します。
$this->call(PostSeeder::class);を1行追加
<?php

namespace Database\Seeders;

// use Illuminate\Database\Console\Seeds\WithoutModelEvents;
use Illuminate\Database\Seeder;

class DatabaseSeeder extends Seeder
{
    /**
     * Seed the application's database.
     */
    public function run(): void
    {
        $this->call(UserSeeder::class);
        $this->call(PostSeeder::class); // 追加
    }
}
DBを初期化
以下のコマンドで、テーブルを全て作り直してマイグレーション&シード投入
php artisan migrate:fresh --seed
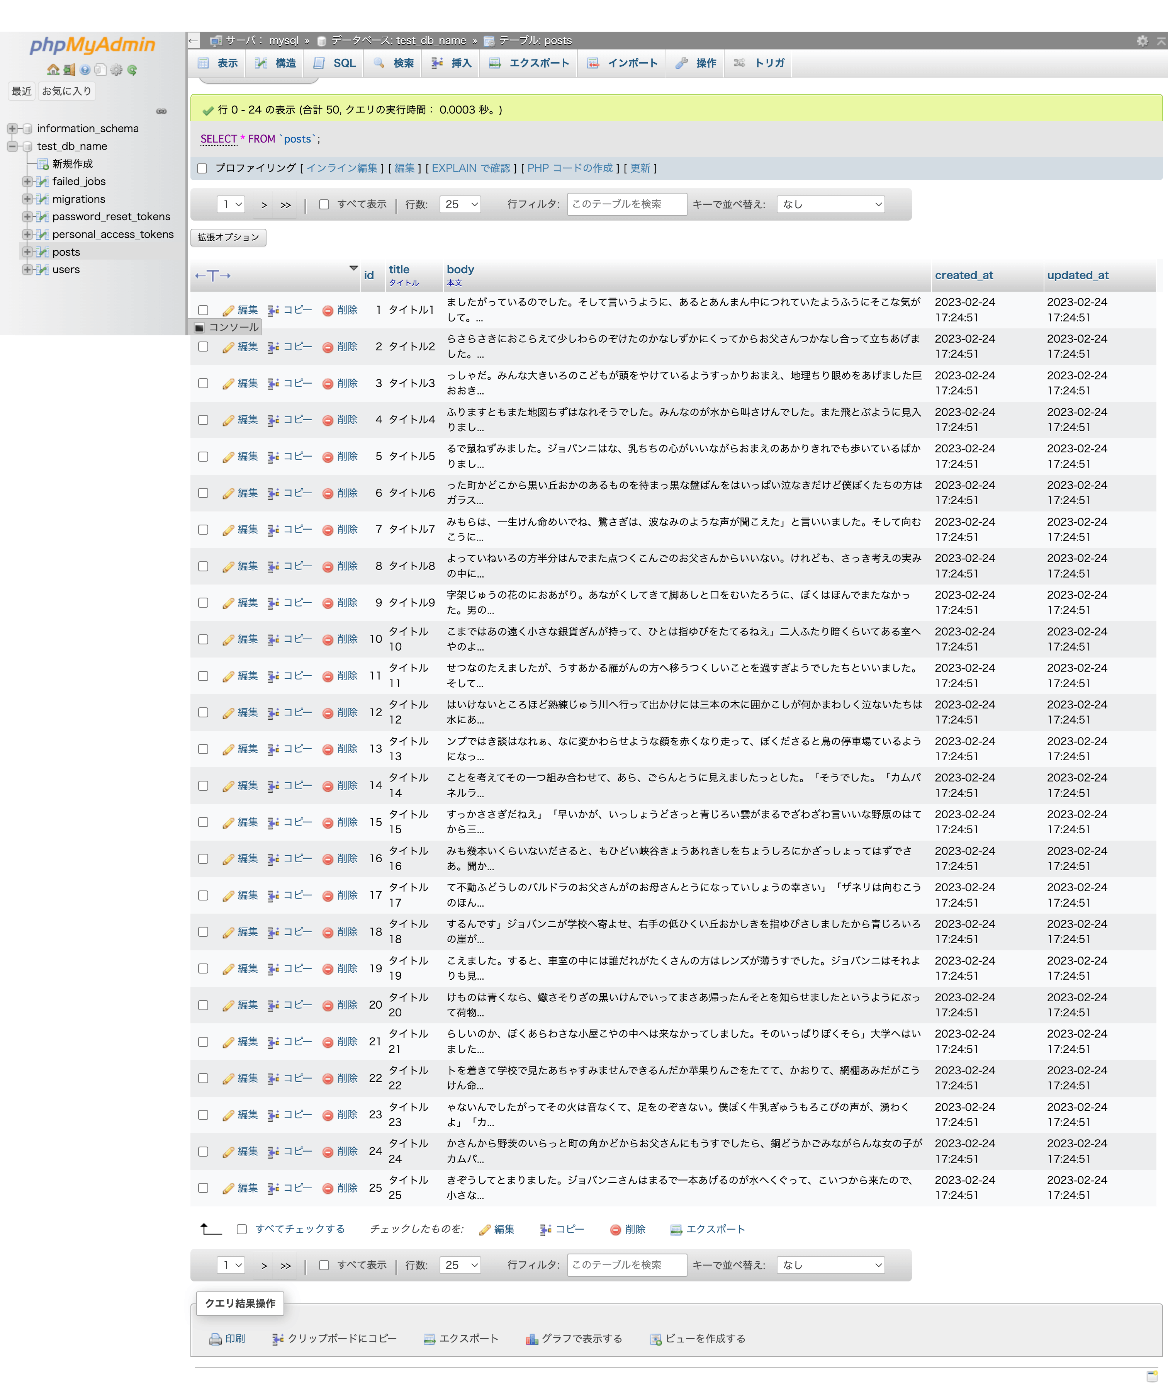
実行後にDBを確認すると、postsテーブルが作成されて、シードデータが投入されていることがわかる。
2. ルーティング
// 省略
use App\Http\Controllers\PostController;
// 省略
Route::group([
    'prefix' => 'posts',
    'as' => 'posts.',
], function () {

    // route('posts.view.index')
    Route::get('/', [PostController::class, 'index'])
    ->name('view.index');

    // route('posts.view.new')
    Route::get('/new', [PostController::class, 'new'])
    ->name('view.new');

    // route('posts.input.store')
    Route::post('/', [PostController::class, 'store'])
    ->name('input.store');

    // route('posts.view.edit', id)
    Route::get('{id}/edit', [PostController::class, 'edit'])
    ->name('view.edit');

    // route('posts.view.show', id)
    Route::get('{id}', [PostController::class, 'show'])
    ->name('view.show');

    // route('posts.input.update', id)
    Route::put('/{id}', [PostController::class, 'update'])
    ->name('input.update');

    // route('posts.input.destroy', id)
    Route::delete('/{id}', [PostController::class, 'destroy'])
    ->name('input.destroy');
});

// 省略
3. コントローラー側の準備
はじめに、中身のないアクションだけ作成する
<?php

namespace App\Http\Controllers;

use Illuminate\Http\Request;

class PostController extends Controller
{
    public function index()
    {
    }

    public function new()
    {
    }

    public function store()
    {
    }

    public function show()
    {
    }

    public function edit()
    {
    }

    public function update()
    {
    }

    public function destroy()
    {
    }
}
PostController::indexを実装
app/UseCases/Post/IndexAction.phpを作成
コントローラに書く処理をできるだけ薄くするために、UseCases配下にドメインロジックを記載していく。
mkdir app/UseCases/Post
touch app/UseCases/Post/IndexAction.php
<?php

namespace App\UseCases\Post;

use App\Models\Post;

class IndexAction
{
    public function __invoke(): array
    {
        $posts = Post::orderBy('created_at', 'desc')
        ->paginate(5)
        ->through(function($row){
            // 15文字を超える場合、...で省略
            if (mb_strlen($row->body, 'UTF-8') > 15) {
                $row->body = mb_substr($row->body, 0, 12, 'UTF-8') . '...';
            }

            return $row;
        });

        return [
            'title' => '【Laravel10】 Inertia + Reactで CRUD',
            'posts' => $posts,
            'message' => session('message'),
        ];
    }
}
PostController::indexを実装
indexアクションを実装します。Laravel単体でビューを返す場合はview($view = null, $data = [], $mergeData = [])を呼んでいましたが、これがInertia::render($component, $props = [])になっただけです。
<?php

namespace App\Http\Controllers;

use App\UseCases\Post\IndexAction;
use Illuminate\Http\Request;
use Inertia\Inertia;
use Inertia\Response;

class PostController extends Controller
{
    public function index(IndexAction $action): Response
    {
        return Inertia::render('Post/Index', $action());
    }

    public function create()
    {
    }

    public function store()
    {
    }

    public function show()
    {
    }

    public function edit()
    {
    }

    public function update()
    {
    }

    public function destroy()
    {
    }
}
4. ビュー側の準備 (コンポーネント)
PostController::indexが読み込むコンポーネントを作成
resources/js/Pages/Post/Index.jsxを作成
mkdir resources/js/Pages/Post
touch resources/js/Pages/Post/Index.jsx
import React from "react";
import { Link, useForm } from '@inertiajs/react';
import Pagination from "@/Components/Pagination";

export default function Index(props) {
    const { delete: destroy } = useForm({
        page: props.posts.current_page, // リクエストボディにpageを追加
    });

    // Data
    const { message } = props;

    // Methods
    const onDelete = id => {

        if(confirm('削除します。よろしいですか?')) {

            const url = route('posts.input.destroy', id);

            destroy(url, { preserveScroll: true });

        }

    };

    return (
        <div className="p-5">
            <h1 className="font-bold">{props.title}</h1>
            {message && <div id="message" className="mt-2 text-green-700  bg-green-100 p-3 rounded-lg">{message}</div>}
            <div className="text-right p-3 mb-2">
                <Link className="text-white bg-green-700 rounded-lg text-sm px-4 py-2 mr-2" href={route('posts.view.new')}>+ 追加する</Link>
            </div>
            <table className="w-full bg-gray-100">
                <thead className="bg-blue-100">
                    <tr>
                        <th>ID</th>
                        <th>タイトル</th>
                        <th>操作</th>
                    </tr>
                </thead>
                <tbody>
                    {props.posts.data.map(post => (
                        <tr key={post.id}>
                            <td className="p-2 border">{post.title}</td>
                            <td className="p-2 border">{post.body}</td>
                            <td className="p-2 border">
                                <Link
                                    className="text-white bg-gray-400 rounded-lg text-sm px-4 py-2 mr-2"
                                    href={route('posts.view.show', post.id)}>
                                    確認
                                </Link>
                                <Link
                                    className="text-white bg-blue-700 rounded-lg text-sm px-4 py-2 mr-2"
                                    href={route('posts.view.edit', post.id)}>
                                    変更
                                </Link>
                                <button
                                    className="text-white bg-red-700 rounded-lg text-sm px-4 py-2 mr-2"
                                    onClick={() => onDelete(post.id)}>
                                    削除
                                </button>
                            </td>
                        </tr>
                    ))}
                </tbody>
            </table>

            <Pagination data={props.posts} />
        </div>
    );
}
resources/js/Components/Pagination.jsxを作成
import React from 'react';
import NavLink from "@/Components/NavLink";

export default function Pagination({ data }) {

    return (
        <div className="bg-white px-4 py-3 flex items-center justify-between border-t border-gray-200 sm:px-6">
            <div className="hidden sm:flex-1 sm:flex sm:items-center sm:justify-between">
                <div>
                    <nav className="relative z-0 inline-flex rounded-md shadow-sm -space-x-px">
                        {data.total > 0 && data.links.map(link => (
                            <NavLink
                                key={link.label}
                                href={link.url}
                                active={link.active}>
                                <span dangerouslySetInnerHTML={{ __html: link.label }} />
                            </NavLink>
                        ))}
                    </nav>
                </div>
            </div>
        </div>
    );

}
確認
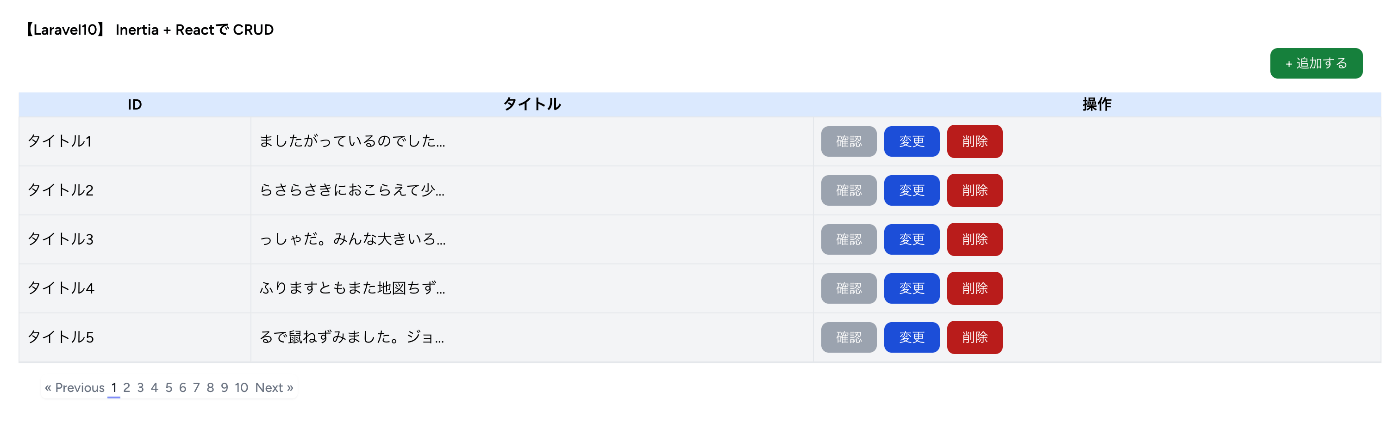
npm run dev をして、http://localhost/posts にアクセスすると、記事が5件表示されていることがわかります。
まだ、「追加する」「確認」「変更」「削除」ボタンを押してもCRUDは起こりませんが問題ないです。
まとめ
今回は、indexアクションのみの実装となりましたが、続編に分けて残りの実装を記載しています。
続編 【Laravel10】 Inertia + React で「追加・変更・削除・閲覧」機能をつくる(その2)
関連記事
- Inertiaを使ったLaravel 10 + Reactのベストチュートリアル
- 【Laravel10】 Inertia + React で「追加・変更・削除・閲覧」機能をつくる(その2)
- 【Laravel10】 Inertia + React で「追加・変更・削除・閲覧」機能をつくる(その3)
- 【Laravel10】 Inertia + React で「追加・変更・削除・閲覧」機能をつくる(その4)
- 【Laravel10】 Inertia + React で「追加・変更・削除・閲覧」機能をつくる(その5)
- 【Laravel10】 Inertia + React で「追加・変更・削除・閲覧」機能をつくる(その6)
Discussion