【Flutter】はじめてのML Kit
記事の概要
本記事では、FlutterでML Kitを利用するための必要最低限の知識に関して解説し、例として顔検出モデルを利用した簡単なサンプルアプリを実装する。
実装にはFlutterのプラグインであるgoogle_ml_kitを利用する。
前提知識
ML Kitとは
概要
Googleの提供するモバイルSDKで、すでに学習済みのモデルをiOS/Android上で簡単に利用することができる。
オンデバイス/クラウドベース
Googleの提供するAIのモデルには、モデルを端末にダウンロードして利用するオンデバイスモデルと、クラウド上のモデルをAPI経由で利用するクラウドベースモデルがある。それぞれの特徴は以下である。
-
オンデバイスモデル
端末にモデルをダウンロードするためオフラインで利用できる。
全て無料で利用可能。
クラウドベースに比べて精度が劣る。 -
クラウドベースモデル
API経由で利用するためオンラインで利用できる。
利用状況によって従量課金制の料金が発生する。
オンデバイスよりも高精度。
Googleでは2020年に、このオンデバイスモデルとクラウドベースモデルを区別しやすくするために以下のように二つのプロダクトに分割している。
-
ML Kit
オンデバイスモデルを全て含む。
Flutter向けにはgoogle_ml_kitというプラグインが利用できる。 -
Firebase ML
クラウドベースモデルを全て含む。
モデルの種類によって、以下のようにオンデバイスでしか利用できないもの、クラウドベースでしか利用できないもの、どちらかを選択して利用できるものなどがある。
例)
| モデル | オンデバイス | クラウドベース |
|---|---|---|
| テキスト認識 | ○ | ○ |
| 顔検出 | ○ | - |
| ランドマーク認識 | - | ○ |
ML Kitが提供するモデル
ML Kitで利用できる学習済みのモデルは大きく分けてVision APIsとNatural Language APIsに分かれる。
- Vision APIs
物体検出、テキスト認識、顔検出などが含まれる。 - Natural Language APIs
言語識別、翻訳、スマートリプライなどが含まれる。
最新のモデル一覧に関しては、公式ガイドを参照。
上述の通りML Kitに含まれるモデルは全てオンデバイスでの実行ができ、全て無料で利用可能である。
google_ml_kitとは
概要
ML KitをFlutterで扱うためのプラグインであり、google_ml_kitをインストールすることで、テキスト認識や顔検出、翻訳などML Kitに含まれる全てのモデルを利用することができる。
注意点
google_ml_kitには全てのモデルが含まれているため、不要なモデルもインストールしてしまいアプリのサイズが無駄に膨らんでしまう可能性がある。
そのため、特定のモデルのみを利用したい場合は、google_ml_kitのREADMEに記載されている中から必要なプラグインのみをインストールするのが良い。
本記事では、顔検出の機能のみ実装するため、google_mlkit_face_detectionを単体でインストールする。
顔検出アプリ実装手順
実際にML Kitを利用して簡単な顔検出アプリを実装する。
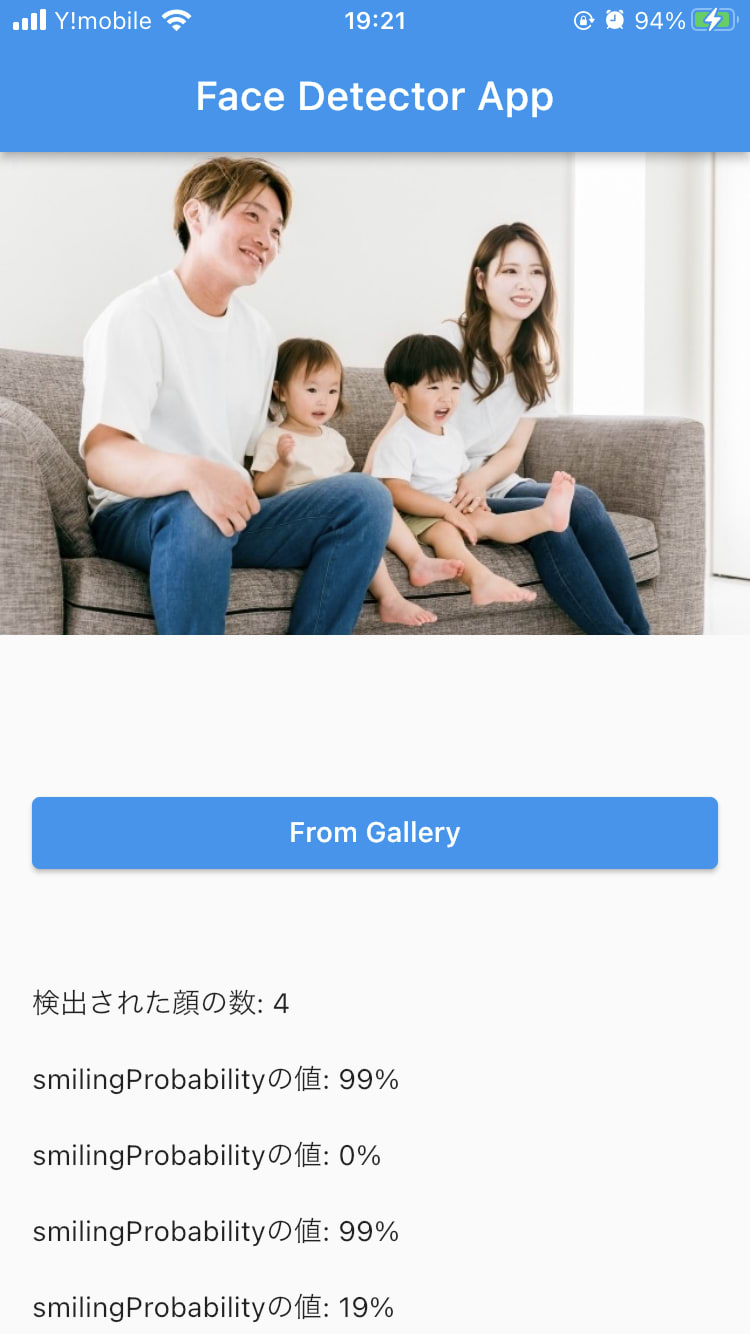
今回実装するアプリでは、端末の写真ライブラリから画像を選択し、その写真から検出された顔の数、検出された顔の笑顔度を表示するアプリを作成する。
1. プラグインのインストール
顔検出のモデルを利用するプラグインと写真ライブラリを利用するためのプラグインをインストールする。
google_mlkit_face_detection: ^0.5.0
image_picker: ^0.8.6
2. 写真ライブラリへアクセスするための設定を追加
ios/Runner/Info.plistに以下の値を追加する。
<key>NSPhotoLibraryUsageDescription</key>
<string>カメラを使う理由・用途を記述</string>
3. main.dartの実装
main.dart
import 'package:flutter/material.dart';
import 'face_detector_view.dart';
void main() {
runApp(const MyApp());
}
class MyApp extends StatelessWidget {
const MyApp({super.key});
Widget build(BuildContext context) {
return MaterialApp(
debugShowCheckedModeBanner: false,
home: Home(),
);
}
}
class Home extends StatelessWidget {
Widget build(BuildContext context) {
return Scaffold(
appBar: AppBar(
title: const Text('Face Detector App'),
),
// ①FaceDetectorViewをセット
body: FaceDetectorView());
}
}
main.dartでは、後述のFaceDetectorViewウィジェットを表示するようにする。
4. face_detector_view.dartの実装
face_detector_view.dart
import 'package:flutter/material.dart';
import 'package:google_mlkit_face_detection/google_mlkit_face_detection.dart';
import 'camera_view.dart';
class FaceDetectorView extends StatefulWidget {
State<FaceDetectorView> createState() => _FaceDetectorViewState();
}
class _FaceDetectorViewState extends State<FaceDetectorView> {
// ①FaceDetectorのインスタンスを作成
final FaceDetector _faceDetector = FaceDetector(
options: FaceDetectorOptions(
enableContours: true,
enableClassification: true,
),
);
bool _canProcess = true;
bool _isBusy = false;
String? _text;
void dispose() {
_canProcess = false;
_faceDetector.close();
super.dispose();
}
Widget build(BuildContext context) {
return CameraView(
text: _text,
onImage: (inputImage) {
processImage(inputImage);
},
);
}
// ②顔検出処理のための関数
Future<void> processImage(InputImage inputImage) async {
if (!_canProcess) return;
if (_isBusy) return;
_isBusy = true;
setState(() {
_text = '';
});
// ③processImage関数に画像を渡す
final faces = await _faceDetector.processImage(inputImage);
// ④検出された顔の数を取得
String text = '検出された顔の数: ${faces.length}\n\n';
// ⑤検出された顔の笑顔度(smilingProbability)を取得
for (final face in faces) {
      text +=
          'smilingProbabilityの値: ${(face.smilingProbability! * 100).floor()}%\n\n';
      _text = text;
    }
_isBusy = false;
if (mounted) {
setState(() {});
}
}
}
face_detector_view.dartでは、FaceDetectorインスタンスを作成し、以下のようにprocessImage関数に検出したい画像を渡すことで顔検出を実行することができる。
// ③processImage関数に画像を渡す
final faces = await _faceDetector.processImage(inputImage);
検出された顔をfacesとして受け取り、以下のように利用できる。
// ④検出された顔の数を取得
String text = '検出された顔の数: ${faces.length}\n\n';
// ⑤検出された顔の笑顔度(smilingProbability)を取得
for (final face in faces) {
text +=
'smilingProbabilityの値: ${(face.smilingProbability! * 100).floor()}%\n\n';
_text = text;
}
今回は、笑顔度(smilingProbability)を利用したが、他にも顔の向きや輪郭などのプロパティが利用できる。
5. camera_view.dartの実装
camera_view.dart
import 'dart:io';
import 'package:flutter/material.dart';
import 'package:google_mlkit_commons/google_mlkit_commons.dart';
import 'package:image_picker/image_picker.dart';
enum ScreenMode { liveFeed, gallery }
class CameraView extends StatefulWidget {
const CameraView({
Key? key,
this.text,
required this.onImage,
}) : super(key: key);
final String? text;
final Function(InputImage inputImage) onImage;
State<CameraView> createState() => _CameraViewState();
}
class _CameraViewState extends State<CameraView> {
File? _image;
String? _path;
ImagePicker? _imagePicker;
Widget build(BuildContext context) {
_imagePicker = ImagePicker();
return _galleryBody();
}
Widget _galleryBody() {
return ListView(shrinkWrap: true, children: [
// ①選択された画像を表示
_image != null
? SizedBox(height: 400, width: 400, child: Image.file(_image!))
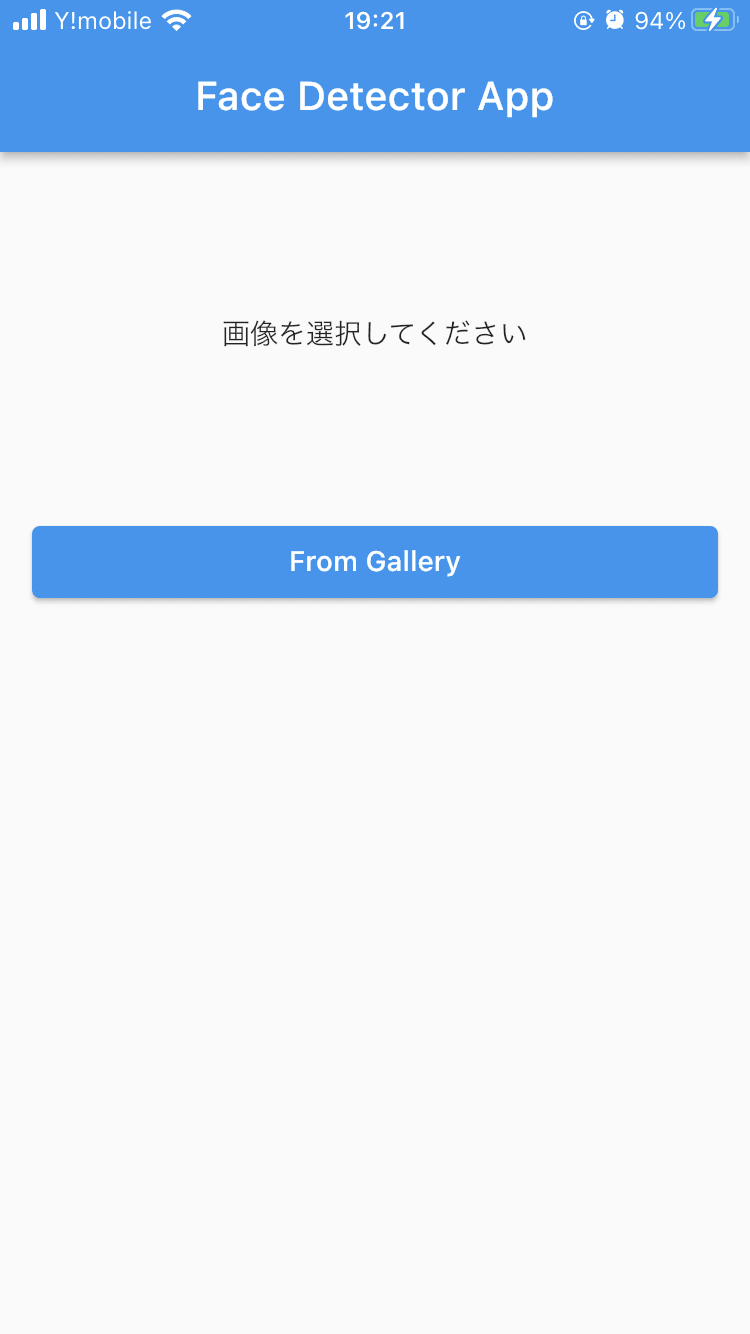
// ②画像未選択の場合はテキストを表示
: const Padding(
padding: EdgeInsets.symmetric(vertical: 80),
child: Center(child: Text('画像を選択してください')),
),
Padding(
padding: const EdgeInsets.symmetric(horizontal: 16),
child: ElevatedButton(
child: const Text('From Gallery'),
onPressed: () => _getImage(ImageSource.gallery),
),
),
if (_image != null)
Padding(
padding: const EdgeInsets.all(16.0),
// ③検出した顔の数と笑顔度を表示
child: Text('${_path == null ? '' : ''}\n\n${widget.text ?? ''}'),
),
]);
}
// ④写真フォルダから画像を取得するための関数
Future _getImage(ImageSource source) async {
setState(() {
_image = null;
_path = null;
});
final pickedFile = await _imagePicker?.pickImage(source: source);
if (pickedFile != null) {
_processPickedFile(pickedFile);
}
setState(() {});
}
Future _processPickedFile(XFile? pickedFile) async {
final path = pickedFile?.path;
if (path == null) {
return;
}
setState(() {
_image = File(path);
});
_path = path;
final inputImage = InputImage.fromFilePath(path);
widget.onImage(inputImage);
}
}
camera_view.dartでは、検出された値の表示などUIを実装する。
動作確認
-
アプリ起動
-
写真を選択
実装コード
今回実装したコード全文
main.dart
import 'package:flutter/material.dart';
import 'face_detector_view.dart';
void main() {
runApp(const MyApp());
}
class MyApp extends StatelessWidget {
const MyApp({super.key});
Widget build(BuildContext context) {
return MaterialApp(
debugShowCheckedModeBanner: false,
home: Home(),
);
}
}
class Home extends StatelessWidget {
Widget build(BuildContext context) {
return Scaffold(
appBar: AppBar(
title: const Text('Face Detector App'),
),
// ①FaceDetectorViewをセット
body: FaceDetectorView());
}
}
face_detector_view.dart
import 'package:flutter/material.dart';
import 'package:google_mlkit_face_detection/google_mlkit_face_detection.dart';
import 'camera_view.dart';
class FaceDetectorView extends StatefulWidget {
State<FaceDetectorView> createState() => _FaceDetectorViewState();
}
class _FaceDetectorViewState extends State<FaceDetectorView> {
// ①FaceDetectorのインスタンスを作成
final FaceDetector _faceDetector = FaceDetector(
options: FaceDetectorOptions(
enableContours: true,
enableClassification: true,
),
);
bool _canProcess = true;
bool _isBusy = false;
String? _text;
void dispose() {
_canProcess = false;
_faceDetector.close();
super.dispose();
}
Widget build(BuildContext context) {
return CameraView(
text: _text,
onImage: (inputImage) {
processImage(inputImage);
},
);
}
// ②顔検出処理のための関数
Future<void> processImage(InputImage inputImage) async {
if (!_canProcess) return;
if (_isBusy) return;
_isBusy = true;
setState(() {
_text = '';
});
// ③processImage関数に画像を渡す
final faces = await _faceDetector.processImage(inputImage);
// ④検出された顔の数を取得
String text = '検出された顔の数: ${faces.length}\n\n';
// ⑤検出された顔の笑顔度(smilingProbability)を取得
for (final face in faces) {
text +=
'smilingProbabilityの値: ${(face.smilingProbability! * 100).floor()}%\n\n';
_text = text;
}
_isBusy = false;
if (mounted) {
setState(() {});
}
}
}
camera_view.dart
import 'dart:io';
import 'package:flutter/material.dart';
import 'package:google_mlkit_commons/google_mlkit_commons.dart';
import 'package:image_picker/image_picker.dart';
enum ScreenMode { liveFeed, gallery }
class CameraView extends StatefulWidget {
const CameraView({
Key? key,
this.text,
required this.onImage,
}) : super(key: key);
final String? text;
final Function(InputImage inputImage) onImage;
State<CameraView> createState() => _CameraViewState();
}
class _CameraViewState extends State<CameraView> {
File? _image;
String? _path;
ImagePicker? _imagePicker;
Widget build(BuildContext context) {
_imagePicker = ImagePicker();
return _galleryBody();
}
Widget _galleryBody() {
return ListView(shrinkWrap: true, children: [
// ①選択された画像を表示
_image != null
? SizedBox(height: 400, width: 400, child: Image.file(_image!))
// ②画像未選択の場合はテキストを表示
: const Padding(
padding: EdgeInsets.symmetric(vertical: 80),
child: Center(child: Text('画像を選択してください')),
),
Padding(
padding: const EdgeInsets.symmetric(horizontal: 16),
child: ElevatedButton(
child: const Text('From Gallery'),
onPressed: () => _getImage(ImageSource.gallery),
),
),
if (_image != null)
Padding(
padding: const EdgeInsets.all(16.0),
// ③検出した顔の数と笑顔度を表示
child: Text('${_path == null ? '' : ''}\n\n${widget.text ?? ''}'),
),
]);
}
// ④写真フォルダから画像を取得するための関数
Future _getImage(ImageSource source) async {
setState(() {
_image = null;
_path = null;
});
final pickedFile = await _imagePicker?.pickImage(source: source);
if (pickedFile != null) {
_processPickedFile(pickedFile);
}
setState(() {});
}
Future _processPickedFile(XFile? pickedFile) async {
final path = pickedFile?.path;
if (path == null) {
return;
}
setState(() {
_image = File(path);
});
_path = path;
final inputImage = InputImage.fromFilePath(path);
widget.onImage(inputImage);
}
}
まとめ
FlutterでML Kitを扱う上で必要な基礎知識と実装に関して確認した。
今回の実装では、ML Kitの全モデルを含むサンプルアプリの中から顔検出に関連する部分を参考にし、なるべくシンプルに顔検出の機能だけを確認できるようなアプリを作成した。
他のモデルに関してもプラグインを利用して簡単にFlutterから利用できることがわかった。
参考
・ML Kit公式ガイド
・Firebase ML公式ガイド
・google_ml_kit
・google_mlkit_face_detection
Discussion