OpenSearchを試す。
ubuntuのsnapにopensearchを見つけた
チュートリアルをやってみる。
チュートリアルはやった。
Charmed OpenSearchはjujuでインストールする。
ユーザー管理、HTTPS、マルチNodeなどの本格的なOpenSearch環境を作るなら使う意味はある。
Charmed OpenSearch Dashboardはない。
私は実験したいだけだし、Dashboardは欲しいので、Charmed OpenSearchは使わない。
docker composeを使う。
version: '3'
services:
  opensearch-node1:
    image: opensearchproject/opensearch:latest
    container_name: opensearch-node1
    environment:
      - cluster.name=opensearch-cluster # Name the cluster
      - node.name=opensearch-node1 # Name the node that will run in this container
      - discovery.seed_hosts=opensearch-node1,opensearch-node2 # Nodes to look for when discovering the cluster
      - cluster.initial_cluster_manager_nodes=opensearch-node1,opensearch-node2 # Nodes eligibile to serve as cluster manager
      - bootstrap.memory_lock=true # Disable JVM heap memory swapping
      - "OPENSEARCH_JAVA_OPTS=-Xms512m -Xmx512m" # Set min and max JVM heap sizes to at least 50% of system RAM
      - "DISABLE_INSTALL_DEMO_CONFIG=true" # Prevents execution of bundled demo script which installs demo certificates and security configurations to OpenSearch
      - "DISABLE_SECURITY_PLUGIN=true" # Disables Security plugin
    ulimits:
      memlock:
        soft: -1 # Set memlock to unlimited (no soft or hard limit)
        hard: -1
      nofile:
        soft: 65536 # Maximum number of open files for the opensearch user - set to at least 65536
        hard: 65536
    volumes:
      - opensearch-data1:/usr/share/opensearch/data # Creates volume called opensearch-data1 and mounts it to the container
    ports:
      - 9200:9200 # REST API
      - 9600:9600 # Performance Analyzer
    networks:
      - opensearch-net # All of the containers will join the same Docker bridge network
  opensearch-node2:
    image: opensearchproject/opensearch:latest
    container_name: opensearch-node2
    environment:
      - cluster.name=opensearch-cluster # Name the cluster
      - node.name=opensearch-node2 # Name the node that will run in this container
      - discovery.seed_hosts=opensearch-node1,opensearch-node2 # Nodes to look for when discovering the cluster
      - cluster.initial_cluster_manager_nodes=opensearch-node1,opensearch-node2 # Nodes eligibile to serve as cluster manager
      - bootstrap.memory_lock=true # Disable JVM heap memory swapping
      - "OPENSEARCH_JAVA_OPTS=-Xms512m -Xmx512m" # Set min and max JVM heap sizes to at least 50% of system RAM
      - "DISABLE_INSTALL_DEMO_CONFIG=true" # Prevents execution of bundled demo script which installs demo certificates and security configurations to OpenSearch
      - "DISABLE_SECURITY_PLUGIN=true" # Disables Security plugin
    ulimits:
      memlock:
        soft: -1 # Set memlock to unlimited (no soft or hard limit)
        hard: -1
      nofile:
        soft: 65536 # Maximum number of open files for the opensearch user - set to at least 65536
        hard: 65536
    volumes:
      - opensearch-data2:/usr/share/opensearch/data # Creates volume called opensearch-data2 and mounts it to the container
    networks:
      - opensearch-net # All of the containers will join the same Docker bridge network
  opensearch-dashboards:
    image: opensearchproject/opensearch-dashboards:latest
    container_name: opensearch-dashboards
    ports:
      - 5601:5601 # Map host port 5601 to container port 5601
    expose:
      - "5601" # Expose port 5601 for web access to OpenSearch Dashboards
    environment:
      - 'OPENSEARCH_HOSTS=["http://opensearch-node1:9200","http://opensearch-node2:9200"]'
      - "DISABLE_SECURITY_DASHBOARDS_PLUGIN=true" # disables security dashboards plugin in OpenSearch Dashboards
    networks:
      - opensearch-net

volumes:
  opensearch-data1:
  opensearch-data2:

networks:
  opensearch-net:
セキュリティプラグインをOFFにしないとTLS周りでエラーになる。
docker compose up -dで起動する。
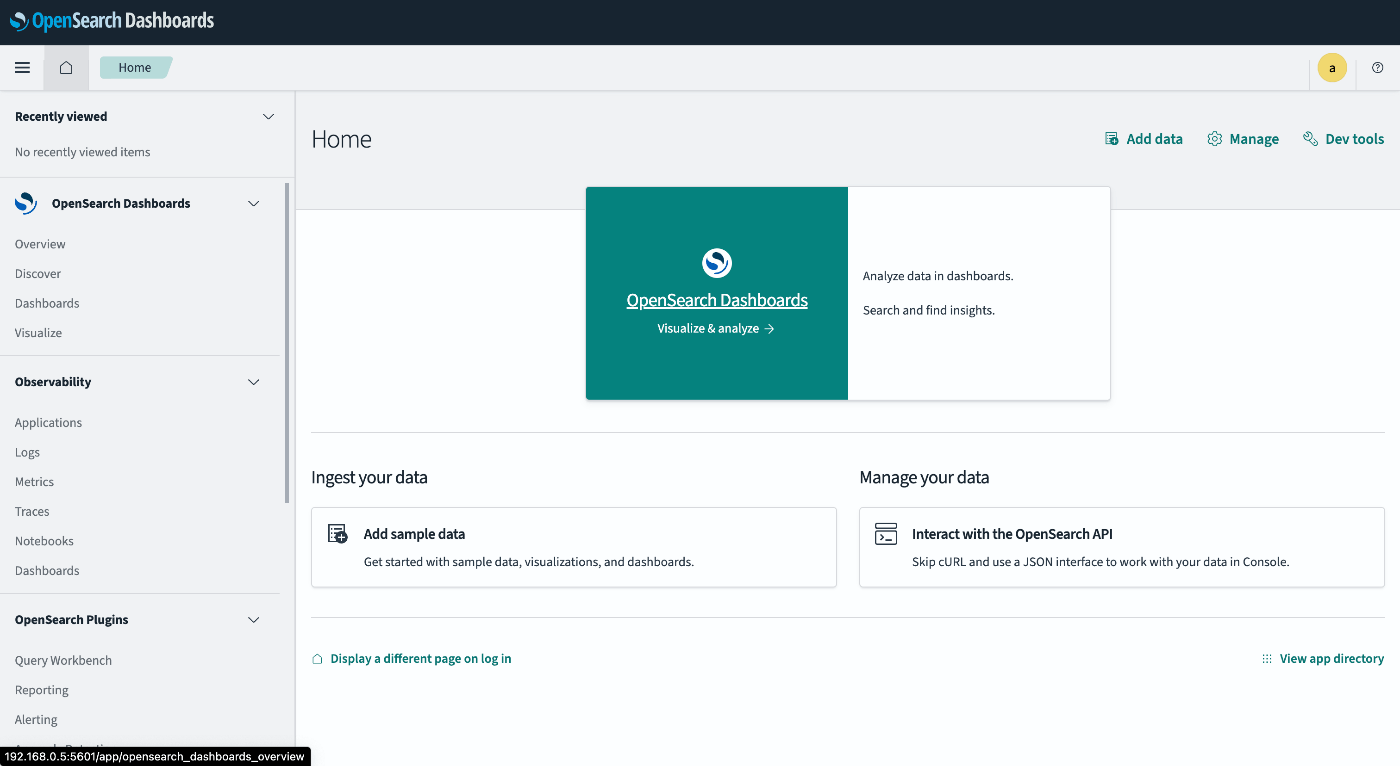
http://localhost:5601/にアクセスする。
管理画面。非常によくできてる。
ElasticSearch/OpenSearchの基本的な使い方は以下が参考になりそう。
OpenAIのEmbedding APIを使ってベクトル検索を行う。
RSSを保存することを考える。まず、インデックスの定義は次のようにやる。
import { Client } from "@opensearch-project/opensearch";

const OPENSEARCH_ENDPOINT = "http://admin:admin@localhost:9200"

const opensearch_client = new Client({
  node: OPENSEARCH_ENDPOINT,
});

const create_index = async () => {
  if (!(await opensearch_client.indices.exists({ index: "rss" }))) {
    return;
  }

  await opensearch_client.indices.create({
    index: "rss",
    body: {
      mappings: {
        properties: {
          title: { type: "text" },
          articleBody: { type: "text" },
          link: { type: "text" },
          pubDate: { type: "date" },
          embedding: { type: "knn_vector", dimension: 1536 },
        },
      },
      settings: {
        index: { knn: true },
      },
    },
  });
};
それぞれtilte, articleBody, link, pubDateは記事タイトル、記事本文、記事リンク、記事公開時刻である。それに加えて記事のベクトルをembeddingとして保存する。
embeddingはOpenAIのtext-embedding-ada-002に合わせて1536次元のベクトルとする。
Embeddingは以下のように行う。
import { OpenAIEmbeddings } from "langchain/embeddings/openai";

const embed_data = async (data) => {
  const client = new OpenAIEmbeddings();

  return await Promise.all(
    data.map(async ({ title, articleBody, link, pubDate }) => {
      const embedding = await client.embedQuery(articleBody);
      return { title, articleBody, link, pubDate, embedding };
    })
  );
};
langchainを用いた。ベクトルは記事本文を元に計算する。
記事の入力は次のように行う。
const put_data = async (data) => {
  const body = data.flatMap((doc) => [
    {
      update: {
        _index: "rss",
        _id: doc.link,
        retry_on_conflict: 3,
      },
    },
    {
      doc,
      doc_as_upsert: true,
    },
  ]);
  const { body: bulkResponse } = await opensearch_client.bulk({
    refresh: true,
    body,
  });
};
記事のURL(link)をUnique KeyとしてUpsertする。
以下で検索ができる。
const search_data = async (text) => {
  const client = new OpenAIEmbeddings();
  const embedded_search = await client.embedQuery(text);
  const { body } = await opensearch_client.search({
    index: "rss",
    body: {
      size: 2,
      query: {
        knn: {
          embedding: {
            vector: embedded_search,
            k: 2,
          },
        },
      },
    },
  });
  return body;
};
knnってCosine similarityなのか?
const body = await search_data("iPhone");
body.hits.hits.forEach((hit) => {
  console.log(hit._source.title);
});
以下が出力された。
【iPhone 15シリーズ】使い心地は?カメラ機能は? 気になるポイントを速報レビュー!(SPUR.JP)
ケーブルレスってこんなに快適!【アンカー】の新作モバイルバッテリー(SPUR.JP)
どうやらうまく行ってる。
knnって最近傍を計算するやつだから、OpenAIが推奨しているCosine similarityとは違う気がするけど、なんかうまくいってる。
デフォルトはL2
OpenAIのEmbeddingは長さ1に正規化されているので、CosineでもL2でも同じっぽい。
LambdaからローカルのOpenSearchにクエリを出す方法。
色々使ってみたけど、かなりMongoDBと似ている。
MongoDBはNoSQLと呼ばれるのに、OpenSearchはNoSQLと呼ばれないの不思議。
DockerでOpenSearchを立てたとき、デフォルトパスワードを変更する方法がいまいちわからなかった。
ちゃんと使うならきちんとOpenSearchを勉強するか、Charmed Opensearchを使うのがいいと思う。