Vite 環境 React × Laravel9 + TailwindCSS
以前すこしだけ触ったViteの開発体験が素晴らしくなんとしても構築したかった。。
ようやくうまくいったので纏めておきます。
Laravel の導入
今回はLaravel sailを使います。option(mysql、mailhog)
curl -s "https://laravel.build/react-laravel-app?with=mysql,mailhog" | bash
途中でパスワード入力を求められたら入力して次に進みます。
cd react-laravel-app && ./vendor/bin/sail up
一度コンテナを停止したのちコマンドにエイリアスを設定(任意)
alias sail='[ -f sail ] && sh sail || sh vendor/bin/sail'
sail up -d
React×TypeScriptの導入
sail up -d でコンテナが走った状態で行ってください。
React × TypeScript の環境を一気に構築します。Reactは18です
sail npm install --save-dev react react-dom @types/react @types/react-dom @vitejs/plugin-react @vitejs/plugin-react-refresh
ここまで出来たらエディタを開きます。
app.tsxファイルの作成
resources/ts/app.tsxファイルを作成
import "../css/app.css";
import React from "react";
import { createRoot } from 'react-dom/client';

const App = () => {
    const title: string = "This is React × Laravel App";
    return <h1>{title}</h1>;
};
const container = document.getElementById('app') as HTMLInputElement;
const root = createRoot(container);
root.render(<App />);
views/app.blade.php の作成
welcome.blade.php を編集してもいいのですがここはお好みで。
views/app.blade.php
<!DOCTYPE html>
<html lang="{{ str_replace('_', '-', app()->getLocale()) }}">
    <head>
        <meta charset="utf-8">
        <meta name="viewport" content="width=device-width, initial-scale=1">
        <title>SPA</title>
        @viteReactRefresh
        @vite('resources/ts/app.tsx')
    </head>
    <body>
        <div id="app"></div>
    </body>
</html>
公式にもありますがviteReactRefreshは vite ディレクティブの前に記述します。
ルーティングも変更しておきましょう。
routes/web.php
<?php
use Illuminate\Support\Facades\Route;

/*
|--------------------------------------------------------------------------
| Web Routes
|--------------------------------------------------------------------------
|
| Here is where you can register web routes for your application. These
| routes are loaded by the RouteServiceProvider within a group which
| contains the "web" middleware group. Now create something great!
|
*/

Route::get('/', function () {
    return view('app');
});
vite.config.tsの編集
拡張子がjsであるならtsに定義変更してください
お好みでカスタマイズしていただければと思います。
(自分もこの辺りよくわかってない)
viteは仕様変更が激しい時期?と思うので詰まったら公式で確認した方が良いですね
// vite.config.ts
import { defineConfig } from 'vite';
import laravel from 'laravel-vite-plugin';
import react from '@vitejs/plugin-react';

export default defineConfig({
    plugins: [
        laravel({
            input: [
                'resources/ts/app.tsx',
            ],
            refresh: true,
        }),
        react(),
    ],
});
ここまでできたらコンテナを起動した状態で
sail npm run dev
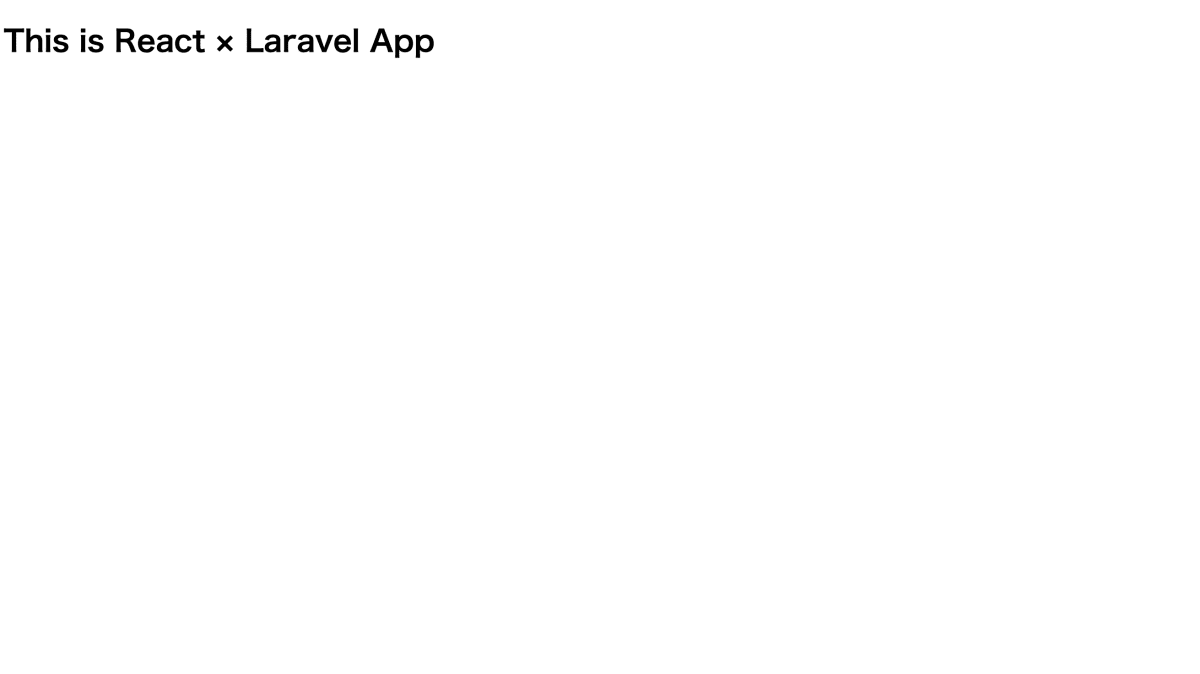
localhost にアクセス

表示されれば成功です。
TailwindCSSの導入
以前業務でガシガシsassを書いていたので今回は流行のTailwindを使ってみようと思いました。
公式を参照すれば簡単に導入できます。
公式サイトの検索窓でLaravelと検索するとLaravel用の環境構築画面に飛びます。

プロジェクトはすでに作成済みなので項目の2から
sailを使っているのでそこだけ注意
sail npm install -D tailwindcss postcss autoprefixer
sail npx tailwindcss init -p
実行すると 「tailwind.config.js」と「postcss.config.js」 がプロジェクトルート直下に作成されます。
tailwind.config.jsの編集
// 項目の3 tailwind.config.js
/** @type {import('tailwindcss').Config} */
module.exports = {
    content: [
        "./resources/**/*.blade.php", < 追加
        "./resources/**/*.js", < 追加
        "./resources/**/*.tsx", < 追加 & tsx に変更
    ],
    theme: {
        extend: {},
    },
    plugins: [],
}
resources/css/app.css の編集
@tailwind base;
@tailwind components;
@tailwind utilities;
ここまででTailwindCSSを使う準備は出来ました
app.tsxとapp.blade.phpを編集
TailwindCSSを反映するためにapp.tsxとapp.blade.phpを編集します。
以下の箇所をそれぞれ変更してください
resourses/ts/app.tsx
- # return <h1>{title}</h1>;
+ # return <h1 className="text-red-400 text-4xl">{title}</h1>;
resourses/views/app.blade.php
- # @vite('resources/ts/app.tsx')
+ # @vite(['resources/css/app.css','resources/ts/app.tsx'])
公式にも記載がありますが@viteの部分を二つ以上指定する場合は配列形式で指定する必要があります。
実行
sail npm run dev

反映されていれば成功です。
参考記事:
Discussion