Creating a Serverless App is so much easier with Workers and D1
このメモは、D1 についてです。
D1 は、2023年9月に open beta[1] としてアナウンスされました。
D1 は、どのように役立つでしょうか?
SQLite を使用しているということから、Web App の Data Cache などが考えられます。
他には、CMS の構築も可能だと思います。
今回、Hono の Web App で D1 の実装を試します。
- Hono
- Workers
- Wrangler
- D1
2023年10月2回目です。
使用したリポジトリはこちらです。
D1 とは
Cloudflare Workers用に設計されたデータベース[2]
D1 は Cloudflare のネイティブなサーバーレス データベースです。
Workers からの接続は、Cloudflare の画面で変数とデータベース名を紐づけるだけです。
Installation
まず、ローカル開発環境を構築します。
公式の手順[3] で問題なく install できます。
ローカルの root の .wrangler フォルダにデータが保存されます。KV と同じく。
- Using wrangler
wrangler login
export DATABASE_NAME="portfolio"
wrangler d1 create $DATABASE_NAME
touch ./schema.sql
wrangler d1 execute $DATABASE_NAME --local --file=./schema.sql
データが登録されたか確認します。
node ➜ /workspaces/my-portfolio-hono-ts (main) $ wrangler d1 execute $DATABASE_NAME --local --command='SELECT * FROM experience'
🌀 Mapping SQL input into an array of statements
🌀 Loading daefd626-cee4-44ab-bbde-65fe99759b95 from .wrangler/state/v3/d1
┌─────────┬────────────────────────────┬───────────────────┐
│ id      │ company                    │ position          │
├─────────┼────────────────────────────┼───────────────────┤
│ 2022-09 │ Retail AI X Inc            │ Lead Engineer     │
├─────────┼────────────────────────────┼───────────────────┤
│ 2021-06 │ Retail AI X Inc.           │ Software Engineer │
├─────────┼────────────────────────────┼───────────────────┤
│ 2020-06 │ Retail AI Engineering Inc. │ Software Engineer │
└─────────┴────────────────────────────┴───────────────────┘

node ➜ /workspaces/my-portfolio-hono-ts (main) $
上記の通り3件のレコードが登録されました。
Connect from Workers to D1
上記で作成した database に Workers から接続するには、2つの設定が必要です。
wrangler.toml
ローカル環境用の設定です。wrangler d1 create $DATABASE_NAME 実行時に表示される文字列を wrangler.toml に追加します。
[[d1_databases]]
binding = "DB" # i.e. available in your Worker on env.DB
database_name = "portfolio"
database_id = "xxxxxxxxxxxxxxxxxxxxx"
- Web Application
export type Env = {
  GRAPHQL_API: string;
  GH_TOKEN: string;
  CERTIFICATES: KVNamespace;
  DB: D1Database; // here
};
// Logic
const getExperience = async (env: Env) => {
  const { results } = await env.DB.prepare(
    "SELECT * FROM experience ORDER BY id DESC"
  )
  .all();
  return results
}
以下のコマンドを使用して、Web Application を起動してみます。
database_id が Your worker has access to the following bindings: の下に出力されます。
node ➜ /workspaces/my-portfolio-hono-ts (main) $ npm run dev

> dev
> run-p dev:*


> dev:esbuild
> esbuild --external:__STATIC_CONTENT_MANIFEST --bundle src/index.tsx --format=esm --watch --outfile=dist/_worker.js


> dev:wrangler
> wrangler dev src/index.tsx --live-reload

[watch] build finished, watching for changes...
 ⛅️ wrangler 3.10.1 (update available 3.11.0)
-------------------------------------------------------
wrangler dev now uses local mode by default, powered by 🔥 Miniflare and 👷 workerd.
To run an edge preview session for your Worker, use wrangler dev --remote
Your worker has access to the following bindings:
- KV Namespaces:
  - CERTIFICATES: aaaaaaaaaa
- D1 Databases:
  - DB: portfolio (xxxxxxxxxxxxxxxxxxxxx)
- Vars:
  - GRAPHQL_API: "https://api.github.com/graphql"
  - GH_TOKEN: "ghp_ccccccccccccccccccccccccc..."
⎔ Starting local server...
[mf:wrn] The latest compatibility date supported by the installed Cloudflare Workers Runtime is "2023-09-22",
but you've requested "2023-09-28". Falling back to "2023-09-22"...
[mf:inf] Ready on http://0.0.0.0:8787
[mf:inf] - http://127.0.0.1:8787
[mf:inf] - http://172.17.0.2:8787
╭─────────────────────────────────────────────────────────────────────────────────────────────────────────────────────────────────────────────────────────────────────────────────────╮
│ [b] open a browser, [d] open Devtools, [l] turn off local mode, [c] clear console, [x] to exit                                                                                      │
╰─────────────────────────────────────────────────────────────────────────────────────────────────────────────────────────────────────────────────────────────────────────────────────╯
「http://127.0.0.1:8787」にアクセスして、どのようになるかを見てみます。
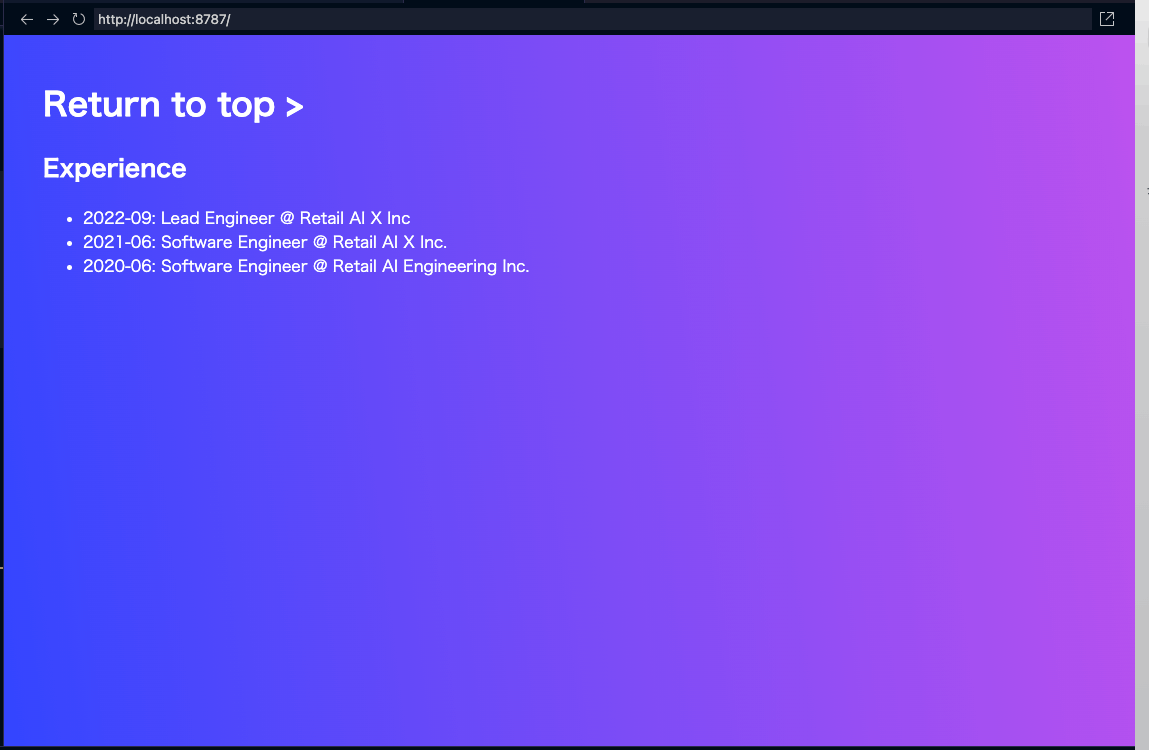
上記の通り、データが表示されました。成功です。
Deployment
Workers で動かします。
- Deploy Step
- Cloudflare に login
- 「Workers & Pages」をクリック
- 作成済みの Workers アプリケーションをクリック
- 「設定」tab をクリック
- 「変数」メニューをクリック
- 「D1 Database Bindings」までスクロール
- 「変数を編集する」をクリック
- 「保存してデプロイする」をクリック

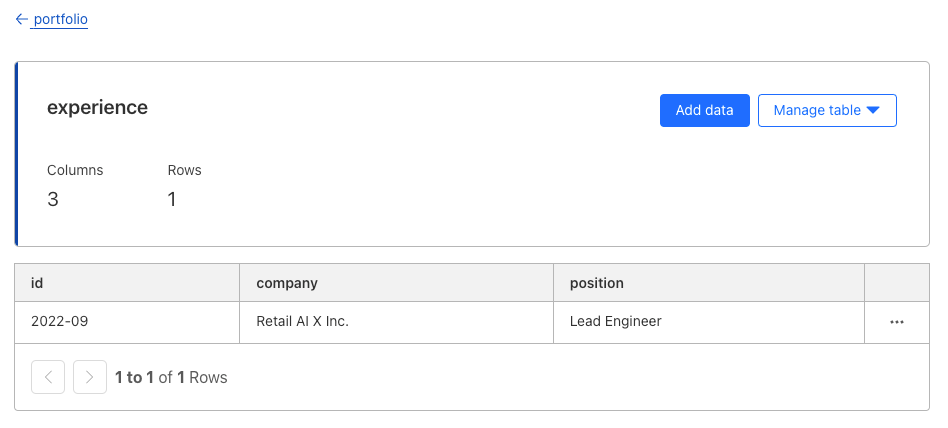
D1 にデータを登録します。
build します。
node ➜ /workspaces/my-portfolio-hono-ts (main) $ npm run build

> build
> esbuild --external:__STATIC_CONTENT_MANIFEST --bundle src/index.tsx --format=esm --outfile=dist/_worker.js


  dist/_worker.js  60.1kb

⚡ Done in 38ms
node ➜ /workspaces/my-portfolio-hono-ts (main) $
Workers を更新して、どのようになるかを見てみます。

上記の通り、データが表示されました。成功です。
Conclusion
この投稿では、D1 がどのようなユースケースに利用できるか、また、サービスをエミュレートする際の D1 と Wrangler の機能について説明しました。
この投稿をみて何か得られた方は、いいね ❤️ をお願いします。
それでは、また別の話でお会いしましょう。👋
Discussion