WSL2の開発環境を整える
新しいラップトップがやってきた&無印MacBookのもっさり感がさすがに気になってきたので、WSL2を使ってWeb開発のための環境を整える。
まずはインストール。公式ドキュメントに従う。
管理者権限で開いたPowerShellで
wsl --install
を実行。その後、Windowsを再起動する。
Windows TerminalにUbuntuのプロファイルが追加されているので選択したが、
WslRegisterDistribution failed with error: 0x80370102
というエラーが出てしまう。
いったんアンインストールして、Microsoft StoreからUbuntuをインストールしてみたが、同じエラーになる。エラーメッセージに出てきたリンクを参考に
wsl --update
を実行すると、Ubuntuをインストールして起動できるようになった。アカウント作成までできた。
Ubuntu用ターミナルをカスタマイズしたい。できるだけMacで使っていた環境に寄せるため、
- シェル: zsh
- フレームワーク: Prezto
を導入する。
ひとまず
sudo apt update && sudo apt upgrade
をしてから、
sudo apt install zsh -y
を実行。
which zsh
の実行結果 (/usr/bin/zsh) を使って、デフォルトシェルをzshに設定する。
chsh -s /usr/bin/zsh
新しくUbuntu用ターミナルを開くと、zshが使えるようになった。プロファイルの作成について聞かれるが、いったん無視しておく。
Preztoのインストールと設定をする。
のREADMEに従って、以下のコマンドを実行する。
git clone --recursive https://github.com/sorin-ionescu/prezto.git "${ZDOTDIR:-$HOME}/.zprezto"

setopt EXTENDED_GLOB
for rcfile in "${ZDOTDIR:-$HOME}"/.zprezto/runcoms/^README.md(.N); do
  ln -s "$rcfile" "${ZDOTDIR:-$HOME}/.${rcfile:t}"
done
次に、~/.zpreztorcを編集する。
- モジュールを追加:
completion、syntax-highlighting、autosuggestionsを最終行のpromptの前に入れる。# Set the Prezto modules to load (browse modules). # The order matters. zstyle ':prezto:load' pmodule \ 'environment' \ 'terminal' \ 'editor' \ 'history' \ 'directory' \ 'spectrum' \ 'utility' \ 'completion' \ 'syntax-highlighting' \ 'autosuggestions' \ 'prompt' \ - テーマを変更:
'pure'を使う (デフォルトは'sorin')。# Set the prompt theme to load. # Setting it to 'random' loads a random theme. # Auto set to 'off' on dumb terminals. zstyle ':prezto:module:prompt' theme 'pure'
これらの設定はもともとMacBookで使っていたものだが、最初に設定した際には の記事が参考になった。
デフォルトのカラーテーマがあまり好みではないため、Windows Terminalの設定からプロファイルを変更する。Windows Terminal Themesというサイトから、iceberg-darkの設定をコピーする。
Terminalの設定から"Open JSON file"を選択し、settings.jsonをエディタで開く。"schemes"に、サイトでコピーしたカラー設定を追加する。
"name": "iceberg-dark",
と定義されている。"profiles.list"の最後のほうにUbuntuのプロファイルがあり、ここでcolorSchemeを指定すればよい。
  {
    "colorScheme": "iceberg-dark",
    "guid": "{51855cb2-8cce-5362-8f54-464b92b32386}",
    "hidden": false,
    "name": "Ubuntu",
    "source": "CanonicalGroupLimited.Ubuntu_79rhkp1fndgsc"
  },
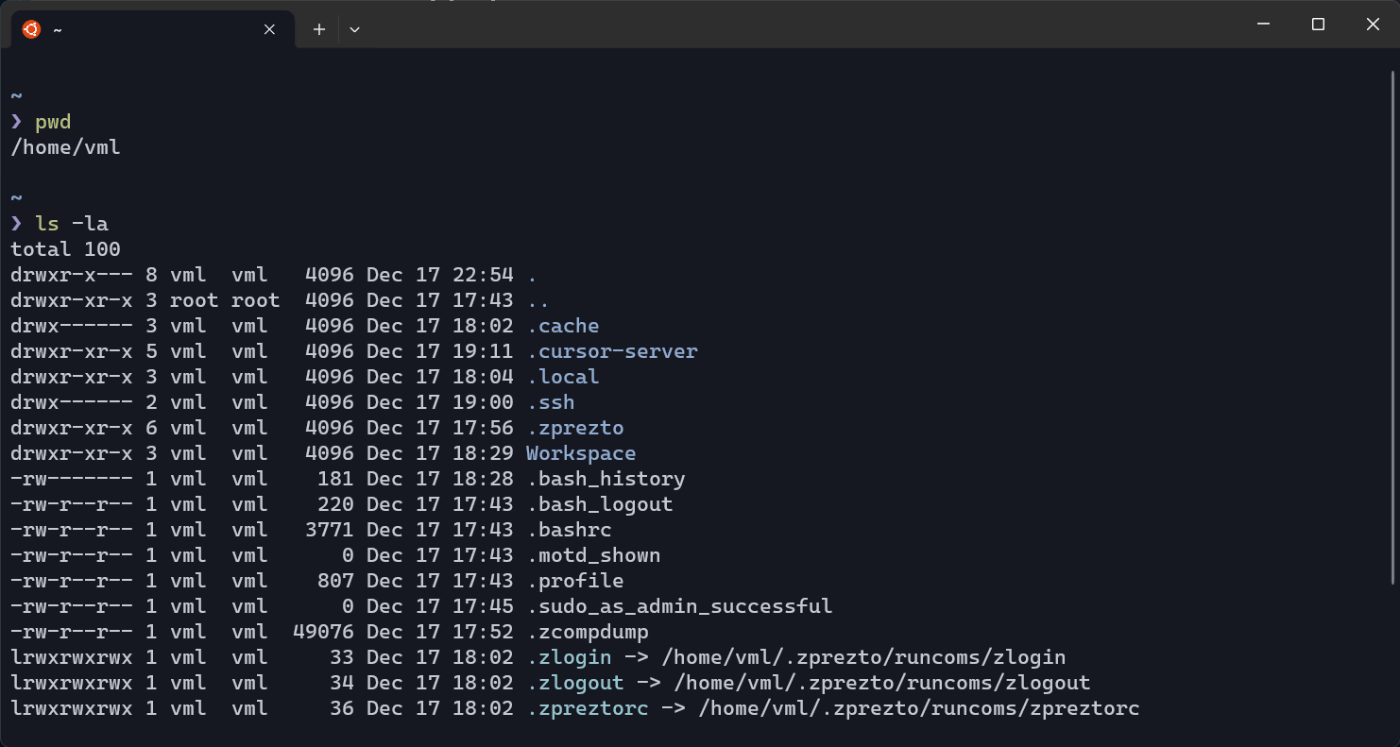
見た目はかなりいい感じになった!

GitHub接続用のssh設定をする。
キーの生成
ssh-keygen -t ed25519 -C "your_email@example.com"
よしなに回答しながらキーを生成する。デフォルトだと、~/.ssh/に関連ファイルが格納される。
eval "$(ssh-agent -s)"
を実行。
キーの追加
GitHub上のSettings→Access→SSH and GPG keysから"New SSH key"を選択。
Ubuntuターミナルで
cat ~/.ssh/id_ed25519.pub
を実行し、表示される公開鍵をコピーして"Key"の欄に張り付ける。適当な名前をつけて保存する。