Rust | Momento Cache SDK を使ってキャッシュする
はじめに
以前参加した、Serverless Days Tokyo にて Momento が紹介されており、
Momento社の提供している Momento Cache に興味を持ちました。
今回は、Momento SDK Rust を使ったキャッシュにトライしていこうと思います!
Momento SDK は Rust をはじめとした、さまざまなプログラミング言語をサポートしていますので、
好きな言語でも試せるようになっています!ありがたや..
Momento について
Momento は Momento Cache、Momento Topics というキャッシュ基盤を提供しているサービスです。
Momento Cache を使うための準備
Momento Web Console にアクセスする
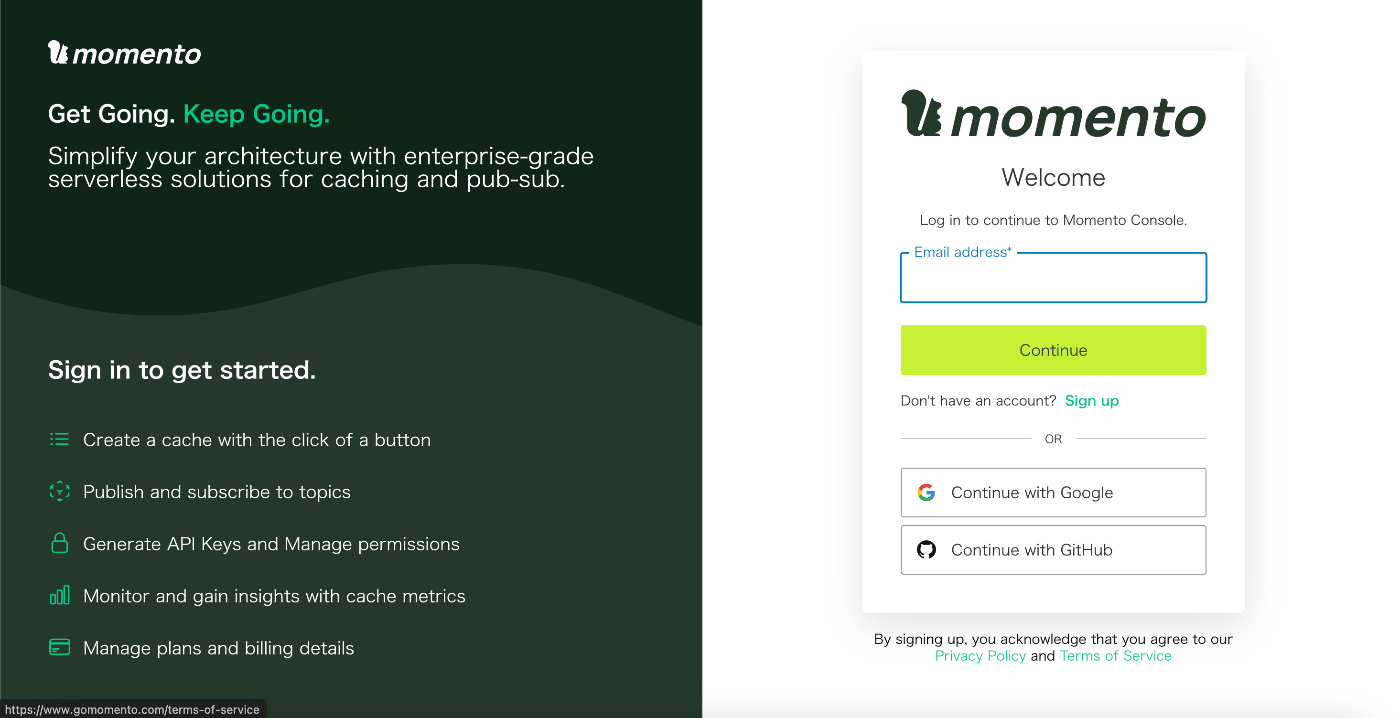
Momento Web Console から アカウント登録するためにサインアップをします。
アカウントが既にある場合は、ここからサインインします。

Momento Web Console にアクセスできたら、Generate API Keys を押します。

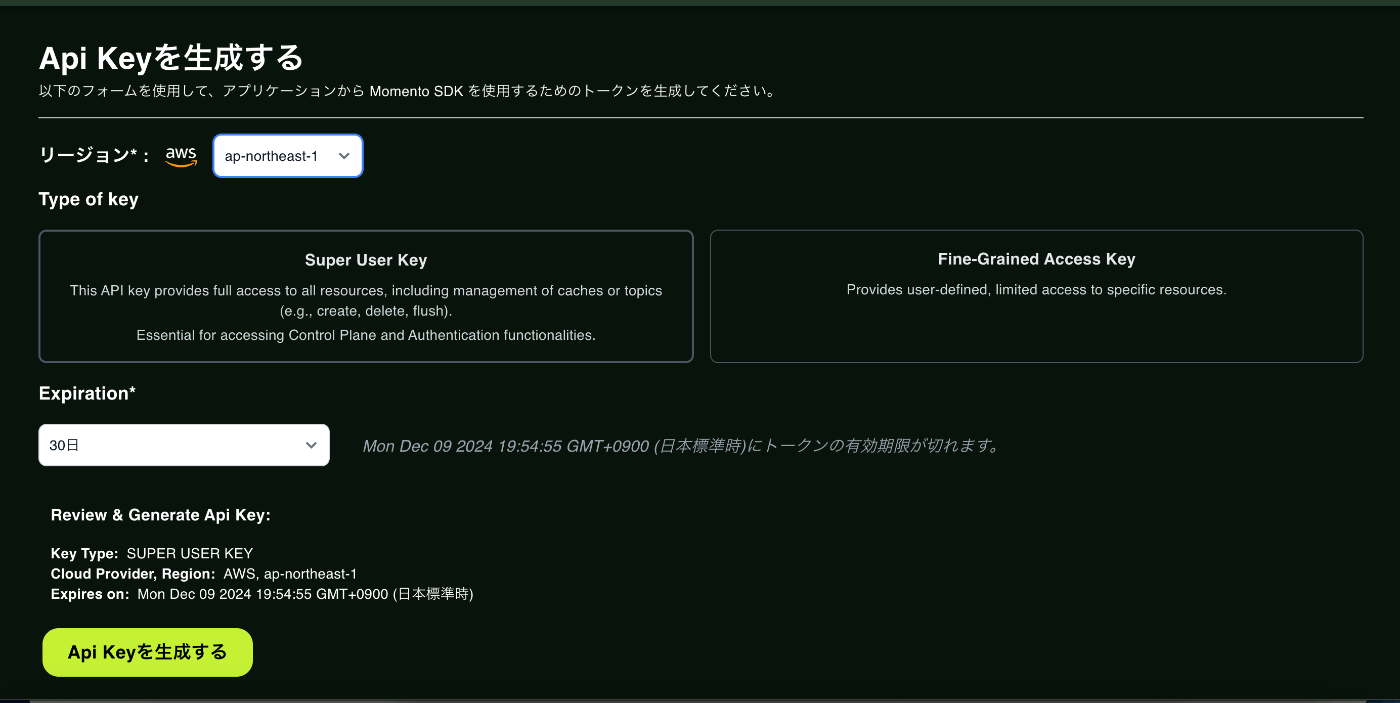
APIキーの生成画面に移動しますので、今回は、Super User Key を使って生成します。
画面下の API Keyを生成する を押し、生成された APIキーをメモ帳などに控えておきます。

Rust プロジェクトの作成と crates のインストール
お好きな作業用ディレクトリ下で、コマンドを実行します。
$ cargo new momento-rust
$ cd momento-rust
momento-rustディレクトリで、momentoとtokioを追加します。
Momento SDK Rust は非同期で実行されるため、推奨されているクレートの tokioも追加します。
$ cargo add momento
$ cargo add tokio --features full
APIキーのセット
Momento Cache SDK を使うために、APIキーを環境変数をセットする必要があります。
ここで、先ほど生成した APIキーを利用します。<your Momento API key here> の部分に生成したAPIキーを貼り付け、コマンドで実行しておきます。
これで、環境変数にセットすることが可能です。
◾️Mac ターミナルの場合
$ export MOMENTO_API_KEY=<your Momento API key here>
◾️Windows コマンドプロンプトの場合
$ set MOMENTO_API_KEY=<your Momento API key here>
以上で下準備は完了です。早速 Momento でキャッシュできる準備が整いました!
Momento Cache でキャッシュする
クライアントの生成
src/main.rsにて以下のように、CacheClient オブジェクトを作成することができます。
use momento::cache::configurations;
use momento::{CacheClient, CredentialProvider, MomentoError};
use std::time::Duration;

#[tokio::main]
async fn main() -> Result<(), MomentoError> {
    let _cache_client = CacheClient::builder()
        .default_ttl(Duration::from_secs(60))
        .configuration(configurations::Laptop::latest())
        .credential_provider(CredentialProvider::from_env_var(
            "MOMENTO_API_KEY".to_string(),
        )?)
        .build()?;
    Ok(())
}
キャッシュの作成
cache_clientに対して、create_cacheメソッドを呼び出し、新しいキャッシュを作成します。
キャッシュの名前については、CACHE_NAMEで定義しています。
use momento::cache::{configurations, CreateCacheResponse};
use momento::{CacheClient, CredentialProvider, MomentoError};
use std::time::Duration;

const CACHE_NAME: &str = "momento-rust-test";

#[tokio::main]
async fn main() -> Result<(), MomentoError> {
    let cache_client = CacheClient::builder()
        .default_ttl(Duration::from_secs(60))
        .configuration(configurations::Laptop::latest())
        .credential_provider(CredentialProvider::from_env_var(
            "MOMENTO_API_KEY".to_string(),
        )?)
        .build()?;

    match cache_client.create_cache(CACHE_NAME).await? {
        CreateCacheResponse::Created => println!("Cache {} created", CACHE_NAME),
        CreateCacheResponse::AlreadyExists => println!("Cache {} already exists", CACHE_NAME),
    }

    Ok(())
}
このコードを追加したら、cargo runを実行します。
$ cargo run
実行すると以下のように出力されるはずです。
Cache momento-rust-test created
Momento Web Console に戻り左側タブの一番上を押すと、キャッシュ一覧を見ることができます。
ここで、先ほど作成した momento-rust-testという名前のキャッシュが作られていることが確認できました。

データを追加、読み取り
cache_client に対して、setメソッド使って、データを登録することができます。getメソッドでデータの読み取りを行うことができます。
キーとバリューについてはキャッシュ名と同様にconstで定義しています。
use momento::cache::{configurations, CreateCacheResponse};
use momento::{CacheClient, CredentialProvider, MomentoError};
use std::time::Duration;

const CACHE_NAME: &str = "momento-rust-test";
const KEY: &str = "cache_key";
const VALUE: &str = "Hello, Momento!";

#[tokio::main]
async fn main() -> Result<(), MomentoError> {
    let cache_client = CacheClient::builder()
        .default_ttl(Duration::from_secs(60))
        .configuration(configurations::Laptop::latest())
        .credential_provider(CredentialProvider::from_env_var(
            "MOMENTO_API_KEY".to_string(),
        )?)
        .build()?;

    match cache_client.create_cache(CACHE_NAME).await? {
        CreateCacheResponse::Created => println!("Cache {} created", CACHE_NAME),
        CreateCacheResponse::AlreadyExists => println!("Cache {} already exists", CACHE_NAME),
    }

    cache_client.set(CACHE_NAME, KEY, VALUE).await?;
    println!("Value stored");

    let response = cache_client.get(CACHE_NAME, KEY).await?;
    let item: String = response.try_into().expect("I stored a string!");
    println!("Cache value: {}", item);

    Ok(())
}
このコードを追加したら、cargo runを実行します。
$ cargo run
実行すると以下のように出力されるはずです。
Cache momento-rust-test already exists
Value stored
Cache value: Hello, Momento!
キャッシュ名は既に登録しているため already existsが出ます。
データの追加、取得を行っているため、最後の行で値が表示されていることがわかります。
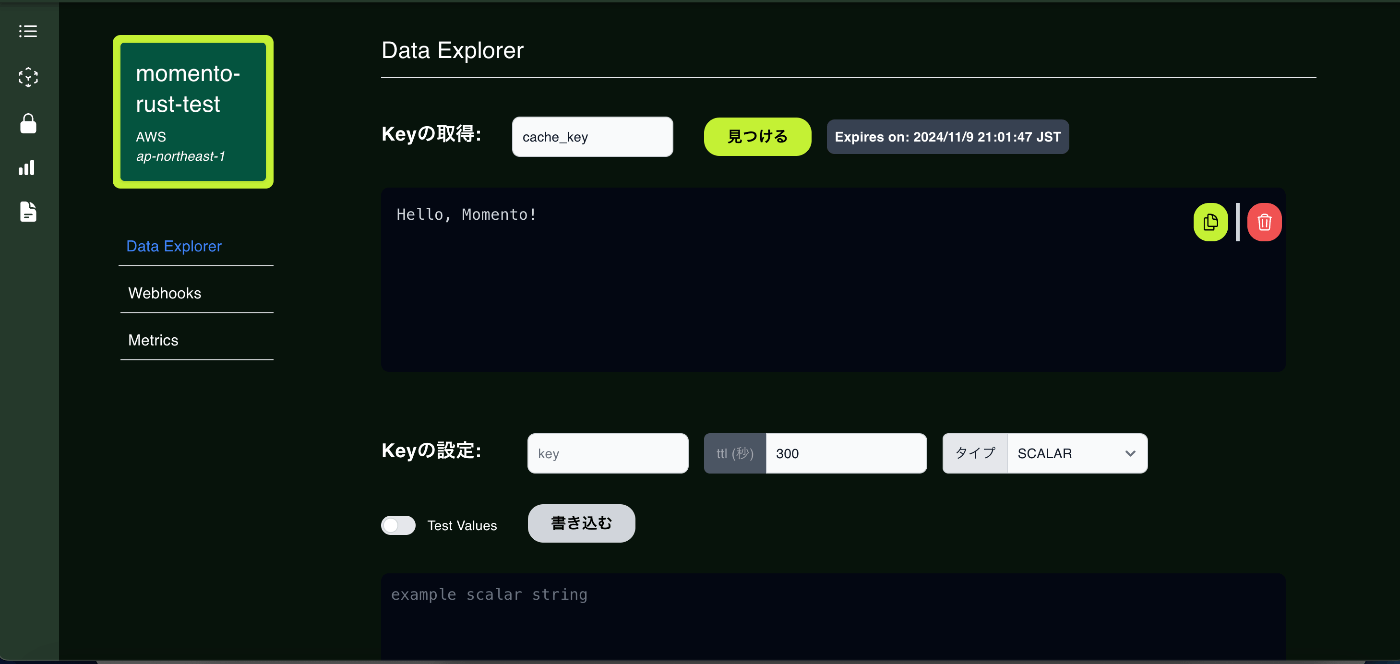
Momento Web Console のキャッシュ一覧から、momento-rust-testを押し、
Keyの取得: に 先ほど登録したキー(cache_key)を入力し、見つける を押すとキャッシュデータを読み取ることができます。
Hello, Momento!という値が登録されているため、きちんと登録されていることも確認できました!

データの削除
キャッシュの削除にはdeleteメソッドを利用することができます。
以下のようにコードを修正して、cargo run を実行します。
use momento::cache::configurations;
use momento::{CacheClient, CredentialProvider, MomentoError};
use std::time::Duration;

const CACHE_NAME: &str = "momento-rust-test";
const KEY: &str = "cache_key";

#[tokio::main]
async fn main() -> Result<(), MomentoError> {
    let cache_client = CacheClient::builder()
        .default_ttl(Duration::from_secs(60))
        .configuration(configurations::Laptop::latest())
        .credential_provider(CredentialProvider::from_env_var(
            "MOMENTO_API_KEY".to_string(),
        )?)
        .build()?;

    cache_client.delete(CACHE_NAME, KEY).await?;
    println!("Cache deleted");

    Ok(())
}
$ cargo run
実行すると以下のように出力されます。
Cache deleted
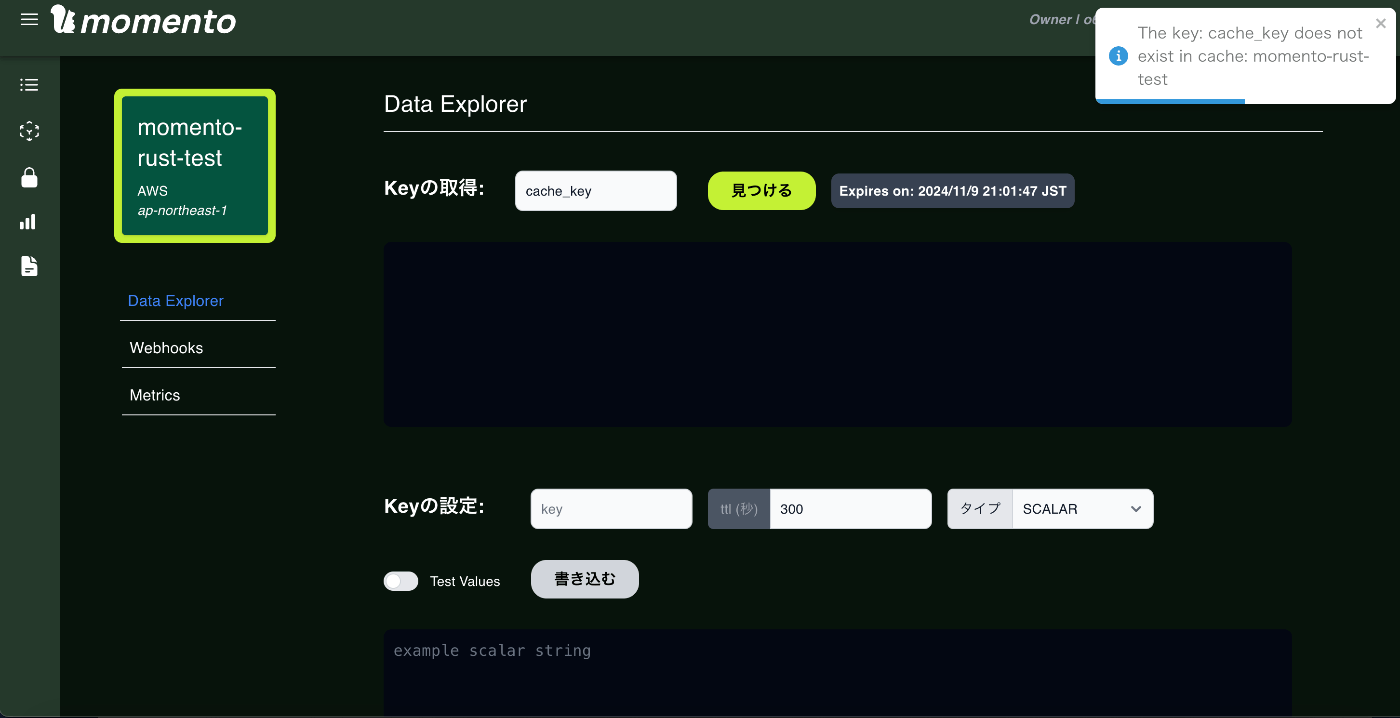
Momento Web Console のキャッシュから cache_keyのキーで検索します。
そうすると、以下のように見つからない旨表示されるようになります。きちんと削除されていることがわかりますね!

おわりに
Momento SDK Rust を使って、キャッシュの作成から値の追加、削除などをやっていきました。
Momento のようなキャッシュサービスを活用することで、頻繁なDBへのアクセスを削減することができたり、高速なデータの呼び出しなど様々な利点があります。
冒頭でも述べたように、SDKがかなり充実しているので、今後の Momento に期待が膨らみます🤩
今回はこのへんで!では!
Discussion