Storyboardの画面をコードで実装する
追記(2023/10/05)
-
Size Classesごとのレイアウト
- サイズが変更になった時の検知をviewDidLayoutSubviews→
registerForTraitChangesに変更しました - loadView時点でTraitでのレイアウト組み立てを行うようにしていたのを、Traitが確定する
viewIsAppearingのタイミングに変更しました
- サイズが変更になった時の検知をviewDidLayoutSubviews→
概要
Storyboardでレイアウトを組んでいるアプリをコードに置き換えます。
あまりStoryboardをコードに変える方法について載っていない気がしたのでまとめました。
コードの置き換えについて
コードレイアウトは、loadViewで行います。
UIViewControllerのサブクラスを作成して、loadView()をオーバーライドしてself.viewにコードで作成したviewを割り当てます。
この時、super.loadView()を呼んではいけません。
You can override this method in order to create your views manually. If you choose to do so, assign the root view of your view hierarchy to the view property. The views you create should be unique instances and should not be shared with any other view controller object. Your custom implementation of this method should not call super.
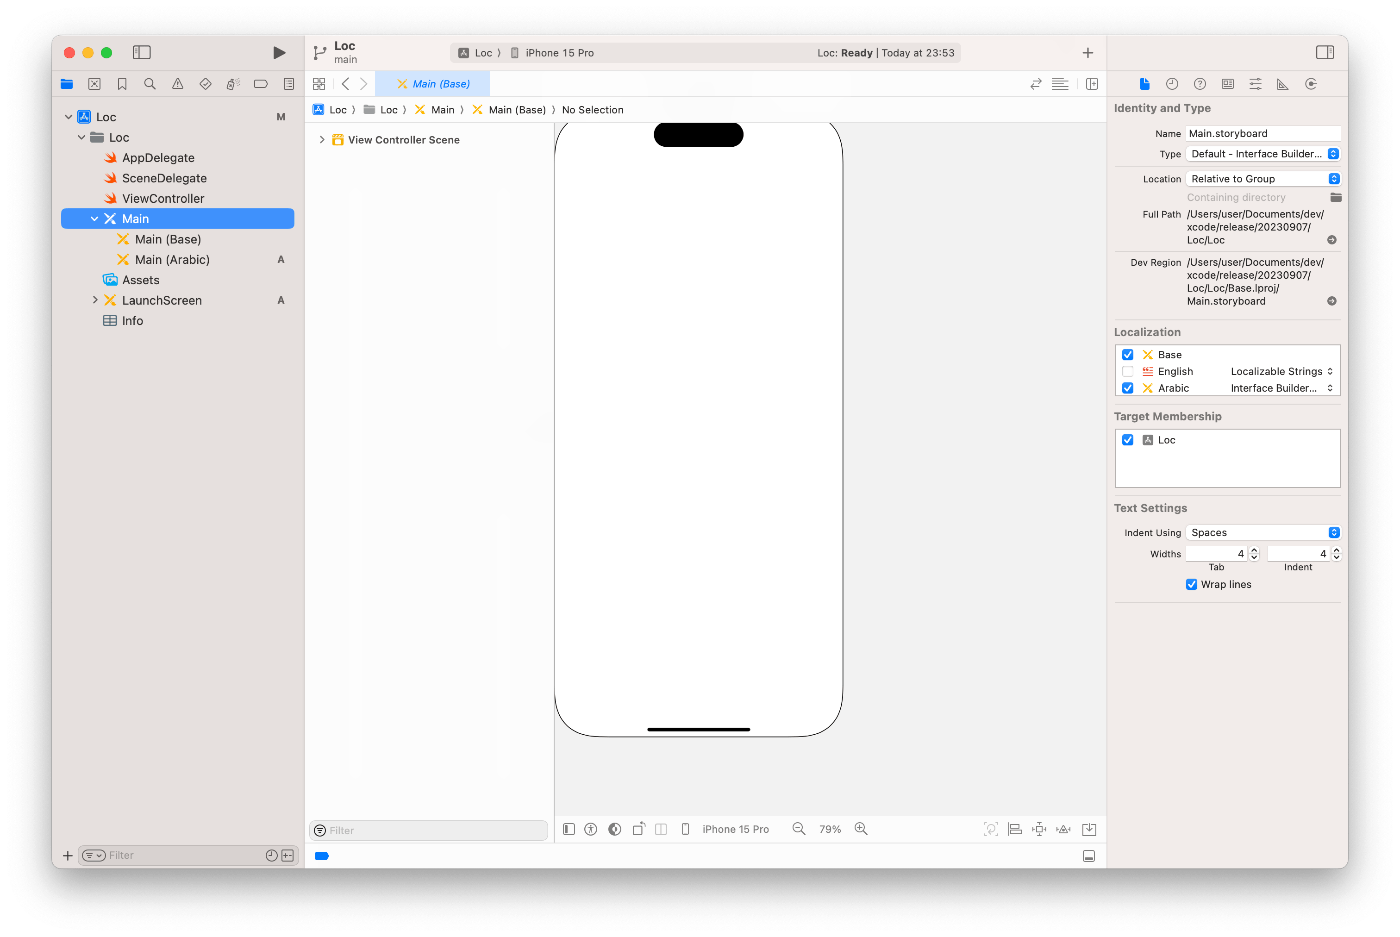
Interface BuilderでUIViewControllerを使うときはloadView()を使うな、とのことなので、Interface Builderで使っているものとは別なUIViewControllerのサブクラスを用意して対応することにします。
If you use Interface Builder to create your views and initialize the view controller, you must not override this method.
レイアウトの異なる同一ViewController
日本地図の画面があります。
沖縄をタップすれば「Naha!」とアラートを表示するなんの変哲もない画面です。
ついでにCountも数えます。
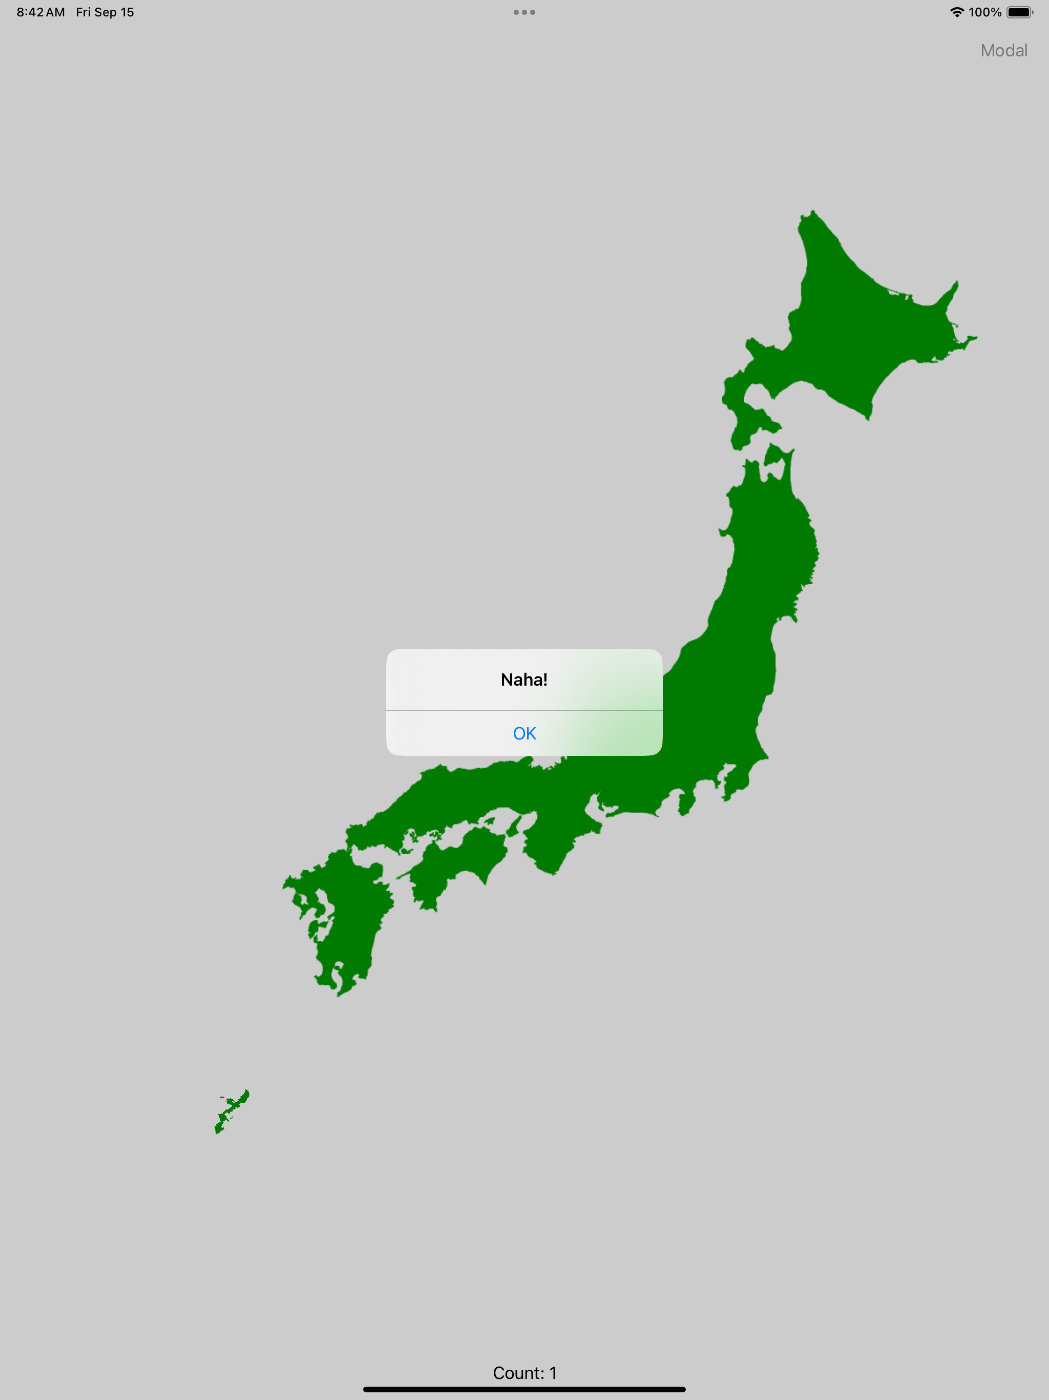
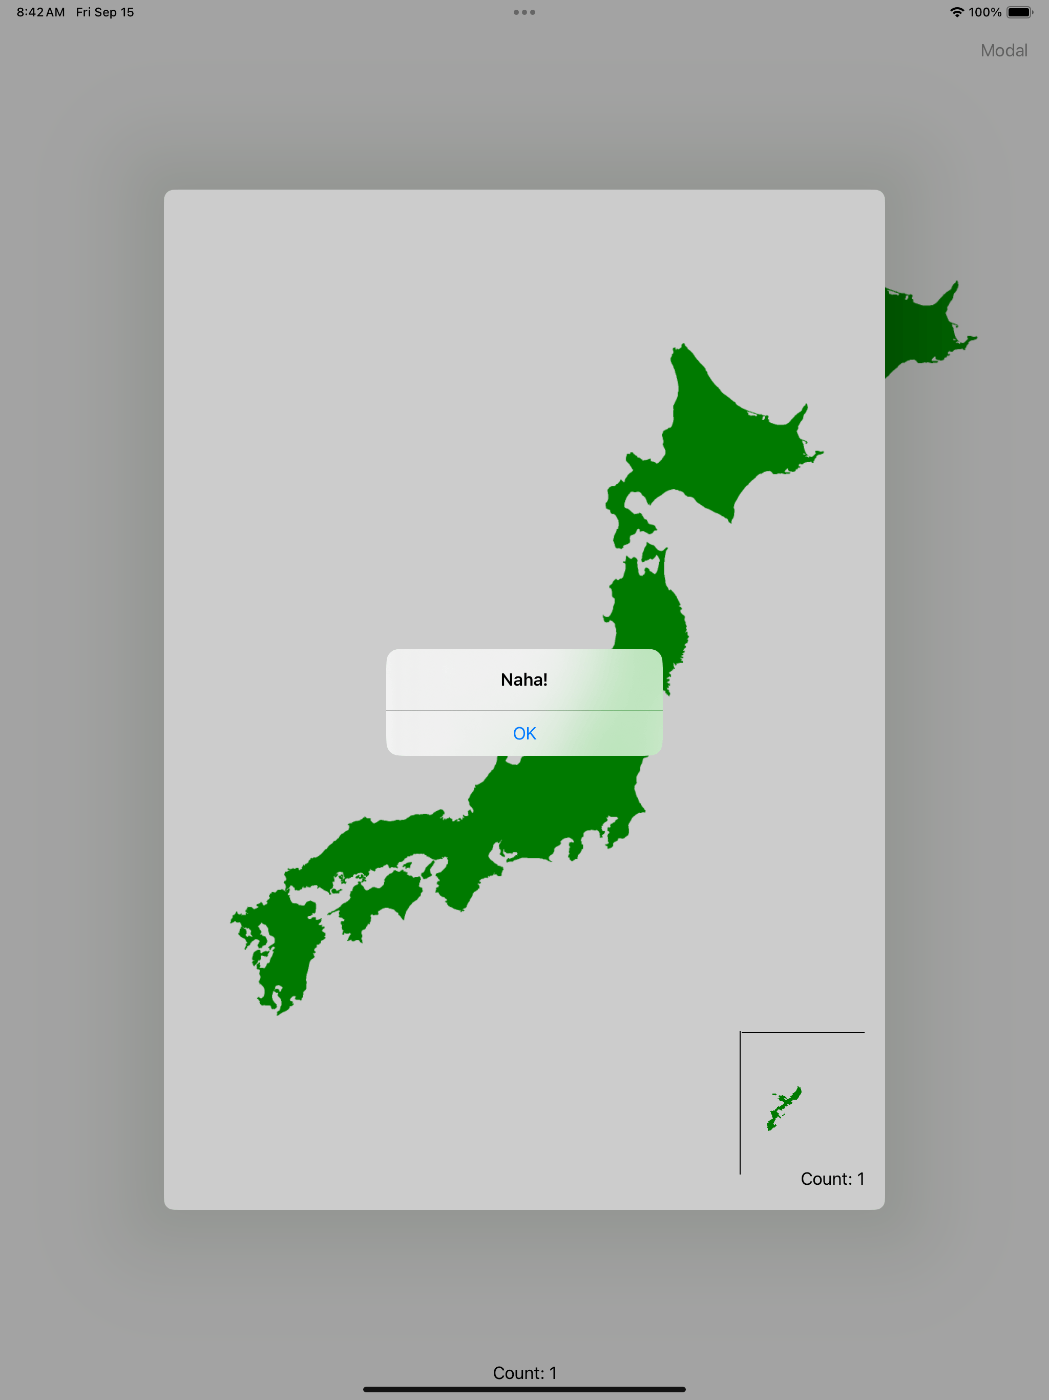
日本地図には沖縄があり、大きな画面では九州の下に沖縄を描画しますが、iPadで表示するモーダルのような、iPadのウィンドウよりも小さい画面の場合は沖縄を右下に小さく表示するような場面があるかと思います。
ただ、これらの違いはレイアウトのみで、機能としては「Naha!」を言うのみです。
レイアウトとViewControllerは1対1ではないのでレイアウトだけは分け、Storyboard上で同一のViewControllerを割り当てて操作を行っています。
これをコードで再現したいと思います。
ついでにCoderやViewControllerベースのリストアにも対応してみます。
IB側のViewControllerのコードはこんな感じです。
class ViewController: UIViewController {

    @IBOutlet weak var countLabel: UILabel!

    private var count = 0 {
        didSet {
            countLabel.text = "Count: \(count)"
        }
    }

    required init?(coder: NSCoder) {
        super.init(coder: coder)
        count = coder.decodeInteger(forKey: "count")
    }

    @IBAction func showOkinawaAlert(_ sender: Any) {
        let alert = UIAlertController(title: "Naha!", message: nil, preferredStyle: .alert)
        alert.addAction(.init(title: "OK", style: .default))
        present(alert, animated: true)
        count += 1
    }

    override func decodeRestorableState(with coder: NSCoder) {
        super.decodeRestorableState(with: coder)
        count = coder.decodeInteger(forKey: "count")
    }

    override func encode(with coder: NSCoder) {
        super.encode(with: coder)
        coder.encode(count, forKey: "count")
    }

    override func encodeRestorableState(with coder: NSCoder) {
        super.encodeRestorableState(with: coder)
        coder.encode(count, forKey: "count")
    }
}
コードでのレイアウト
上記のコード版ViewController、CodingViewControllerがこちらです。
class CodingViewController: UIViewController, UIViewControllerRestoration {
    static func viewController(withRestorationIdentifierPath identifierComponents: [String], coder: NSCoder) -> UIViewController? {
        CodingViewController(coder: coder)
    }

    private weak var countLabel: UILabel!
    private var builderKey: CodeInterfaceBuilderKey

    private var count = 0 {
        didSet {
            countLabel.text = "Count: \(count)"
        }
    }

    init(builderKey: CodeInterfaceBuilderKey) {
        self.builderKey = builderKey
        super.init(nibName: nil, bundle: nil)
    }

    required init?(coder: NSCoder) {
        builderKey = coder.decodeObject(forKey: "builderKey") as! CodeInterfaceBuilderKey
        count = coder.decodeInteger(forKey: "count")
        super.init(coder: coder)
    }

    override func loadView() {
        restorationIdentifier = "CodingViewController"
        restorationClass = CodingViewController.self
        let builder = CodeInterfaceBuilder(key: builderKey)
        self.view = builder.view
        self.countLabel = builder.countLabel
        builder.addShowOkinawaAlertAction(action: .init(handler: { [weak self] in
            self?.showOkinawaAlert($0.sender!)
        }))
    }

    func showOkinawaAlert(_ sender: Any) {
        let alert = UIAlertController(title: "Naha!", message: nil, preferredStyle: .alert)
        alert.addAction(.init(title: "OK", style: .default))
        present(alert, animated: true)
        count += 1
    }

    override func decodeRestorableState(with coder: NSCoder) {
        super.decodeRestorableState(with: coder)
        count = coder.decodeInteger(forKey: "count")
        builderKey = coder.decodeObject(forKey: "builderKey") as! CodeInterfaceBuilderKey
    }

    override func encode(with coder: NSCoder) {
        super.encode(with: coder)
        coder.encode(count, forKey: "count")
        coder.encode(builderKey, forKey: "builderKey")
    }

    override func encodeRestorableState(with coder: NSCoder) {
        super.encodeRestorableState(with: coder)
        coder.encode(count, forKey: "count")
        coder.encode(builderKey, forKey: "builderKey")
    }
}
順を追って説明します。
init
xibでUIViewControllerをinitする場合、nibNameからビューコントローラーのビューのデータを取得します。
コード版のレイアウトでも同様にパラメータからビューを取得できるようにします。
ただ、initのパラメータでは直接UIViewを受け取るのではなく、UIViewを取得できるようなキーをパラメータから受け取れるようにします。
loadView()
IB版のloadViewは、nibやStoryboardファイルからの情報をビューコントローラーのプロパティやfuncにバインドする役割を行っているので、同様のことを行います。
loadViewはinit時に受け取ったキーを元に、キーからビューを受け取れるBuilderを用意して情報を取得します。
ここではIBでやっていた機能を実装することになるので、プロパティへの設定やボタンを押した時の動作を設定していきます。
今回使っているCodeInterfaceBuilderの例はこんな感じです。
typealias CodeInterfaceBuilderKey = String

extension CodeInterfaceBuilderKey {
    static let codingViewKey = "codingViewKey"
}

struct CodeInterfaceBuilder {
    let view: UIView

    let countLabel: UILabel

    private let button: UIButton

    init(key: CodeInterfaceBuilderKey) {
        switch key {
        case .codingViewKey:
            let view = UIView()
            view.backgroundColor = .green
            let countLabel = UILabel()
            let button = UIButton()
            button.setTitle("Okinawa", for: .normal)
            button.translatesAutoresizingMaskIntoConstraints = false
            countLabel.translatesAutoresizingMaskIntoConstraints = false
            view.addSubview(countLabel)
            view.addSubview(button)

            countLabel.centerXAnchor.constraint(equalTo: view.centerXAnchor).isActive = true
            countLabel.centerYAnchor.constraint(equalTo: view.centerYAnchor).isActive = true
            button.centerXAnchor.constraint(equalTo: view.centerXAnchor).isActive = true
            button.bottomAnchor.constraint(equalTo: view.bottomAnchor).isActive = true
            self.view = view
            self.countLabel = countLabel
            self.button = button
        default:
            fatalError() // キーごとにビューを組み立てる
        }
    }

    func addShowOkinawaAlertAction(action: UIAction) {
        button.addAction(action, for: .primaryActionTriggered)
    }
}
Viewの差し替えを行いたい場合はキーを変更し、キーに対するViewを実装することでビュー変更を行います。これにより、ViewControllerに対して自由なレイアウトを行うことができます。
各種coder系処理
storyboardの場合は、ビューのデータがcoderに格納されているのでViewControllerに独自に設定されているものだけをcoderに格納すればいいですが、コードの場合は自分でビュー情報などを格納する必要があります。
そのため、コードでUIを作成する場合はcoderにビュー情報を格納してビューを作成できる必要があります。
コード例ではbuilderKeyをcoderに保存して、builderKeyからCodeInterfaceBuilder経由でビューを取得して、UIの復元を行います。
UIViewControllerRestoration
UIViewControllerRestorationを実装してStoryboardの時と同様にアプリのViewControllerベースのリストアに対応します。
UIViewControllerRestorationを実装し、loadView()でrestorationIdentifier、restorationClassを設定しています。
各種coder系の処理で既にcoderに対応しているので、UIViewControllerRestorationで実装するメソッドにinit(coder: NSCoder)でViewControllerを作成すれば問題ないと思います。
言語ごとのレイアウト
Storyboardは言語ごとにレイアウトを定義する機能があります。
iOSの仕様として、言語変更を行なった場合はリセットがかかるので、BuilderでLocaleをチェックしてビューを出し分ければ実現できると思います。
Size Classesごとのレイアウト
コメントができる動画アプリを考えてみます。
例えば縦画面だと上部に動画、そしてコメントをその下に表示の二分割で、最下にコメントが書けるようなレイアウトになっているとします。
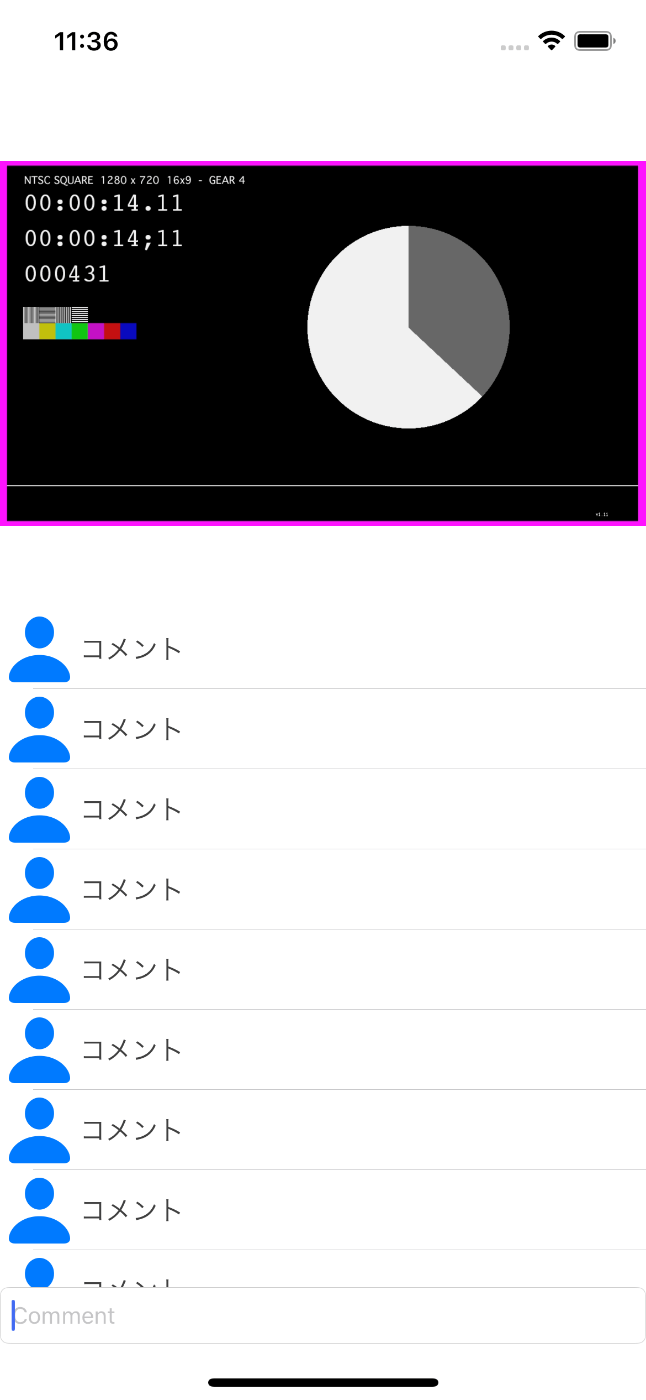
しかし横画面だと動画を全画面で表示して没入感を持たせます。その場合はコメントは透過で画面半分に表示し、コメント入力欄は無い、コメントしたい場合は横画面の時だけ表示されるコメントボタンを押して入力、といったデザインを考えます。
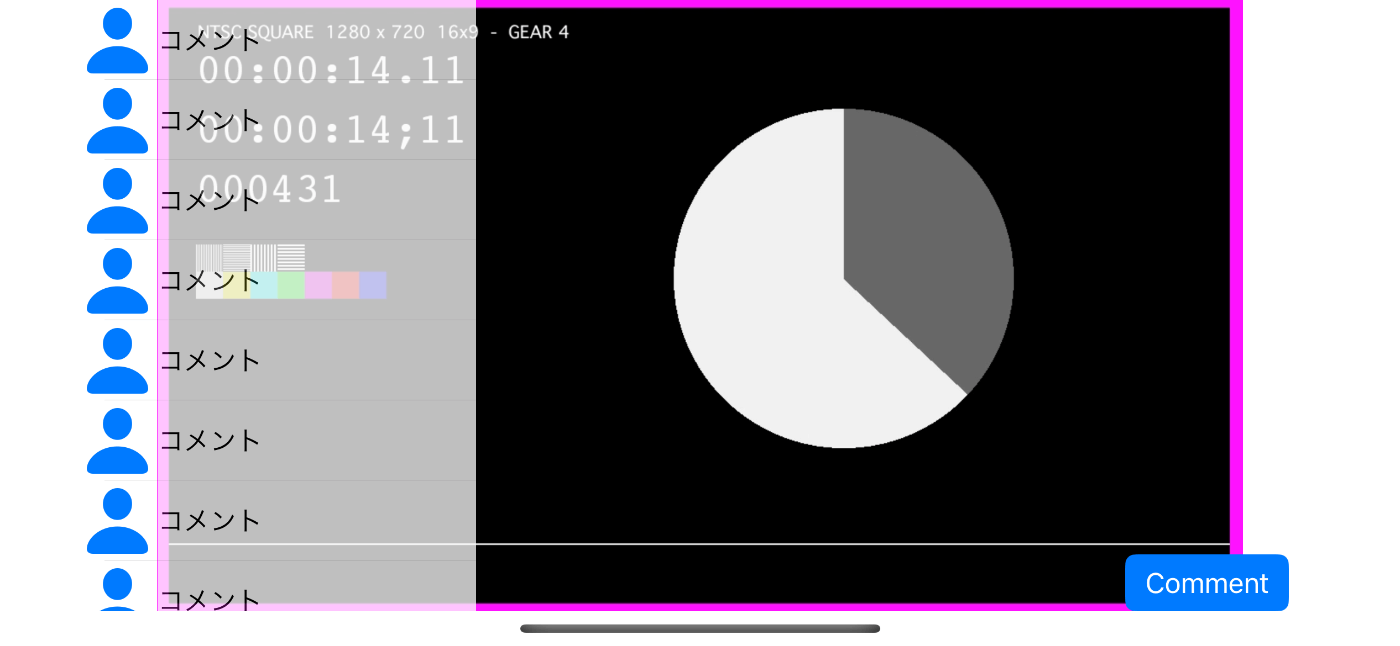
動画アプリ等でよく使われるレイアウトだと思います。
StoryboardだとSizeClassesのオプションを追加して横画面と縦画面で必要なコンポーネントや制約を設定して再現できると思いますが、Size Classesごとに設定できるようなレイアウトをコードで行います。
コードでのレイアウト
Storyboardのサイズ変更によるビュー変更は、Traitによるサイズ変更時に行われます。
この時に、
- ビューのremove/add
- 制約のON/OFF
- 各種プロパティの変更
を行なっています。コードでもこのタイミングで行うようにします。
Builder側はUITraitCollectionに合わせてレイアウト変更を行うメソッドを用意します。
ViewController側はiOS 17で追加されたregisterForTraitChangesで行っています。iOS 16以下に対応したい場合はtraitCollectionDidChangeを使うように読み替えてください。
Traitが確定するviewIsAppearingでもBuilder側のメソッドを呼びます。
以下はコード例です。UIViewControllerRestorationの処理は省いています。
class CodeViewController: UIViewController {
    private let builderKey: CodeInterfaceBuilderKey
    private var builder: CodeInterfaceBuilder!

    init(builderKey: CodeInterfaceBuilderKey) {
        self.builderKey = builderKey
        super.init(nibName: nil, bundle: nil)
    }

    required init?(coder: NSCoder) {
        builderKey = coder.decodeObject(forKey: "builderKey") as! CodeInterfaceBuilderKey
        super.init(coder: coder)
    }

    override func loadView() {
        builder = CodeInterfaceBuilder(key: builderKey)
        registerForTraitChanges([UITraitVerticalSizeClass.self, UITraitHorizontalSizeClass.self]) { (self: Self, previousTraitCollection: UITraitCollection) in
            self.builder.traitCollectionDidChange(traitCollection: self.traitCollection)
        }
        self.view = builder.view
    }

    override func viewIsAppearing(_ animated: Bool) {
        super.viewIsAppearing(animated)
        builder.viewIsAppearing(traitCollection: traitCollection)
    }

    override func encode(with coder: NSCoder) {
        super.encode(with: coder)
        coder.encode(builderKey, forKey: "builderKey")
    }
}
typealias CodeInterfaceBuilderKey = String

extension CodeInterfaceBuilderKey {
    static let codingViewKey = "codingViewKey"
}

struct CodeInterfaceBuilder {
    let view: UIView

    private let label: UILabel
    private let button: UIButton
    private let labelCenterXConstraint: NSLayoutConstraint
    private let labelCenterYConstraint: NSLayoutConstraint

    private let buttonBottomConstraint: NSLayoutConstraint
    private let buttonLeadingConstraint: NSLayoutConstraint
    private let buttonTopConstraint: NSLayoutConstraint

    init(key: CodeInterfaceBuilderKey) {
        switch key {
        case .codingViewKey:
            let view = UIView()
            view.backgroundColor = .lightGray
            let label = UILabel()
            label.text = "Portrait"
            label.translatesAutoresizingMaskIntoConstraints = false

            let button = UIButton(type: .system)
            button.setTitle("Button", for: .normal)
            button.translatesAutoresizingMaskIntoConstraints = false

            self.view = view
            self.label = label
            labelCenterXConstraint = label.centerXAnchor.constraint(equalTo: view.centerXAnchor)
            labelCenterYConstraint = label.centerYAnchor.constraint(equalTo: view.centerYAnchor)

            self.button = button
            buttonBottomConstraint = button.bottomAnchor.constraint(equalTo: view.bottomAnchor)
            buttonLeadingConstraint = button.leadingAnchor.constraint(equalTo: view.leadingAnchor, constant: 16)
            buttonTopConstraint = button.topAnchor.constraint(equalTo: view.topAnchor)

        default:
            fatalError()
        }
    }

    func viewIsAppearing(traitCollection: UITraitCollection) {
        setupLabel(traitCollection: traitCollection)
        setupButton(traitCollection: traitCollection)
    }

    func traitCollectionDidChange(traitCollection: UITraitCollection) {
        setupLabel(traitCollection: traitCollection)
        setupButton(traitCollection: traitCollection)
    }

    private func setupLabel(traitCollection: UITraitCollection) {
        switch (traitCollection.verticalSizeClass, traitCollection.horizontalSizeClass) {

        case (.compact, _):
            if label.superview != nil {
                label.removeFromSuperview()
            }
            break
        case (_, _):
            if label.superview == nil {
                view.addSubview(label)
            }
            labelCenterXConstraint.isActive = true
            labelCenterYConstraint.isActive = true
            break
        }
    }

    private func setupButton(traitCollection: UITraitCollection) {
        switch (traitCollection.verticalSizeClass, traitCollection.horizontalSizeClass) {

        case (.compact, _):
            if button.superview == nil {
                view.addSubview(button)
            }
            buttonBottomConstraint.isActive = false
            buttonLeadingConstraint.isActive = true
            buttonTopConstraint.isActive = true
        case (_, _):
            if button.superview == nil {
                view.addSubview(button)
            }
            buttonBottomConstraint.isActive = true
            buttonLeadingConstraint.isActive = true
            buttonTopConstraint.isActive = false
            break
        }
    }
}
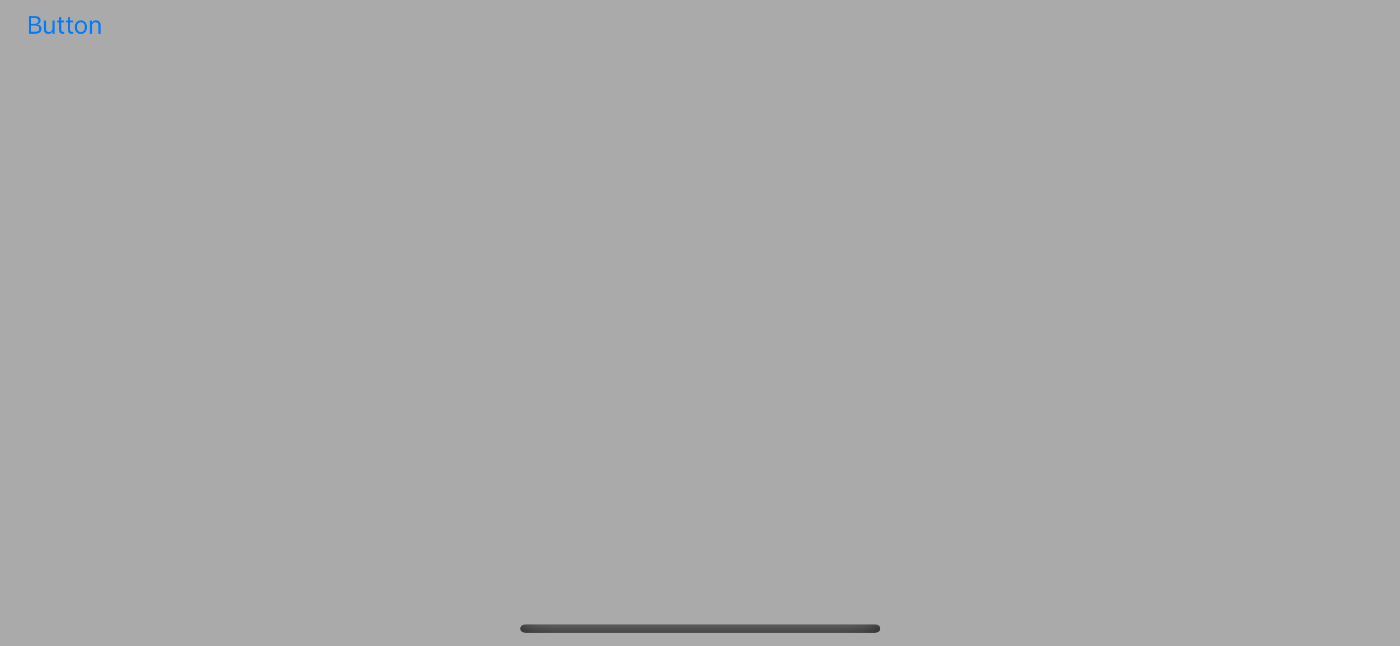
上記のコードによって、画面回転することでLabelが出たり出なかったり、ボタンが上に行ったり下に行ったりします。

まとめ
使おう!SwiftUI!
Discussion