Cloud Translation APIとCloud Functionsを利用して自動翻訳を試してみた
はじめに
こんにちは、クラウドエース データ/MLディビジョン所属の金です。
私は海外旅行を行ったり、日常生活でもたまにGoogle翻訳機を使っています。
翻訳結果については大体満足しているんですが、たまに固有名詞などの翻訳は変だなと思った記憶もあります。
最近Cloud Translation APIで用語集機能があるのに気づいてどんな結果が出るかやってみたいなと思いました。
Cloud Translastionのオプションには現在「Translation API Basic、Translation API Advanced、AutoML Translation」の三つがあります。
今回は用語集を利用してカスタマイズしたいので用語集が使える「Translation API Advanced」を試してみます。
さらにCloud Functionsのイベント機能も追加してより便利に翻訳ができるように試してみます。
Cloud Translastionのオプションについては下記のURLで表としてあるので気になる方はご覧ください。
Cloud Translation APIとは?

Cloud Translation APIは、Google Cloudが提供するクラウドベースの翻訳サービスのAPIです。このAPIを使用すると、開発者は自分のアプリケーションやサービスに翻訳機能を追加することができます。
Cloud Translation APIを使用すると、テキストデータを自動的に他の言語に翻訳したり、用語集を利用して、カスタマイズした翻訳もできます。
このAPIは、高品質な機械翻訳モデルを活用し、数百以上の言語の翻訳を行うのができます。
やりたいこと
- GCSにファイルを格納(日本語のテキスト)
- Cloud Functionsでファイルを自動検知
- Cloud Translation API(用語集利用)で翻訳(JA=>EN)
- 翻訳後のファイルをGCSに格納(英語のテキスト)

<構成図>
事前準備
- GCS(場所は
USにします。)- 日本語テキスト(Input)用バケット
- 英語テキスト(Output)用バケット
- 用語集CSV用バケット
- 用語集用CSV
- 翻訳用テキスト(日本語)
- Cloud Translation API画面でAPIを有効にする。
Cloud Functions
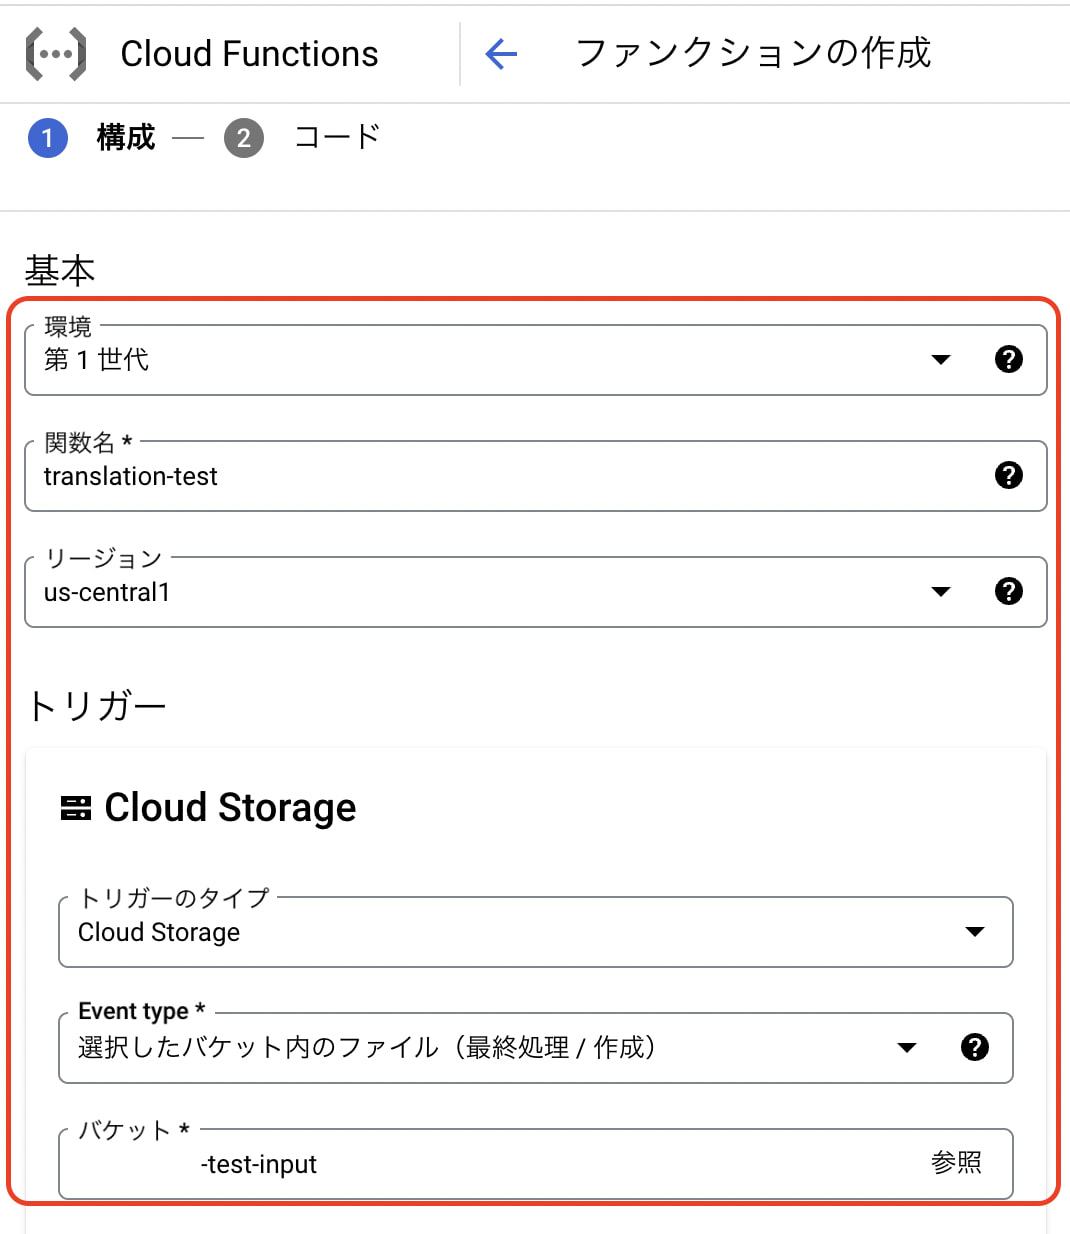
Glossary(用語集)用
-
functionsを作成(第1世代)
- 適切な関数名で作成します。
- リージョンは
us-cental1にします。 - トリガーはHTTPにします。
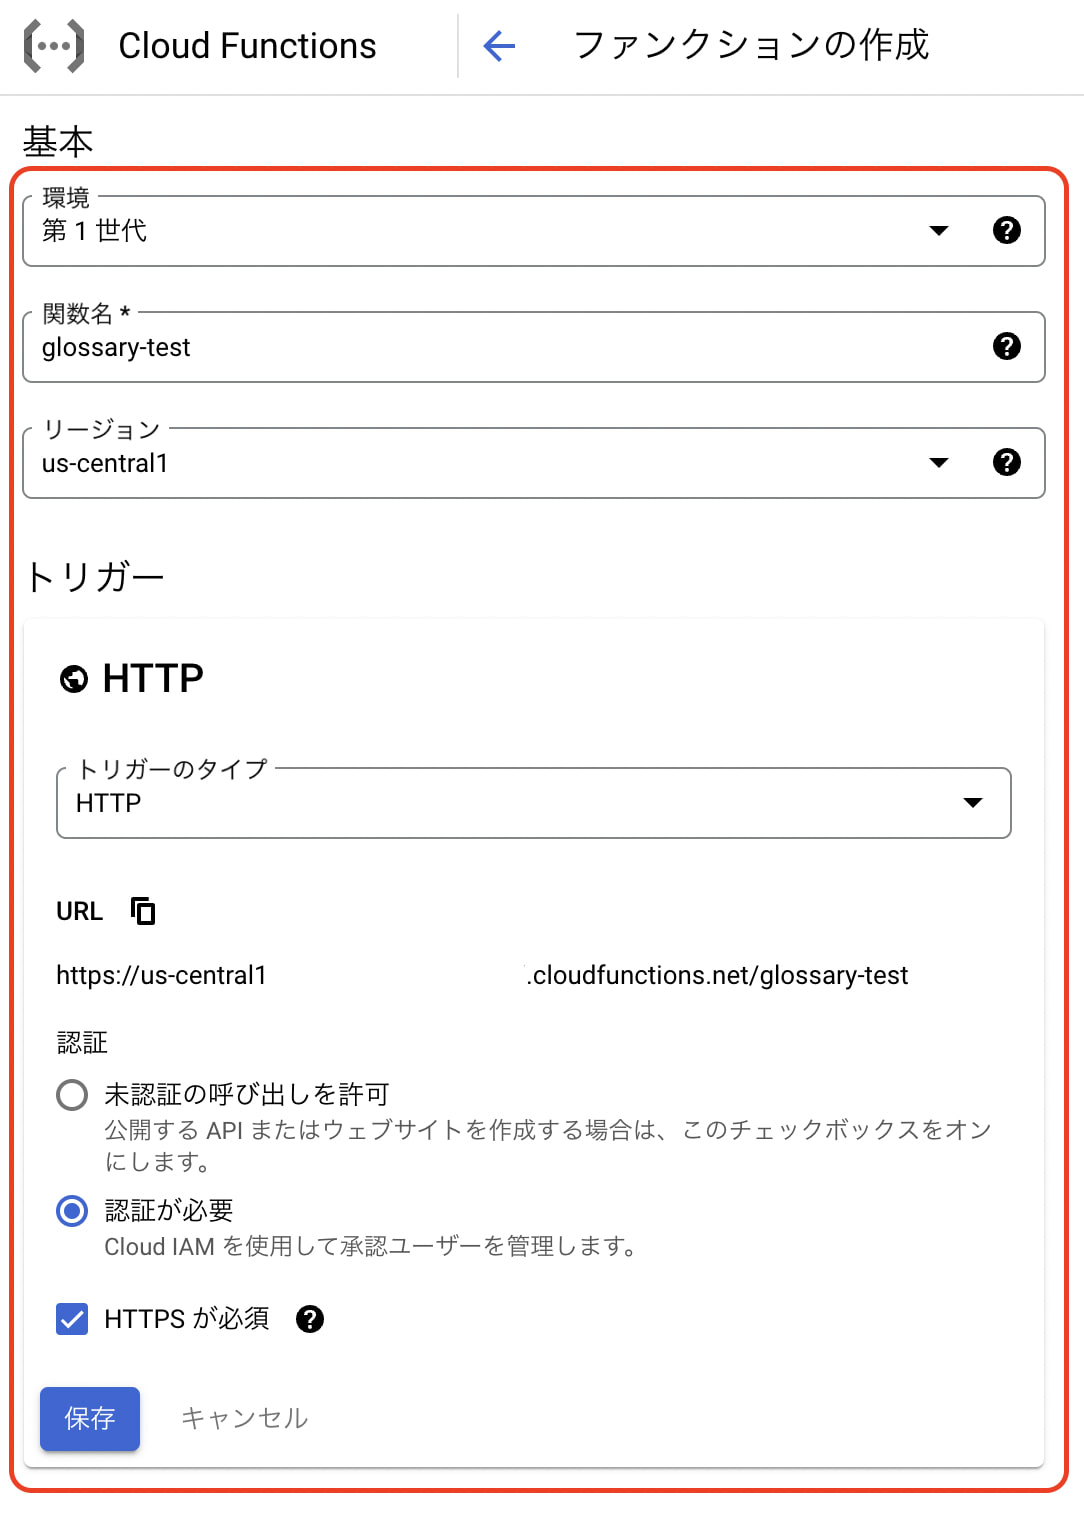
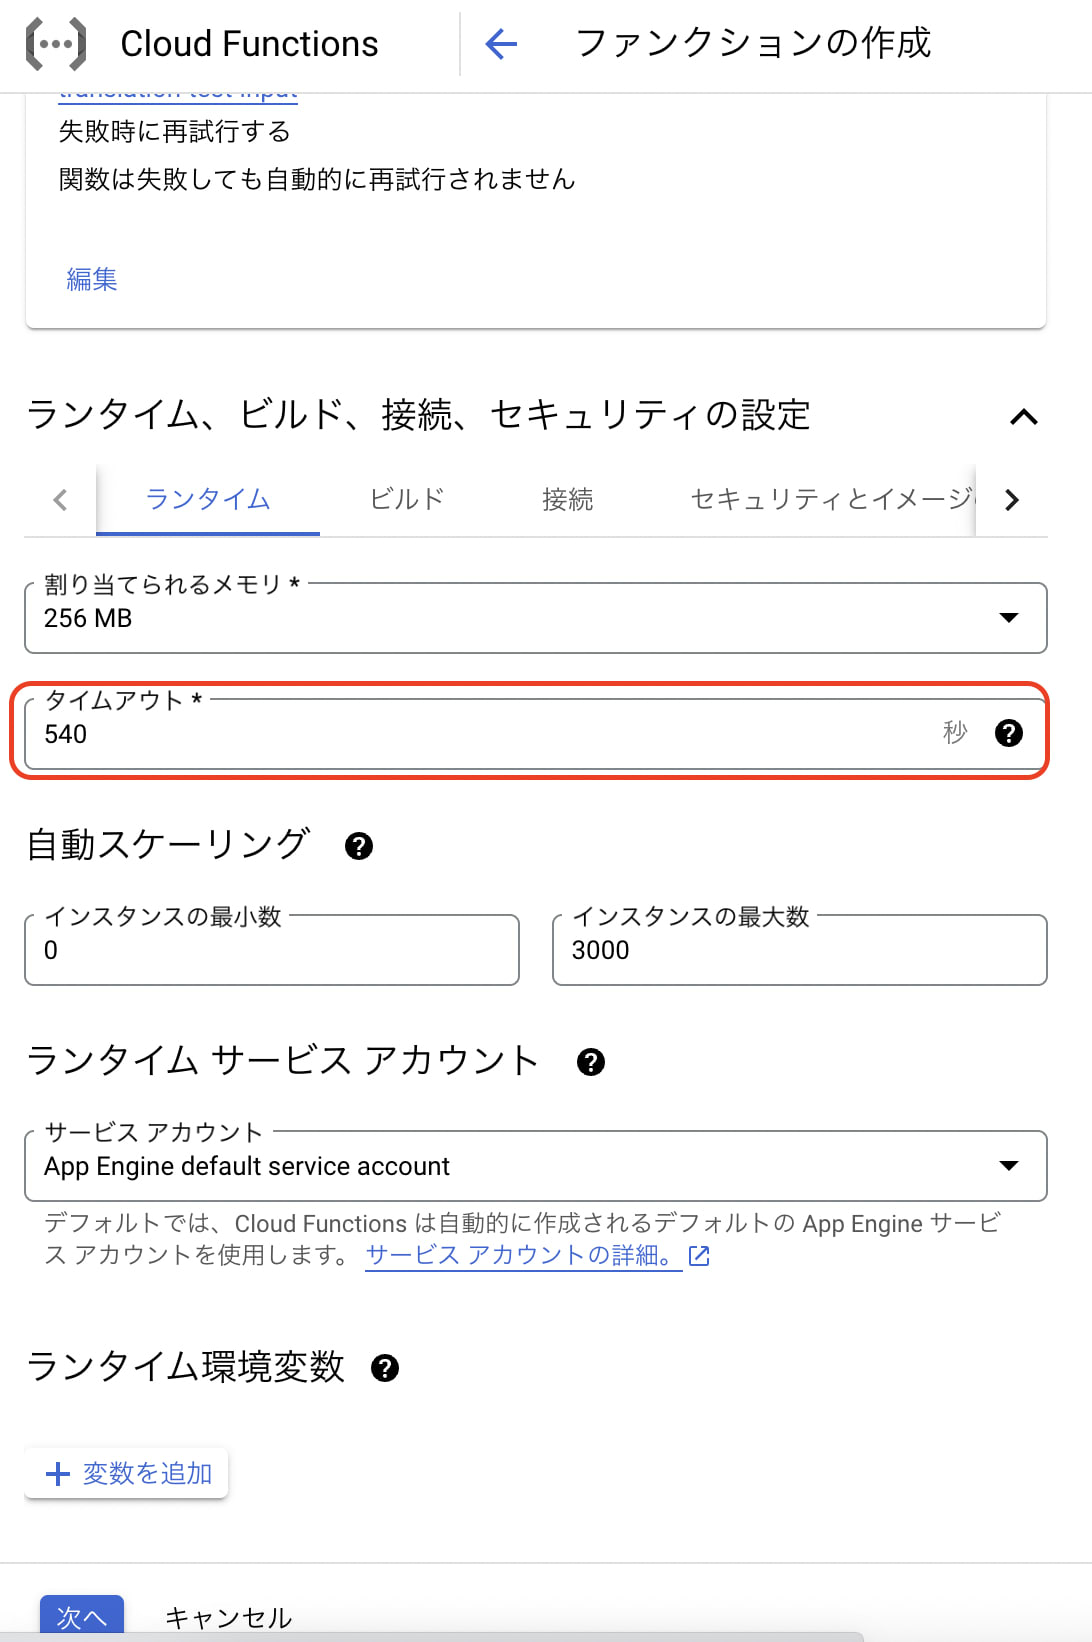
- タイムアウトは念の為540(最大値)にします。
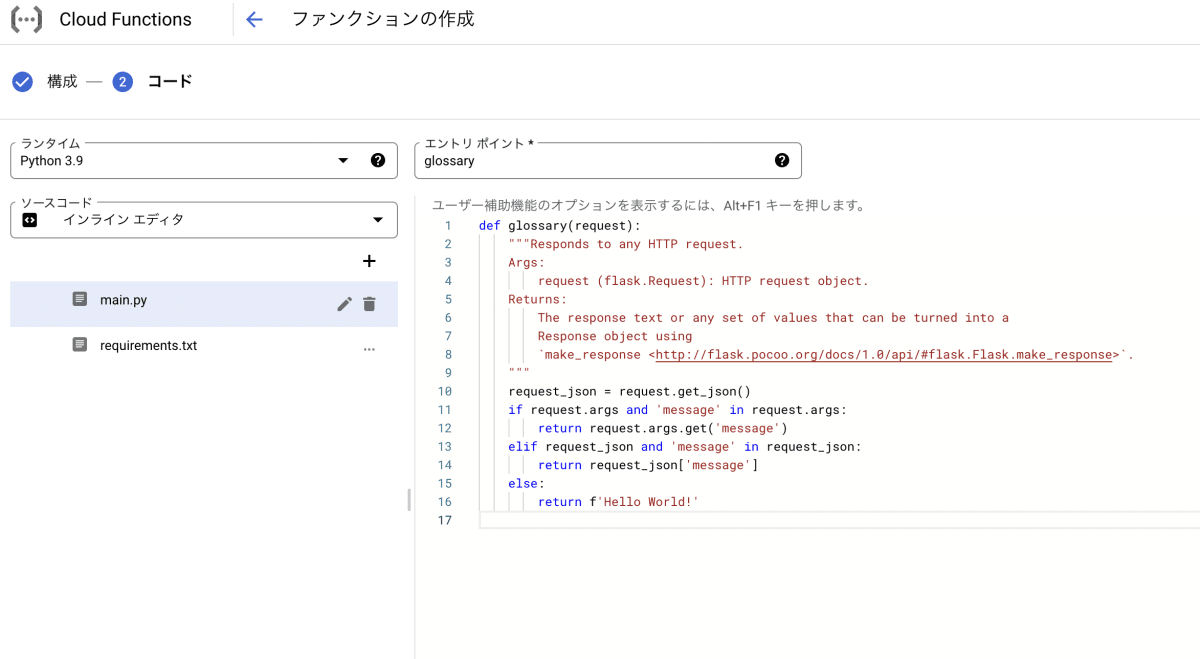
- Python3.9を選択してエントリポイントを実際処理される関数名と合わせて作成します。
-
用語集作成
- カスタマイズで翻訳したい単語をCSVに作成します。
ja,en
金,kim
スイカ,made in Hokkaido water melon
複数語設定、サイズ制限などは下記のURLをご覧ください。
-
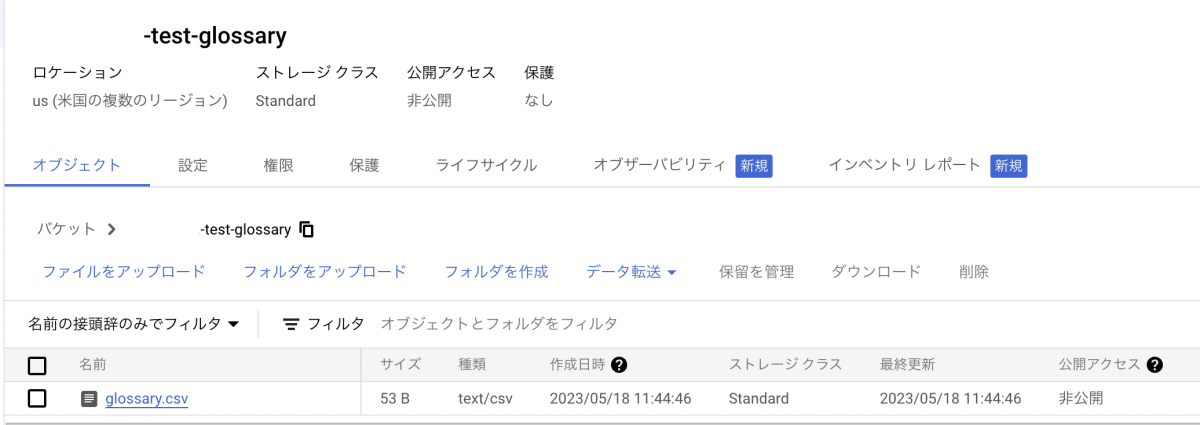
CSV作成が終わったらGCSの用語集用バケットに格納します。
-
用語集用functionsのコードを作成します。
# Function dependencies, for example:
# package>=version
google-cloud-translate==3.10.1
from google.cloud import translate_v3 as translate
import urllib.request

url = "http://metadata.google.internal/computeMetadata/v1/project/project-id"
req = urllib.request.Request(url)
req.add_header("Metadata-Flavor", "Google")
project_id = urllib.request.urlopen(req).read().decode()

input_uri = "gs://<YOUR GLOSSARY BUCKET NAME>/<YOUR GLOSSARY FILE NAME>"
glossary_id = "<YOUR GLOSSARY ID>"
location = "<YOUR LOCATION>"

def glossary(request):
    try:
        # 既存用語集削除
        delete_glossary(project_id, glossary_id)
    except:
        pass
    # 用語集作成
    create_glossary(project_id, input_uri, glossary_id, timeout=180,)
    # 用語集情報取得
    get_glossary(project_id, glossary_id)

    return f'Glossary({glossary_id})作成完了'

def create_glossary(
    project_id="YOUR_PROJECT_ID",
    input_uri="YOUR_INPUT_URI",
    glossary_id="YOUR_GLOSSARY_ID",
    timeout=180,
):
    """
    Create a equivalent term sets glossary. Glossary can be words or
    short phrases (usually fewer than five words).
    https://cloud.google.com/translate/docs/advanced/glossary#format-glossary
    """
    # Supported language codes: https://cloud.google.com/translate/docs/languages
    source_lang_code = "ja"
    target_lang_code = "en"

    client = translate.TranslationServiceClient()
    name = client.glossary_path(project_id, location, glossary_id)

    language_codes_set = translate.types.Glossary.LanguageCodesSet(
        language_codes=[source_lang_code, target_lang_code]
    )

    gcs_source = translate.types.GcsSource(input_uri=input_uri)

    input_config = translate.types.GlossaryInputConfig(gcs_source=gcs_source)

    glossary = translate.types.Glossary(
        name=name, language_codes_set=language_codes_set, input_config=input_config
    )

    parent = f"projects/{project_id}/locations/{location}"
    # glossary is a custom dictionary Translation API uses
    # to translate the domain-specific terminology.
    operation = client.create_glossary(parent=parent, glossary=glossary)

    result = operation.result(timeout)

    print("Created: {}".format(result.name))
    print("Input URI: {}".format(result.input_config.gcs_source.input_uri))

def get_glossary(project_id="YOUR_PROJECT_ID", glossary_id="YOUR_GLOSSARY_ID"):
    """Get a particular glossary based on the glossary ID."""

    client = translate.TranslationServiceClient()
    name = client.glossary_path(project_id, location, glossary_id)

    response = client.get_glossary(name=name)

    print("Glossary name: {}".format(response.name))
    print("Entry count: {}".format(response.entry_count))
    print("Input URI: {}".format(response.input_config.gcs_source.input_uri))

def delete_glossary(project_id="YOUR_PROJECT_ID", glossary_id="YOUR_GLOSSARY_ID", timeout=180, ):
    """Delete a specific glossary based on the glossary ID."""

    client = translate.TranslationServiceClient()
    name = client.glossary_path(project_id, location, glossary_id)

    operation = client.delete_glossary(name=name)
    result = operation.result(timeout)

    print("Deleted: {}".format(result.name))
- 作成が終わったらテストで実行します。
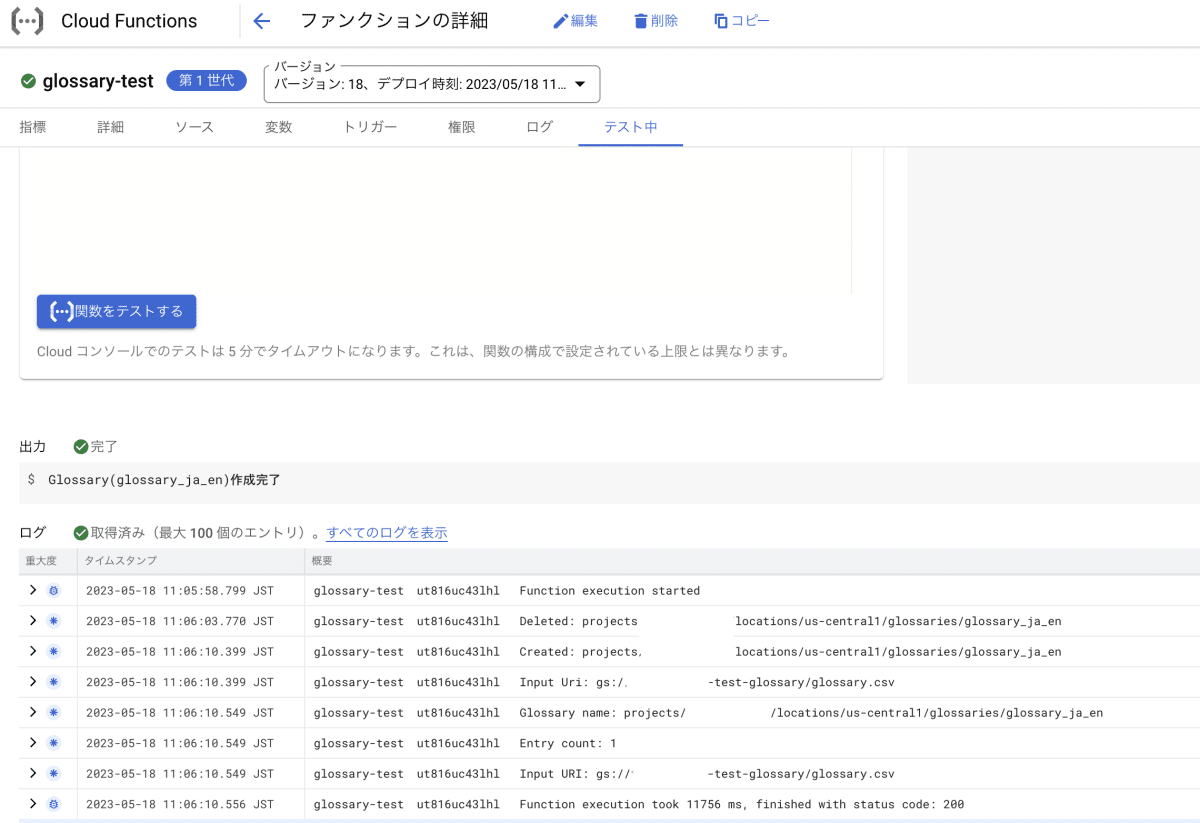
問題なく正常終了しました。ここまでで用語集作成は完了です。
Translation用
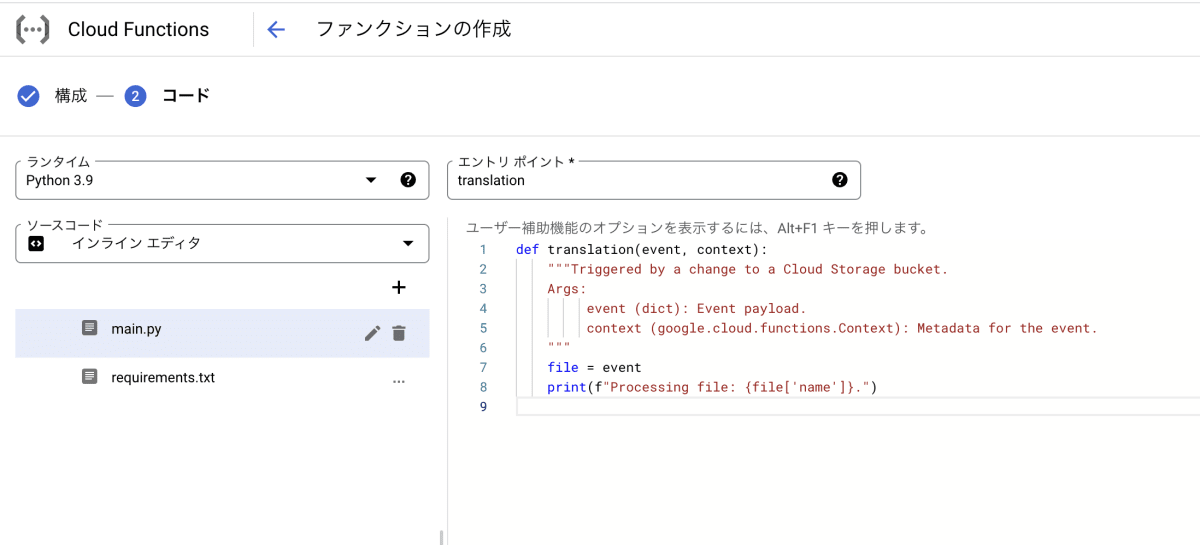
- functionsを作成(第1世代)
- 適切な関数名を作成します。
- リージョンは
us-cental1にします。 - トリガーはCloud Storage(finalize)にして、事前準備で作成したInput用バケットを指定します。
- タイムアウトは念の為540(最大値)にします。
- Python3.9を選択してエントリポイントを実際処理される関数名と合わせて作成します。
- Cloud Functionsの画面を見るとトリガー部分がバケットになっているのを確認できます。

- Translation用functionsのコードを作成します。
# Function dependencies, for example:
# package>=version
google-cloud-storage==1.39.0
google-cloud-translate==3.10.1
from google.cloud import storage
from datetime import datetime, timedelta, timezone
from google.cloud import translate
import urllib.request

# project_id, output_bucket, glossary_id, location設定
url = "http://metadata.google.internal/computeMetadata/v1/project/project-id"
req = urllib.request.Request(url)
req.add_header("Metadata-Flavor", "Google")
project_id = urllib.request.urlopen(req).read().decode()

out_bucket_name = "<YOUR OUTPUT BUCKET NAME>"
glossary_id = "<YOUR GLOSSARY ID>"
location = "<YOUR LOCATION>"

# タイムゾーンの生成
JST = timezone(timedelta(hours=+9), 'JST')
# 今日に日付
dt = datetime.now(JST).strftime('%Y-%m-%d_%H:%M:%S')

def translation(event, context):
    """Triggered by a change to a Cloud Storage bucket.
    Args:
        event (dict): Event payload.
        context (google.cloud.functions.Context): Metadata for the event.
    """
    bucket_name = event['bucket']
    file_name = event['name']

    print(f"Processing bucket: {bucket_name}")
    print(f"Processing file: {file_name}")

    # 用語集で翻訳処理
    batch_translate_text_with_glossary(
        input_uri=f"gs://{bucket_name}/{file_name}",
        output_uri=f"gs://{out_bucket_name}/{dt}/{file_name.split('.')[0]}/",
        project_id=project_id,
        glossary_id=glossary_id,
        timeout=320,
    )

    # 処理完了したtxtファイルをoutputフォルダのBACKUPフォルダに移動する
    mv_blob(bucket_name, file_name, out_bucket_name, 'backup/' + file_name)

# inputファイル移動
def mv_blob(bucket_name, blob_name, new_bucket_name, new_blob_name):
    storage_client = storage.Client()
    source_bucket = storage_client.get_bucket(bucket_name)
    source_blob = source_bucket.blob(blob_name)
    destination_bucket = storage_client.get_bucket(new_bucket_name)

    # copy to new destination
    new_blob = source_bucket.copy_blob(
        source_blob, destination_bucket, new_blob_name)
    # delete in old destination
    source_blob.delete()
    print(f'File moved from {source_blob} to {new_blob_name}')

def batch_translate_text_with_glossary(
    input_uri="gs://<YOUR INPUT BUCKET>/<YOUR INPUT FILE NAME:file.txt>",
    output_uri="gs://<YOUR OUTPUT BUCKET>/<YOUR OUTPUT FOLDER>/",
    project_id="YOUR_PROJECT_ID",
    glossary_id="YOUR_GLOSSARY_ID",
    timeout=320,
):
    """Translates a batch of texts on GCS and stores the result in a GCS location.
    Glossary is applied for translation."""

    client = translate.TranslationServiceClient()

    # Supported language codes: https://cloud.google.com/translate/docs/languages
    # Supported file types: https://cloud.google.com/translate/docs/supported-formats
    gcs_source = {"input_uri": input_uri}

    input_configs_element = {
        "gcs_source": gcs_source,
        "mime_type": "text/plain",  # Can be "text/plain" or "text/html".
    }
    gcs_destination = {"output_uri_prefix": output_uri}
    output_config = {"gcs_destination": gcs_destination}

    parent = f"projects/{project_id}/locations/{location}"

    # glossary is a custom dictionary Translation API uses
    # to translate the domain-specific terminology.
    glossary_path = client.glossary_path(
        project_id, location, glossary_id  # The location of the glossary
    )

    glossary_config = translate.TranslateTextGlossaryConfig(glossary=glossary_path)

    glossaries = {"en": glossary_config}  # target lang as key

    operation = client.batch_translate_text(
        request={
            "parent": parent,
            "source_language_code": "ja",
            "target_language_codes": ["en"],  # Up to 10 language codes here.
            "input_configs": [input_configs_element],
            "glossaries": glossaries,
            "output_config": output_config,
        }
    )

    print("Waiting for operation to complete...")
    response = operation.result(timeout)

    print("Total Characters: {}".format(response.total_characters))
    print("Translated Characters: {}".format(response.translated_characters))
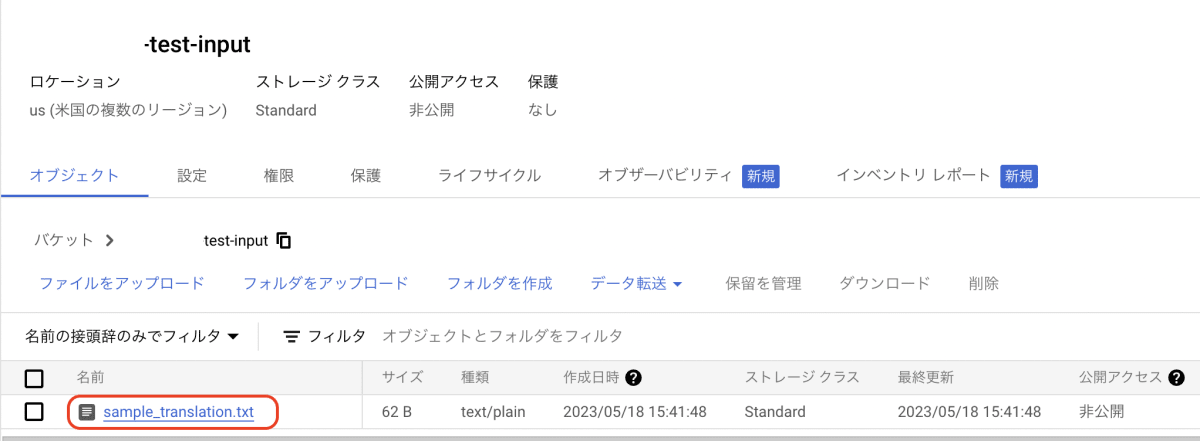
- 翻訳用テキスト(日本語)作成
- 作成したテキストファイルをInput用のバケットに格納します。
私の名前は金です。
私はスイカが好きです。
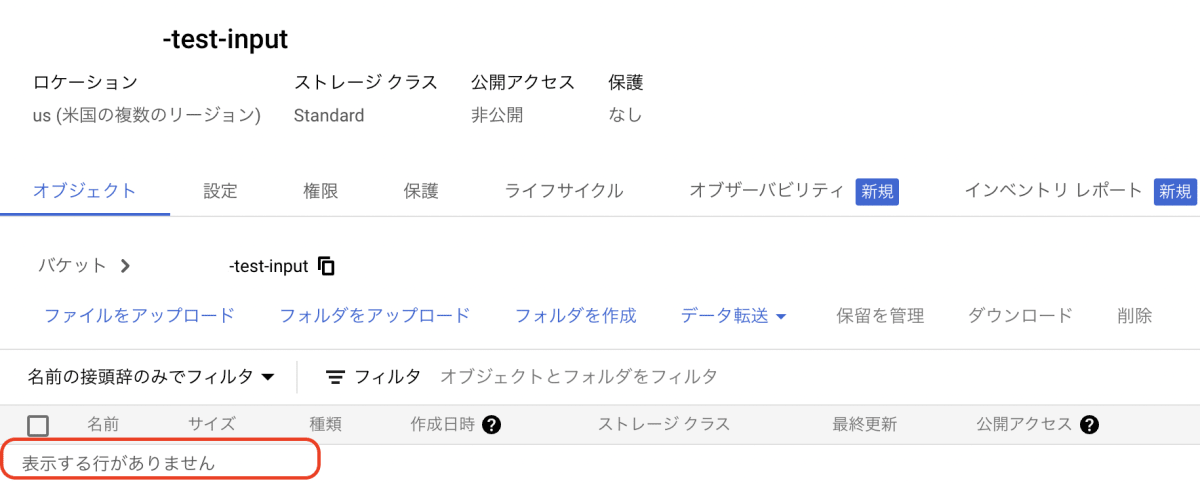
1~2分くらい後、バケットを見るとファイルが削除されているのが確認できます。
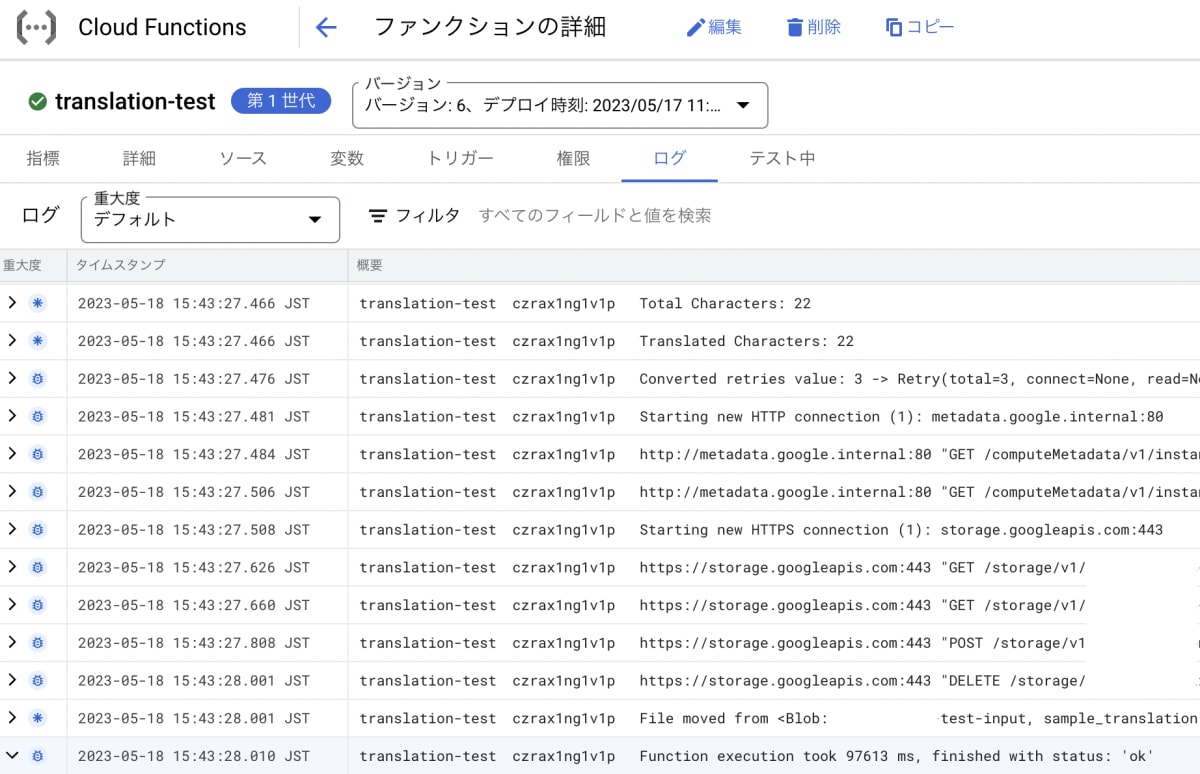
問題なく正常終了しました。ちなみに今回は22Charactersが翻訳されました。
-
Outputバケット確認
- Output用のバケットに二つのフォルダが生成されているのが確認できます。
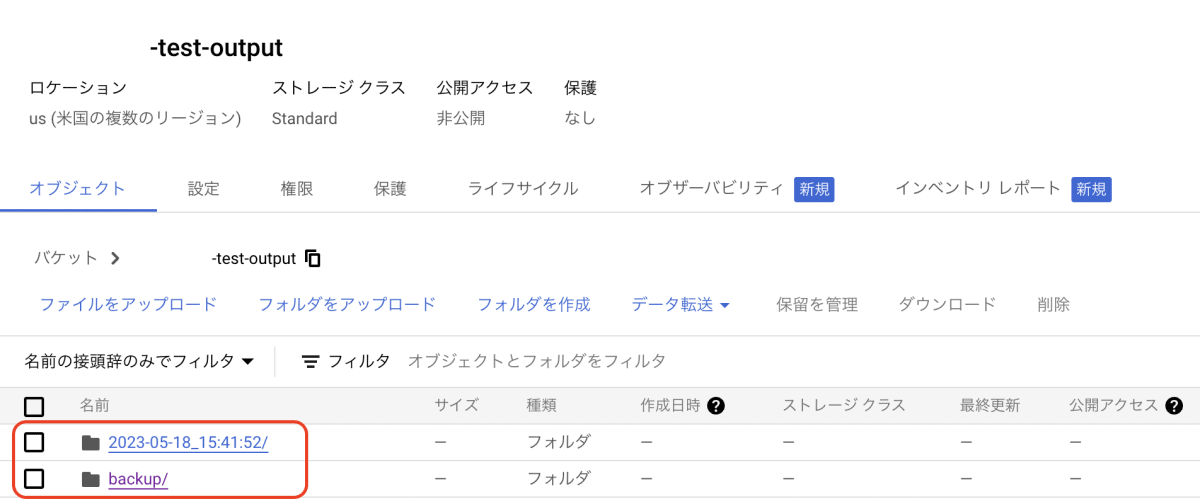
- 日付で生成されたフォルダ
日付フォルダの下にInputファイル名のフォルダが作成され、その下に最終的にCloud Translation APIによって翻訳されたファイルが格納されています。
ファイル名長すぎ、、、とりあえずそれぞれファイルの中身を確認します。
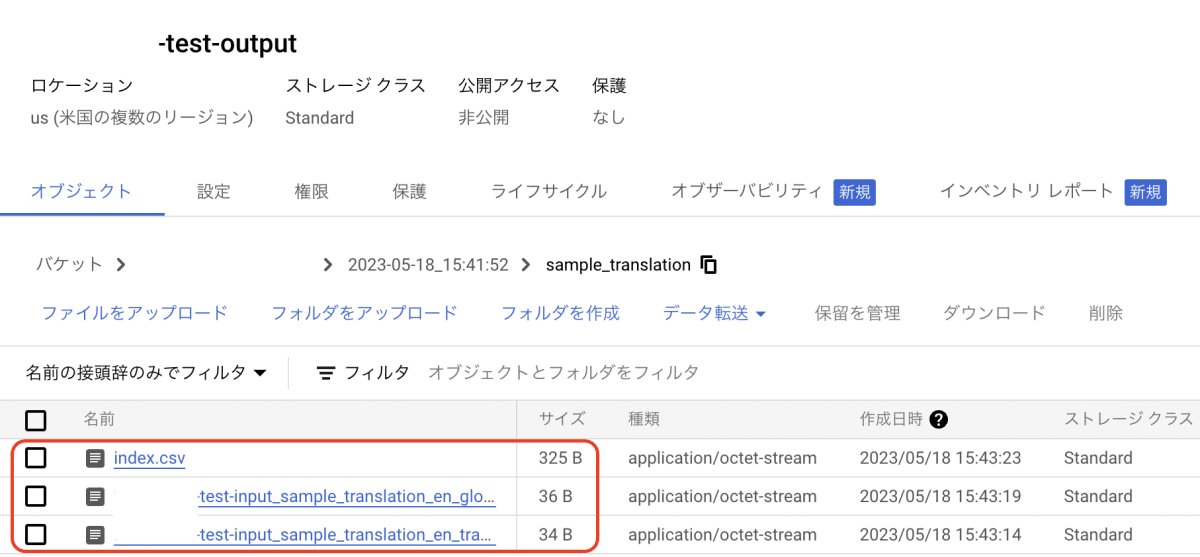
- index.csv
Input, Outputバケットのパス、翻訳先の言語などの情報が書いてあります。 - test-input_sample_translation_en_translations.txt(用語集なし)translation_without_glossary
my name is gold I like watermelon - test-input_sample_translation_en_glossary_translations.txt(用語集あり)Cloud Translationが用語集なしファイルも作成してくれますが、比較に良いですね!translation_with_glossary
my name is kim
I like made in Hokkaido water melon
用語集に定義したままちゃんと翻訳されました!
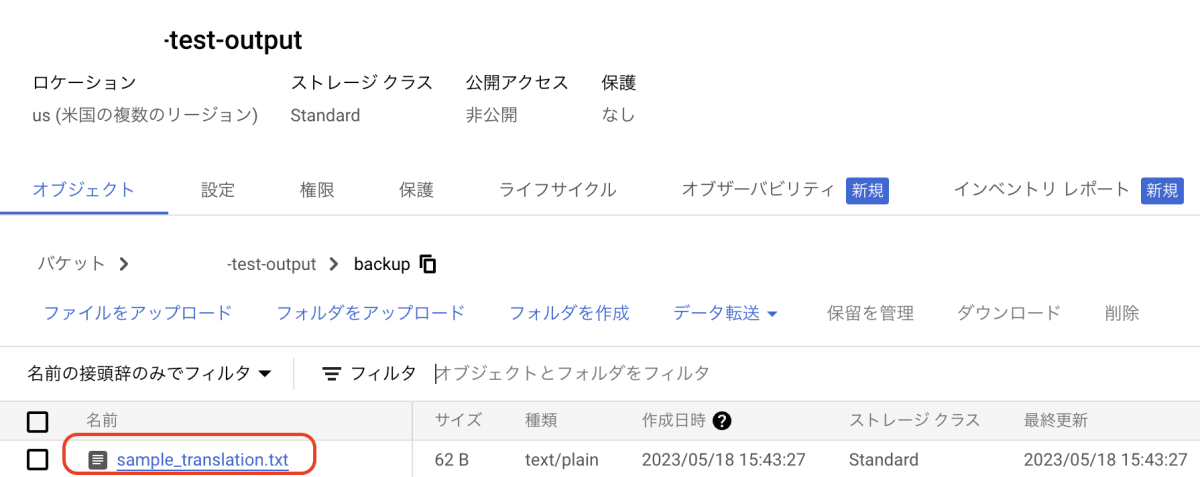
- backupフォルダ
Inputバケットに格納した元ファイルが処理後、移動されています。
- Output用のバケットに二つのフォルダが生成されているのが確認できます。
おわりに
今回は用語集を利用して期待の通りの翻訳に成功しました!
実際Cloud Translationは100を超える言語を検出可能であり、HTML、PDFなどを対象に利用できるとのことなので、本や説明書のような文章の翻訳に便利そうです。
今回試しながら個人的に少し残念だったことを記録しておきます。
- バケットをまとめてフォルダで分ける
- ファイルそれぞれが影響しないようにコードを書く必要はありますが、ある程度まとめるのが良いかと思いました。
- 用語集用functionsもStorageトリガーで処理するのが良かった
- 今回は別にバージョン管理などはなしで上書き的な処理なのでイベント処理するのがもっと便利だったかと思いました。
- Outputファイル処理
- ファイル名長いし、index,用語集処理ではないファイルも生成されるので翻訳処理後、ファイル操作処理を追加するのが良いかと思いました。
- 元ファイルはbackupに移動ではなく削除処理
- 元ファイルは処理後削除して、余計なStorage料金を発生させない方が良いかと思いました。
- 翻訳処理が完了したら通知処理
- 翻訳処理後通知処理などを追加するのがわかりやすいかと思いました。
他にもエラーハンドリングとか一括翻訳とかもどんどん追加すると便利なアプリケーションになるかなと思いました。
Cloud Translationに興味ある方はぜひ試してみてください!
Discussion