🤖
ボタンを作成し、画面遷移の使い方
今回は前回の続きではなく、ボタンを作成し、画面遷移の使い方を勉強しました。
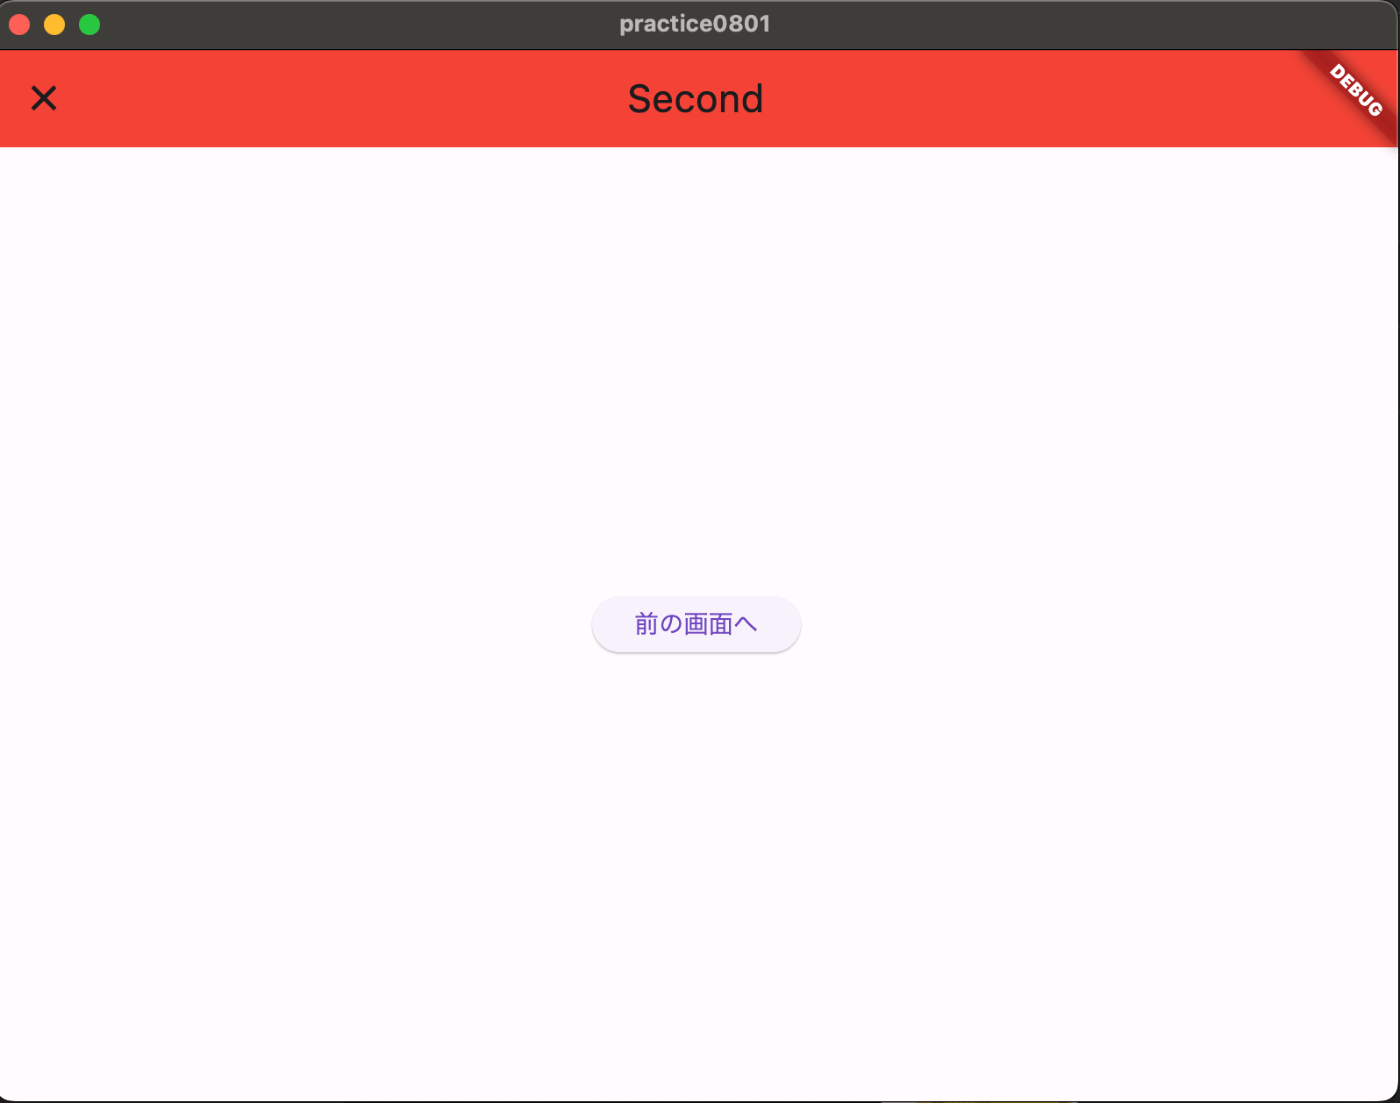
流れとしては以下のFirst_Page.dartの次の画面へボタンを押すと、2枚目のSecond_Page.dartに移行する流れになります。
First_Page.dart 次の画面へボタンを押す前

Second_Page.dart 次の画面へボタンを押した後

main.dartは以下の最終コードを参照してください。
MyApp内のhomeをデフォルトからhome: FirstPage(),に変更してください。
2.
libの中にmain.dartと同じ階層にFirst_Page.dart とSecond_Page.dart を作成してください。
3.ボタンの作成
公式ページの以下を参照してください。
次のページを参照するときは:
2. Navigate to the second route using Navigator.push()
// Within the `FirstRoute` widget
onPressed: () {
  Navigator.push(
    context,
    MaterialPageRoute(builder: (context) => const SecondRoute()),
  );
}
前のページに戻るときは、
4. Return to the first route using Navigator.pop()
// Within the SecondRoute widget
onPressed: () {
  Navigator.pop(context);
}
最終的なコードはこちらになります。
main.dart
import 'package:flutter/material.dart';
import 'First_Page.dart';

void main() {
  runApp(const MyApp());
}

class MyApp extends StatelessWidget {
  const MyApp({super.key});
  @override
  Widget build(BuildContext context) {
    return MaterialApp(
      title: 'Flutter Demo',
      theme: ThemeData(
        colorScheme: ColorScheme.fromSeed(seedColor: Colors.deepPurple),
        useMaterial3: true,
      ),
      home: FirstPage(),
    );
  }
}
First_Page.dart
import 'package:flutter/material.dart';
import 'package:practice0801/Second_Page.dart';

class FirstPage extends StatelessWidget {
  @override
  Widget build(BuildContext context) {
    return Scaffold(
      appBar: AppBar(
        backgroundColor: Colors.blue,
        title: const Text('First'),
      ),
      body: Center(
        child: ElevatedButton(
          onPressed: () {
            // ボタンを押した時に呼ばれるコードを書く
            Navigator.push(
              context,
              MaterialPageRoute(builder: (context) => SecondPage(),
              fullscreenDialog: true,
              ),
            );
          },
          child: const Text('次の画面へ'),
        ),
      ),
    );
  }
}
Second_Page.dart
import 'package:flutter/material.dart';

class SecondPage extends StatelessWidget {
  @override
  Widget build(BuildContext context) {
    return Scaffold(
      appBar: AppBar(
        backgroundColor: Colors.red,
        title: const Text('Second'),
      ),
      body: Center(
        child: ElevatedButton(
          onPressed: () {
            // ボタンを押した時に呼ばれるコードを書く
            Navigator.pop(context);
          },
          child: const Text('前の画面へ'),
        ),
      ),
    );
  }
}


Discussion